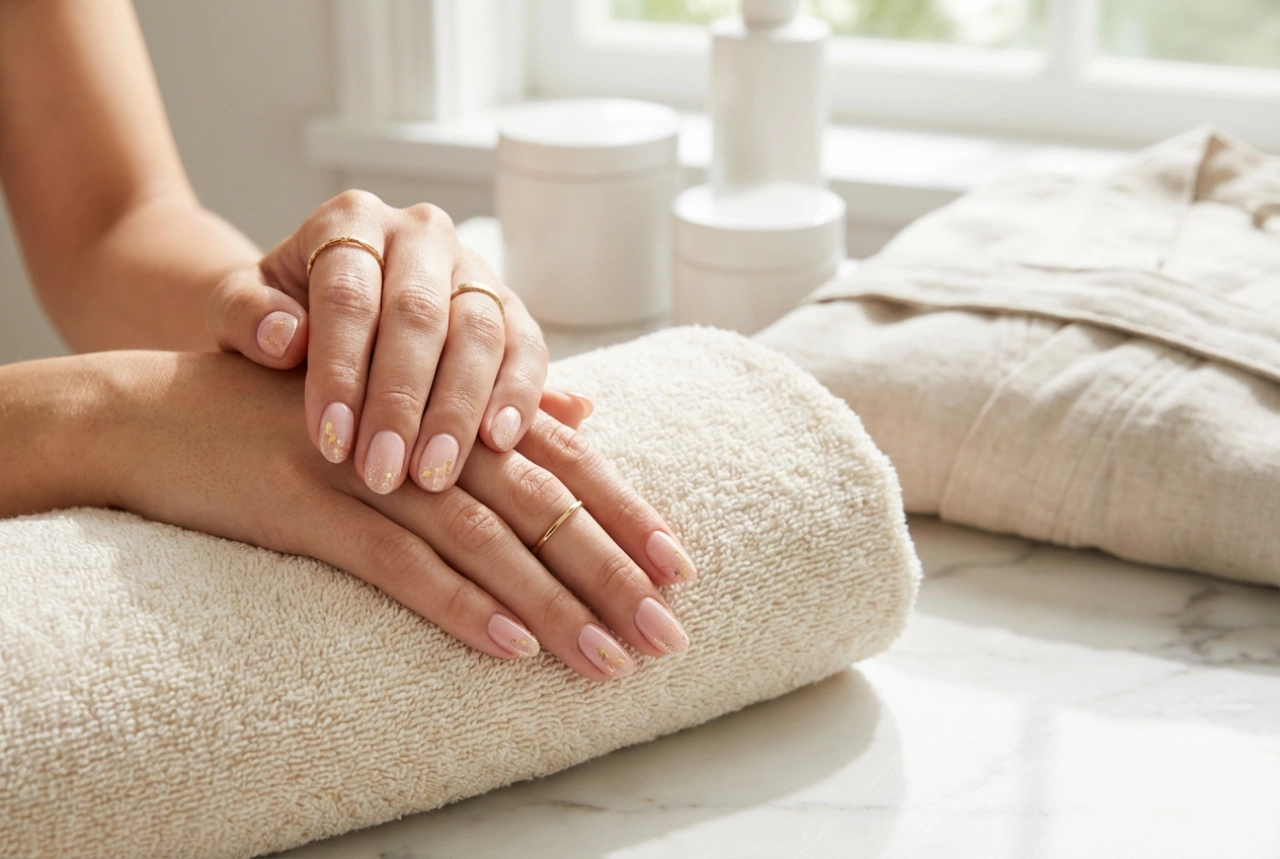


Silver nails are a symbol of elegance and modernity, suitable for any occasion, from everyday styling to special events. Their metallic sheen beautifully catches the light, adding a sophisticated touch to your hands. Achieving this stunning effect at home is easier than you might think, with several methods available to suit your skill level and desired finish. Whether you prefer a classic, uniform colour or a futuristic mirror effect, you can create a professional-looking silver manicure yourself. This guide will walk you through the most popular techniques: using traditional polish, special dust for a chrome effect, and transfer foil for artistic patterns.
The Classic Approach: Silver Nail Polish
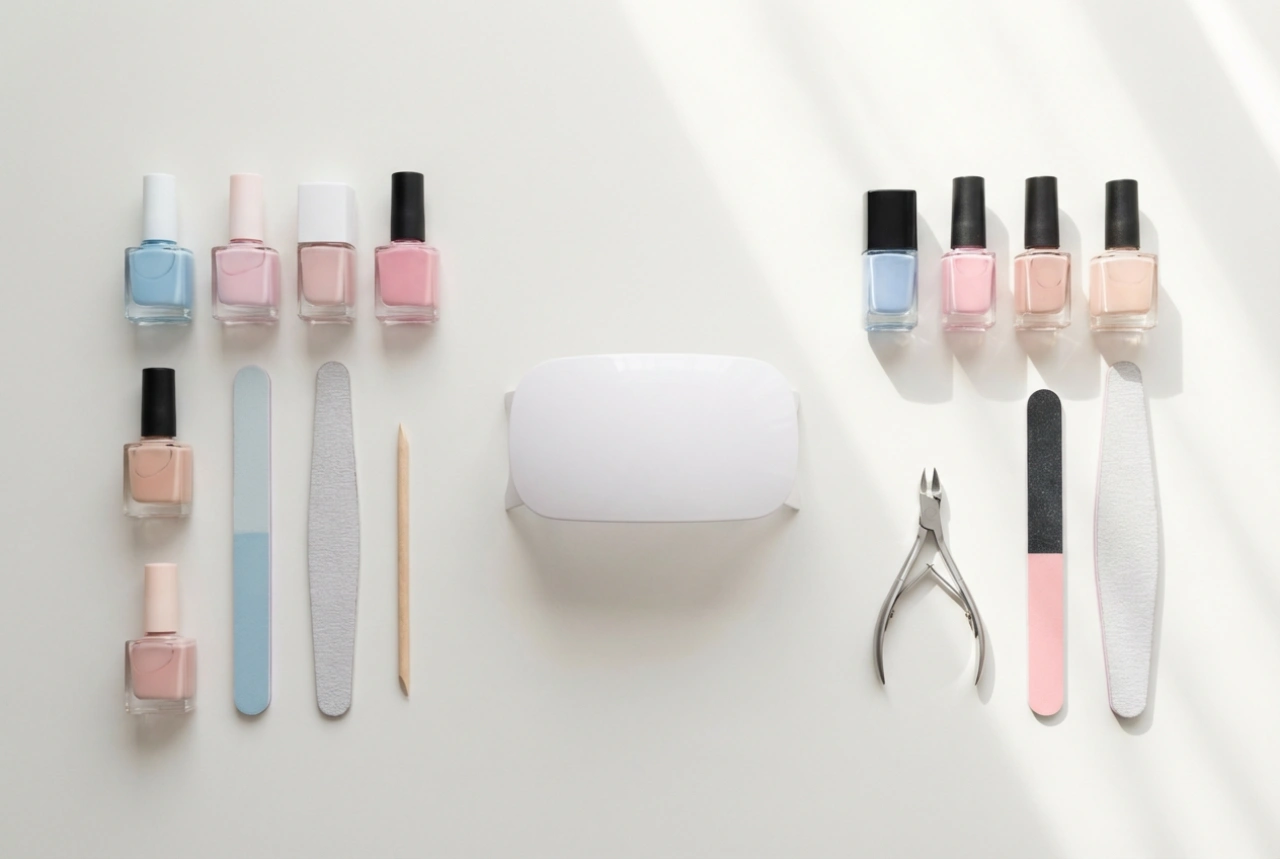
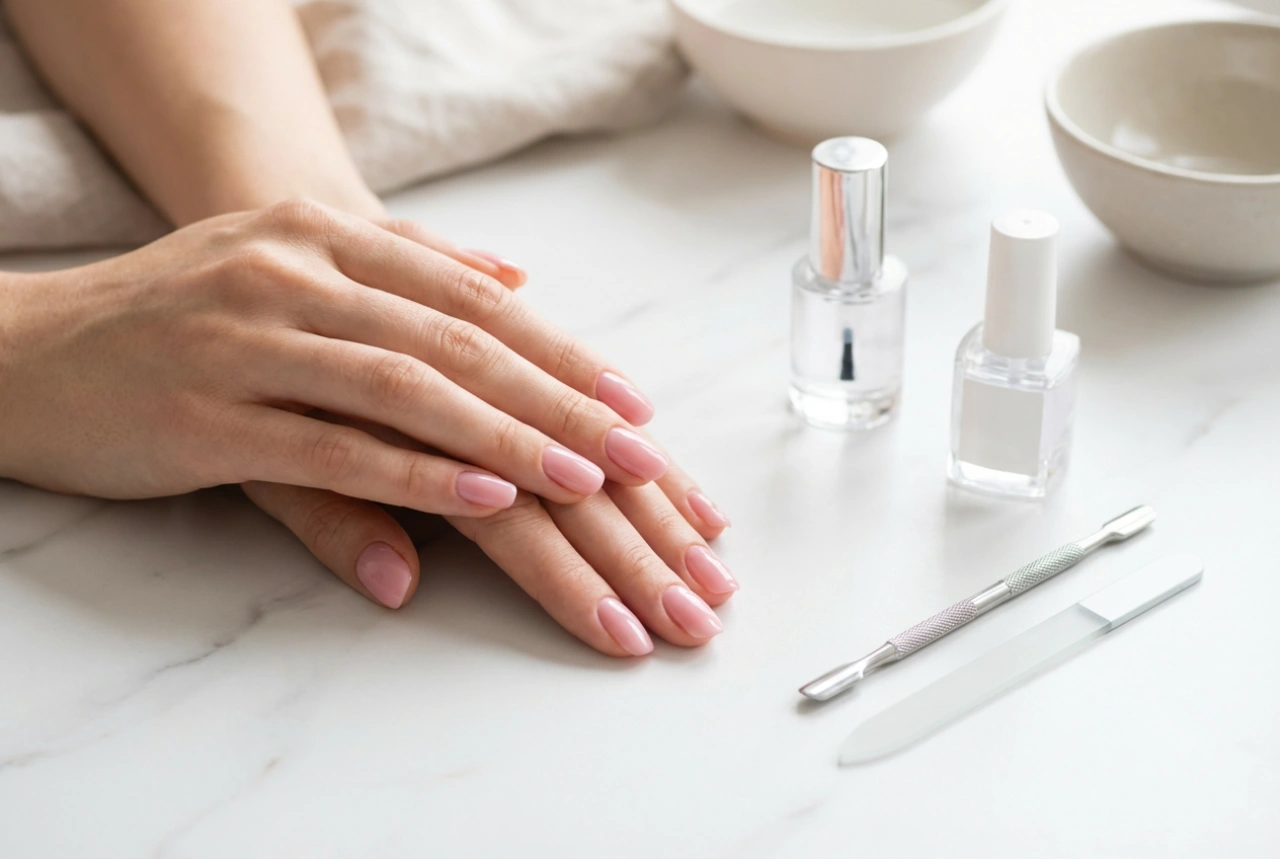
The simplest and most accessible way to get silver nails is by using a classic nail polish. The market offers a wide range of silver shades and finishes, from smooth metallic and subtle pearl to sparkling glitter. This method does not require special equipment and is perfect for beginners.
How to Apply Silver Polish for a Flawless Finish
- Preparation is Key: Start with clean, dry nails. Shape them with a file and gently push back the cuticles. To ensure better adhesion and protect the nail plate, apply a transparent base coat.
- Apply the Colour: After the base coat is completely dry, apply the first thin layer of silver polish. Wait a few minutes for it to dry before applying a second layer. Two coats will provide deep, even coverage and a more intense colour.
- Choose Your Finish: If you're using a glitter polish, you may need a third coat for full coverage. For metallic polishes, try to apply them in smooth, straight strokes to minimise brush marks.
- Seal the Deal: Finish your manicure with a high-quality top coat. This will not only add extra shine but also protect the polish from chipping and extend the life of your manicure significantly.
Futuristic Shine: Chrome Effect with Special Dust
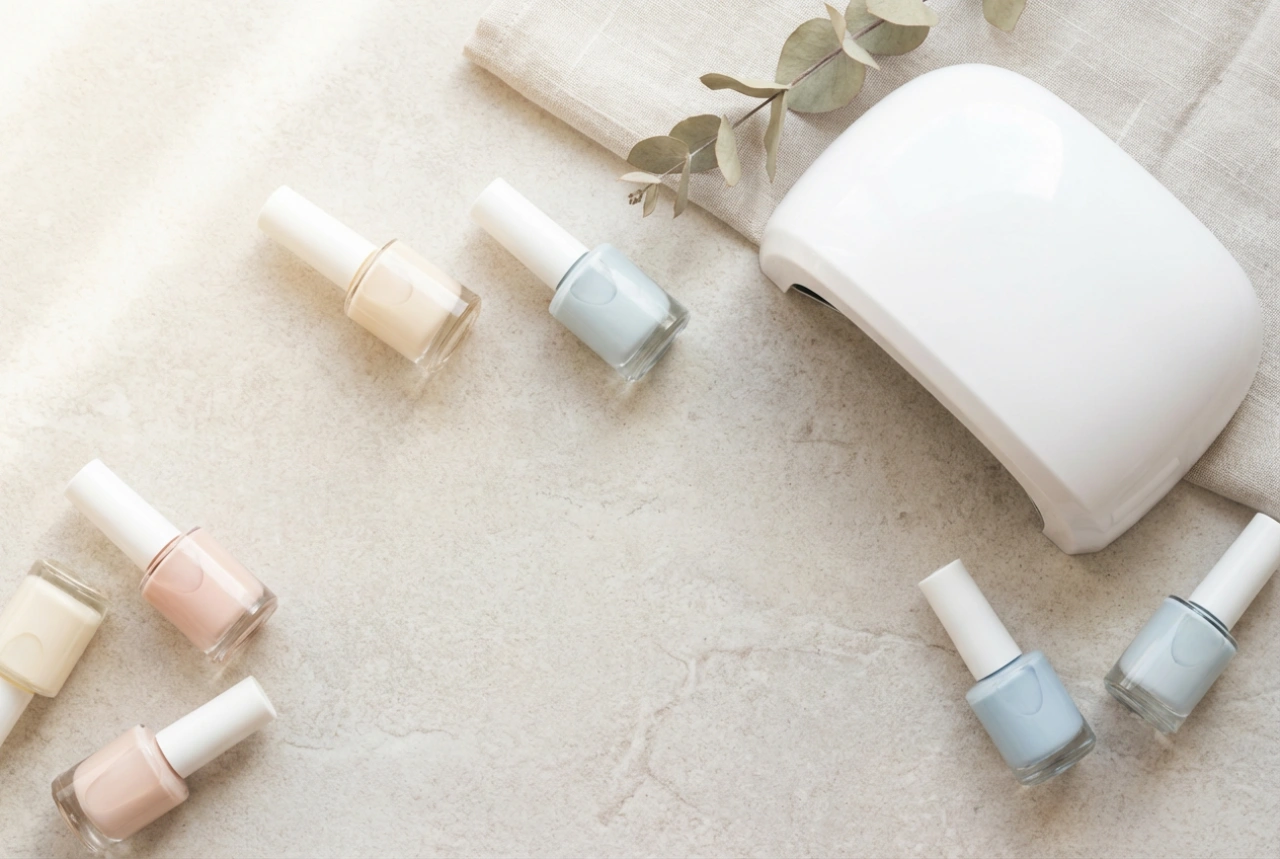
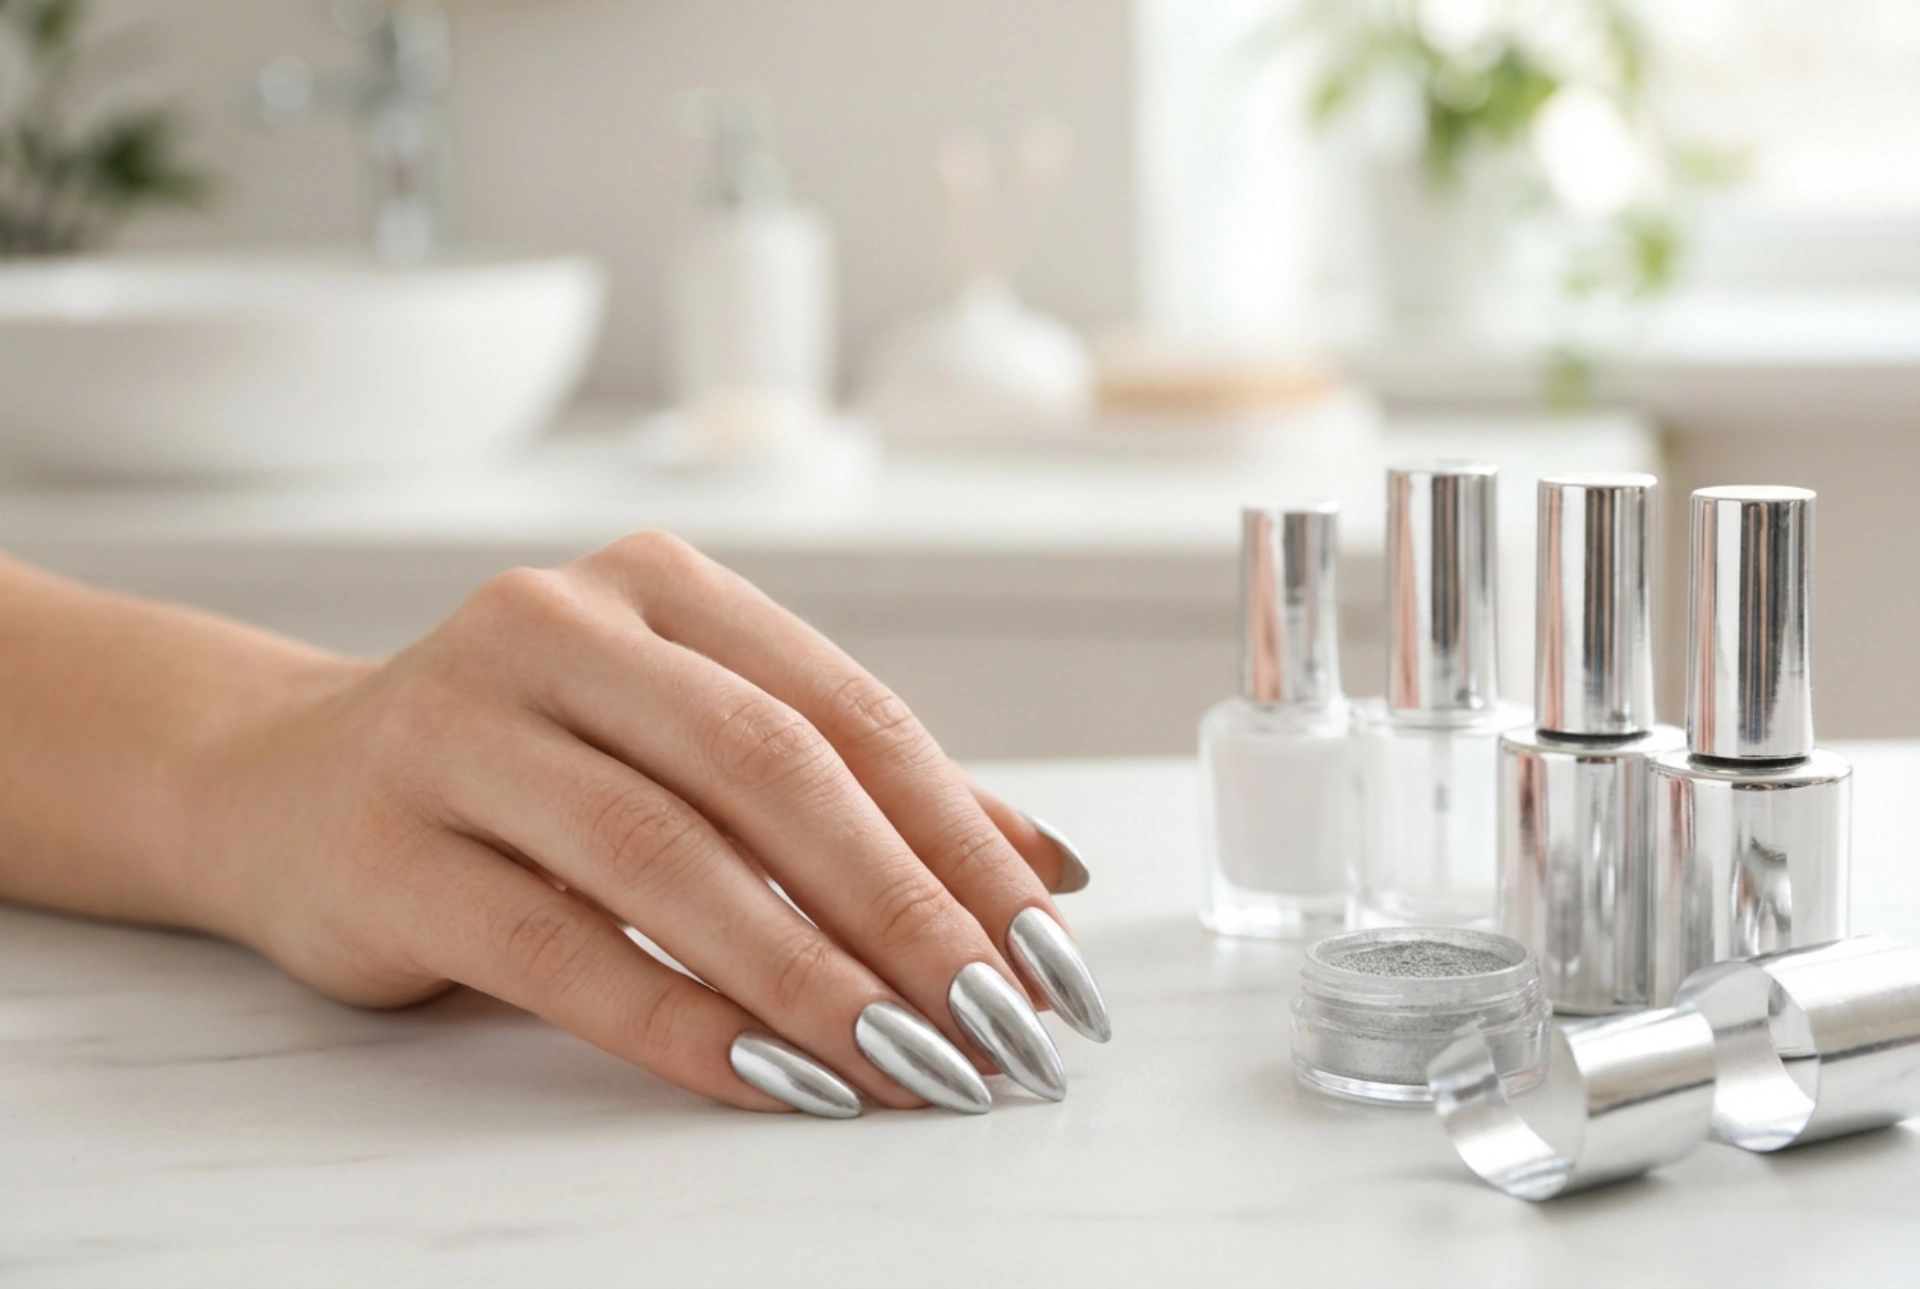
For a truly spectacular, mirror-like surface, a special chrome dust (or powder) is the ideal choice. This technique creates an incredibly smooth and reflective finish that resembles polished metal. While it was once primarily a salon service, home kits have made it accessible for DIY enthusiasts. This method typically works best with a gel polish system that requires a UV or LED lamp for curing.
How to Apply Chrome Dust at Home
- Build the Foundation: Begin by applying a gel base coat and curing it under the lamp. Then, apply one or two coats of a gel polish colour. Black is often used as a base for silver chrome to create the most dramatic and deep mirror effect, but other colours can work too. Cure each layer according to the lamp's instructions.
- Apply a No-Wipe Top Coat: The key to a good chrome application is a 'no-wipe' top coat. Apply a thin layer and cure it, but be careful not to over-cure. The surface should be smooth but still receptive to the powder.
- Rub in the Dust: Using a small sponge applicator (often included with the dust), pick up a tiny amount of the chrome powder. Gently but firmly rub it onto the surface of the nail. You'll see the magic happen as the powdery dust transforms into a seamless, reflective chrome finish.
- Final Seal: Gently brush off any excess powder from around the nail and cuticle area. To protect the chrome effect and ensure its longevity, apply another layer of the no-wipe top coat and cure it one last time.
Artistic Accents: Using Silver Transfer Foil
If you prefer a more abstract or textured look, silver transfer foil is a fantastic option. This method allows you to create unique, fractured patterns on your nails. It's a creative way to incorporate a metallic element into your manicure without covering the entire nail.
Creating Designs with Transfer Foil
- Prepare Your Canvas: Start by applying a base coat and your chosen nail polish colour. You can use any regular or gel polish. Let it dry or cure completely. The foil will stand out beautifully against a dark background like black or navy blue.
- Apply Foil Glue: Cover the area where you want the design with a thin layer of special nail foil glue. Wait for the glue to dry. It will typically go from a milky white colour to clear and become very tacky to the touch.
- Press and Peel: Cut a small piece of the silver transfer foil. Press it firmly onto the tacky area of the nail, with the shiny side facing up. Rub it with your finger or a silicone tool to ensure the foil transfers properly. Then, quickly and firmly peel the foil backing off. The silver pattern will be left behind on the nail.
- Protect Your Art: As with other methods, sealing your design is crucial. Apply a generous layer of top coat to protect the fragile foil and give your manicure a smooth, glossy finish.