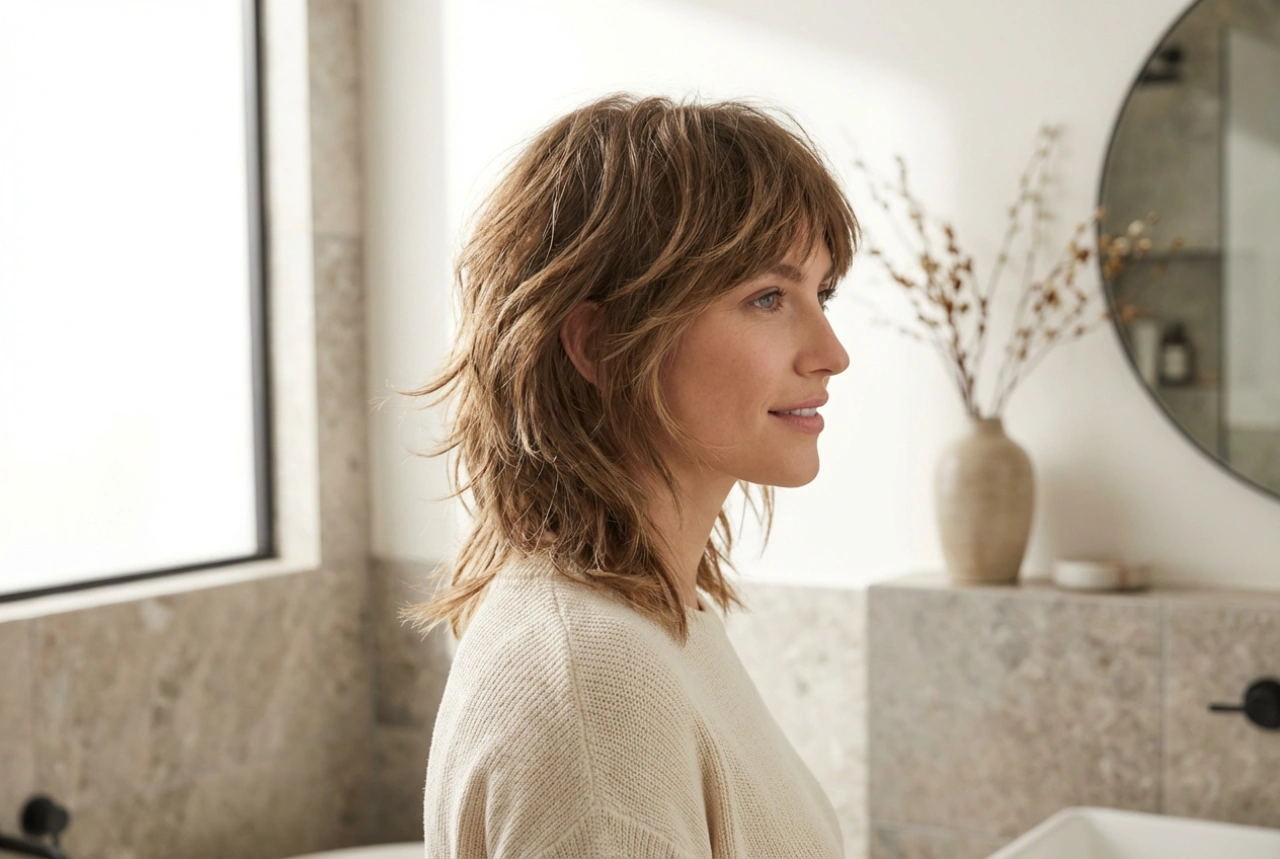


Achieving that fresh-from-the-salon look at home often seems like an impossible task, but much of the magic lies in the tools and techniques used. A high-quality, professional-grade hairdryer is one of the cornerstones of great hair styling. Unlike standard consumer models, these powerful tools offer features that protect your hair while delivering superior results. Understanding how to wield this tool correctly can transform your daily routine, giving you smoother, shinier, and more manageable hair.
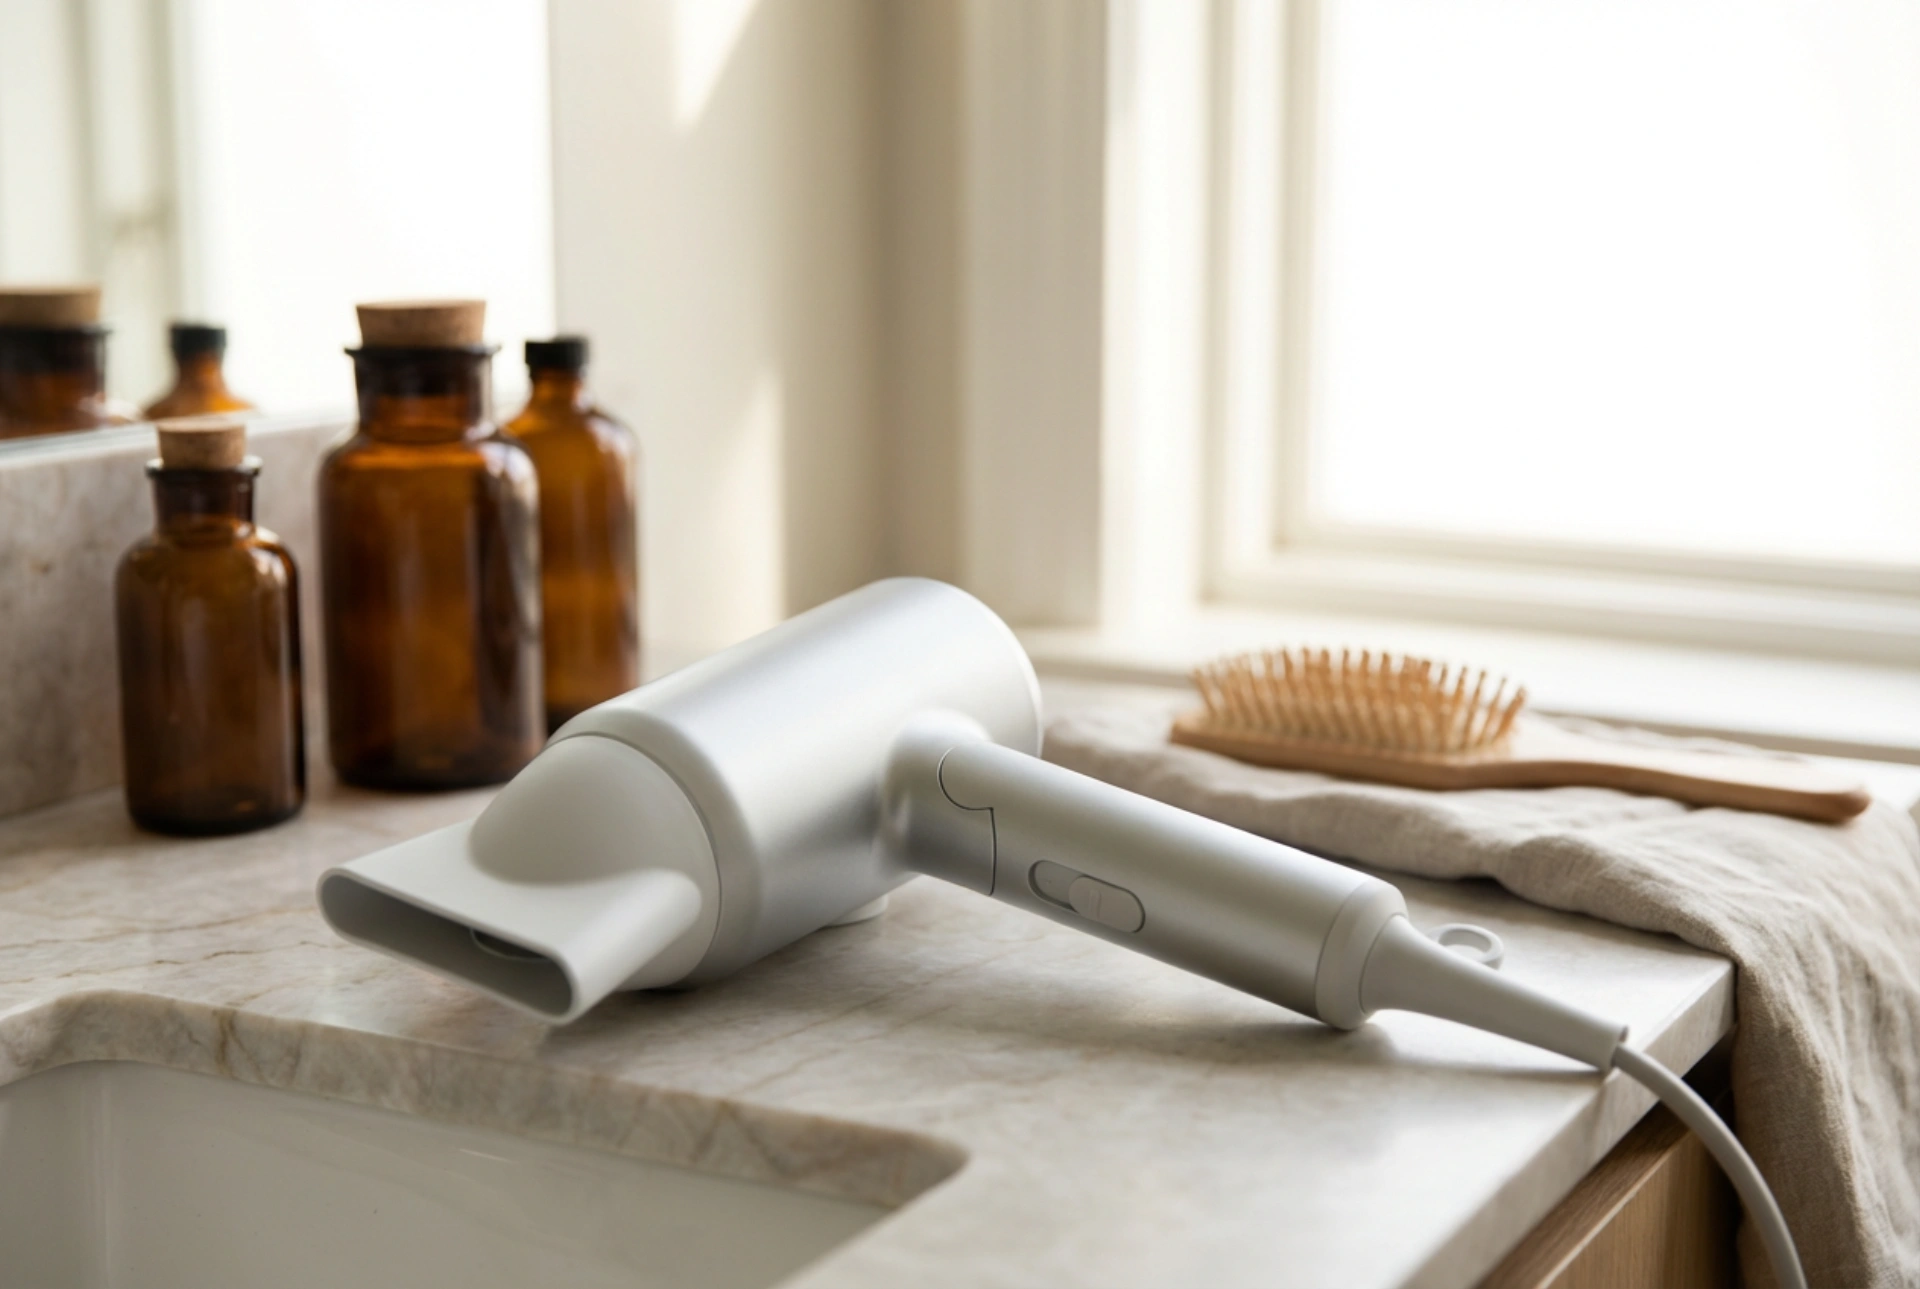
What Makes a Professional Hairdryer Different?
Before diving into the technique, it's helpful to understand what sets a professional hairdryer apart. These are not just about raw power; they incorporate advanced technology and design features for optimal hair health and styling efficiency.
- Higher Wattage and Powerful Motor: Professional dryers have more powerful motors, which means they move more air at a faster rate. This dries hair quicker, reducing the overall time your hair is exposed to heat.
- Advanced Technology: Many salon-quality dryers feature ionic, ceramic, or tourmaline technology. Ionic technology releases negative ions that break down water molecules, leading to faster drying and less frizz. Ceramic and tourmaline components ensure even, consistent heat distribution, preventing 'hot spots' that can damage hair.
- Multiple Heat and Speed Settings: Greater control is key. Professional models offer several heat and speed settings, allowing you to tailor the airflow and temperature to your hair type and the style you're creating.
- The Cool Shot Button: This essential feature delivers a blast of cool air to 'set' your style, close the hair cuticle, and boost shine.
- Essential Attachments: Professional dryers always come with attachments, most commonly a concentrator nozzle for smooth styles and a diffuser for enhancing curls.
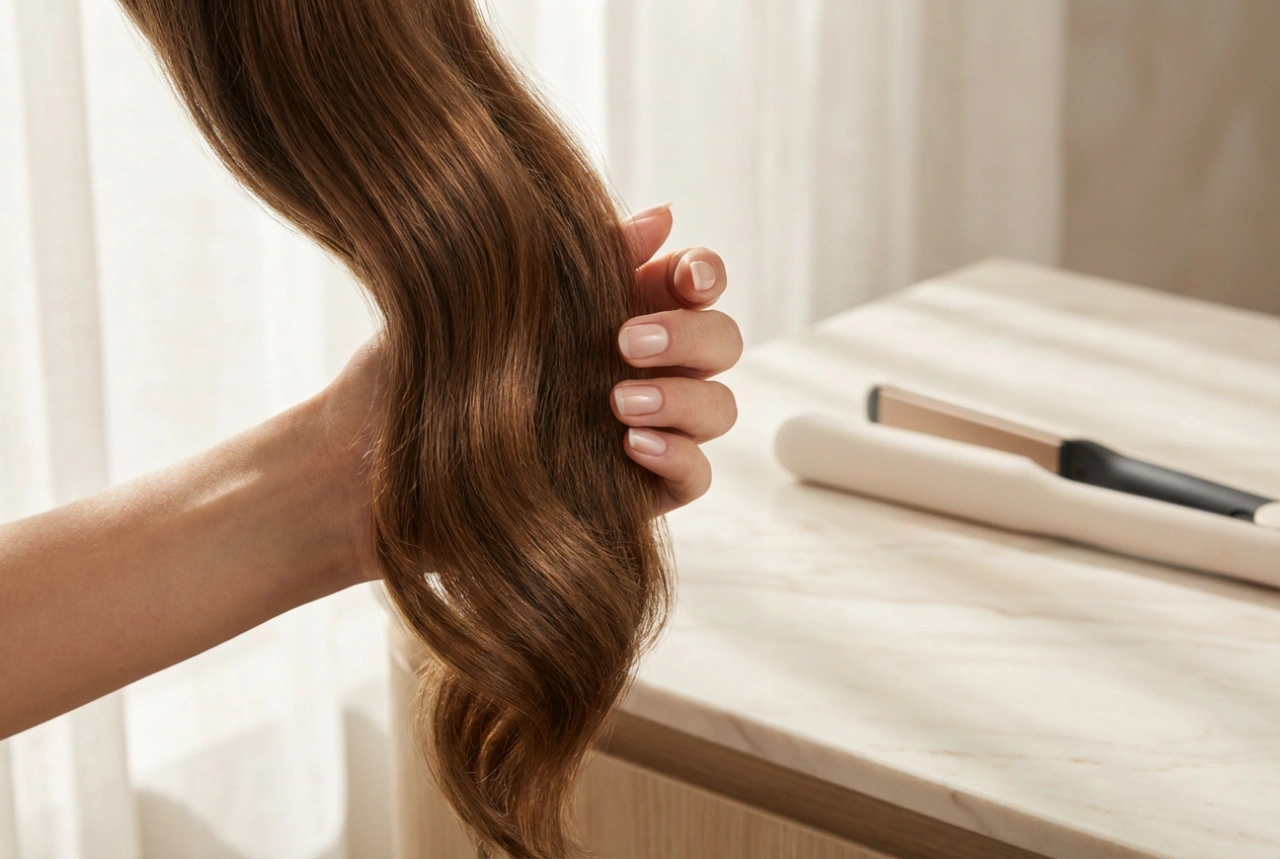
Preparing Your Hair for a Professional Blow-Dry
The perfect blow-dry begins long before you even switch the dryer on. Proper preparation is crucial for protecting your hair and achieving the best possible finish.
Step 1: Start with Clean, Damp Hair
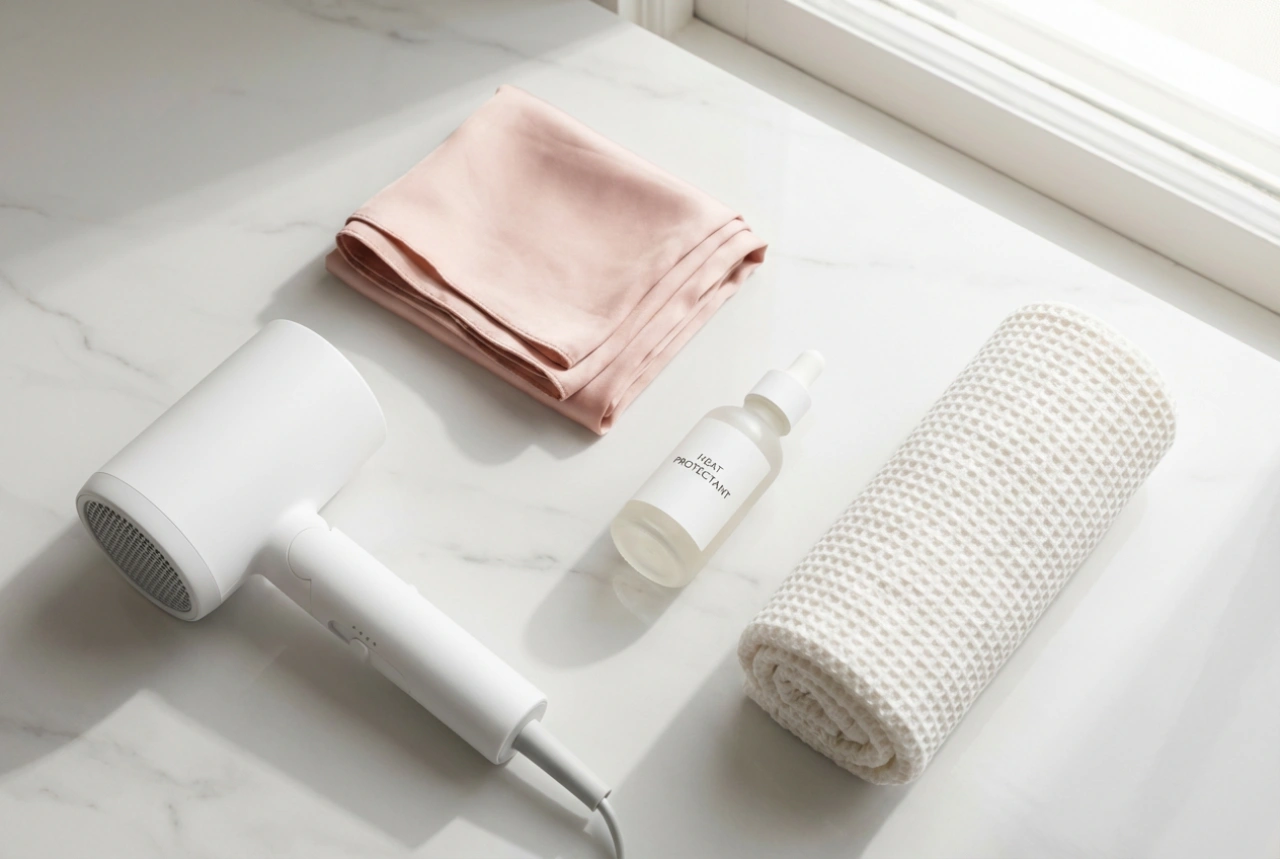
For best results, work with freshly washed and conditioned hair. After washing, gently squeeze out excess water with your hands, then blot your hair with a soft towel or a microfibre turban. Avoid vigorously rubbing your hair with the towel, as this can rough up the cuticle and create frizz.
Step 2: Apply a Heat Protectant
This is a non-negotiable step. A good heat protectant creates a barrier between your hair and the heat, minimising potential damage, preventing moisture loss, and often helping to smooth the hair. Distribute it evenly from roots to ends.
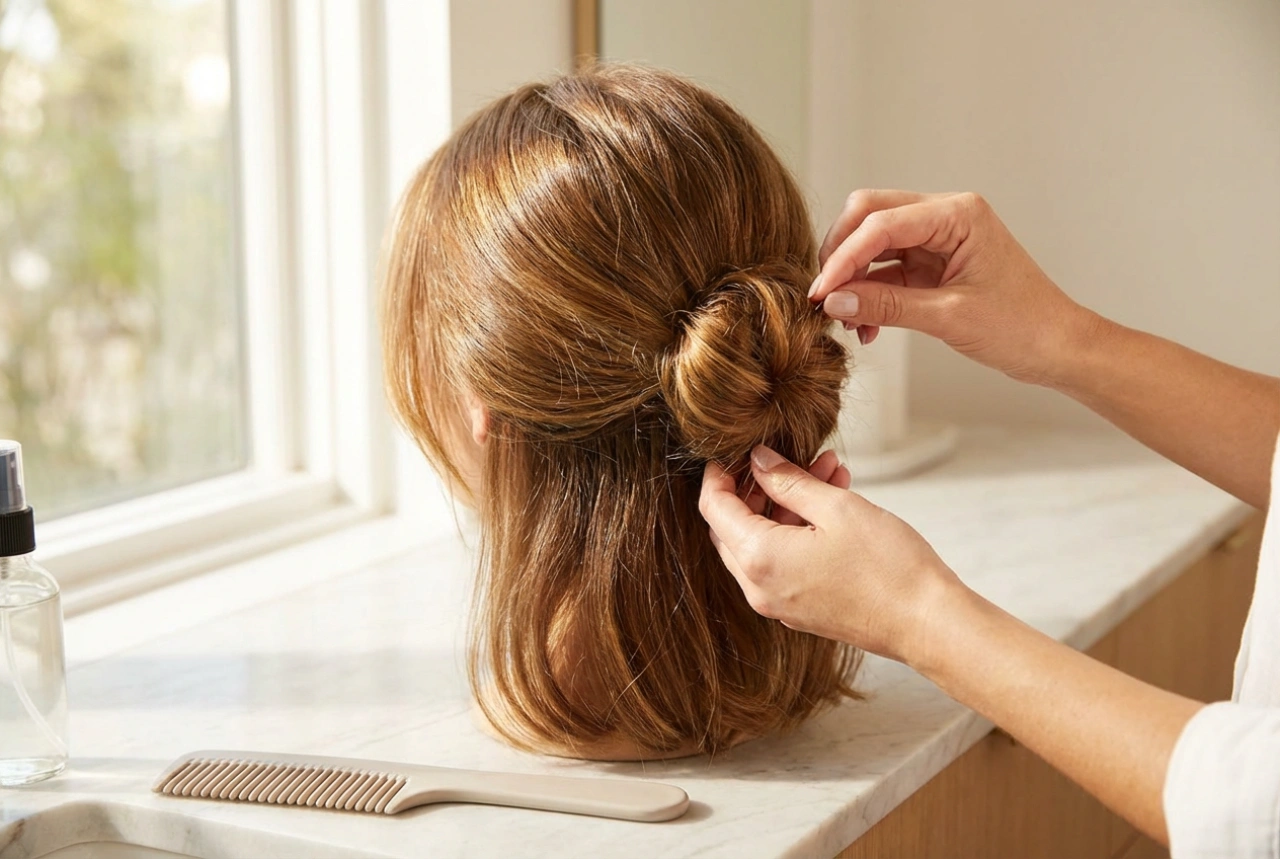
Step 3: Section Your Hair
One of the biggest mistakes people make when drying their hair at home is trying to tackle it all at once. Use clips to divide your hair into at least four to six manageable sections. Working with one small section at a time gives you much more control and ensures every part of your hair is dried properly.
The Step-by-Step Blow-Drying Technique
With your hair prepped and sectioned, you're ready to start drying. This method focuses on creating a smooth, sleek finish.
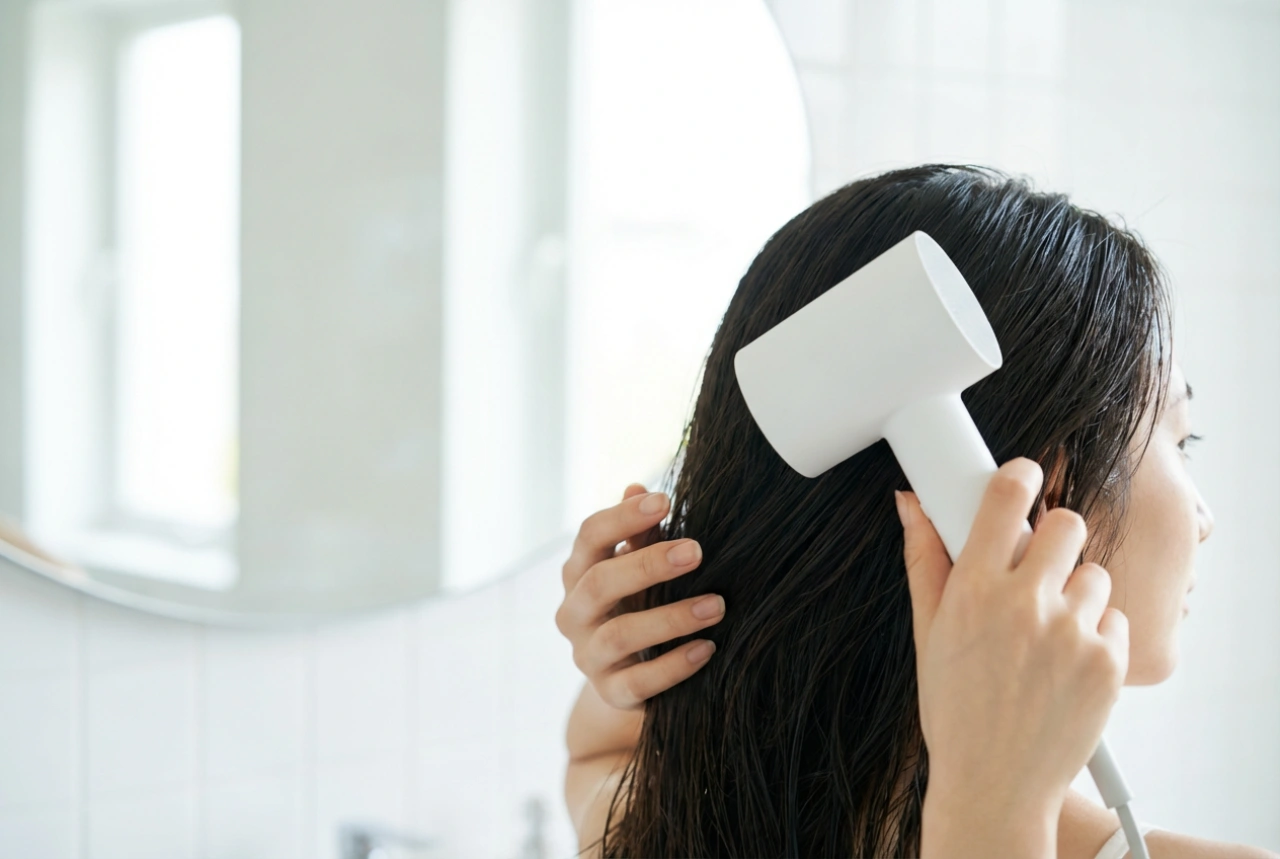
- Rough-Dry First: Begin by using the hairdryer without a nozzle to 'rough-dry' your hair until it's about 80% dry. Use your fingers to lift the roots and move the hair around. This speeds up the process significantly.
- Attach the Concentrator Nozzle: This attachment is key for a smooth finish. It funnels the airflow into a concentrated stream, giving you precision and control.
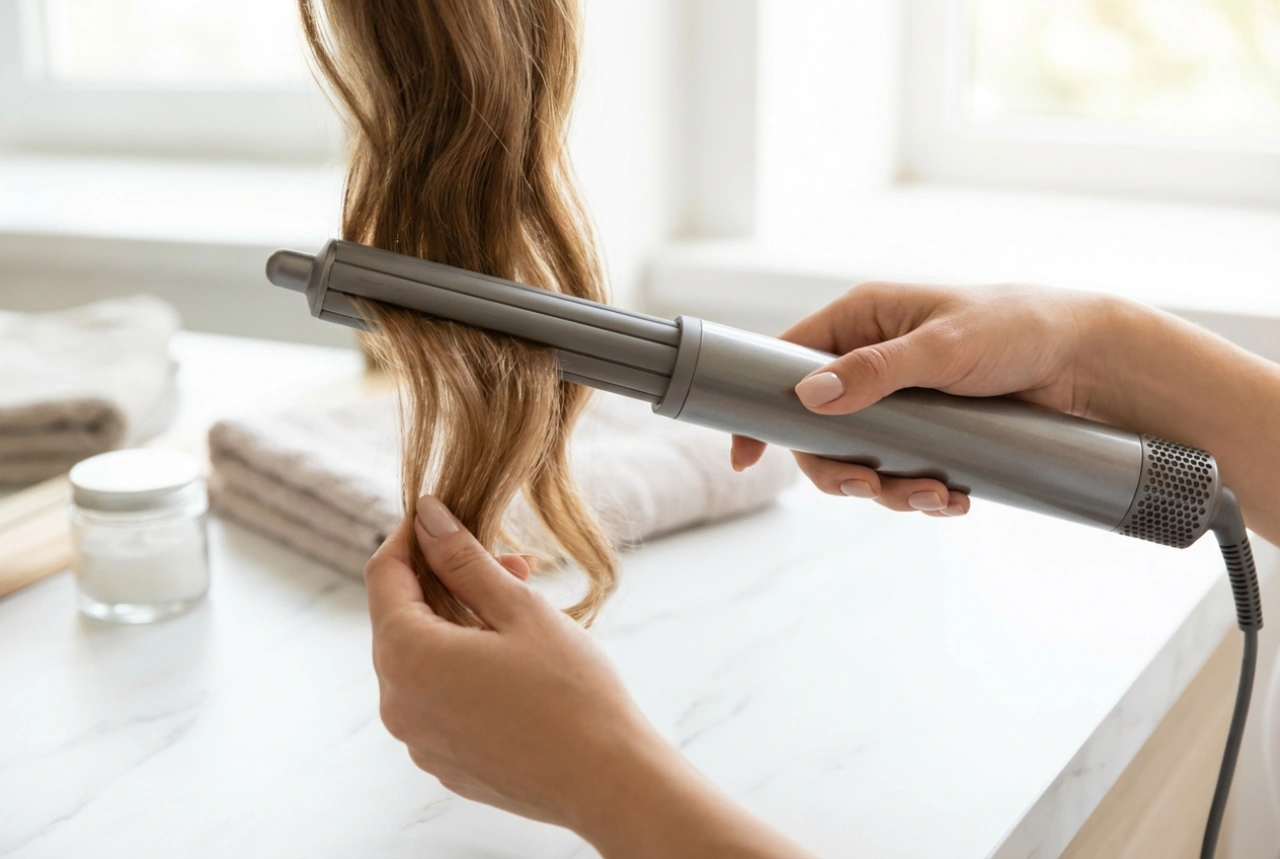
- Work from the Bottom Up: Unclip one of the bottom sections of your hair. Using a round brush, place it at the roots of the section.
- The Correct Motion: Aim the hairdryer's nozzle downwards, following the brush as you pull it through the hair from root to tip. This downward airflow helps to smooth the hair's cuticle, which is what creates shine and eliminates frizz. Keep the dryer moving continuously and maintain a safe distance from your hair.
- Create Tension for Smoothness: Maintain gentle tension on the hair with your brush as you dry. This helps to straighten and smooth each strand effectively. For volume at the roots, pull the hair upwards with the brush as you apply heat.
- Use the Cool Shot: Once a section is completely dry and smooth, go over it one last time with a blast from the cool shot button. This will lock the style in place and give an extra boost of shine.
- Repeat for All Sections: Continue this process, section by section, until all your hair is dry.
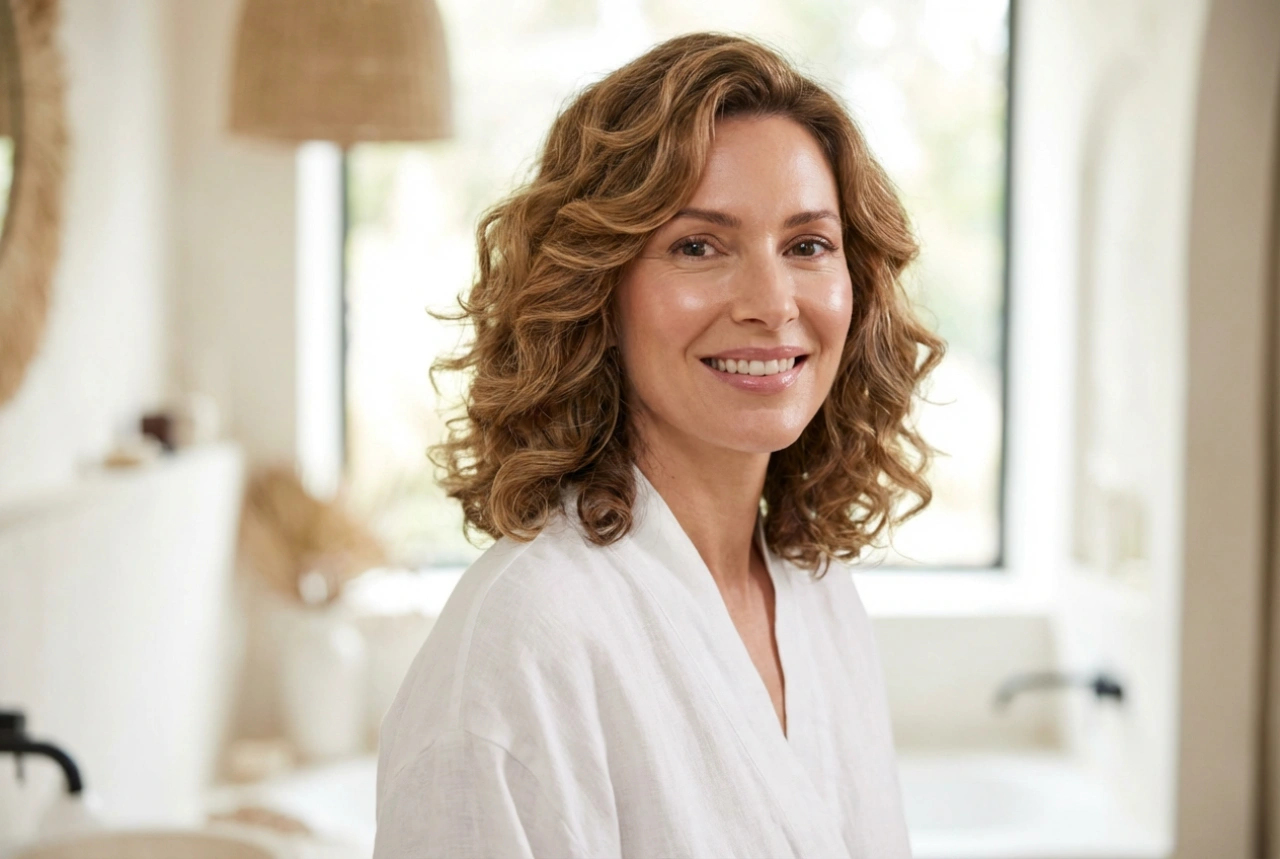
Mastering the Diffuser for Curls and Waves
If you have naturally curly or wavy hair and want to enhance your texture rather than smooth it, the diffuser attachment is your best friend.
A diffuser disperses the airflow over a wider area, which is much gentler on curls. To use it, set your hairdryer to a low speed and low or medium heat. Tip your head to the side or upside down and gently 'cup' sections of your hair in the diffuser bowl, bringing it up towards the scalp. Hold it there for a few seconds before moving to the next section. This technique encourages curl formation without causing frizz. Avoid touching your hair with your fingers as much as possible while it dries.