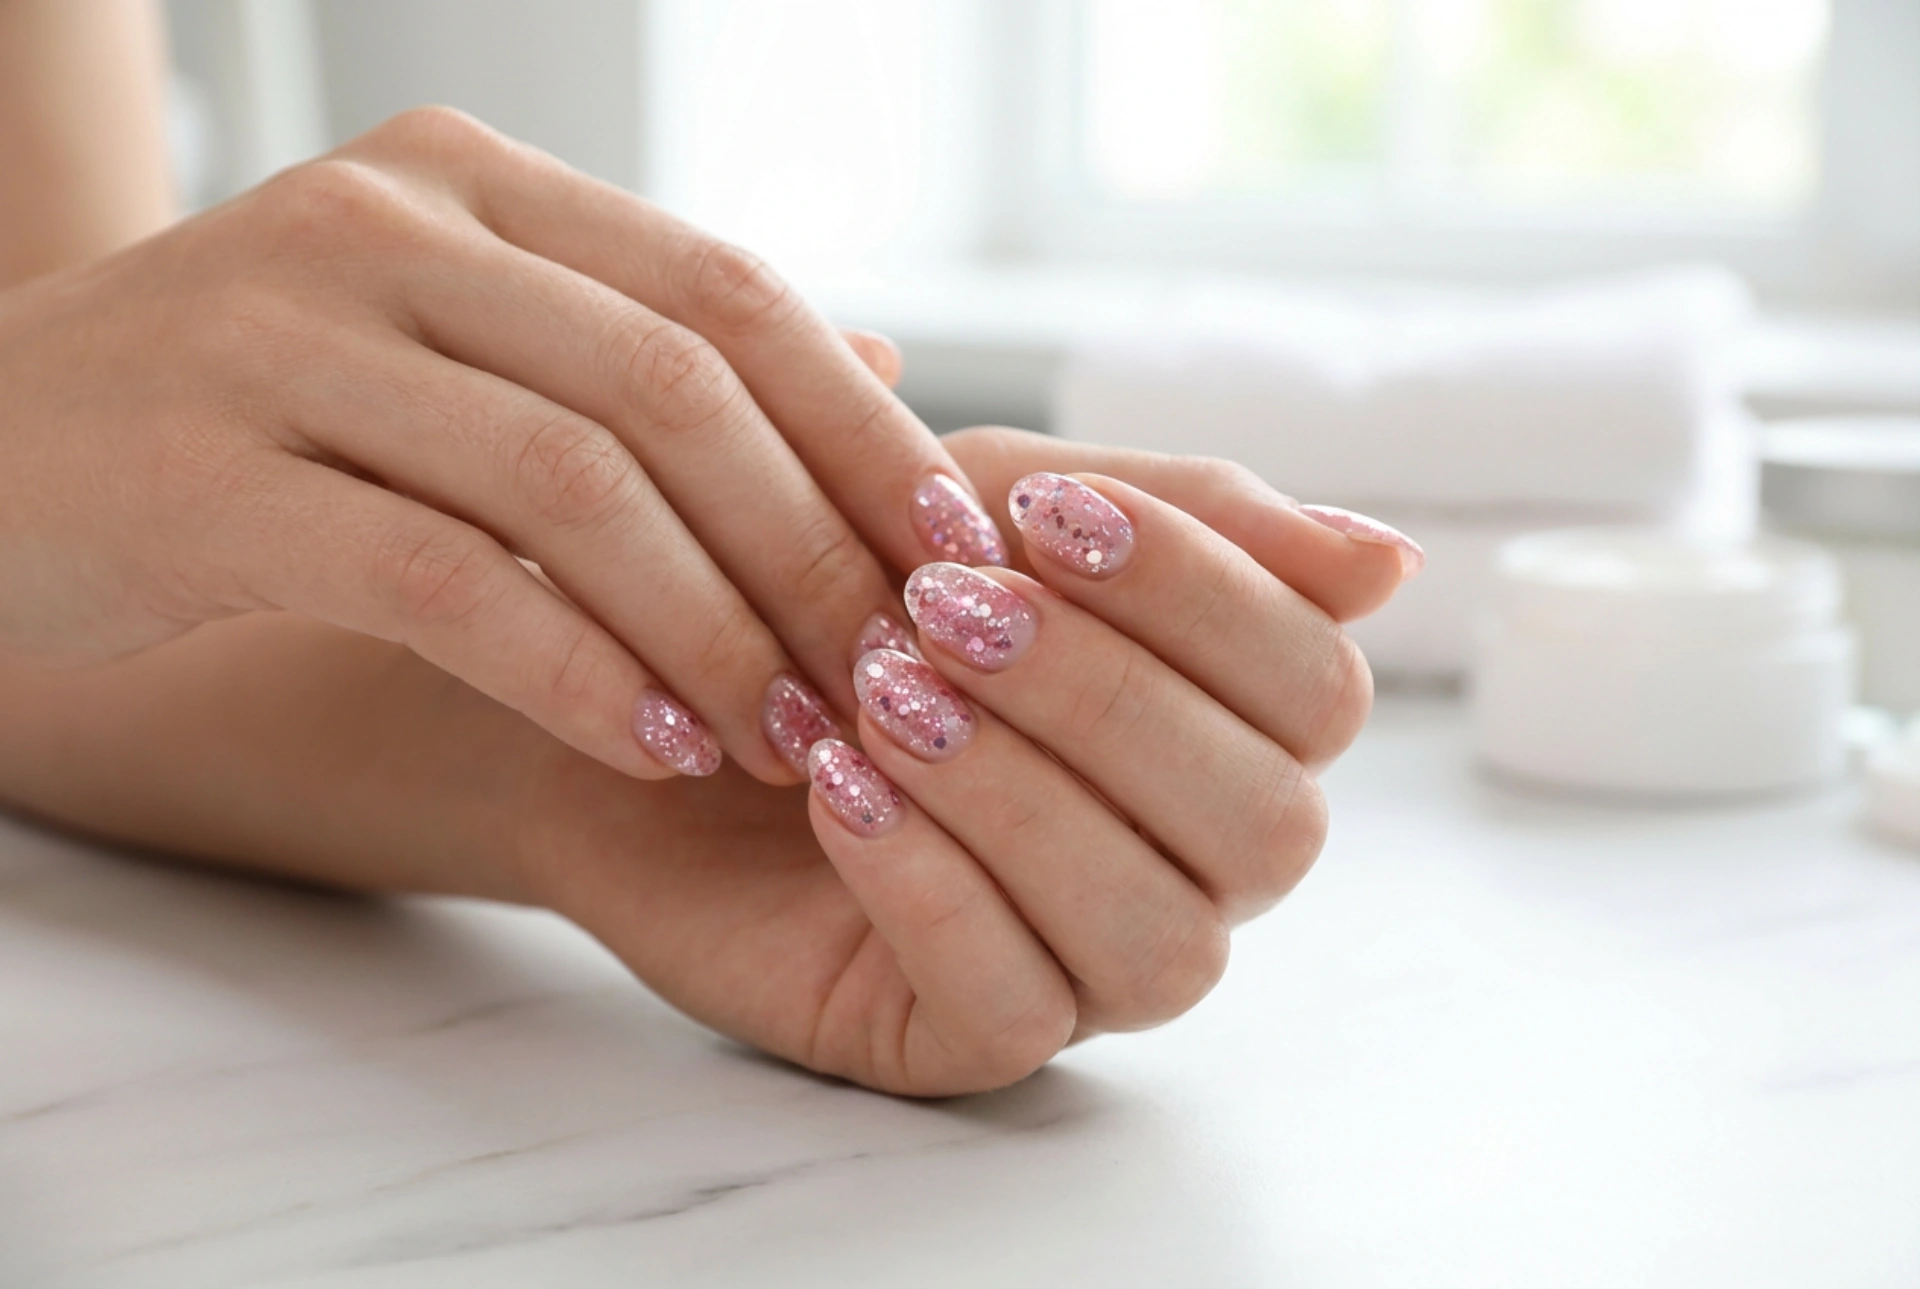


A beautifully executed manicure can be a true expression of personal style, and nothing adds a touch of glamour quite like glitter. Pink glitter nails, in particular, offer a versatile look that can range from subtly sweet to boldly dazzling. The key to a stunning result lies in selecting the right type of glitter and using the correct application techniques to achieve a flawless, brilliant shine. Whether you're a beginner or looking to perfect your skills, understanding the nuances of glitter application will elevate your nail art game.
Choosing the Perfect Pink Glitter
The world of pink glitter is vast, with countless shades and particle sizes to choose from. The first step is to decide on the overall effect you wish to create. Consider the shade of pink—from soft baby pinks and delicate rose golds to vibrant fuchsias and magentas. The undertone of the pink can complement your skin tone and coordinate with your wardrobe.
Particle Size and Shape
The size of the glitter particles dramatically impacts the final look:
- Fine Glitter Dust: This type of glitter creates a smooth, almost metallic sheen. It’s perfect for a sophisticated, uniform sparkle that catches the light delicately. It can be burnished into a tacky layer for a chrome-like effect.
- Standard Glitter: These are the most common hexagonal or round particles. They provide a classic, noticeable sparkle and are versatile enough for full coverage or accent nails.
- Chunky Glitter: Larger pieces, often in mixed shapes and sizes, create a bold, multi-dimensional, and textured look. They are ideal for statement nails and require a bit more skill to apply evenly.
Combining different sizes of glitter can also produce a unique and captivating depth, making your manicure truly stand out.
Essential Preparation for a Flawless Finish
Proper preparation is the foundation of any long-lasting manicure. Before you even think about glitter, your nails must be clean, shaped, and smooth. Start by removing any old polish. Gently push back your cuticles and file your nails to your desired shape. Lightly buff the surface of the nail plate to create a slightly rough texture, which helps the base coat and polish adhere better. Finally, wipe each nail with a cleanser or alcohol to remove any oils and debris. Applying a quality base coat is a non-negotiable step; it protects your natural nails from staining and provides a smooth, even canvas for your colour and glitter.
Application Techniques for Maximum Sparkle
There are several methods to apply glitter, depending on whether you're using a pre-mixed glitter polish or loose glitter particles.
Using Glitter Nail Polish
The simplest method is to use a nail polish that already contains glitter. For a sheer wash of sparkle, one or two thin coats will suffice. For an opaque, high-impact look, use a sponging technique. Apply the glitter polish to a small makeup sponge and dab it onto the nail. This method absorbs some of the clear base, depositing a denser concentration of glitter particles for full coverage.
Applying Loose Glitter
Working with loose glitter offers more control over the density and placement. One popular method is the 'sprinkling' technique. Apply a coat of coloured polish or a clear base, and while it's still wet, sprinkle the loose glitter over the nail. Gently press the glitter down with a finger or a soft brush to set it. Another technique involves mixing loose glitter directly into a clear top coat on a palette and then painting it onto the nail. This gives you a custom glitter polish with the exact density you desire.
Sealing the Deal with a Top Coat
A top coat is crucial for a glitter manicure. It not only adds an extra layer of brilliant shine but also smooths out the often-gritty texture of the glitter, creating a sleek, professional finish. For chunky glitter, you may need two layers of a good quality, thick top coat to fully encapsulate the particles and prevent them from snagging on clothing. The top coat also acts as a protective shield, preventing the glitter from chipping and ensuring your sparkling manicure lasts as long as possible. Allow it to dry completely to avoid smudges and enjoy your dazzling nails.


