


A hybrid manicure is a fantastic way to enjoy flawless, glossy nails for weeks without chipping. Its durability and high-shine finish have made it a favourite choice for many. While often associated with salon visits, achieving a beautiful hybrid manicure at home is entirely possible with the right technique and a bit of practice. This guide will walk you through every step of the process, from preparing your nails to safely removing the polish, ensuring your hands always look elegant and well-cared for.
Preparing Your Nails for a Hybrid Manicure
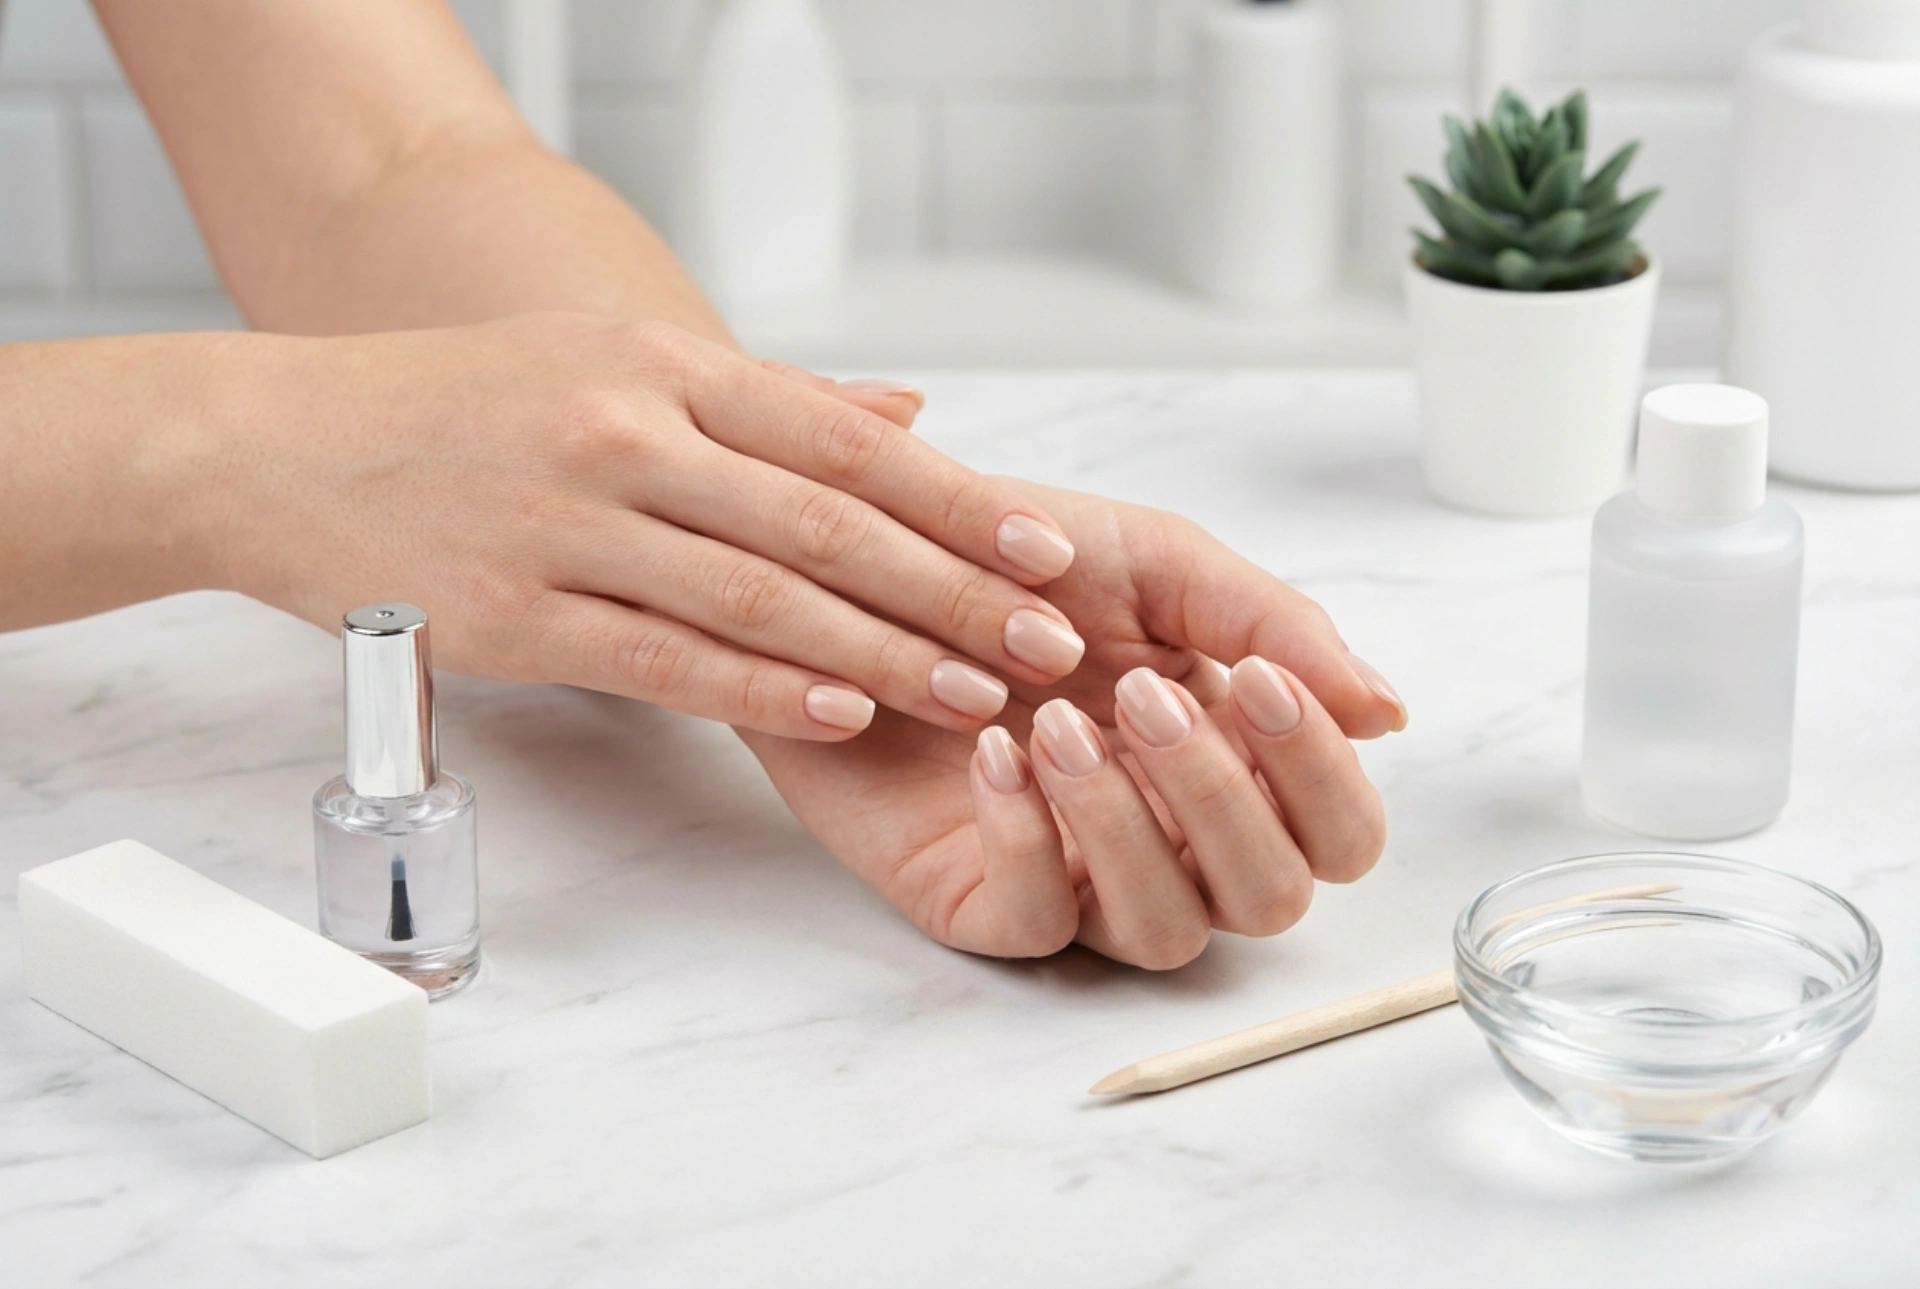
Proper preparation is the cornerstone of a long-lasting and professional-looking hybrid manicure. Skipping these initial steps can lead to lifting, peeling, and a shorter lifespan for your beautiful nails. Dedicate enough time to this stage to create the perfect canvas.
Shaping and Cuticle Care
Start by removing any old polish. Next, shape your nails to your desired length and form using a gentle nail file. Always file in one direction to prevent splitting. Once you are happy with the shape, it's time to address your cuticles. Apply a cuticle remover and gently push them back using a wooden stick or a cuticle pusher. Avoid cutting your cuticles, as they act as a natural barrier against bacteria. If there are any hangnails, you can carefully trim them with a nipper.
Buffing and Cleansing the Nail Plate
After managing the cuticles, gently buff the entire surface of each nail plate with a fine-grit buffer block. The goal is not to thin the nail, but to remove the natural shine and create a slightly rough surface for the polish to adhere to. This step is crucial for preventing the hybrid polish from lifting. Once all nails are buffed, use a dust-free wipe or a soft brush to remove all the dust. Finally, cleanse each nail thoroughly with a special cleaner or dehydrator on a lint-free pad. This removes any remaining oils and moisture, ensuring maximum adhesion.
The Application Process: Step by Step
With your nails perfectly prepped, you're ready for the application. Work on one hand at a time, and remember that thin, even coats are the key to success. You will need a UV/LED lamp to cure each layer of polish.
Applying the Base Coat
The base coat is a vital layer that protects your natural nail and provides a sticky surface for the colour to grab onto. Apply a very thin, even layer of the hybrid base coat, making sure to cover the entire nail surface but avoiding contact with your skin and cuticles. A common technique is to 'cap' the free edge of the nail by running the brush along the tip. This helps to prevent chipping. Cure the base coat under your UV/LED lamp according to the product's instructions (typically 30-60 seconds for an LED lamp).
Applying the Colour Coats
Now for the fun part – the colour. Apply a thin layer of your chosen hybrid colour polish. Again, avoid flooding your cuticles. If you get any polish on your skin, clean it up with a small brush dipped in cleaner before curing. Curing with polish on the skin can lead to lifting and potential skin sensitivities. Cure the first colour coat under the lamp. Most colours require two coats for full opacity. Apply the second coat just as thinly as the first and cure it again. Some very light or sheer shades might even benefit from a third thin coat.
Finishing with the Top Coat
The top coat is what gives your manicure its signature high-gloss shine and durable, scratch-resistant finish. Apply a slightly thicker layer than the colour coats, ensuring you cover the entire nail and cap the free edge. This final layer seals in the colour and protects it from daily wear and tear. Cure the top coat under the lamp for the recommended time, which is often slightly longer than for the colour coats. After curing, most hybrid top coats leave a sticky or tacky 'inhibition layer'. Simply wipe this away with a lint-free pad soaked in a high-purity cleanser to reveal the hard, glossy finish beneath.
Tips for a Long-Lasting Manicure
To keep your hybrid manicure looking perfect for as long as possible, a little aftercare goes a long way. Follow these simple tips to protect your nails and extend the life of your manicure.
- Wear protective gloves when doing household chores, washing dishes, or gardening. Harsh chemicals and prolonged water exposure can weaken the bond of the polish.
- Apply cuticle oil daily. Hydrated cuticles not only look better but also help to maintain the health of your nail bed and prevent the skin around your nails from drying and pulling away.
- Avoid using your nails as tools to open cans, scrape labels, or type aggressively. Treat them with care to prevent chipping and breaking.
- If a small chip does occur, you can gently file it smooth and apply a thin layer of top coat over the area, curing it to seal the edge and prevent further damage.
Safe Removal of a Hybrid Manicure
When it's time for a change, it's crucial to remove your hybrid manicure correctly to avoid damaging your natural nails. Never pick, peel, or force the polish off, as this can strip away layers of your nail plate, leaving them weak and brittle.
Breaking the Seal
Start by gently filing the surface of the top coat with a 100/180 grit file. You don't need to file all the way down to the natural nail. The goal is simply to break the seal of the durable top coat, which allows the remover to penetrate the layers of colour beneath.
Soaking the Polish
Soak a cotton pad (a small piece is sufficient) in a dedicated hybrid polish remover. Place the soaked cotton directly onto your nail plate and wrap your fingertip tightly in a piece of aluminium foil. The foil traps heat and prevents the remover from evaporating, making the process more effective. Repeat for all nails and let them soak for about 10-15 minutes.
Gently Removing the Polish
After the soaking time, unwrap one finger. The polish should look crinkled and lifted. Use a wooden stick or a gentle cuticle pusher to carefully scrape the softened polish off the nail. If it doesn't come off easily, do not force it. Instead, re-wrap the nail and let it soak for a few more minutes. Once all the polish is removed, you can lightly buff the nail surface to smooth out any remaining residue.
Post-Removal Nail Care
The removal process can be dehydrating for your nails and skin. After all the polish is gone, wash your hands and generously apply a nourishing cuticle oil to your nails and the surrounding skin. It's also a good idea to apply a strengthening nail treatment and give your nails a break for a day or two before your next manicure to allow them to rehydrate fully.


