


Creating beautiful, flowing waves can transform your look, adding texture and volume that exudes effortless elegance. While it may seem like a style reserved for salon visits, achieving perfect waves at home is entirely possible with the right tool and technique. A hair waver is specifically designed for this purpose, creating uniform waves with ease. Mastering its use involves a few key steps, from preparing your hair correctly to understanding the nuances of sectioning and timing. This guide will walk you through the process, ensuring you get stunning, long-lasting results every time.
Preparing Your Hair for Styling
Proper preparation is the foundation of any successful heat-styled look. It not only helps the style last longer but also protects your hair from potential damage. Before you even plug in your waver, follow these essential preliminary steps.
Start with Clean, Dry Hair
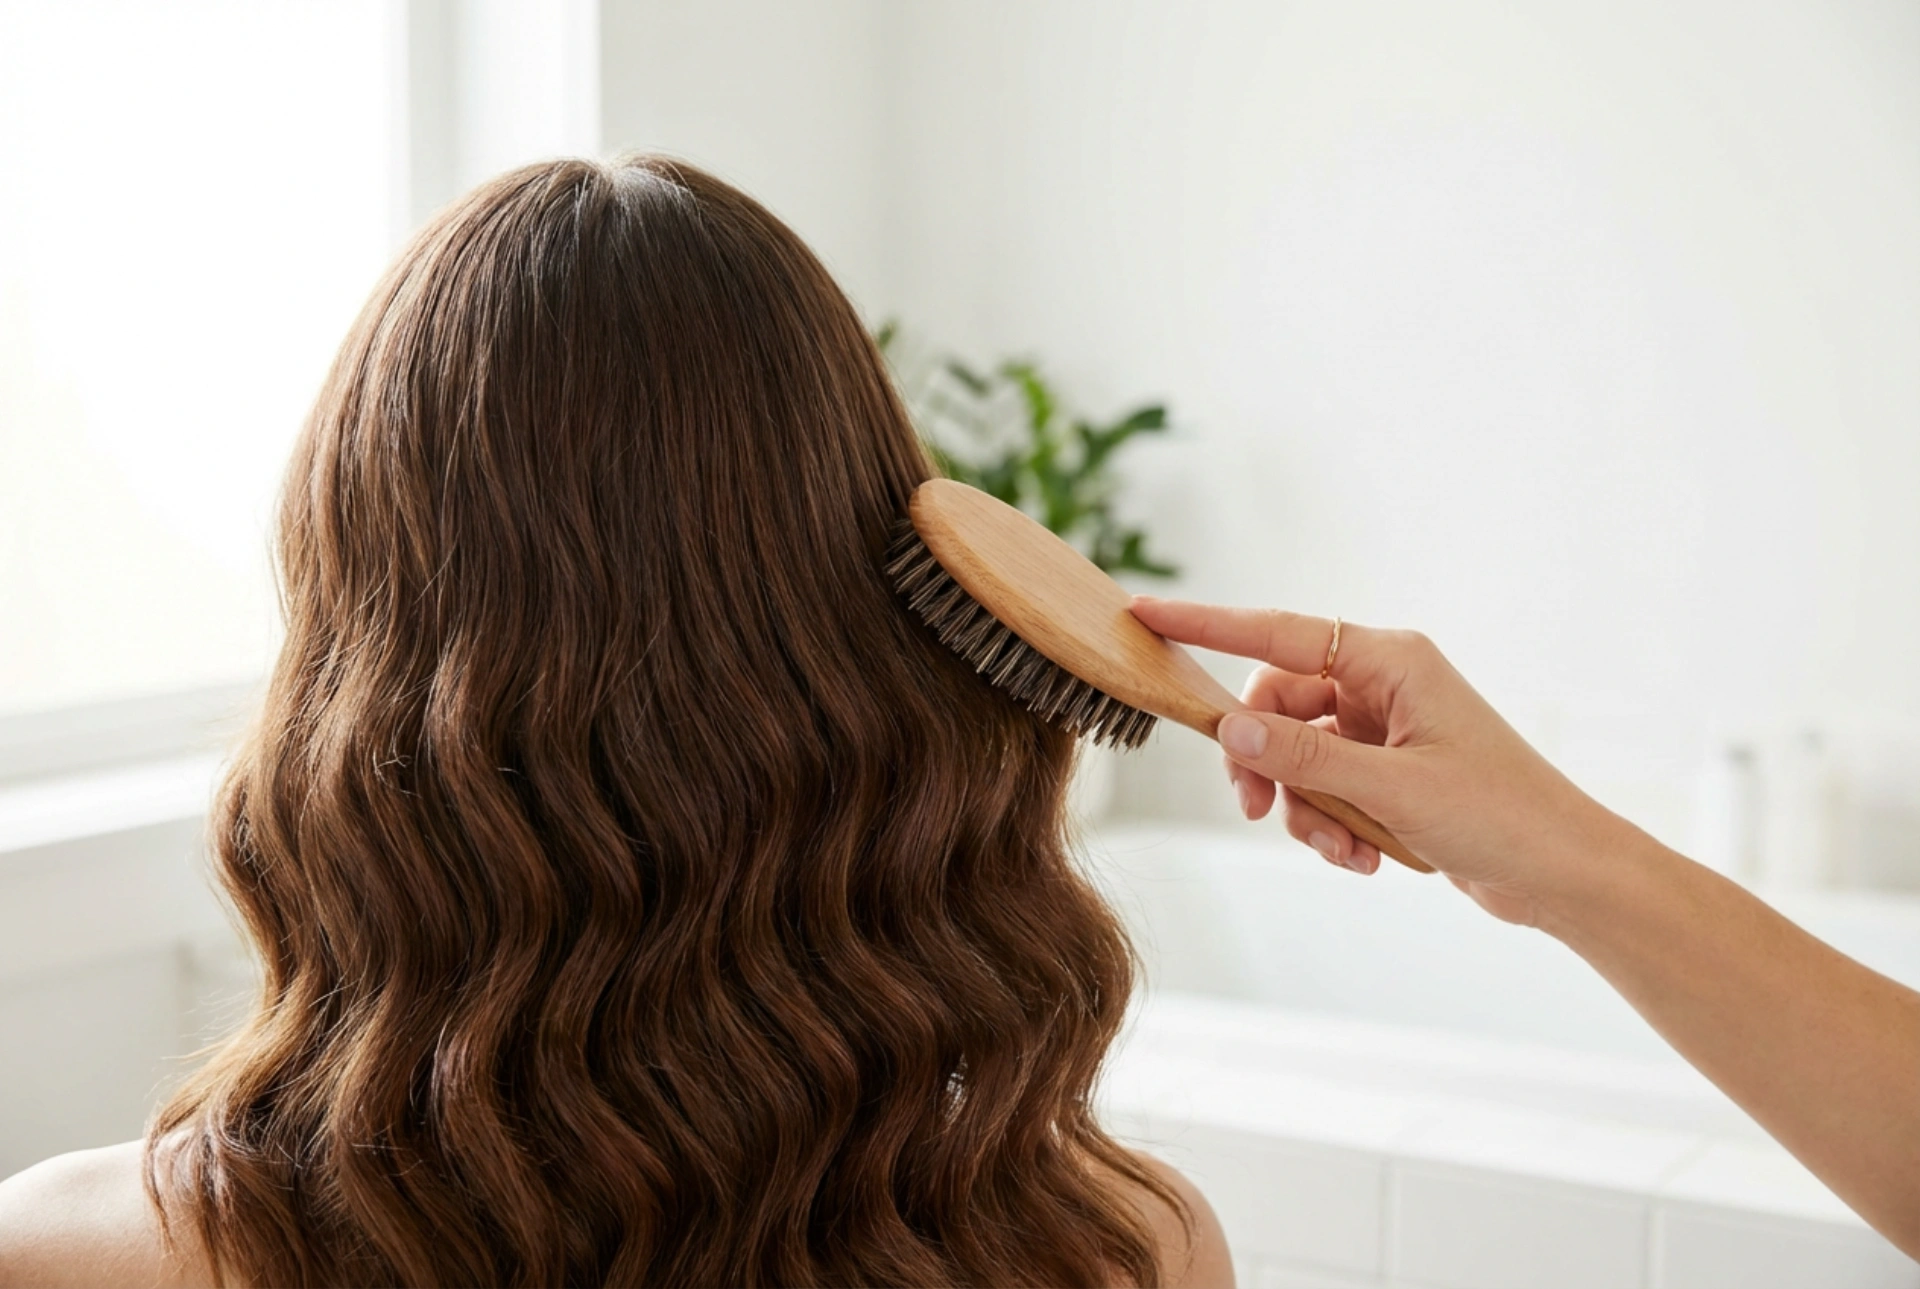
For the best results, always work with hair that is 100% dry. Using a heat tool on damp hair can cause significant damage as the water inside the hair shaft turns to steam. It's best to style on freshly washed and dried hair, or at the very least, hair that is free from any residual moisture. Make sure you have brushed it thoroughly to remove any knots or tangles, which will allow the waver to glide smoothly through each section.
Apply a Heat Protectant
This is a non-negotiable step. A quality heat protectant spray creates a barrier between your hair and the high temperatures of the waver. It helps to minimise moisture loss and reduce the risk of breakage and split ends. Spray it evenly throughout your hair, from roots to ends, and comb it through to ensure every strand is coated. Allow it a moment to settle before you begin styling.
The Art of Sectioning for Even Waves
Sectioning your hair might feel like an extra step, but it is the secret to achieving a professional, uniform finish. Working with smaller, more manageable sections ensures that heat is distributed evenly, resulting in consistent waves from top to bottom. It also prevents you from missing spots and makes the entire process quicker and less frustrating.
How to Section Your Hair
A simple and effective method is to divide your hair into manageable parts. Use clips to keep the hair you aren't currently working on out of the way.
- Initial Division: Start by parting your hair as you would normally wear it. Then, divide your hair horizontally into at least two main sections: a top section and a bottom section. Clip the top section up securely.
- Work in Sub-sections: Begin with the bottom layer. Take a horizontal sub-section of hair that is roughly 1-2 inches wide. The width of the strand you work with will influence the final look.
- Strand Width Matters: For tighter, more defined waves, use narrower sections of hair. For looser, more relaxed beach waves, you can take slightly wider sections. Experiment to find the look you prefer.
Mastering the Clamping Technique
With your hair prepped and sectioned, it’s time to use the waver. The key here is control—control over the temperature, the timing, and your movement down the hair strand.
Choosing the Right Temperature
Most hair wavers come with adjustable temperature settings. It's crucial to select a heat level that is appropriate for your hair type. Fine, thin, or colour-treated hair is more vulnerable to heat, so start with a lower temperature setting. For thick, coarse, or hard-to-style hair, a higher temperature may be necessary to set the wave. If you're unsure, always begin with a lower heat and increase it only if you find the waves are not holding.
Clamping and Timing
Take your first section of hair. Starting near the roots (but not so close you risk touching your scalp), place the hair between the barrels of the waver and clamp down firmly. The amount of time you hold the clamp is critical.
- Holding Time: As a general rule, hold the waver in place for 5-10 seconds. The exact duration will depend on your hair type and the temperature setting.
- Check Your Progress: On your first section, try holding for 5 seconds, release, and check the result. If the wave isn't defined enough, you can increase the time slightly on the next section.
- Move Down the Strand: After releasing the first clamp, move the waver down the hair shaft. To create a seamless, continuous wave pattern, overlap the placement slightly by positioning the top barrel of the waver over the last wave you created. Repeat this process until you reach the ends of the hair.
Finishing Touches for Lasting Style
Once you have waved all sections of your hair, the final steps will lock in your style and give it a polished finish. Resist the temptation to touch your hair immediately. Allowing the waves to cool down completely is essential for setting them in place. Once cool, you can gently run your fingers through the waves to separate them for a softer, more natural look. If you prefer a more voluminous, brushed-out effect, you can use a wide-tooth comb. To ensure your waves last all day, finish with a light mist of a flexible-hold hairspray. This will provide hold without making your hair feel stiff or crunchy.


