


Curls and waves can completely transform your look, adding volume, texture, and a touch of elegance. Whether you desire tight ringlets or soft, flowing waves, mastering the art of heat styling at home is easier than you think. With the right techniques and a few essential tools, you can achieve a beautiful, bouncy hairstyle that looks professionally done. This guide will walk you through the steps to create and set perfect curls using both a curling iron and a straightener.
Preparing Your Hair for Styling
Before you even plug in your styling tool, proper preparation is key to achieving great results and protecting your hair's health. Neglecting this stage can lead to damage and curls that fall flat quickly.
Start with Clean, Dry Hair
It's best to work with hair that is completely dry. Styling damp hair with high-heat tools can cause significant damage. For best results, wash and condition your hair, then blow-dry it thoroughly. If you are not washing your hair on the day of styling, ensure it is free from any heavy product build-up.
Apply a Heat Protectant
This is a non-negotiable step. Heat protectant sprays or creams create a barrier between your hair and the hot tool, minimising moisture loss and reducing the risk of heat damage. Apply it evenly throughout your hair, from roots to ends, and comb it through to ensure full coverage.
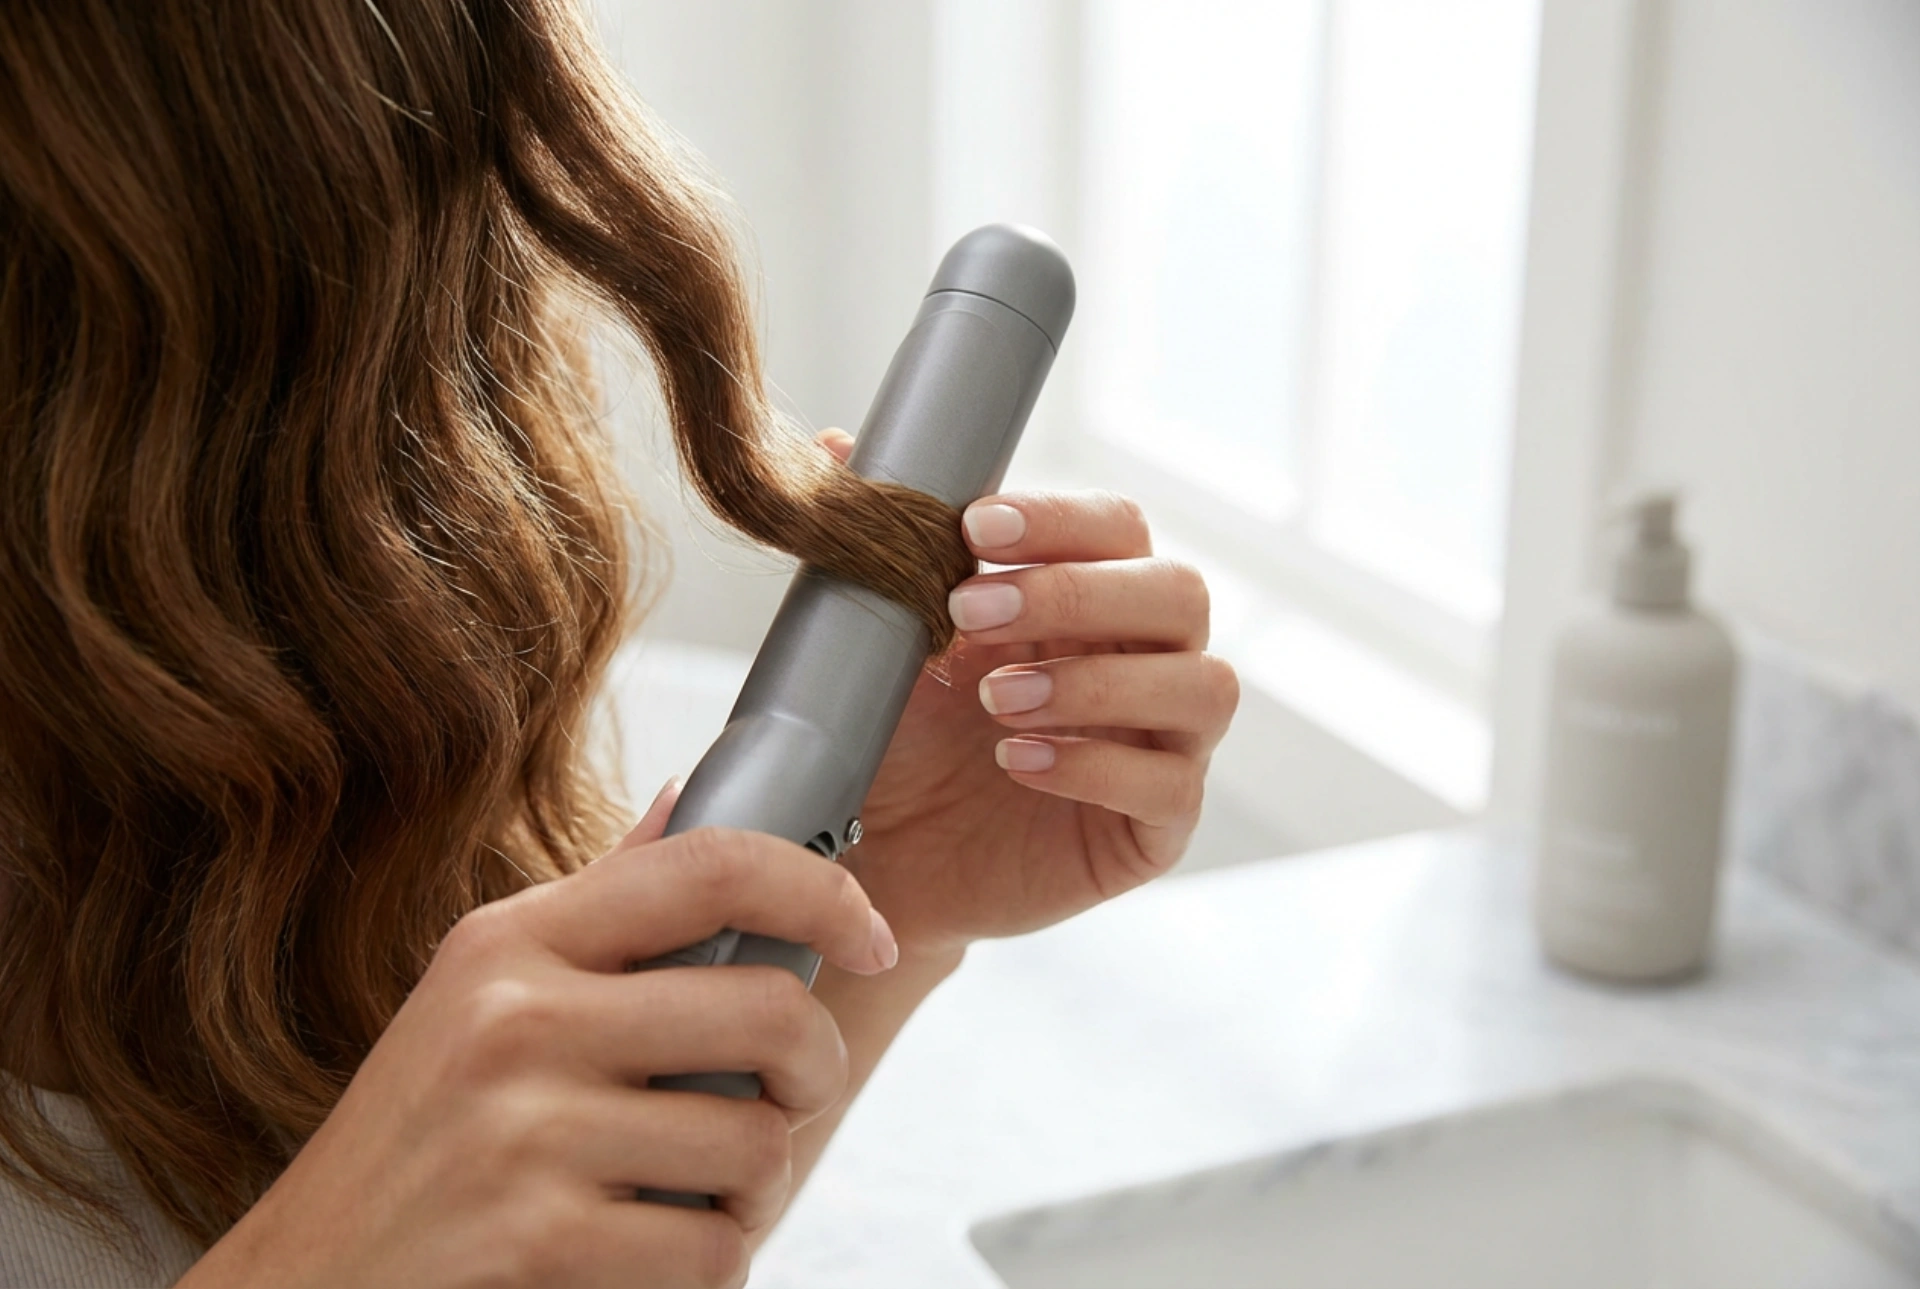
Creating Curls with a Curling Iron
The curling iron is the classic tool for creating a wide variety of curls, from tight spirals to loose, romantic waves. The key is choosing the right tool and mastering the technique.
Choosing the Right Barrel Size
The diameter of the curling iron's barrel determines the size of your curls.
- Small barrel (around 1-2 cm): Ideal for creating tight, defined ringlets.
- Medium barrel (around 2.5-3 cm): A versatile size for creating classic, bouncy curls.
- Large barrel (over 3.5 cm): Perfect for achieving soft, voluminous waves and gentle bends rather than distinct curls.
The Curling Technique
Section your hair to make the process more manageable. Work with small sections, about 2-4 cm wide.
- Open the clamp of the curling iron and place it mid-way down the hair section.
- Gently slide the iron down towards the end of the hair, then begin to wrap the hair around the barrel, moving away from your face for a modern, open look.
- Hold the hair around the barrel for about 5-10 seconds, depending on your hair type and the tool's temperature. Avoid excessive heat to prevent damage.
- Carefully release the clamp and let the curl slide off the barrel.
For a more natural look, alternate the direction of the curls on different sections.
Achieving Waves with a Straightener
While its name suggests otherwise, a hair straightener is an excellent and versatile tool for creating soft, beachy waves and relaxed curls. The technique is slightly different but yields beautiful, modern results.
Why Use a Straightener for Curls?
Using a straightener often results in a less uniform, more 'undone' wave, which is a very popular style. It's also great if you want to travel light and only pack one heat tool. Look for a straightener with rounded edges for the smoothest glide.
The Straightener Wave Technique
As with the curling iron, work in small, manageable sections.
- Clamp the straightener onto a section of hair near the root.
- As you begin to pull the straightener down the hair shaft, rotate it 180 degrees (a half-turn) away from your face.
- Continue to glide the straightener all the way down to the ends of the hair in one smooth motion. The speed at which you pull will affect the tightness of the curl – a slower pull creates a tighter wave.
- Repeat this process for all sections, alternating the direction of the rotation for a more textured finish.
This method requires a bit of practice to perfect the smooth, gliding motion, so don't be discouraged if your first few attempts aren't perfect.
Setting Your Curls for Lasting Hold
Creating the curls is only half the battle; making them last all day is the other. These simple finishing steps will ensure your style has staying power.
Let Them Cool Down
This is the most crucial step for longevity. As each curl comes off the heat tool, either cup it in your hand for a few seconds or clip it to your scalp while it cools. Hair sets in its shape as it cools down, so allowing it to cool in the curled position will dramatically improve its hold.
Break Them Up Gently
Once all your hair is curled and completely cool, it's time to style. Do not use a brush, as this can pull out the curls and create frizz. Instead, gently run your fingers through your hair to separate the curls and create a softer, more blended look. For a wavier style, you can use a wide-tooth comb.
Finish with a Holding Spray
To lock in your style, lightly mist your hair with a flexible or medium-hold hairspray. Hold the can about 20-30 cm away from your head to ensure an even, light coating that won't weigh your hair down or make it feel stiff.
Common Mistakes to Avoid
Achieving the perfect curl can be tricky, and a few common errors can stand in your way. Be mindful of these pitfalls to ensure the best possible results.
- Using too much heat: High temperatures can cause irreversible damage. Start with a lower heat setting and only increase it if necessary. Fine hair requires less heat than coarse hair.
- Taking sections that are too large: Styling large chunks of hair at once leads to uneven heat distribution and curls that fall out quickly. Stick to small, consistent sections.
- Brushing curls while they are still warm: This will undo all your hard work. Always wait until your hair is completely cool before styling.
- Using the wrong products: Heavy creams or serums applied before curling can weigh the hair down. Stick to lightweight heat protectants and finish with a suitable hairspray.


