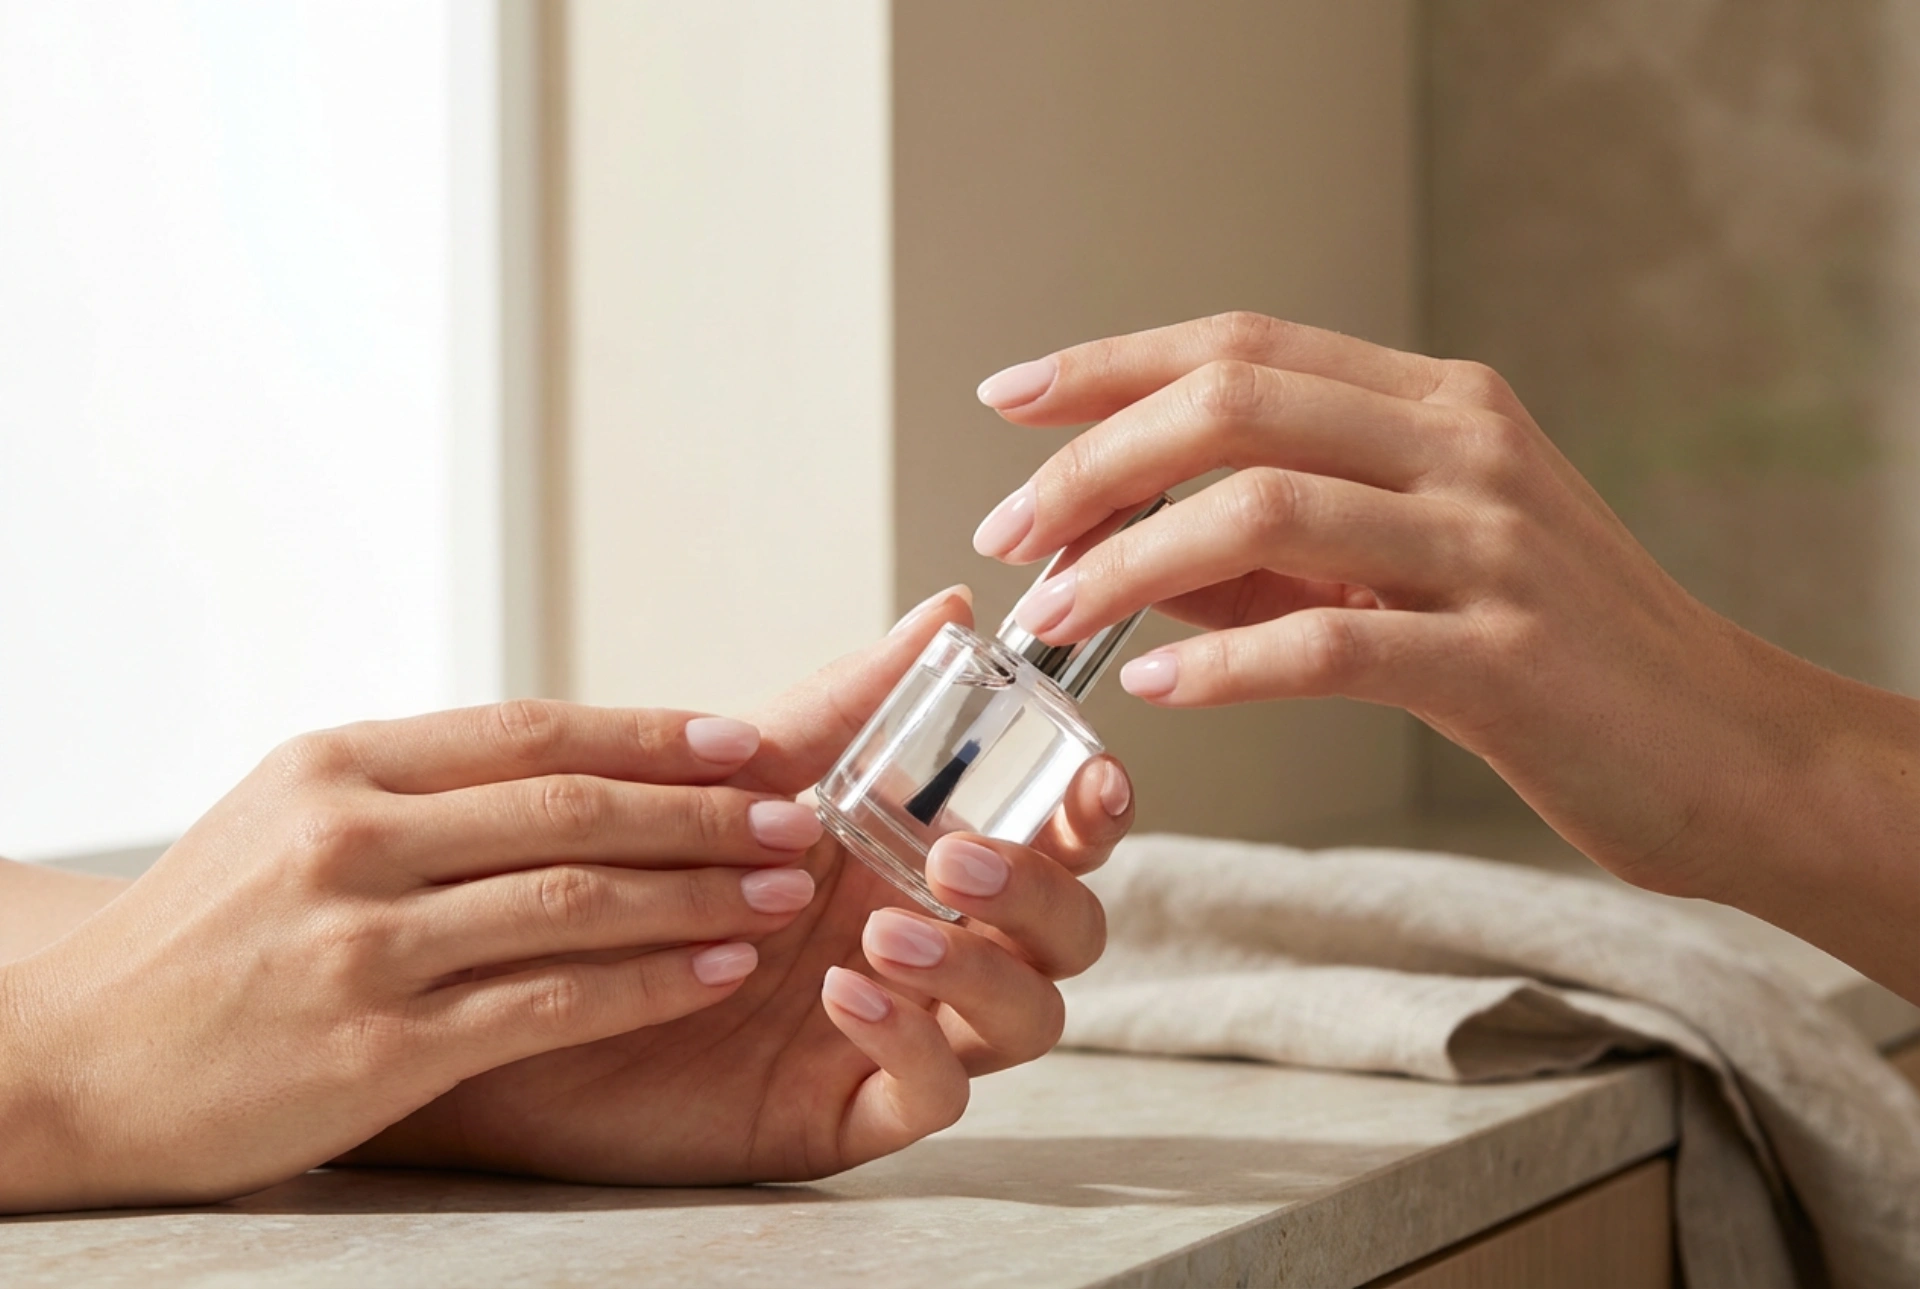


The sight of perfectly manicured, glossy pink nails evokes a sense of timeless elegance and meticulous self-care. A high-shine finish can transform a simple pink manicure into a sophisticated statement, reflecting light with a mirror-like gleam. Achieving this flawless look at home is entirely possible with the right techniques and a little patience. This guide will walk you through the process of creating and maintaining beautiful, lustrous pink nails that look professionally done.
The Enduring Appeal of Pink Nails
Pink is arguably one of the most versatile and beloved colours in the world of nail aesthetics. Its spectrum is vast, ranging from the softest, most delicate pastels and nudes to bold, vibrant fuchsias and magentas. This versatility makes it a suitable choice for any occasion, skin tone, or personal style. A pale, milky pink can offer a clean, 'your-nails-but-better' look, perfect for everyday wear and professional settings. In contrast, a hot pink can be a fun, expressive choice for a holiday or a special event. Beyond its aesthetic flexibility, the colour pink is often associated with femininity, grace, and a gentle strength, making it a consistently popular choice for those looking to express a polished and put-together image.
Achieving a Flawless, Mirror-Like Shine
The secret to an incredibly glossy manicure lies not just in the final top coat, but in a meticulous preparation and application process. Each step builds upon the last to create a smooth, durable, and brilliantly shiny surface.
Step 1: The Foundation – Nail Preparation
Before you even think about opening a bottle of polish, preparing your nails correctly is paramount. A clean and smooth canvas is essential for a professional-looking result.
- Cleanse: Start by thoroughly cleaning your nails. Remove any old polish completely using a gentle remover. Wash your hands with soap and water, paying special attention to the nails and surrounding skin to remove any oils or residue.
- Shape: Gently file your nails to your desired shape. Whether you prefer square, oval, or almond, aim for uniformity. Always file in one direction, from the side to the centre, to prevent splitting and weakening the nail.
- Buff: Lightly buff the surface of your nails with a fine-grit buffer. This step is crucial for creating a smooth plane for the polish to adhere to, which enhances the final shine. Be careful not to over-buff, as this can thin the nail. The goal is to smooth out ridges, not to remove layers of the nail.
- Cuticle Care: Healthy cuticles frame the nail and are key to a neat manicure. Apply a cuticle remover or softening oil and gently push them back with a wooden or rubber-tipped cuticle pusher. Avoid cutting your cuticles, as they serve as a protective barrier against external factors.
Step 2: The Art of Application
With your nails perfectly prepped, you are ready to apply the colour. The technique you use will directly impact the smoothness and gloss of the final look.
- Base Coat: Never skip the base coat. It serves multiple purposes: it protects your natural nails from staining, helps the polish adhere better, and fills in minor imperfections on the nail surface, creating a smoother foundation for the colour. Apply one thin layer and let it dry completely.
- Colour Coats: Apply your chosen pink nail polish in thin, even layers. Thick layers are prone to bubbling and take much longer to dry, increasing the risk of smudges. The classic three-stroke method is effective: one stroke down the centre, followed by one on each side. Apply two coats for full, even coverage, allowing each coat to dry for at least two to three minutes before applying the next.
Step 3: The Finishing Touch – The High-Shine Top Coat
The top coat is the hero product for achieving that coveted mirror shine. It seals in the colour, protects the manicure from chipping, and provides a durable, high-gloss finish. Look for a top coat specifically formulated for a 'gel-like' or 'high-shine' effect. These often have a slightly thicker consistency that plumps up the manicure, creating a smooth, reflective surface. Apply one generous but even layer over the dry colour, making sure to 'cap' the free edge of the nail by running the brush along the tip. This seals the manicure and helps prevent premature chipping.
Maintaining Your Glossy Manicure
Once you have achieved your perfect glossy pink nails, you will want to make them last as long as possible. A few simple habits can extend the life of your manicure and keep it looking freshly done.
Daily Care for Lasting Brilliance
Protecting your nails is key. Wear rubber gloves when doing household chores, washing dishes, or using any cleaning products with harsh chemicals. These substances can dull the shine and cause the polish to break down. Additionally, keep your hands and cuticles moisturised. Apply a nourishing hand cream and cuticle oil daily. Hydrated cuticles look neater, and moisturised nails are more flexible and less prone to breaking.
Refreshing the Shine
To boost the gloss and add an extra layer of protection, consider reapplying a thin layer of your high-shine top coat every two to three days. This simple trick can instantly revive the lustre of your manicure, making it look new again and helping to seal any microscopic cracks that may have formed.
Gentle Removal and Nail Health
When it is time for a change, remove your polish gently. Opt for an acetone-free remover if your nails are prone to dryness. Avoid scraping or picking off the polish, as this can peel away the top layers of your nail, leaving them weak and damaged. After removing the polish, give your nails a break for a day or two if possible, and treat them to a nourishing nail oil or strengthening treatment to keep them healthy and strong for your next beautiful manicure.


