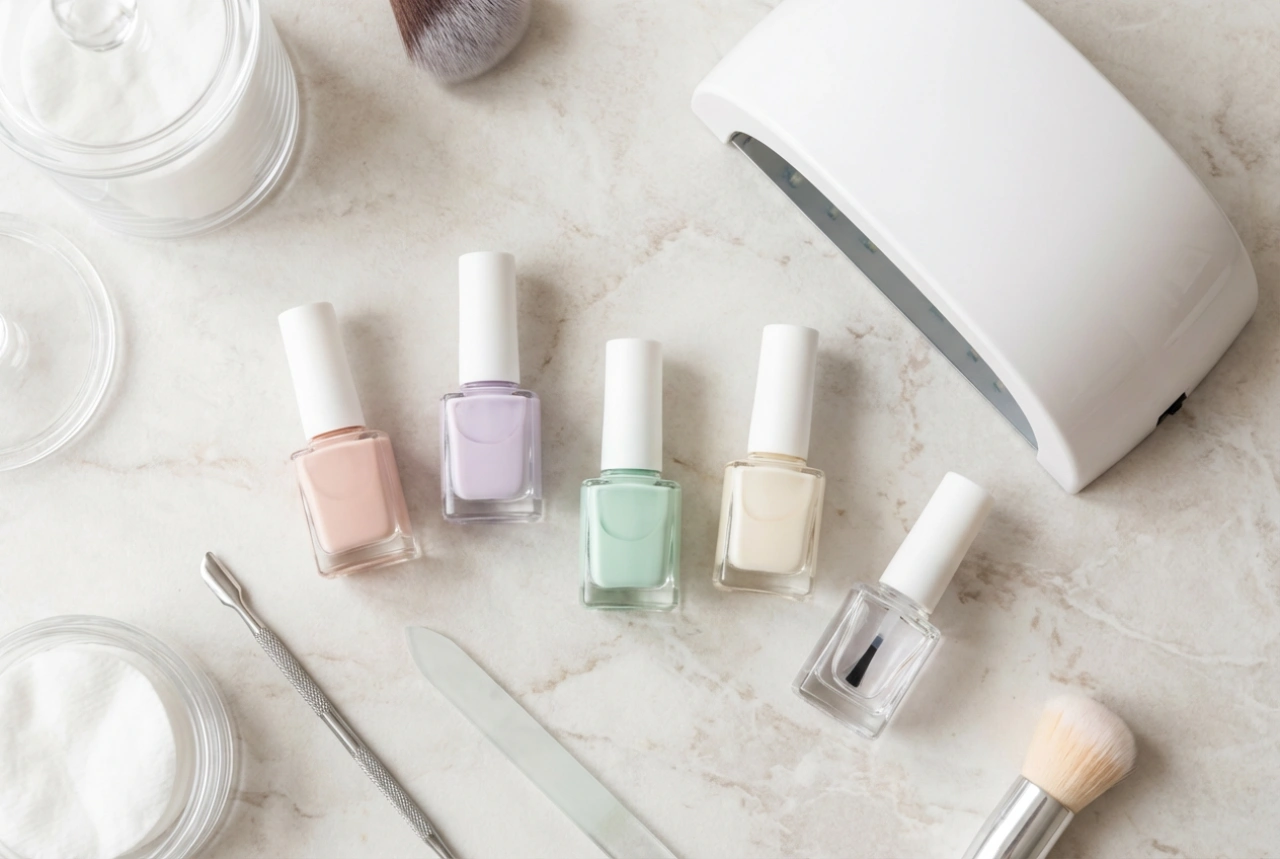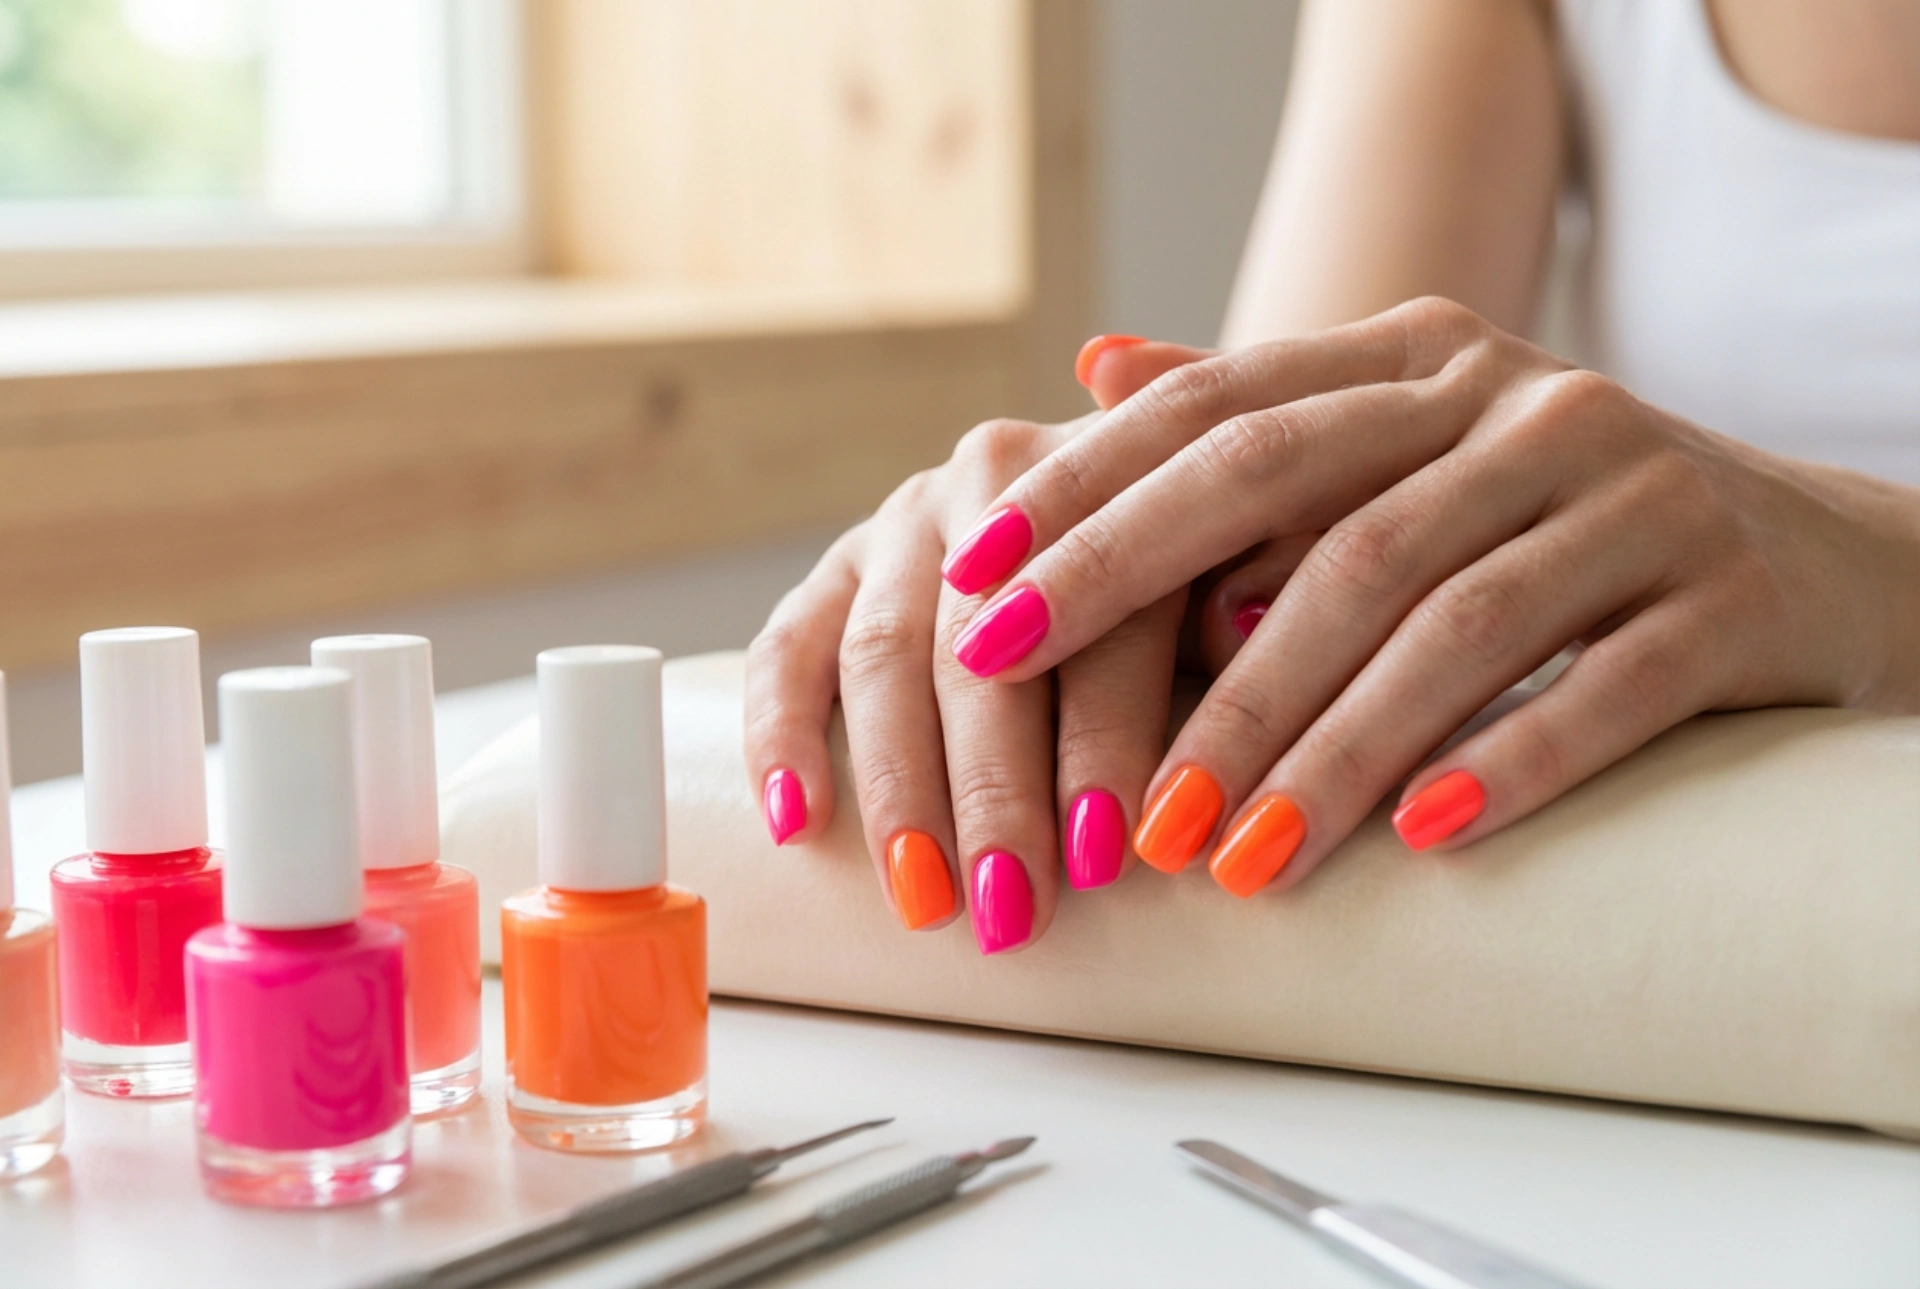


Neon nails are a fantastic way to express your style and add a vibrant splash of colour to any look. These eye-catching shades are perfect for summer, festivals, or any time you want your hands to stand out. Achieving a salon-quality neon manicure at home that is both intensely coloured and long-lasting is easier than you might think. It all comes down to proper preparation and application techniques. Follow this guide to create a flawless, durable neon manicure that will surely turn heads.
Preparation is Key for a Lasting Manicure
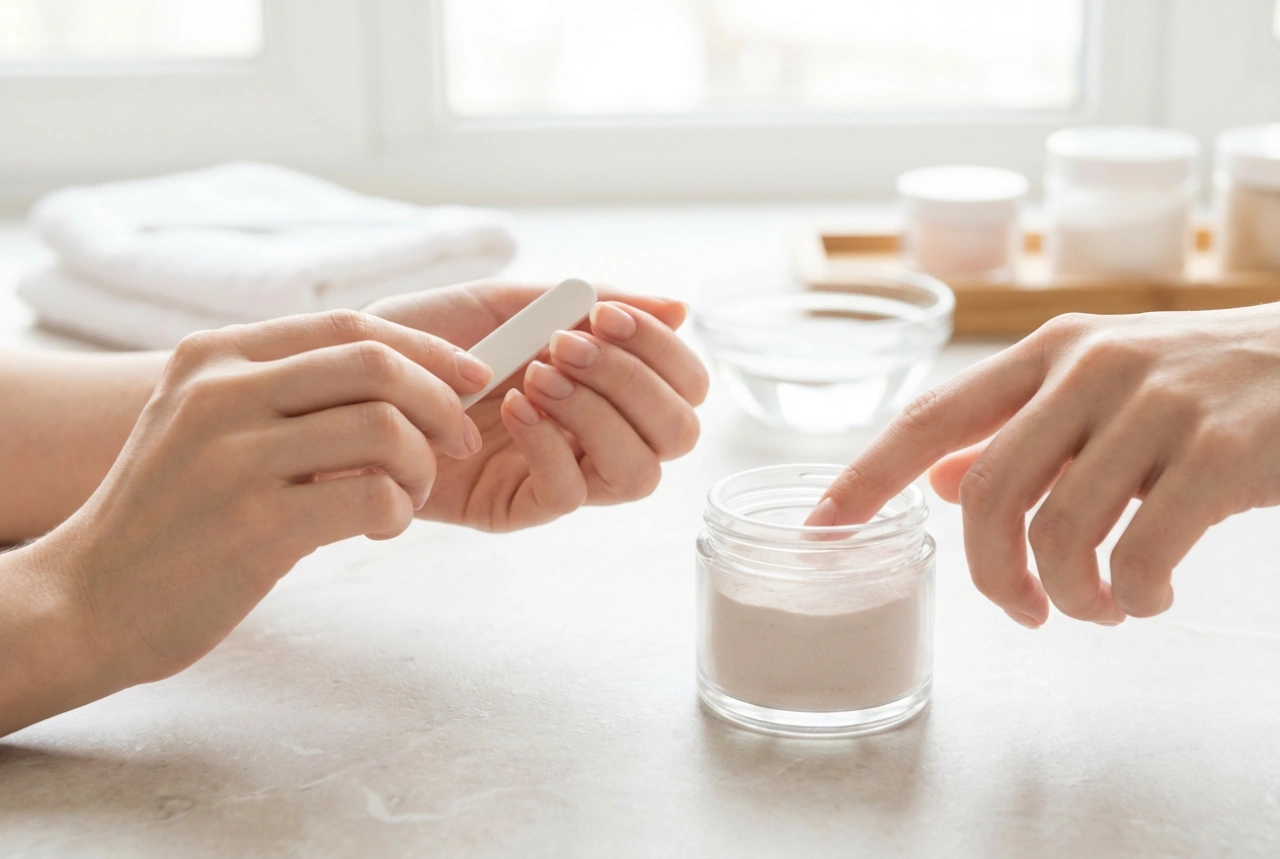
The longevity of any manicure begins long before the first coat of polish is applied. Thoroughly preparing your nails creates a smooth, clean canvas, which helps the polish adhere better and last longer without chipping. Rushing this step is a common reason for a short-lived manicure.
Nail Plate Cleaning and Shaping
Start by removing any old polish completely. Afterwards, wash your hands with a gentle soap and water to remove any oils or residue. Dry your hands and nails thoroughly. Next, shape your nails using a file. Always file in one direction, from the side of the nail to the centre, to prevent splitting or weakening. Whether you prefer a square, oval, or almond shape, ensure all nails are uniform in length and shape for a polished look.
Cuticle Care and Buffing
Gently push back your cuticles using a cuticle pusher or an orangewood stick. Avoid cutting them, as this can lead to irritation and damage to the nail bed. Once your cuticles are tidy, take a fine-grit buffer and lightly buff the surface of each nail. This step removes natural oils and creates a slightly textured surface for the base coat to grip onto, significantly improving the durability of your manicure.
The Secret to Vibrant Neon: The Base Coat
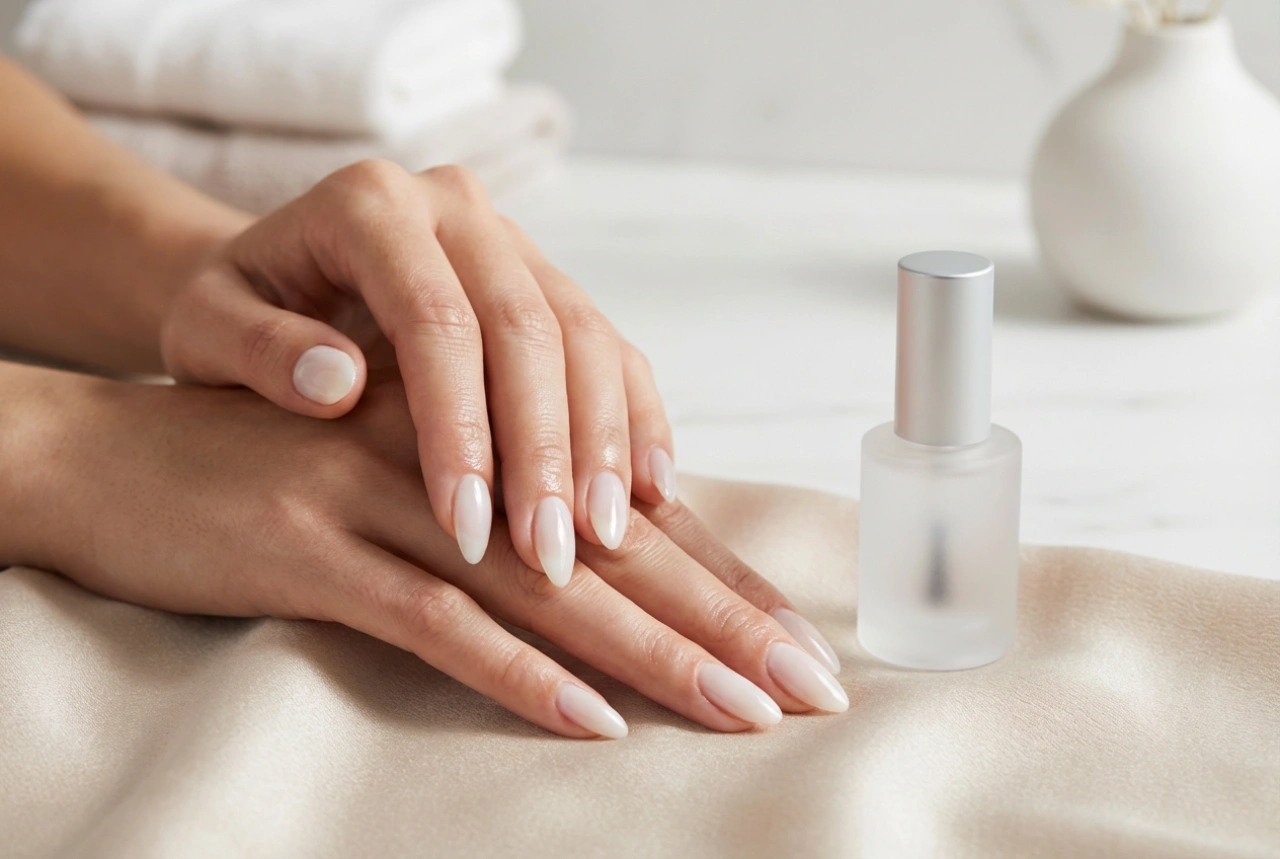
The key to making neon colours truly pop is what lies underneath. Neon pigments are often translucent, and applying them directly to the natural nail can result in a less intense, sometimes streaky appearance. A base coat is essential for two reasons: it protects your natural nail from staining and it provides a uniform foundation for the colour.
- Choose a white base: For the most vibrant neon effect, apply one or two thin coats of an opaque white polish as your base. The white background will make the neon colour appear much brighter and more solid.
- Apply it evenly: Ensure the white coat is smooth and completely dry before you proceed. Any lumps or streaks in the base will show through the neon polish. Allow at least five minutes for the white base to dry.
Applying Neon Polish for Maximum Impact
With your base perfectly prepared, you are ready to apply the star of the show: the neon colour. The application technique is crucial for achieving an even, professional-looking finish. Patience is your best friend during this stage.
The Thin Coat Technique
Instead of trying to get full coverage with one thick, gloopy coat, always opt for multiple thin coats. Thick layers take much longer to dry, are more prone to smudging, and can bubble as they set. Here’s how to do it:
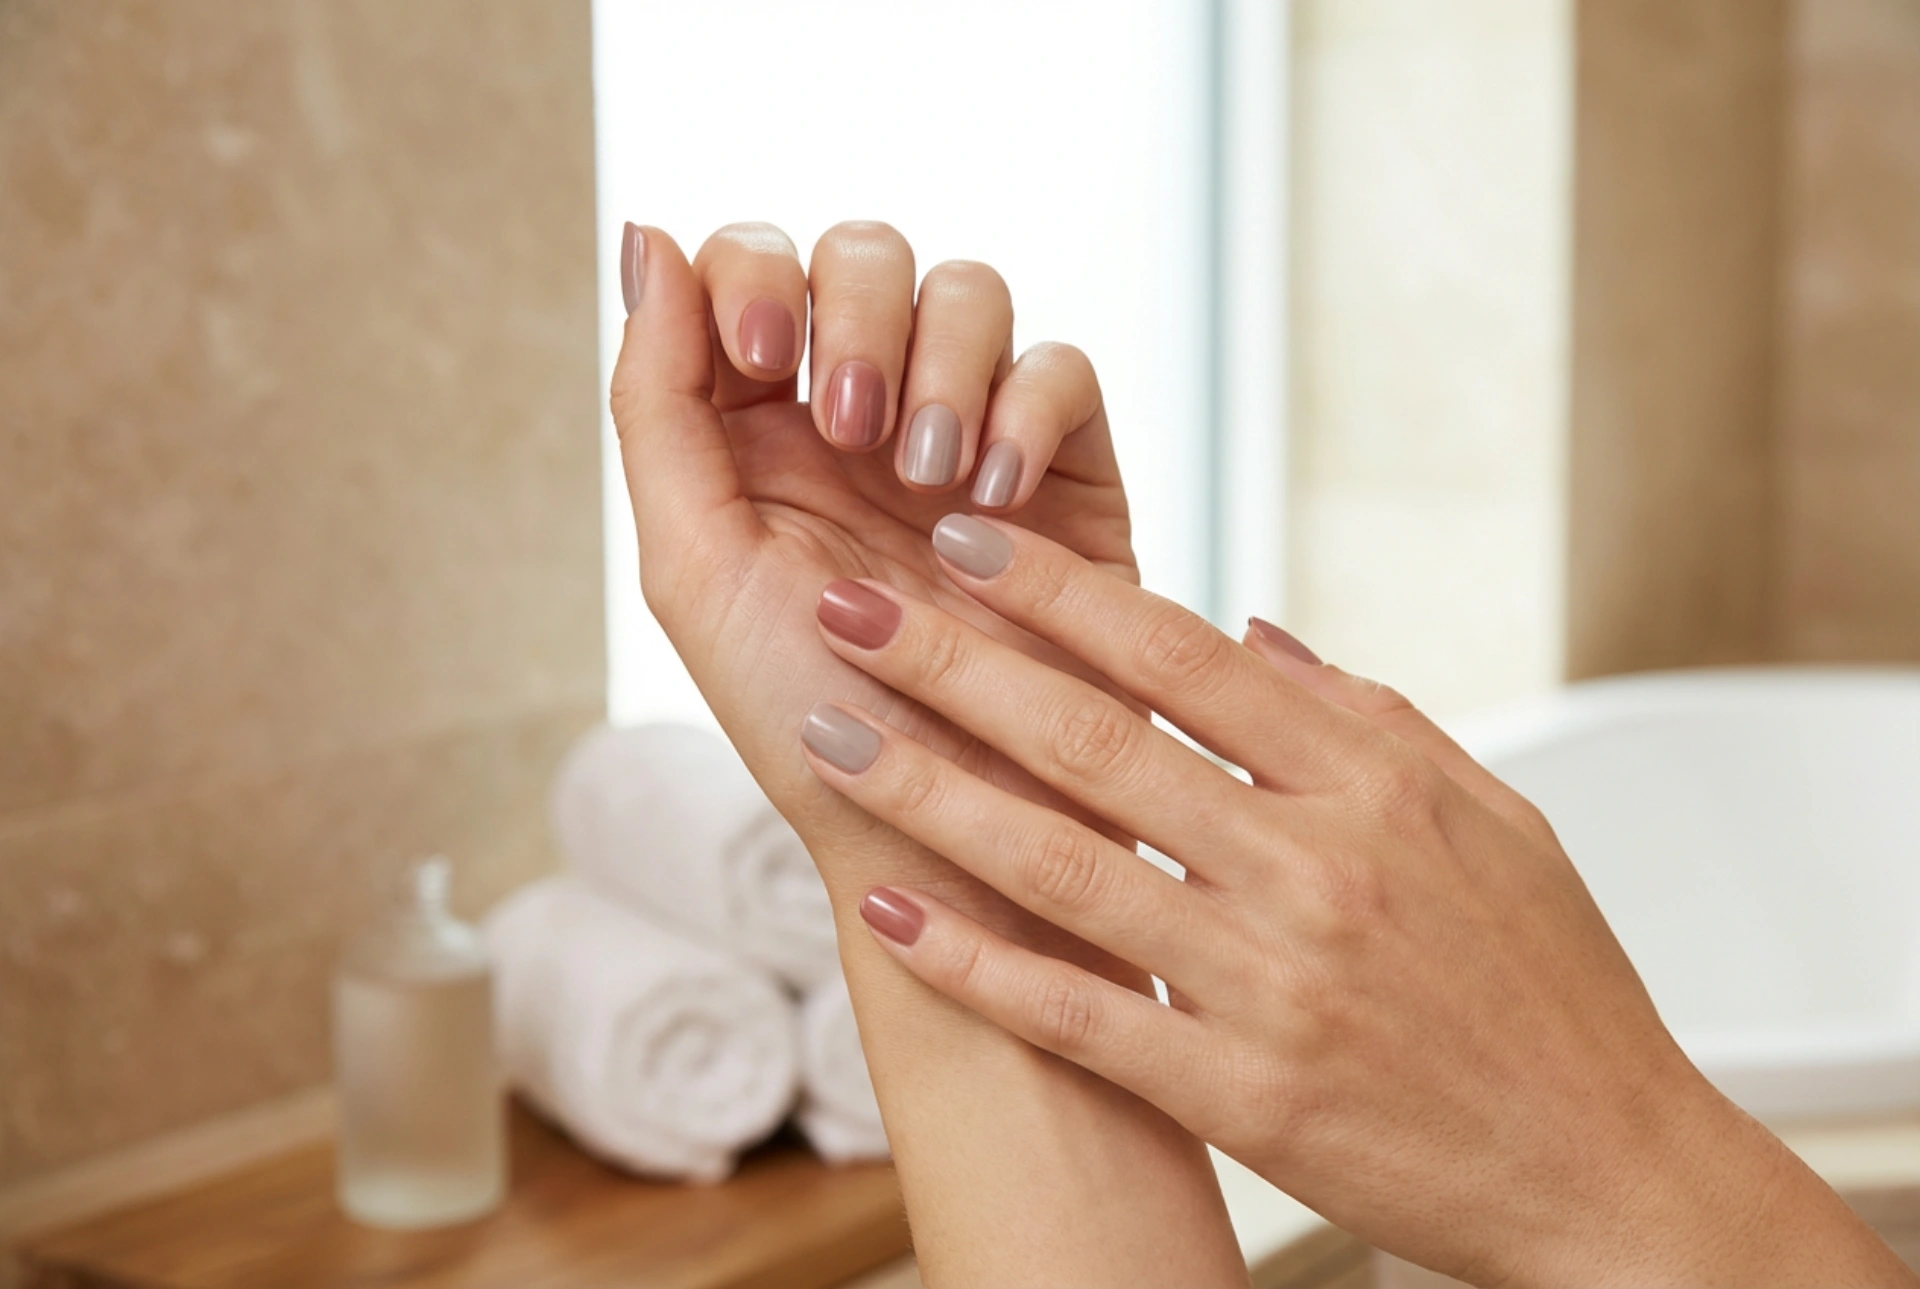
- Apply the first thin coat of neon polish, starting from the base of the nail and stroking towards the tip. Use three strokes: one down the middle, followed by one on each side.
- Let this coat dry for at least two to three minutes. It does not need to be completely opaque yet.
- Apply a second thin coat in the same manner. This should deepen the colour and even out any streaks from the first layer.
- If needed, apply a third thin coat for full, vibrant opacity. Ensure each layer is sufficiently dry before applying the next.
Sealing the Deal: The Importance of a Top Coat
A top coat is the final, essential step to protect your masterpiece. It acts as a shield, protecting the colour from chipping, fading, and everyday wear and tear. It also adds a beautiful, high-gloss shine that makes the neon colour look even more striking. When applying the top coat, be sure to 'cap' the free edge of your nail by running the brush along the tip. This seals the polish and provides extra protection against chipping.
Tips for Extending the Life of Your Neon Nails
Once your manicure is complete, a little extra care can help it last even longer.
- Reapply the top coat: Apply a fresh layer of top coat every two to three days to maintain the shine and add an extra layer of protection.
- Hydrate your cuticles: Use cuticle oil or a nourishing hand cream daily. Healthy, hydrated cuticles contribute to the overall health and appearance of your nails.
- Be mindful of your hands: Wear gloves when doing household chores, such as washing dishes or cleaning with harsh chemicals, to protect your manicure from damage and moisture.