


As the leaves begin to turn and a crispness fills the air, many of us feel inspired to adapt our beauty routines to reflect the cosy elegance of autumn. One of the most enjoyable ways to embrace the season is through a fresh manicure, with deep, warm shades replacing the bright hues of summer. Achieving a perfect, long-lasting autumn gel manicure at home is entirely possible with the right preparation and technique. This guide will walk you through the essential steps, from preparing your nails to choosing the perfect seasonal colour palette.
The Foundation: Preparing the Nail Plate
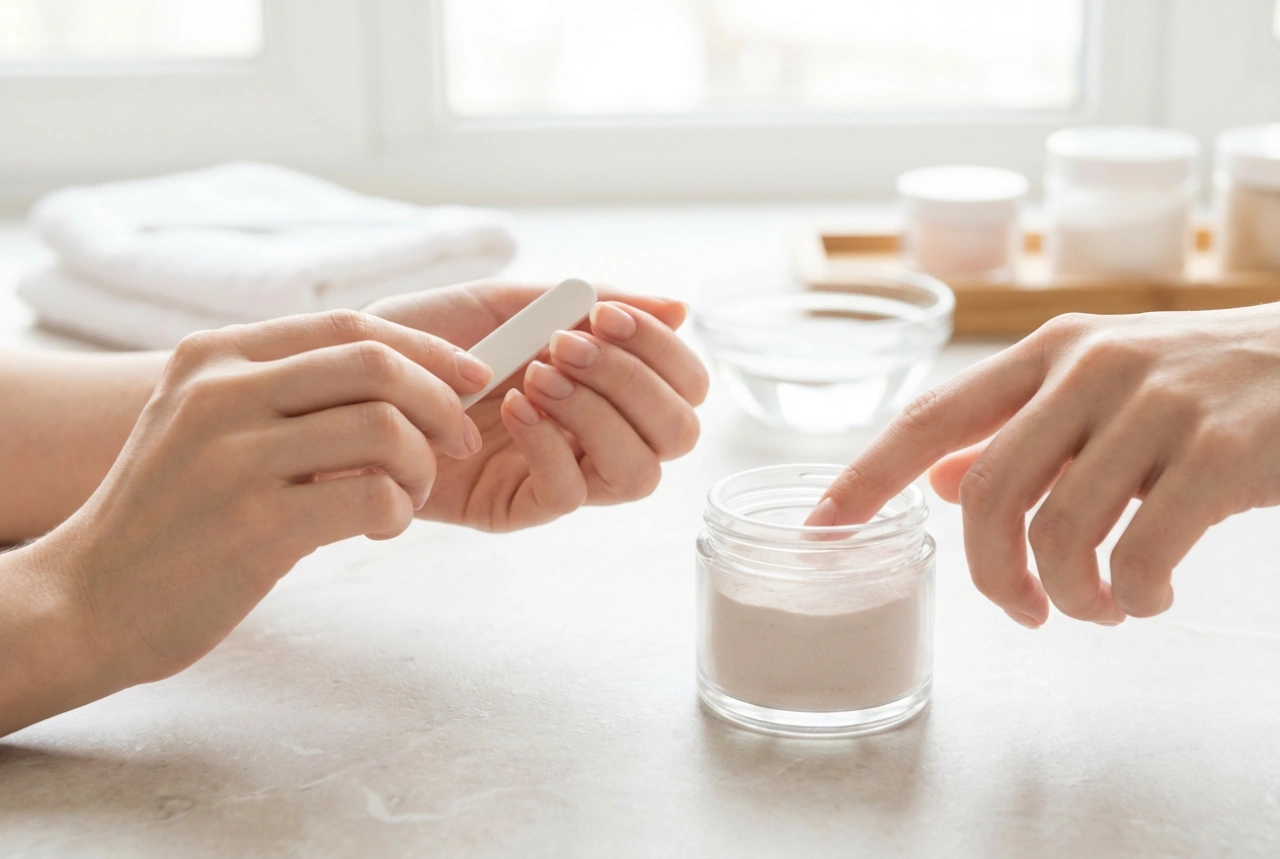
Proper preparation is the secret to a durable and professional-looking gel manicure. Skipping these steps can lead to lifting and chipping, so dedicating time to creating a clean canvas is crucial. A well-prepared nail plate ensures that the gel products adhere correctly, giving you a finish that can last for weeks.
Key Preparation Steps:
- Cleanse the Nails: Begin by washing your hands and nails thoroughly to remove any oils or lotions. Use a lint-free wipe soaked in a nail cleanser or isopropyl alcohol to dehydrate the nail surface completely.
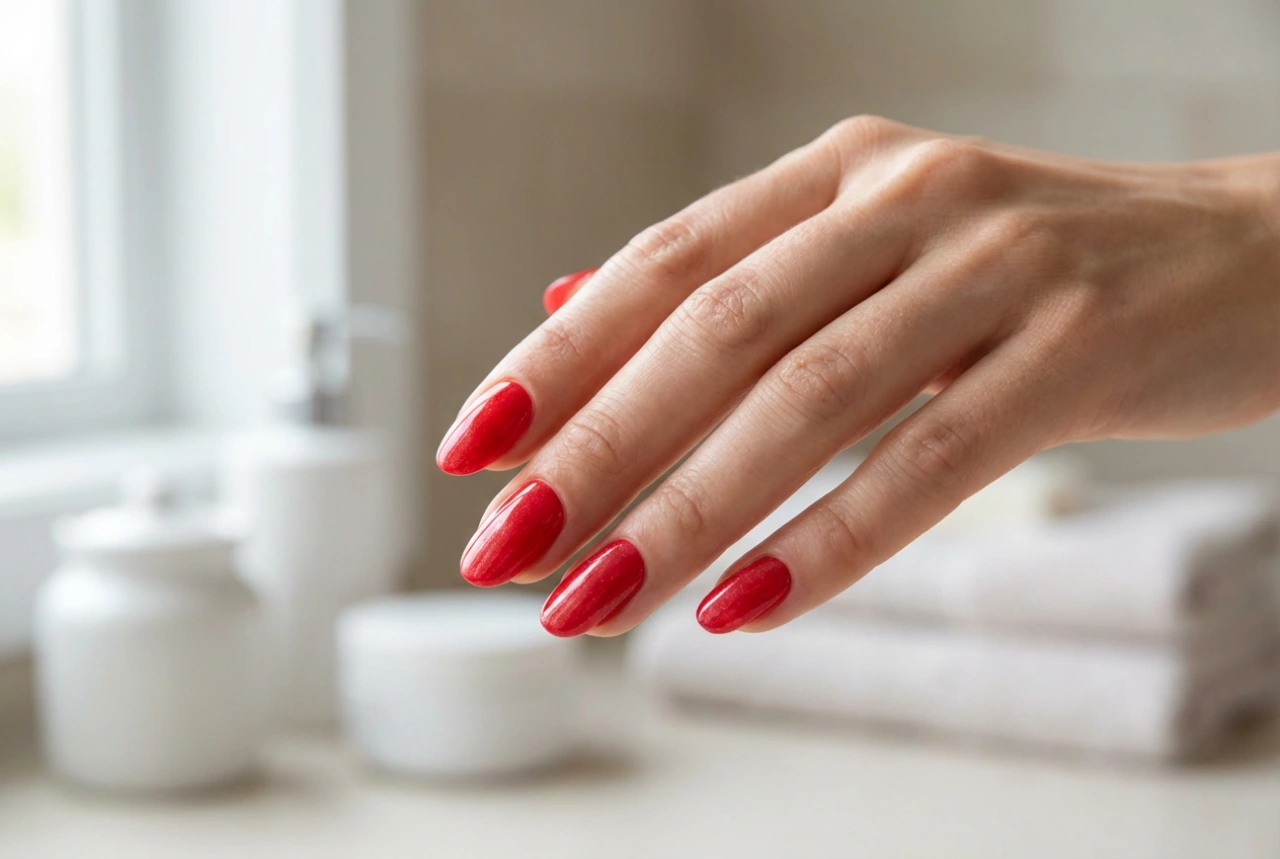
- Shape and File: Use a nail file to gently shape your nails to your desired length and form. Whether you prefer a classic oval, a modern square, or a soft almond shape, ensure all nails are uniform. Always file in one direction to prevent splitting.
- Cuticle Care: Gently push back your cuticles using a wooden or rubber-tipped cuticle pusher. Avoid cutting the cuticles yourself, as this can lead to irritation. The goal is to create a clean, neat line at the base of your nail for a polished look.
- Buff the Surface: Lightly buff the entire surface of each nail with a fine-grit buffer block. This removes the natural shine and creates a slightly textured surface for the gel polish to grip onto. Be gentle to avoid thinning the nail. Afterwards, remove all dust with a brush and another wipe of cleanser.
Choosing Your Autumnal Palette
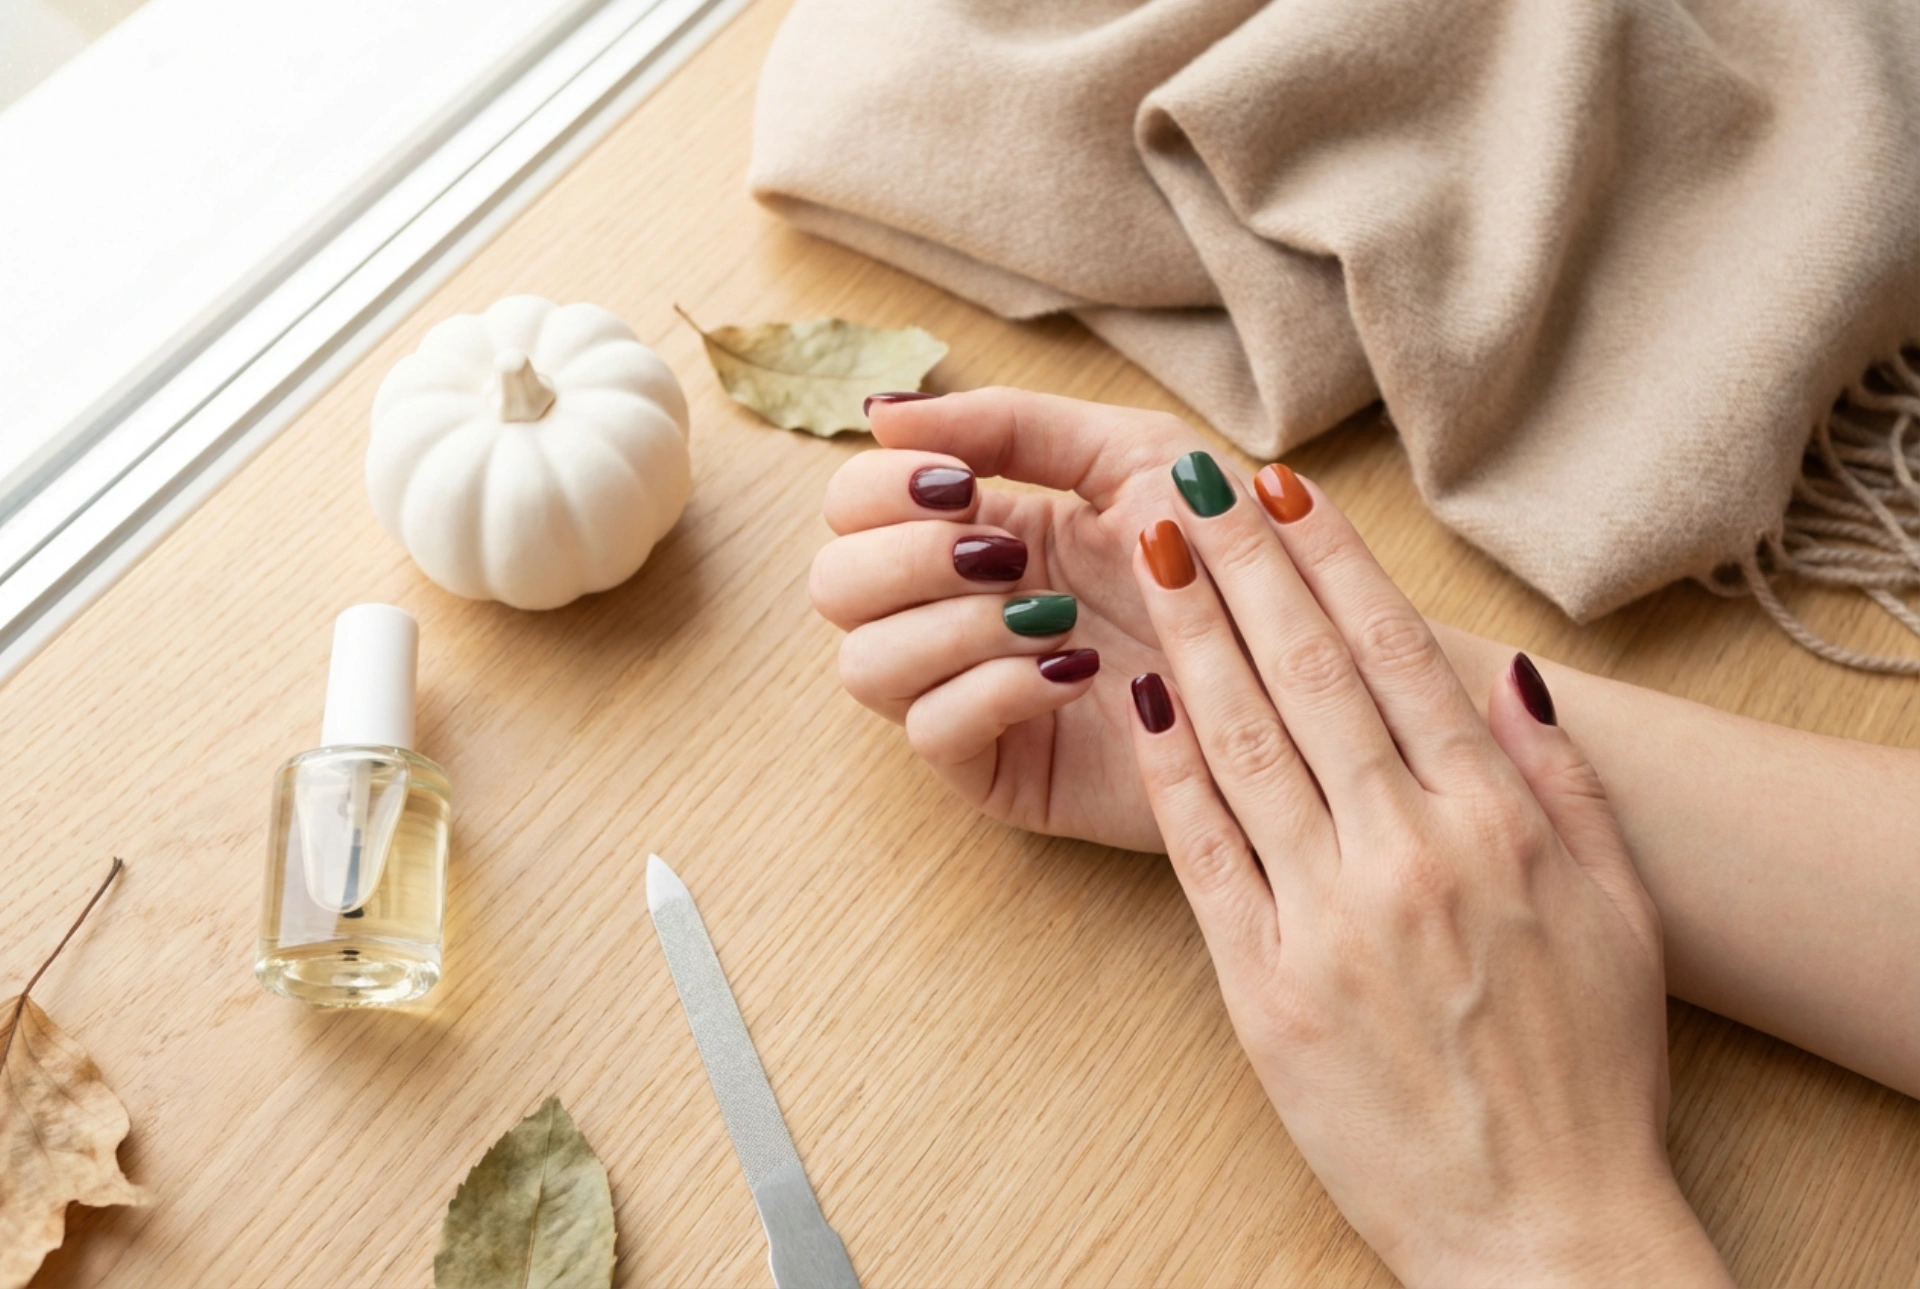
Autumn is synonymous with a rich and sophisticated colour palette. When selecting your gel polish shades, think of the colours you see in nature during this time of year. These tones are often warm, deep, and earthy, complementing the season's fashion and mood.
Popular Autumn Colour Families:
- Deep Reds and Burgundies: Classic and ever-stylish, shades like wine, merlot, and deep cherry are staples for an elegant autumn look. They are versatile and suit all skin tones.
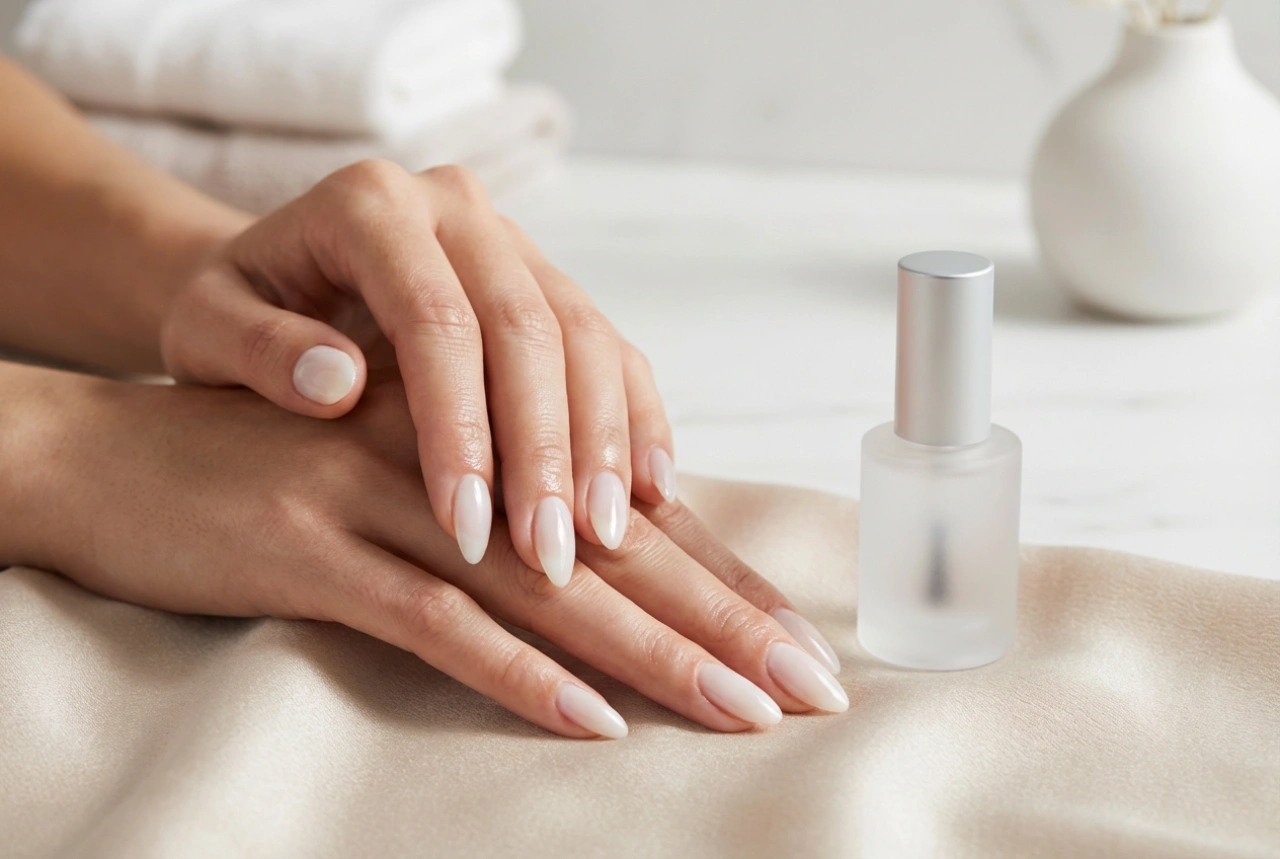
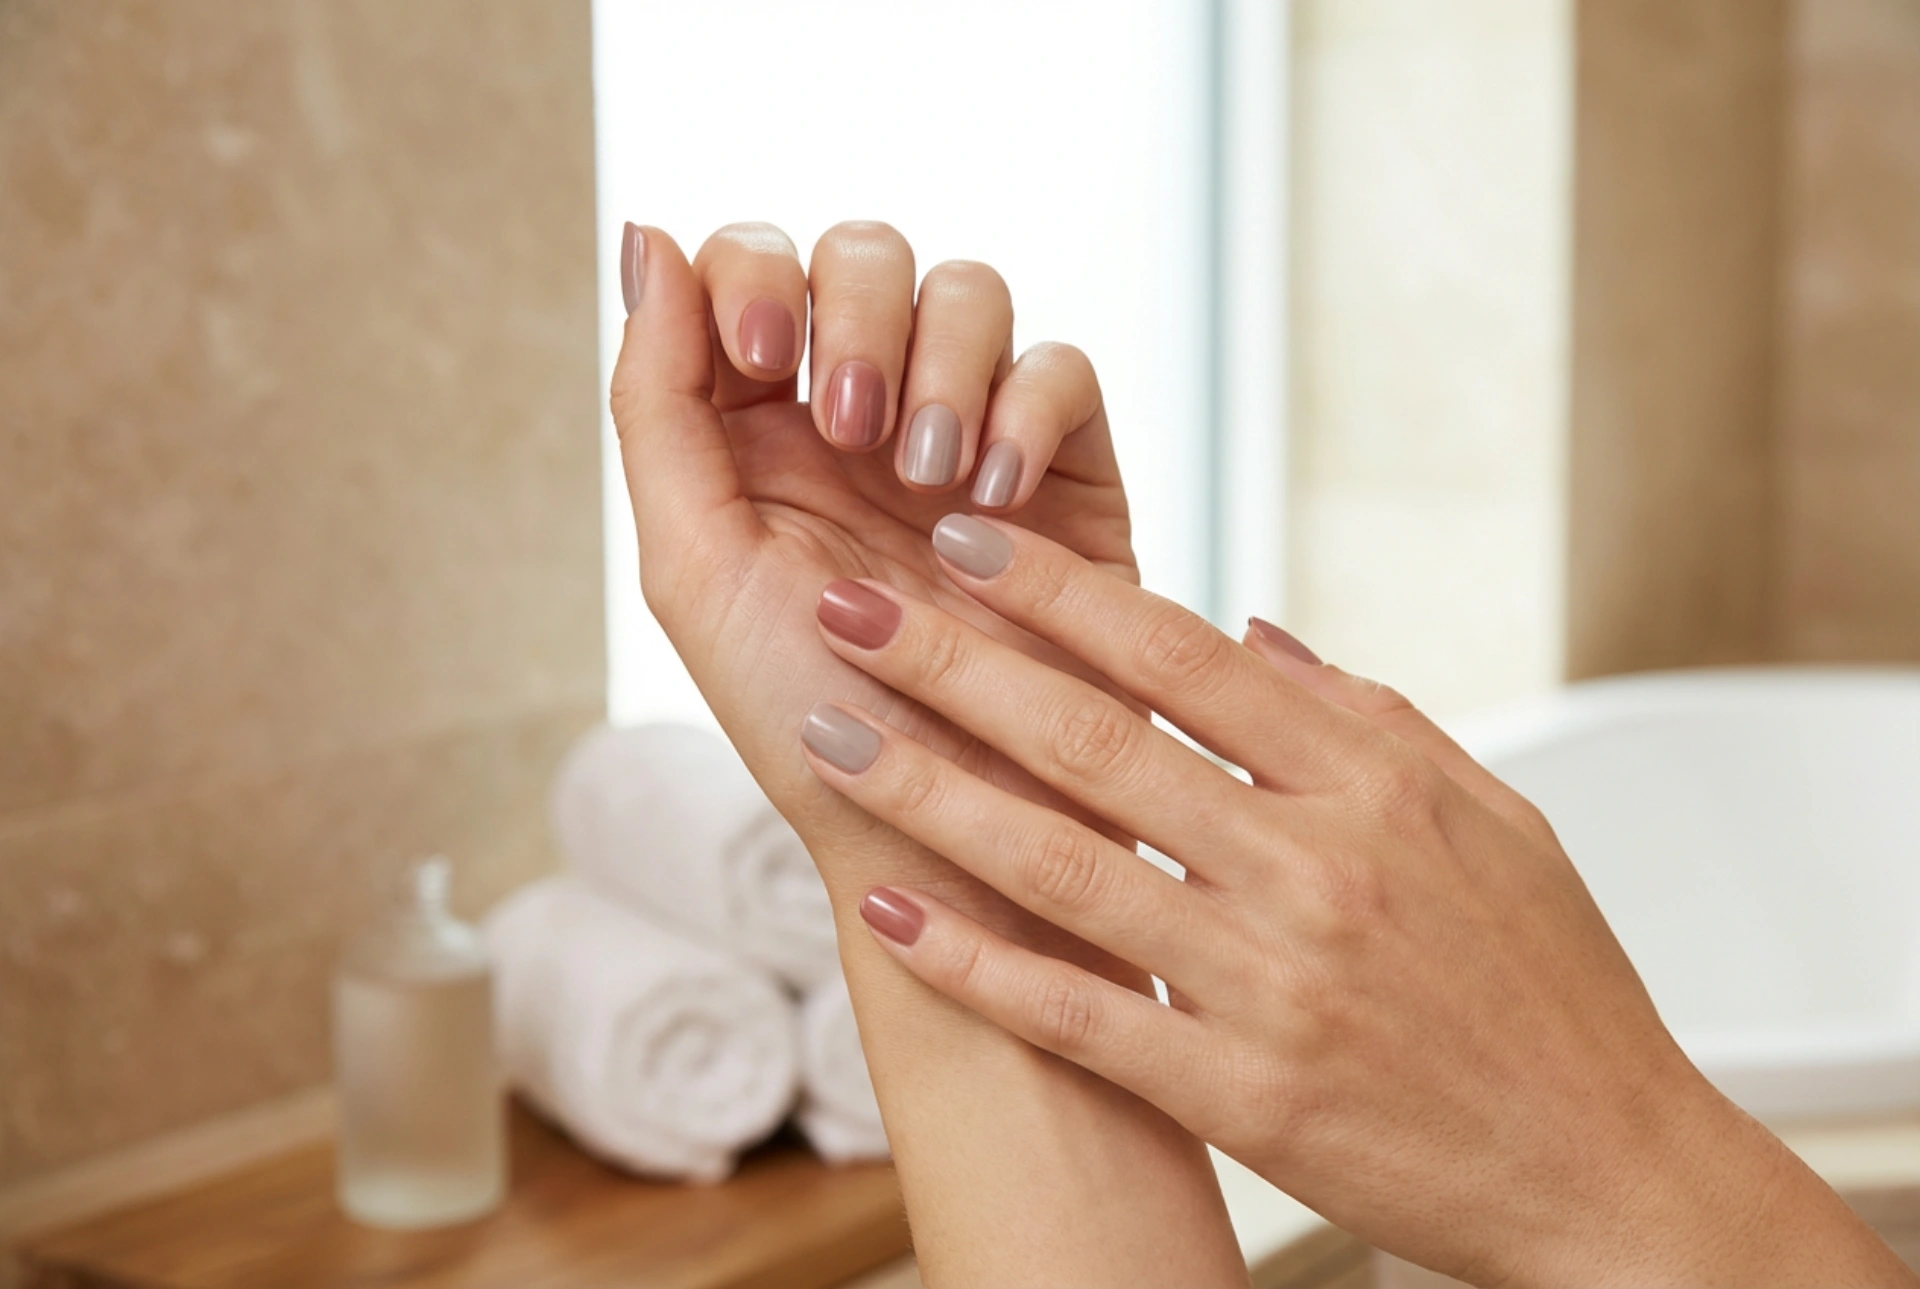
- Earthy Browns and Neutrals: From creamy caramel and taupe to rich chocolate and espresso, brown-toned neutrals offer a chic and understated option. They evoke a sense of warmth and comfort.
- Warm Oranges and Terracottas: Embrace the spirit of the season with colours reminiscent of pumpkin spice and falling leaves. Burnt orange, terracotta, and muted copper shades add a vibrant yet sophisticated touch.
- Forest and Olive Greens: Deep, moody greens like forest, moss, and dark olive provide an unexpected and modern alternative to traditional autumn colours. They are grounding and stylish.
The Application Process for a Lasting Finish
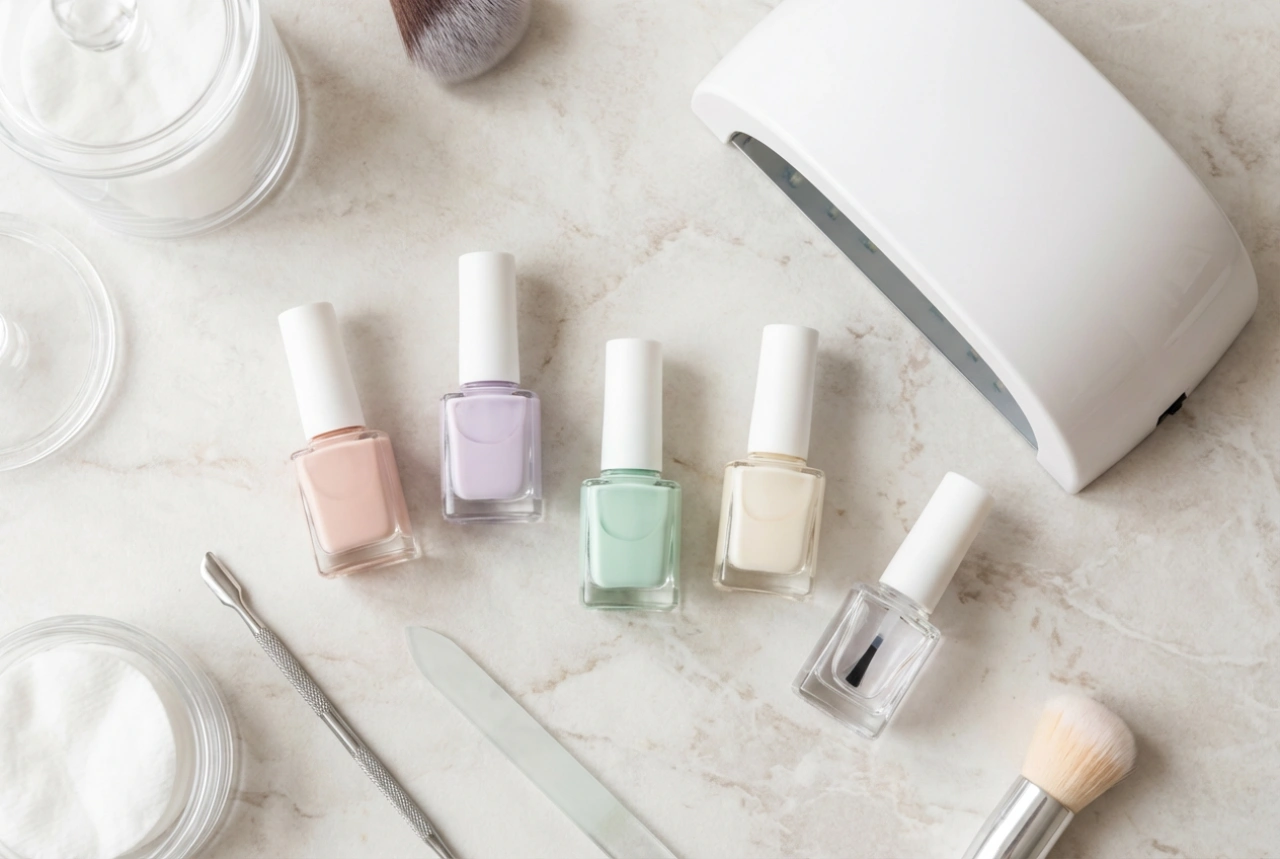
Applying gel polish requires patience and precision. Working in thin, even layers is essential for proper curing and a smooth, bubble-free result. Make sure you have a good quality LED or UV lamp designed for curing gel polish.
Step-by-Step Application:
- Base Coat: Apply a very thin layer of gel base coat to each nail, making sure to 'cap' the free edge by running the brush along the tip of the nail. This helps prevent chipping. Cure under your lamp according to the product's instructions.
- Colour Coats: Apply your chosen autumn gel colour in a thin, even coat. Avoid getting any polish on your skin or cuticles. If you do, clean it up with a small brush dipped in cleanser before curing. Cure the layer. Apply a second coat for full opacity, and cure again. Some sheerer colours might require a third coat.
- Top Coat: Finish with a thin layer of gel top coat. Again, remember to cap the free edge. This layer seals in the colour and provides a high-gloss (or matte, if you prefer) finish that protects your manicure. Cure for the recommended time, which is often slightly longer than for the colour coats.
Finishing Touches and Aftercare
Once your top coat is fully cured, your manicure is almost complete. A few final steps will ensure it looks its best and lasts as long as possible.
First, if you used a traditional top coat, there will be a sticky inhibition layer. Wipe this away with a lint-free pad soaked in a gel cleanser or high-purity isopropyl alcohol to reveal the hard, glossy shine underneath. If you used a 'no-wipe' top coat, you can skip this step. To finish, replenish the moisture around your nails by applying a nourishing cuticle oil. Massage it into the skin around the nail bed. To maintain your beautiful autumn manicure, try to wear gloves when doing household chores or washing dishes, and reapply cuticle oil daily to keep your skin hydrated and healthy.