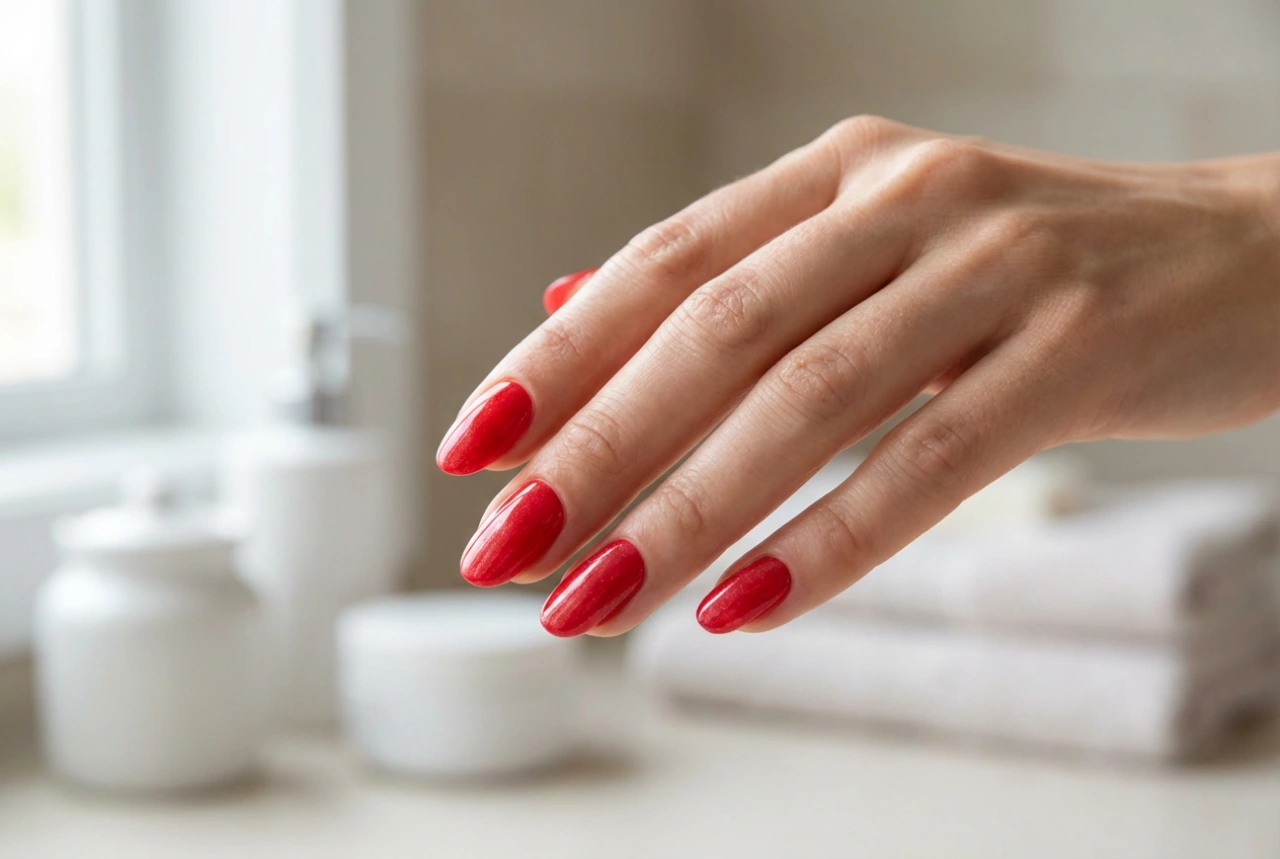


Achieving a beautiful, high-gloss shine on your nails doesn't always require a trip to the salon. With the right techniques and a little care, you can create that perfectly polished, sophisticated look at home. The secret lies in proper preparation, the gentle art of buffing, and sealing your work with a quality top coat. This guide will walk you through the steps to get durable, brilliantly shiny nails that look healthy and elegant.
Preparing Your Nails for a Perfect Shine
Before you can achieve a glass-like finish, your nails need to be a clean and smooth canvas. Proper preparation is the foundation of any lasting manicure.
Clean and Shape
Start by removing any old nail varnish with a gentle remover. Wash your hands and nails thoroughly with mild soap and water, and dry them completely. Next, trim and file your nails to your desired shape. Always file in one direction, from the side of the nail to the centre, to prevent splitting or weakening. A smooth, even edge is crucial for a professional-looking result.
Cuticle Care
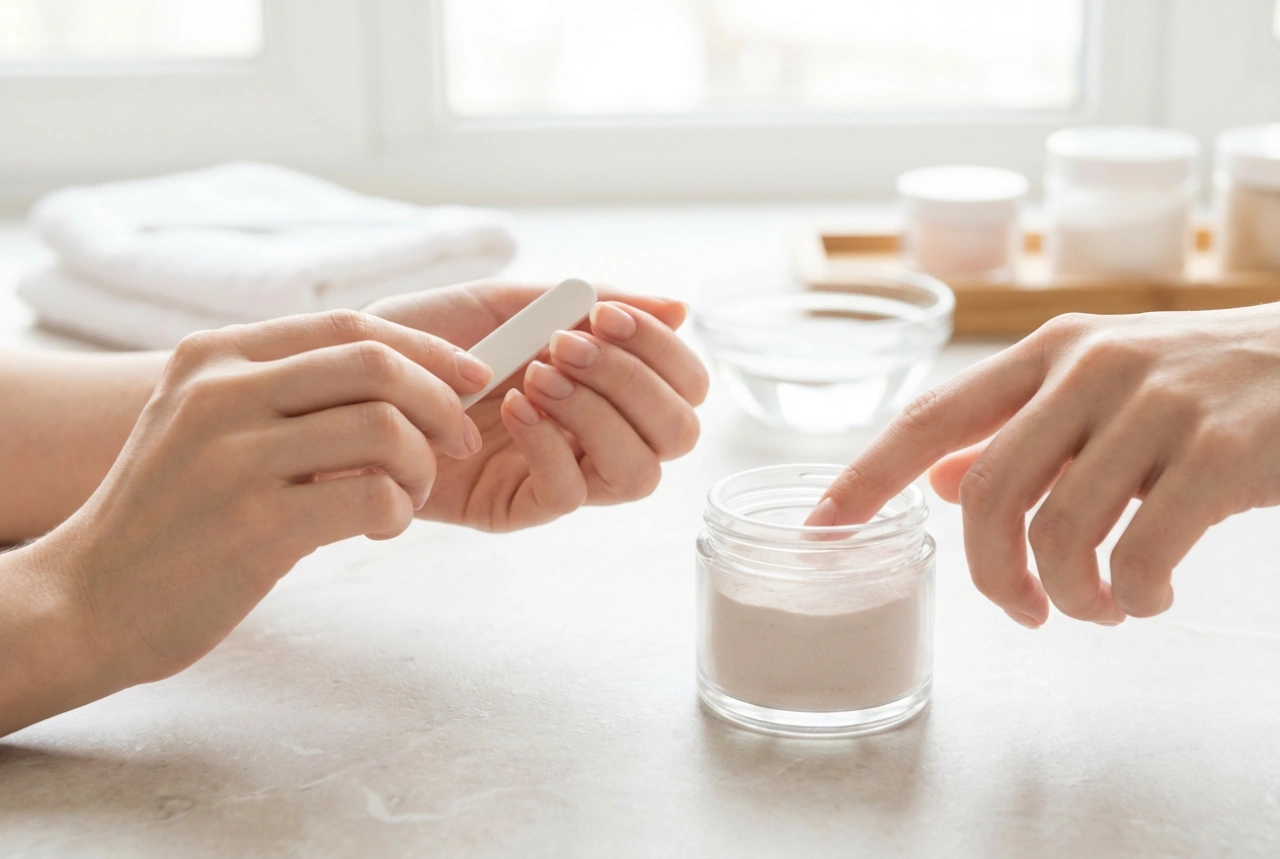
Gently push back your cuticles using a soft-tipped cuticle pusher or an orange wood stick. Avoid cutting your cuticles, as they serve as a protective barrier against external factors. If you have dry skin around your nails, you can apply a small amount of cuticle softener beforehand to make this step easier. Clean under the free edge of your nails to remove any debris.
The Art of Buffing for Natural Gloss
Buffing is the key step to smoothing out ridges and creating a natural, reflective shine on the nail surface. A multi-sided nail buffer is an excellent tool for this process, with each side designed for a specific purpose.
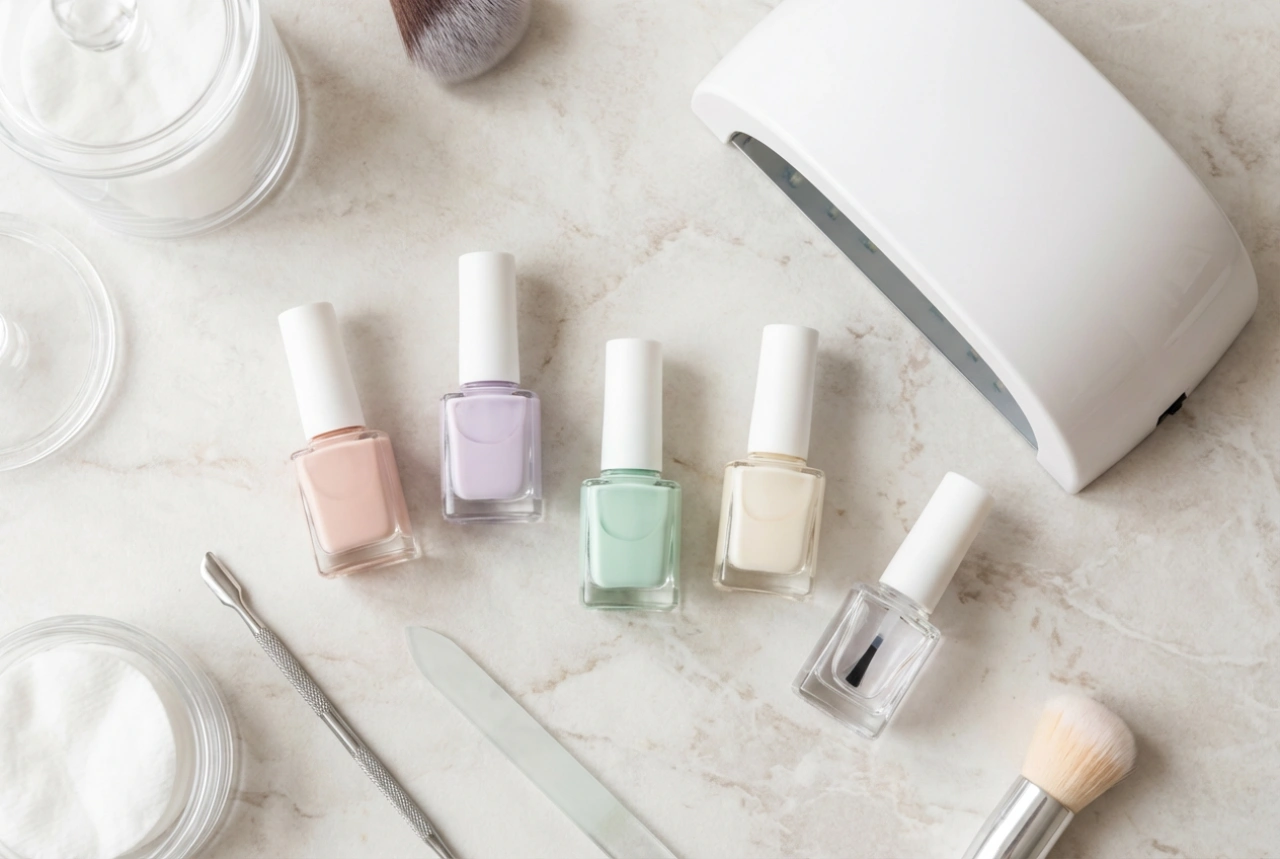
How to Use a Nail Buffer
Typically, a four-sided buffer will have steps for filing, buffing, smoothing, and shining. Follow the instructions on the tool, moving from the coarsest grit to the finest. Use the first side to even out the nail shape, the second to smooth any ridges, the third to create a satin-smooth surface, and the final, softest side to polish the nail to a high gloss. Be gentle and use light pressure; over-buffing can thin the nail plate. Limit intensive buffing to once a month, but you can use the polishing side more frequently to refresh the shine.
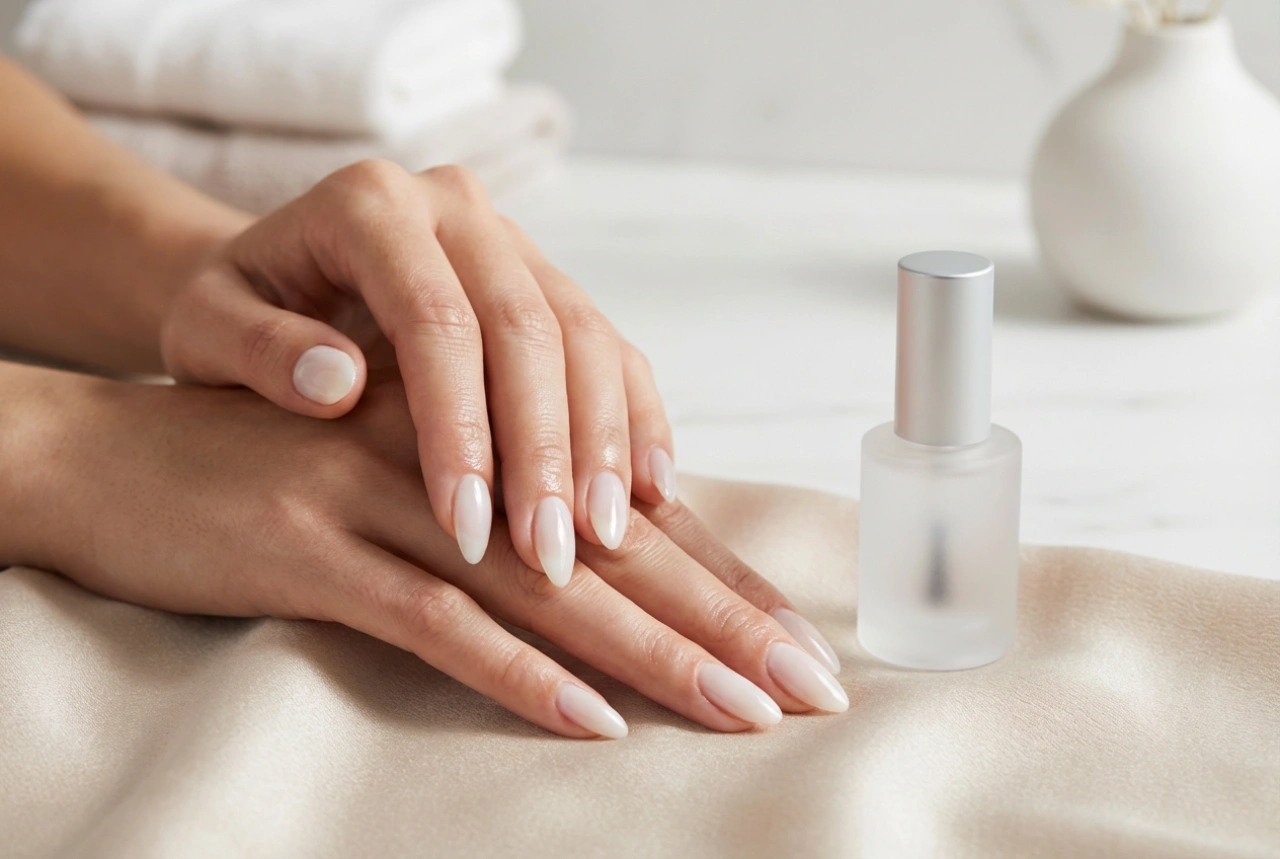
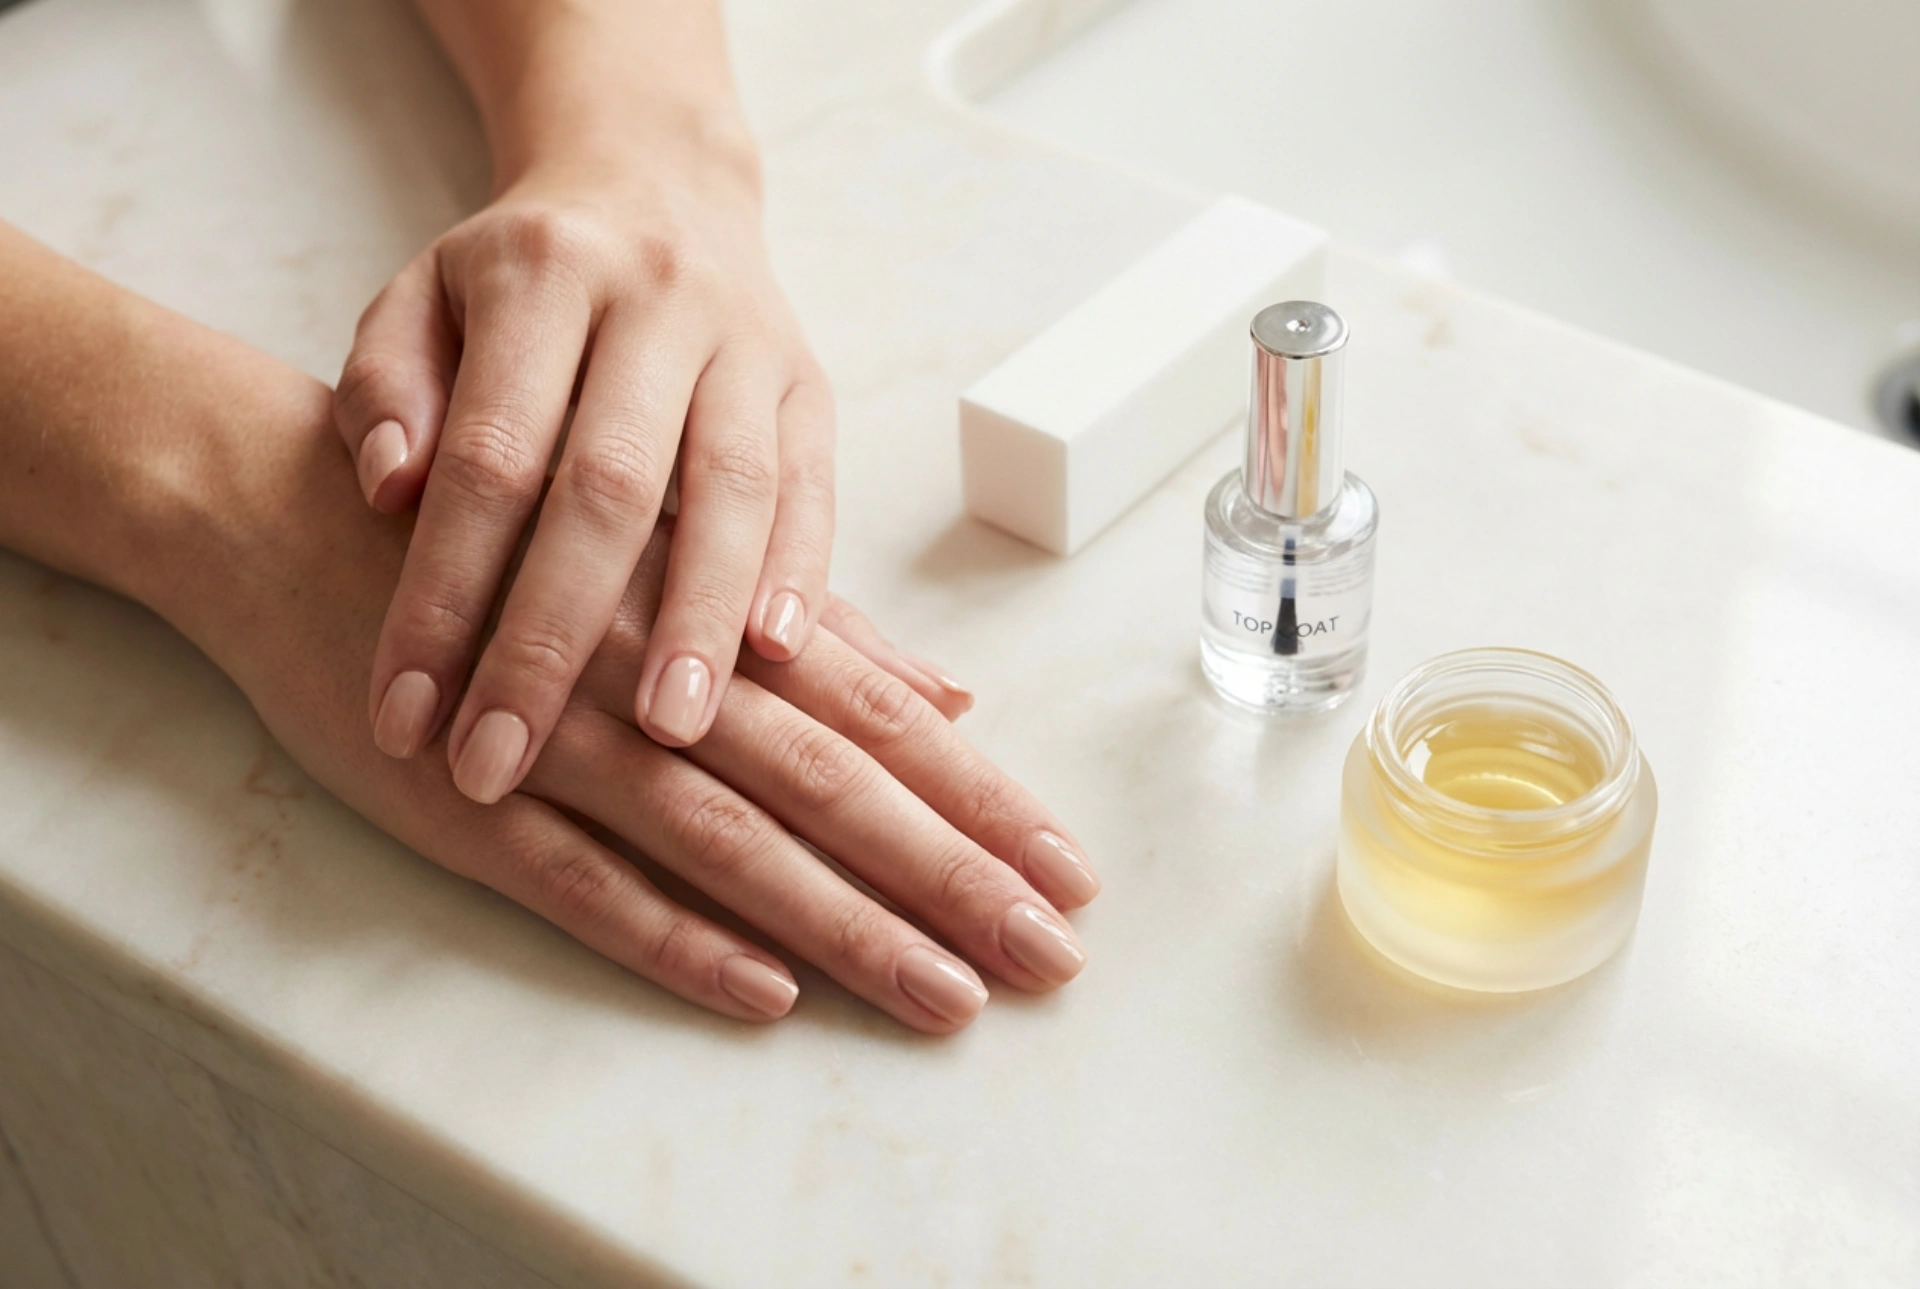
Sealing the Shine with a Protective Top Coat
While buffing creates a natural lustre, a clear top coat provides an extra layer of protection and an intense, mirror-like shine. It also helps your manicure last longer and prevents chipping.
Application for a Flawless Finish
Whether you've applied a colour or are just enhancing your natural nails, the application of a top coat is key. Ensure your nails are completely clean and dry. Apply a thin, even layer of a high-gloss top coat, starting from the base of the nail and moving towards the tip. Don't forget to 'cap' the free edge by swiping the brush along the tip of the nail. This seals the manicure and prevents premature wear. Allow the first coat to dry completely before deciding if a second one is needed for extra durability and shine.
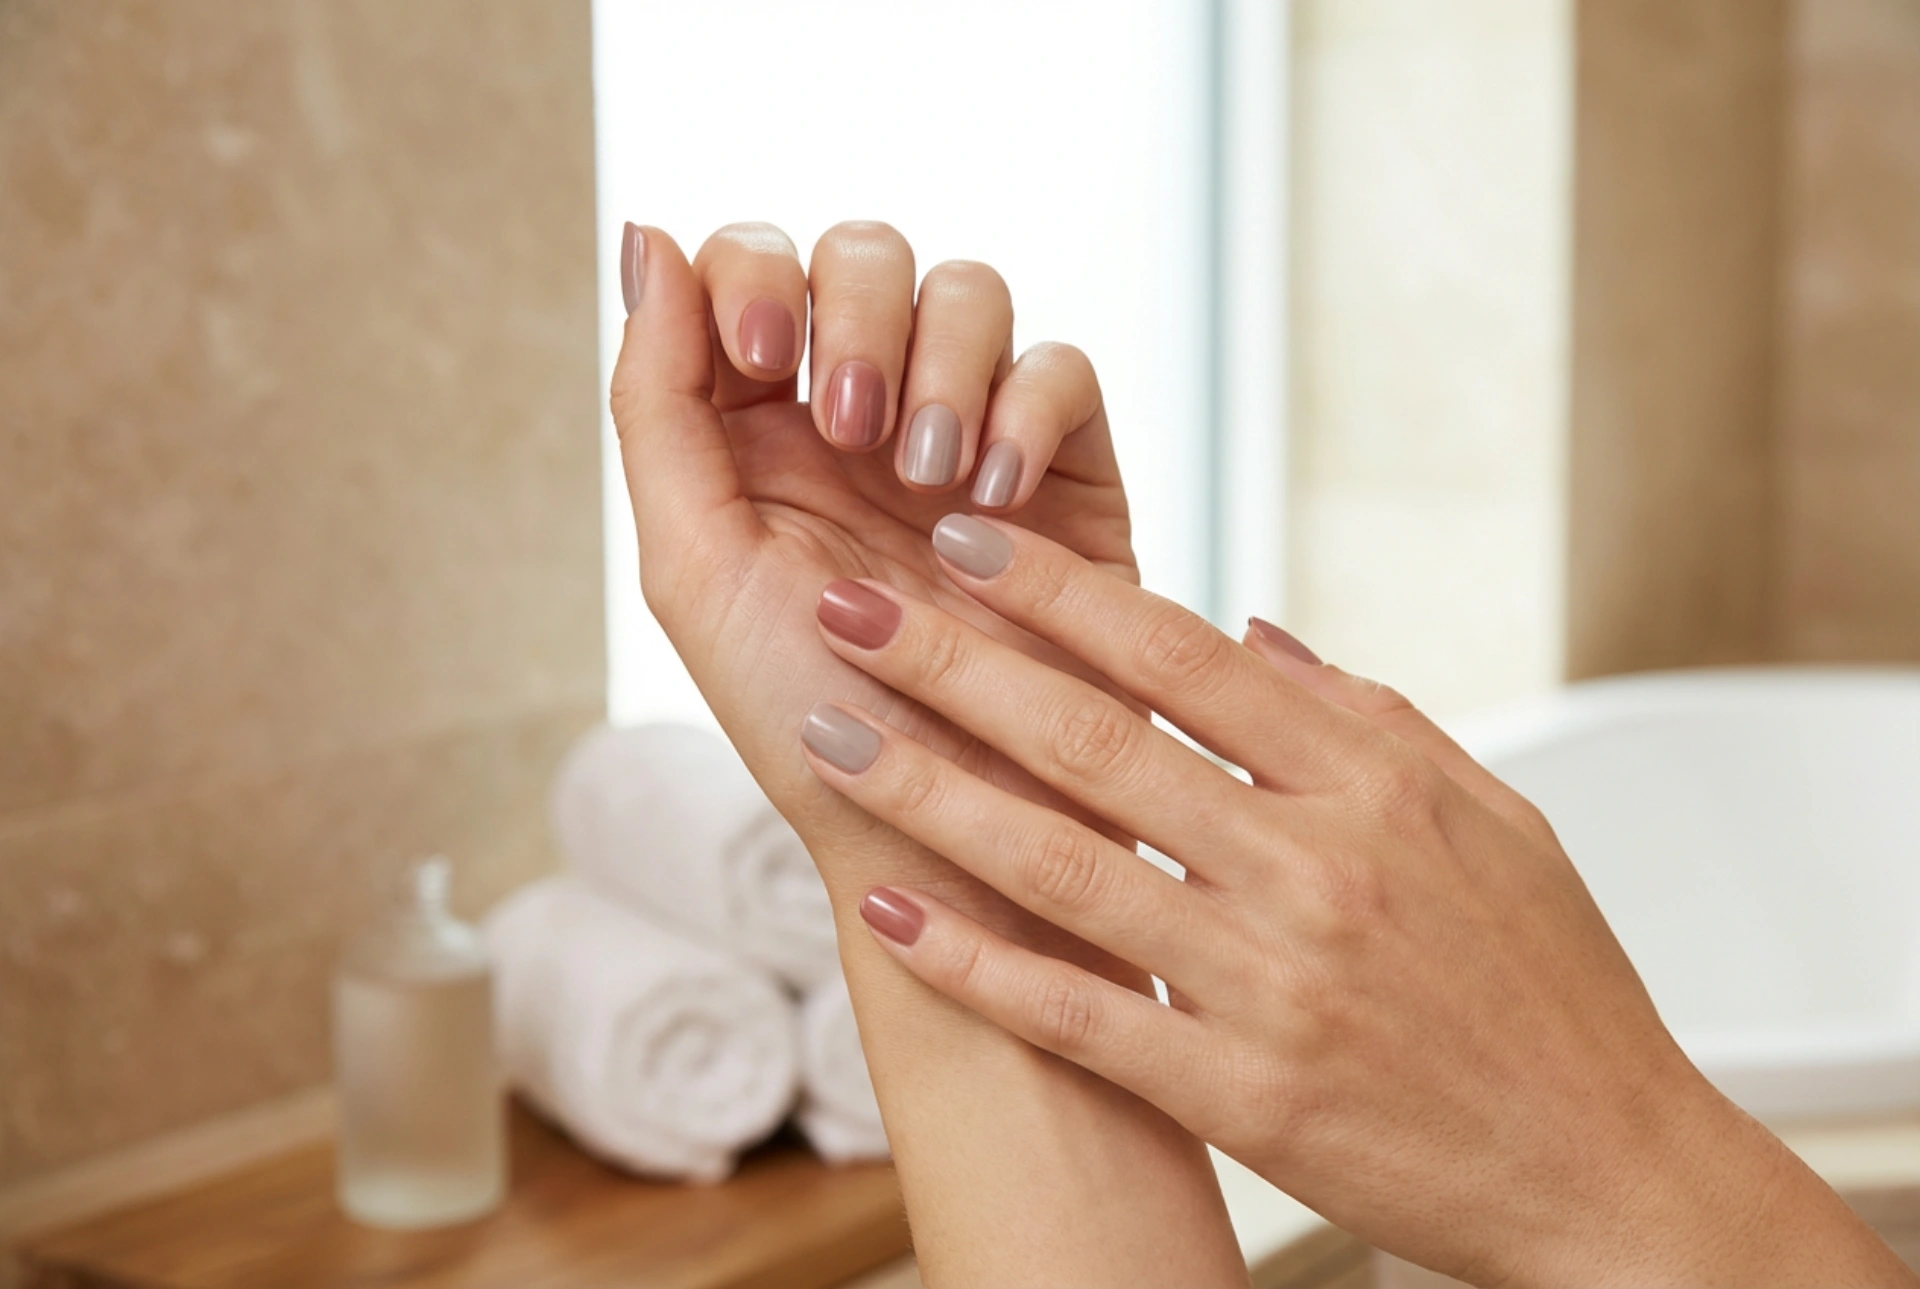
Maintaining the Gloss: Aftercare Tips
Your work isn't finished once the top coat is dry. Proper aftercare will keep your nails looking shiny and healthy for longer.
- Hydrate Daily: Apply cuticle oil or a nourishing hand cream to your nails and the surrounding skin every day. This keeps them hydrated and flexible, preventing breakage.
- Protect Your Hands: Wear gloves when doing household chores, such as washing dishes or cleaning with harsh chemicals. This protects your manicure from chipping and prevents water and detergents from dulling the shine.
- Be Gentle: Avoid using your nails as tools to scrape or open things. This is one of the quickest ways to ruin a perfect manicure.
- Refresh the Shine: If your nails start to look a little dull after a few days, you can apply another thin layer of top coat or gently use the finest side of your buffer to bring back the gloss.