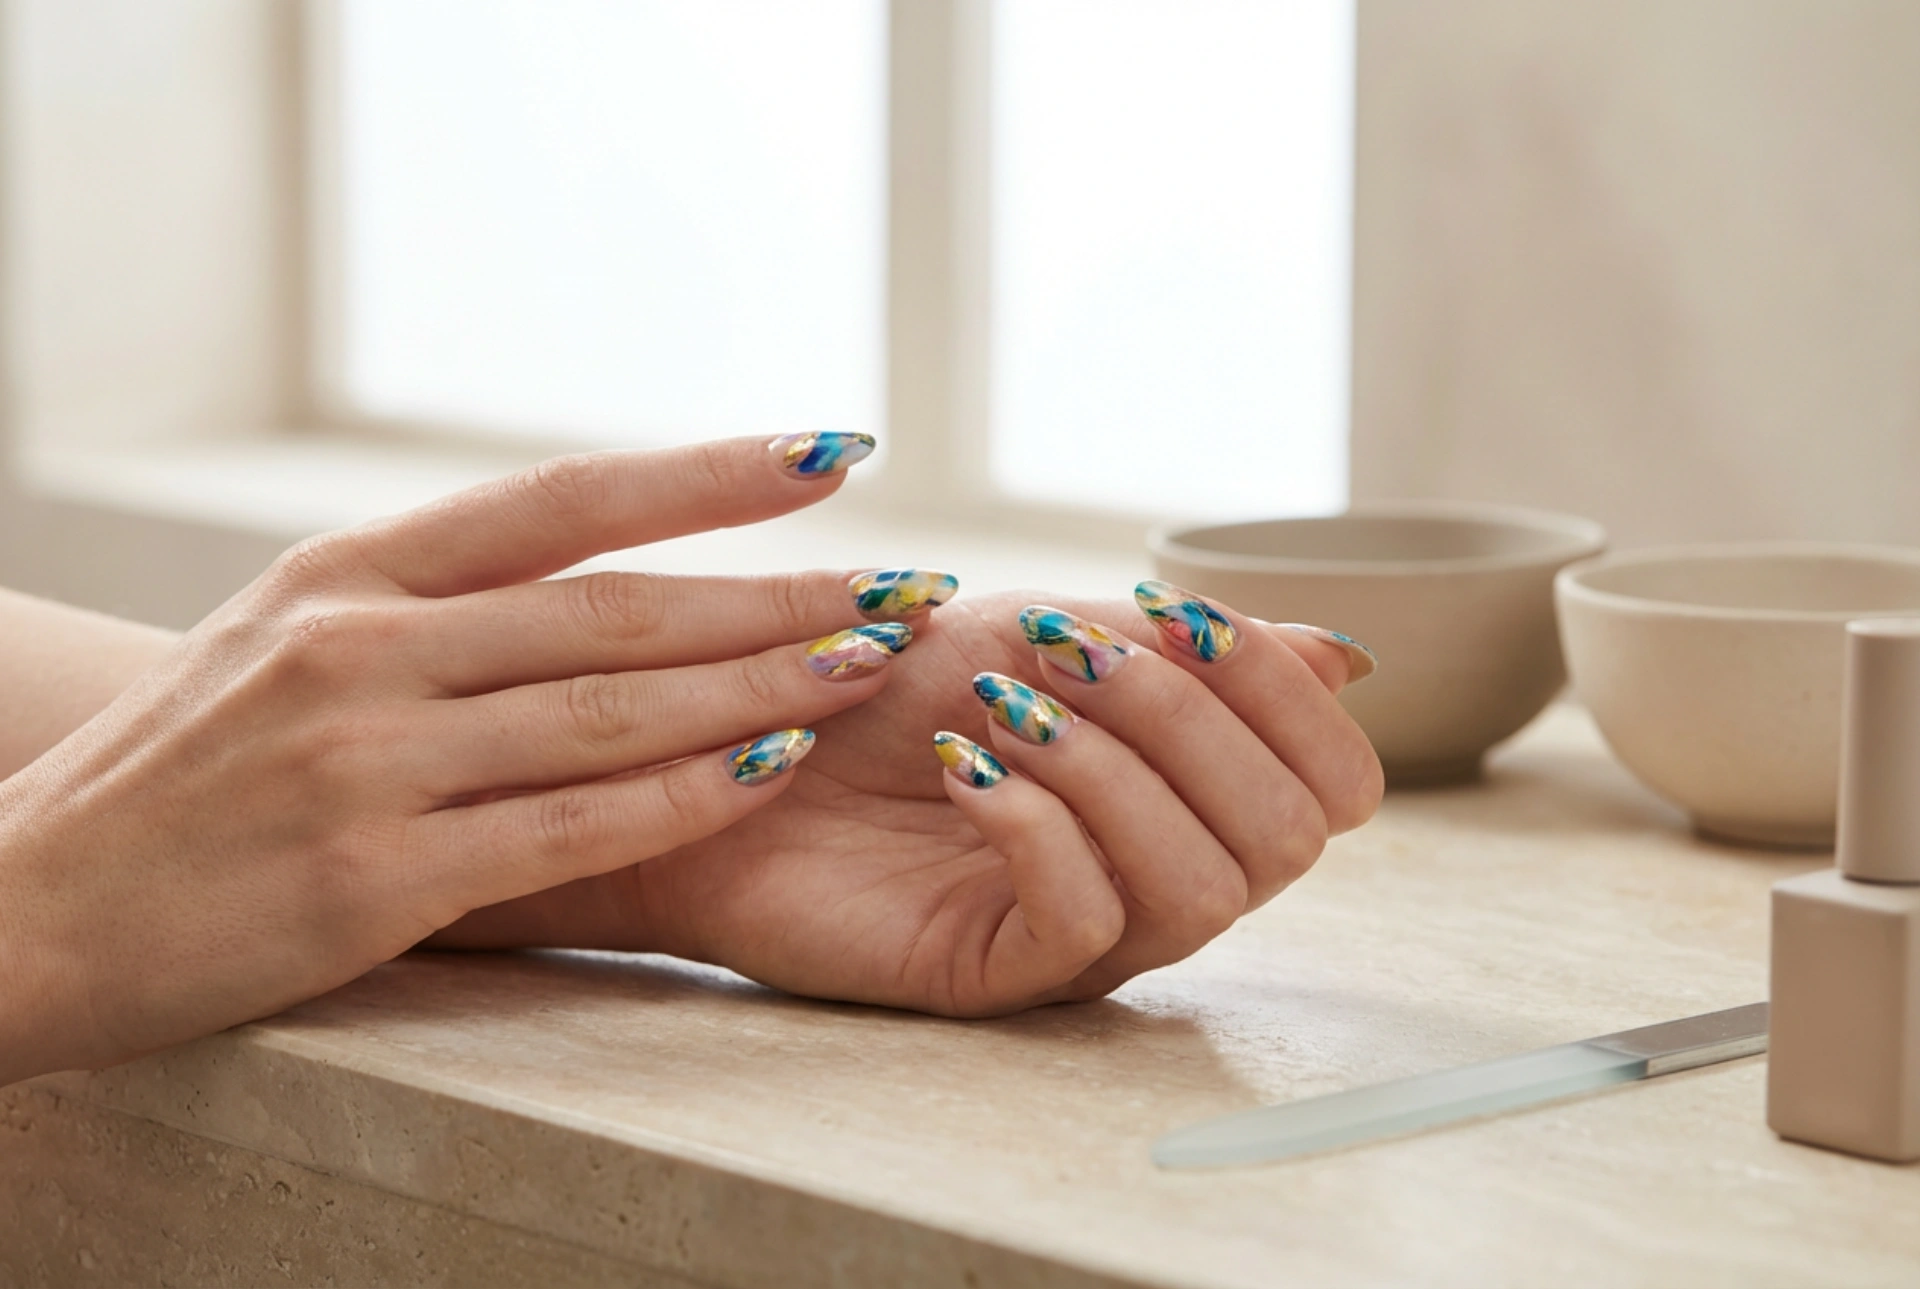


Vibrant, multi-coloured hybrid nails are a fantastic way to express your personal style and add a touch of artistry to your everyday look. A perfectly executed manicure with a glossy, durable finish can elevate your confidence and complement any outfit. Achieving this look at home is entirely possible with the right techniques and a little creativity. From preparing your nails correctly to mastering simple patterns, this guide will walk you through the process of creating a stunning and long-lasting colourful manicure.
The Foundation: Preparing Your Nails for a Flawless Manicure
The secret to a durable and beautiful hybrid manicure lies in meticulous preparation. Skipping this stage can lead to lifting, chipping, and a less-than-perfect finish. Before you even think about colours, dedicate time to getting your nails ready.
Key Preparation Steps:
- Clean and Shape: Begin by gently cleaning your hands and nails. File your nails to your desired shape, ensuring all edges are smooth. Whether you prefer a square, oval, or almond shape, consistency across all nails is key for a polished look.
- Cuticle Care: Soften your cuticles using a specialised remover or by soaking your fingertips in warm, soapy water. Gently push them back with a wooden stick or a cuticle pusher. Avoid cutting your cuticles, as this can lead to irritation and damage.
- Buff the Nail Plate: Lightly buff the surface of each nail with a fine-grit buffer. This removes natural shine and creates a slightly rough texture, which helps the base coat adhere more effectively. Be gentle to avoid thinning the nail.
- Dehydrate and Cleanse: After buffing, wipe each nail with a lint-free pad soaked in a nail cleaner or isopropyl alcohol. This step removes any dust and natural oils, ensuring maximum adhesion of the hybrid polish.
- Apply the Base Coat: The final preparation step is applying a thin, even layer of a hybrid base coat. This protects your natural nail and provides a tacky surface for the colour to grip onto. Be sure to cap the free edge of the nail by running the brush along the tip. Cure the base coat under a UV/LED lamp according to the product's instructions.
The Art of Combining Colours
Choosing your colour palette is one of the most exciting parts of creating a colourful manicure. The possibilities are endless, but understanding a few basic principles can help you create a harmonious and eye-catching design.
Colour Harmony on Your Fingertips
You don't need to be an expert in colour theory to make beautiful combinations. Consider these simple approaches:
- Monochromatic: Use different shades of the same colour for a sophisticated and subtle effect. For example, a gradient of pinks, from a pale blush to a deep magenta, across your nails.
- Analogous: Choose colours that sit next to each other on the colour wheel, such as blue, teal, and green. This creates a serene and cohesive look.
- Complementary: For a bold, high-contrast statement, pick colours that are opposite each other on the colour wheel, like blue and orange, or purple and yellow. You can use them on alternating nails or within a single nail art design.
- Accent Nail: A simple yet effective technique is to paint one nail on each hand—often the ring finger—in a different, contrasting colour or with a glitter finish, while the rest are a solid shade.
Creating Simple Yet Stunning Patterns at Home
You don’t need to be a professional artist to add intricate designs to your nails. Many beautiful patterns can be created with simple tools and basic techniques. Remember to cure each layer of colour as you build your design.
Beginner-Friendly Nail Art Ideas:
- Classic Dots: Use a dotting tool, the end of a bobby pin, or even a toothpick to create polka dots. You can vary the size and placement for a playful look.
- Elegant Stripes: A very thin nail art brush is perfect for painting clean vertical or horizontal stripes. For perfectly straight lines, you can also use striping tape, applying it after your base colour is cured and then painting over it.
- Modern French Manicure: Give the classic French manicure a colourful twist. Instead of a white tip, use a vibrant colour, a glitter polish, or even a different colour for each nail.
- Abstract Strokes: For an artistic, painterly effect, wipe most of the polish off a brush and apply light, feathery strokes of different colours over a cured base colour. This is a forgiving technique that always looks unique.
- Subtle Ombré: Create a smooth gradient effect by applying two or more colours onto a makeup sponge and dabbing it onto the nail. Clean up the skin around the nail before curing. Repeat for a more intense colour transition.
Ensuring Durability and a High-Gloss Finish
The final steps of application are crucial for locking in your design and ensuring your manicure lasts for weeks. The key is to work with thin layers and be patient during the curing process.
Application and Curing Best Practices
Always apply hybrid colour polish in thin, even coats. Two to three thin coats will provide better coverage and durability than one thick coat, which can cure unevenly and peel. Cure each layer completely under your UV/LED lamp as directed. Avoid letting the polish touch your skin or cuticles, as this can cause lifting. If you do get any on your skin, clean it off with a small brush dipped in cleaner before curing.
The Importance of the Top Coat
A high-quality top coat is non-negotiable for a professional-looking hybrid manicure. It serves several purposes: it seals your colour and design, protects the manicure from scratches and chipping, and provides the final finish. You can choose a glossy top coat for a classic, brilliant shine or a matte top coat for a modern, velvety effect. Apply a thin layer over your entire design, making sure to cap the free edge. After the final cure, some top coats leave a sticky inhibition layer, which can be easily wiped away with a lint-free pad and nail cleaner to reveal the perfectly smooth, hard finish underneath.


