


Cluster eyelashes offer a fantastic way to enhance your natural beauty, providing a customisable look that can range from subtly fuller to dramatically glamorous. Unlike strip lashes, these small bundles of individual fibres allow for precise placement, giving you complete control over the final effect. Achieving a seamless, professional-looking result at home is entirely possible with the right knowledge of density, length, and application methods. This guide will walk you through everything you need to know to master the art of applying cluster lashes.
Understanding Cluster Lash Variations
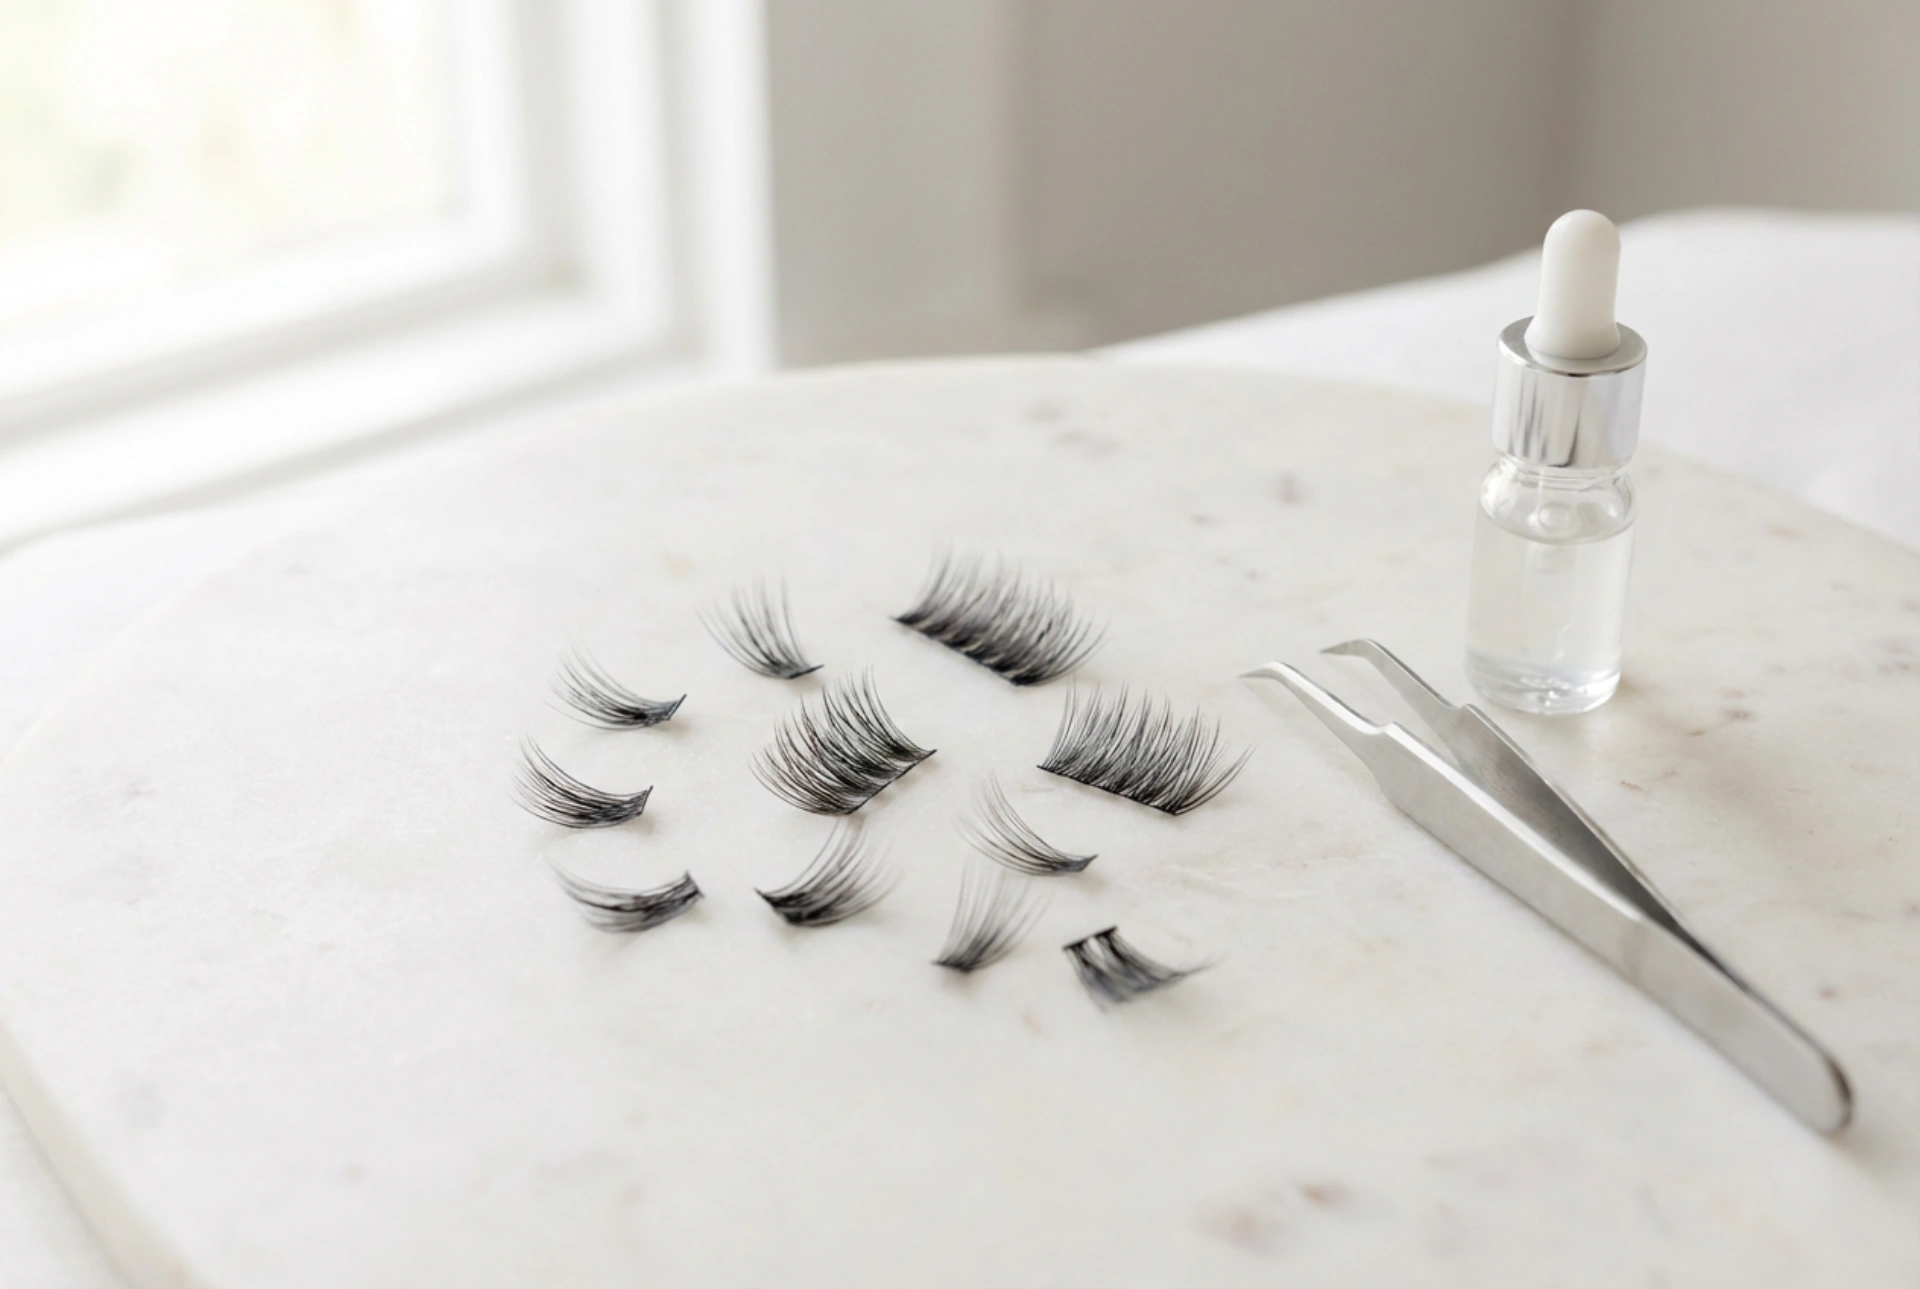
Cluster lashes are essentially small sections, or fans, of multiple lash strands bonded together at the base. They bridge the gap between single lash extensions and full strip lashes. This design makes them easier and faster to apply than individual lashes, yet they offer a more natural and tailored finish than a one-piece strip. They come in various materials, most commonly high-quality synthetic fibres that mimic the look and feel of natural hair. The key to a beautiful result lies in understanding how to select the right clusters for your eye shape and desired outcome.
Choosing the Right Density and Length
The beauty of cluster lashes is the ability to create a bespoke look. By mixing and matching different densities and lengths, you can design an eyelash style that is uniquely yours. This process is often referred to as 'lash mapping'.
Density for Your Desired Look
The density of a cluster refers to how many individual lash fibres are in each fan. A lower density cluster might have just a few fibres, perfect for filling in sparse areas of your natural lash line or for achieving a very light, 'barely there' enhancement. Higher density clusters contain more fibres and create a much fuller, darker, and more dramatic effect, ideal for special occasions or for those who love a bold look. When shopping for clusters, you might see terms like '10D' or '20D', which indicates the number of fibres in the fan. For a natural, everyday look, start with lower density clusters and build up if you desire more volume.
Selecting Lengths for a Custom Map
Using a variety of lengths is crucial for creating a believable and flattering shape. A single length used all the way across the eye can look unnatural. A classic technique is to mimic the natural growth pattern of your lashes. Use shorter clusters (e.g., 8-10mm) for the inner corner of the eye, gradually increasing to longer lengths (e.g., 12-14mm) towards the middle and outer corner. This creates a gentle, winged 'cat-eye' effect that elongates the eye. Alternatively, for a 'doll-eye' look that makes the eyes appear bigger and more open, place the longest clusters in the centre of the eye, tapering down to shorter lengths at both the inner and outer corners.
Step-by-Step Application Guide
Proper application ensures your lashes look seamless and last as long as possible. Patience and a steady hand are your best tools.
Preparation is Key
Always begin with clean, dry eyelashes and eyelids. Any oil or makeup residue can prevent the adhesive from bonding correctly. It is not recommended to wear mascara on your natural lashes when applying clusters. You can give your natural lashes a gentle curl with an eyelash curler; this helps them blend more seamlessly with the upward curve of the false lashes.
The Application Process
Follow these steps for a flawless finish:
- Pour a small drop of lash adhesive onto a clean surface. Using fine-tipped tweezers, gently pick up a single cluster from its tray by gripping it at the base.
- Dip the very base of the cluster into the adhesive. Be careful not to use too much; a tiny amount is sufficient. Wait about 20-30 seconds for the adhesive to become tacky.
- Looking down into a mirror, carefully place the cluster underneath your natural lashes, getting as close to your upper waterline as possible without touching the skin. Applying them from below hides the band and creates the most natural look.
- Start from the outer corner and work your way in, or vice versa, depending on your preference. Place the clusters side-by-side, slightly overlapping them if you want extra volume.
- Continue applying clusters according to your pre-planned 'lash map' of different lengths.
- Once all clusters are in place and the adhesive is dry, you can gently press the clusters and your natural lashes together with a lash applicator or clean fingertips to secure the bond and ensure they are blended.
Aftercare and Safe Removal
To get the most out of your cluster lashes, proper care is essential. Avoid rubbing your eyes and be gentle when cleansing your face. Steer clear of oil-based cleansers and makeup removers around the eye area, as oil can dissolve the lash adhesive. For removal, never pull or peel the clusters off, as this can damage your natural lashes. Instead, saturate a cotton pad with an oil-based makeup remover or a specific lash glue remover. Press the pad gently against your closed eye for 30-60 seconds to allow the oil to break down the adhesive. The clusters should then slide off effortlessly. Gently wipe away any remaining residue to leave your natural lashes clean and healthy.