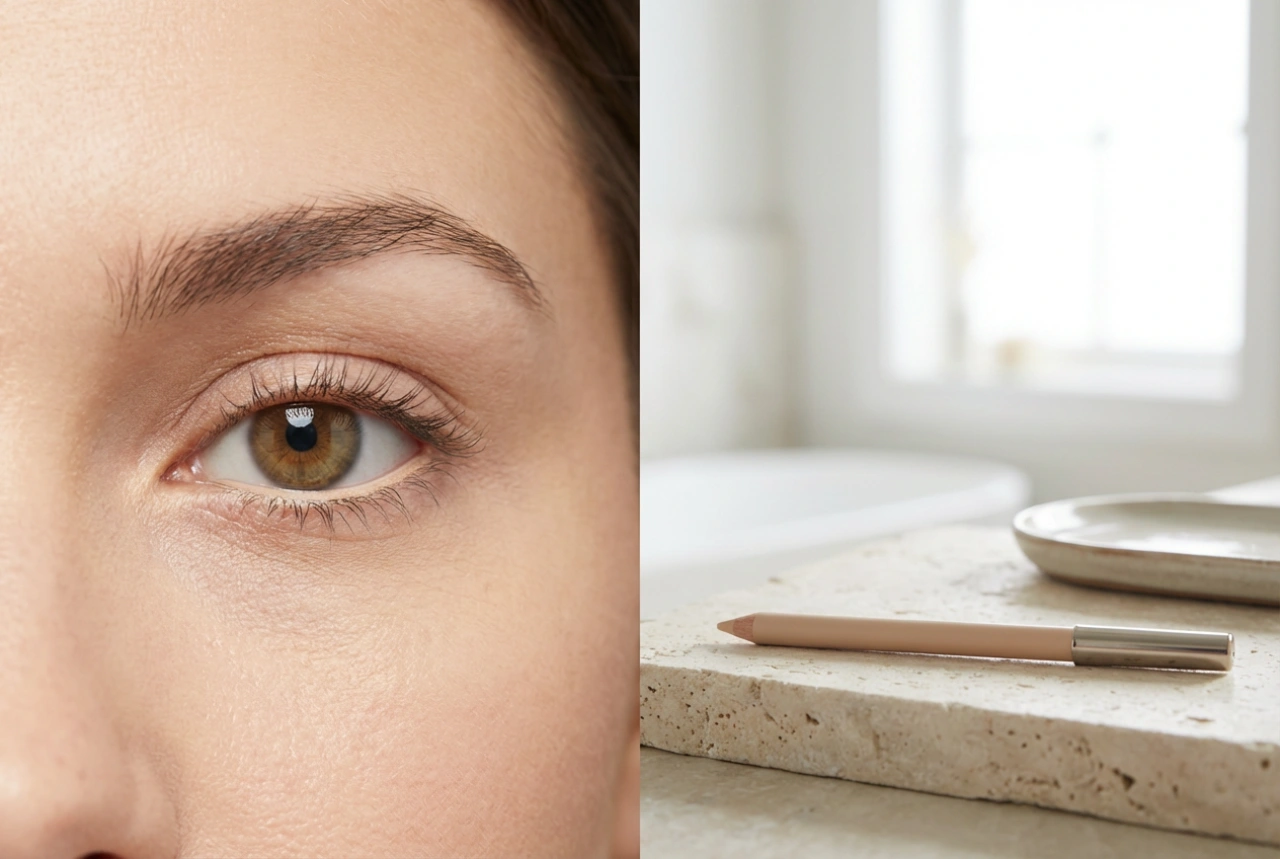
Well-defined eyebrows frame the face and add structure to your features, and eyebrow tinting is a popular method for achieving this effect. The goal is to enhance your natural brows, making them appear fuller and more polished without looking artificial. Using tools like a precision brush and a mixing dish, you can achieve a refined, natural aesthetic right from home. This guide will walk you through the process, focusing on techniques that deliver subtle, beautiful results rather than an overly harsh or blocky appearance.
Choosing the Right Shade and Preparation
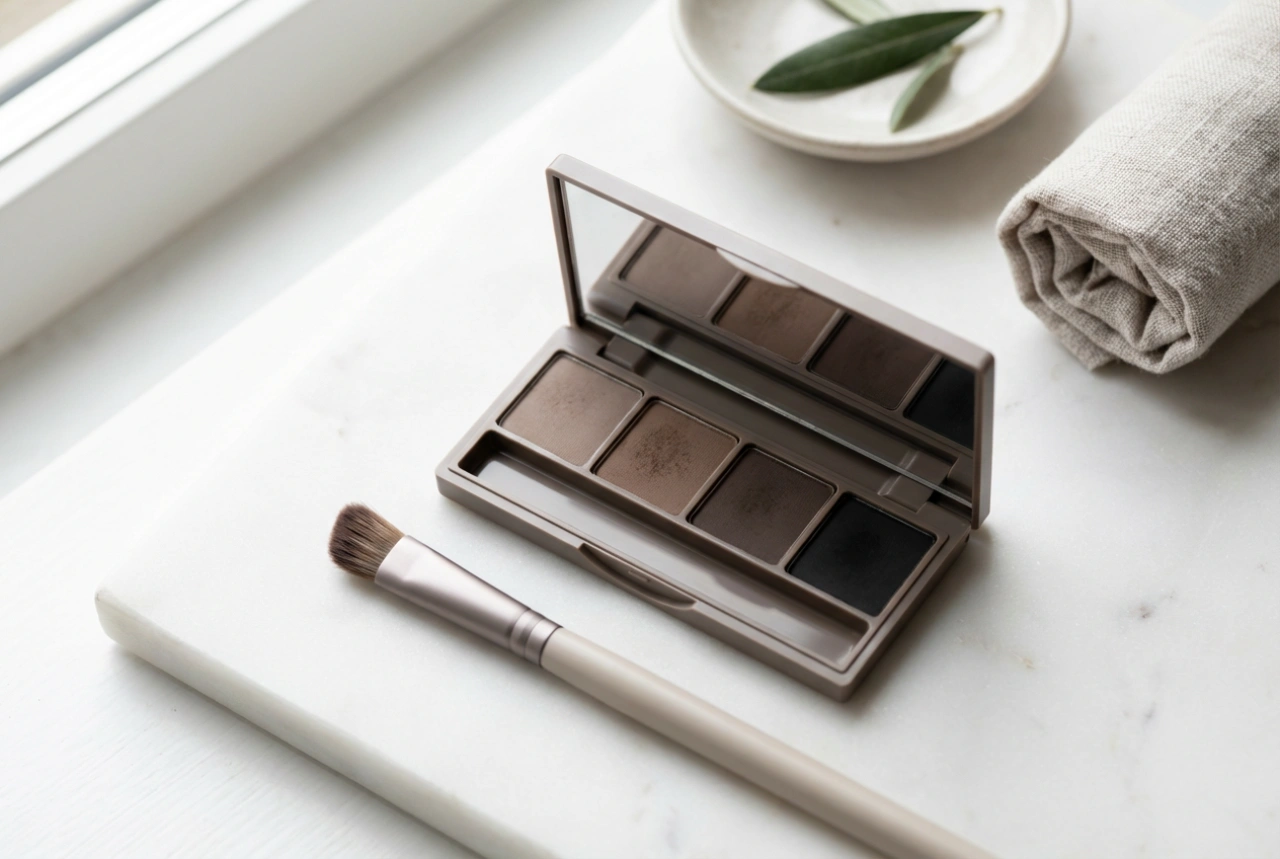
The first step to a natural-looking tint is selecting the correct colour. Most tints come in shades like light brown, dark brown, graphite, and black. A common mistake is choosing a colour that is too dark. As a general rule, opt for a shade that is one or two shades lighter than your desired final result, as the colour will deepen during development. If you have fair hair, a light brown or graphite might be suitable. For brunettes, a medium or dark brown often works well. It is always better to build up colour intensity with a second application if needed, rather than starting too dark.
Essential Preparation Steps:
Before you begin, proper preparation is crucial for both safety and achieving an even result. Always perform a patch test 24-48 hours before the full application to check for any skin sensitivity. To prepare the brow area, cleanse your face to remove any makeup, oils, or skincare products. Pat the eyebrows completely dry. To protect the surrounding skin from staining, apply a thin layer of a barrier cream or a thick moisturiser around the perimeter of your brows, being careful not to get any on the brow hairs themselves. This creates a boundary that prevents the tint from colouring your skin.
The Application Process for a Flawless Finish
Precision is key during application. Follow the instructions included with your tinting kit to mix the tint and the developer. The consistency should be a smooth, creamy paste that is not too runny.
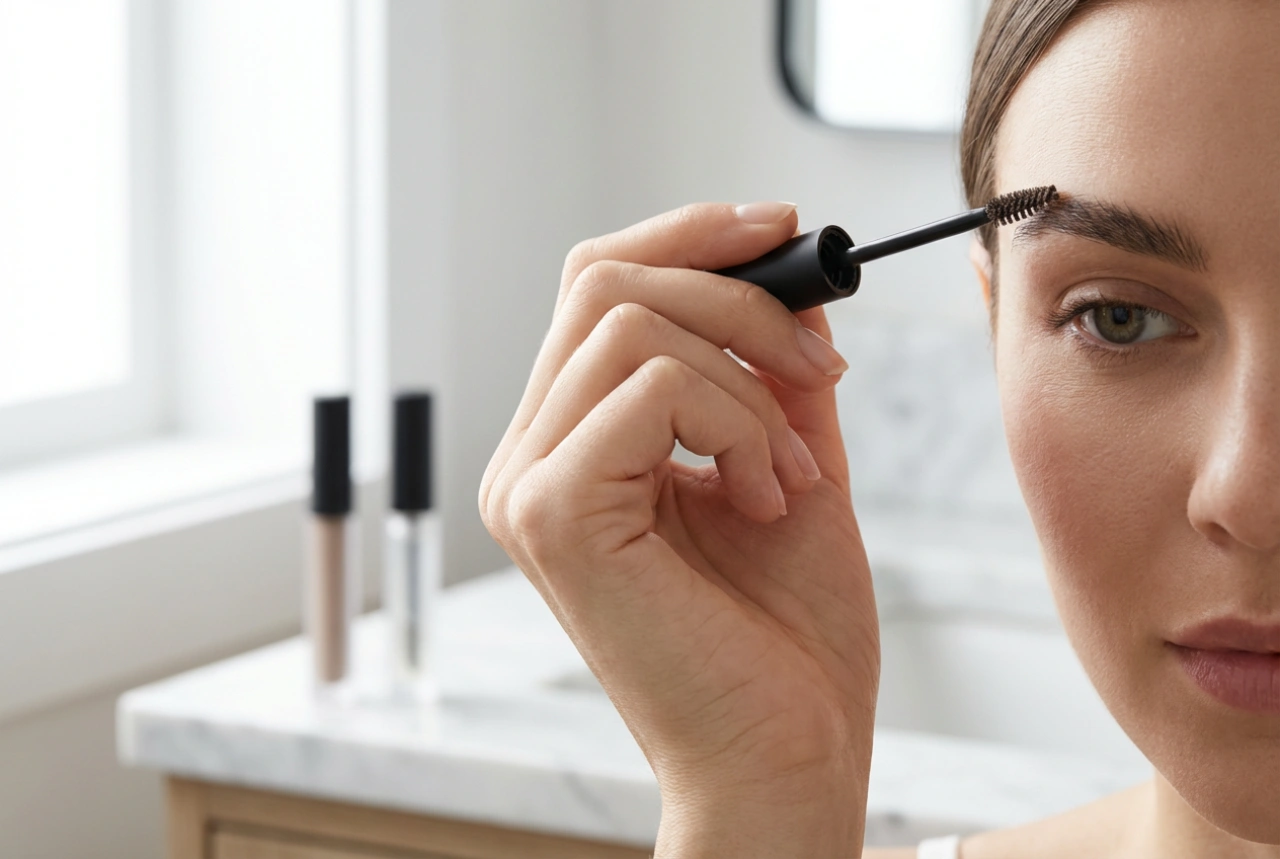
- Using a small, angled brush or the applicator provided, start applying the mixture to the main body of your eyebrow, working from the arch towards the tail. This area can typically handle the most colour.
- Apply the tint carefully, following your natural brow shape. Use short, controlled strokes to cover all the hairs evenly.
- For the front part of the brow (closest to your nose), apply the tint last. This part of the brow is naturally sparser, and applying the tint here for a shorter duration helps create a softer, more natural-looking gradient or 'ombre' effect.
- Use a cotton bud to immediately clean up any smudges or mistakes around the brow shape for a crisp, clean outline.
- Set a timer according to the product's instructions. Processing time can range from 5 to 15 minutes. For a more natural look, it is wise to check the colour development every few minutes by gently wiping a small section with a damp cotton pad. You can always reapply if it's too light, but you cannot undo a tint that has become too dark.
Achieving a Natural Result and Aftercare
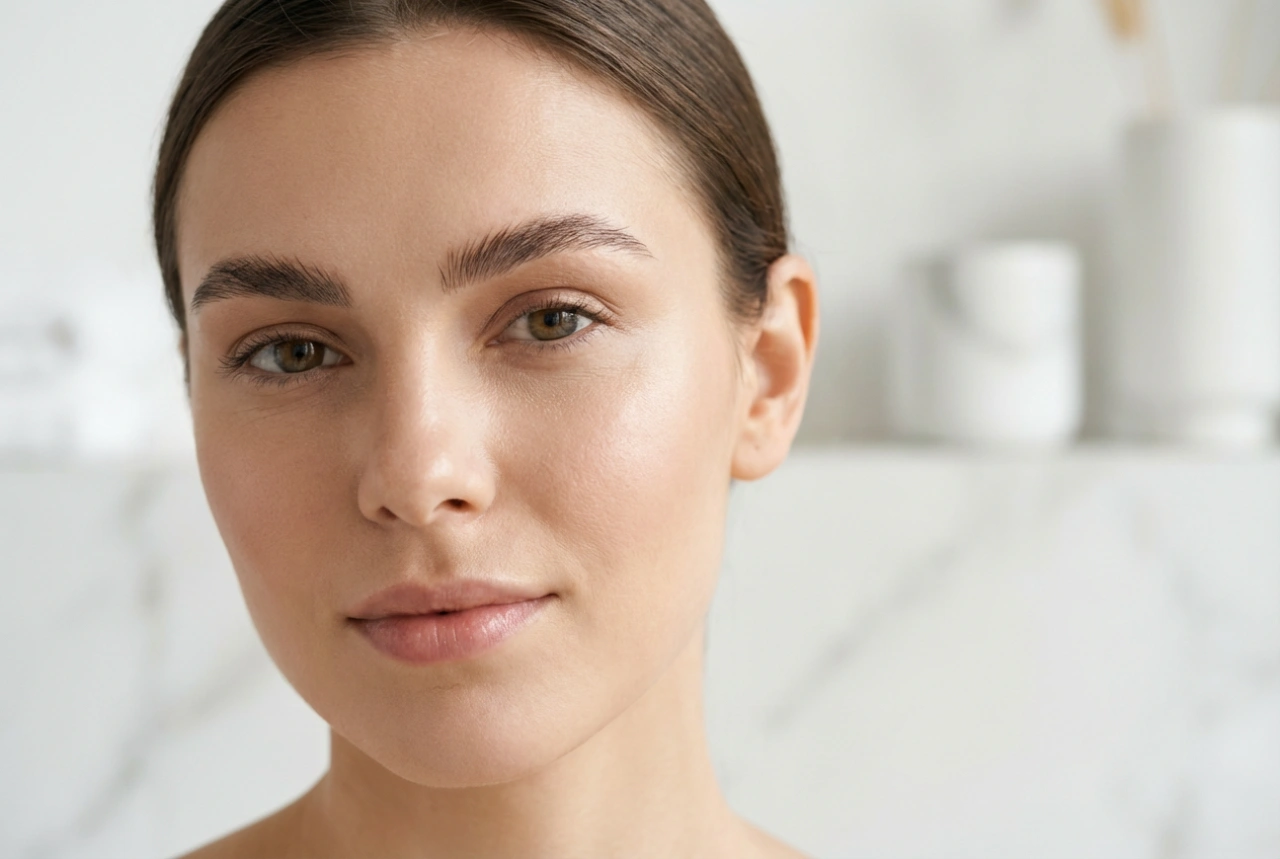
Once the processing time is complete, gently remove the tint using a damp cotton pad. Wipe in the direction of hair growth until all the product residue is gone. Your brows may appear quite dark immediately after rinsing, but this initial intensity often softens over the next 24 hours as the colour settles and any slight skin staining fades. Brush your brows into place with a clean spoolie to see the final, defined shape.
Making Your Tint Last
To maintain your freshly tinted brows and prolong the colour, a little aftercare goes a long way. For the first 24 hours, try to avoid getting the brows wet, and steer clear of steam from saunas or hot showers. When cleansing your face in the following weeks, try to avoid using oil-based cleansers, exfoliants, or harsh scrubs directly on the brow area, as these can cause the colour to fade more quickly. Pat the area dry gently after washing. The tint on the hairs will typically last for several weeks, gradually fading over time. You can repeat the tinting process when you notice the colour has significantly lightened.