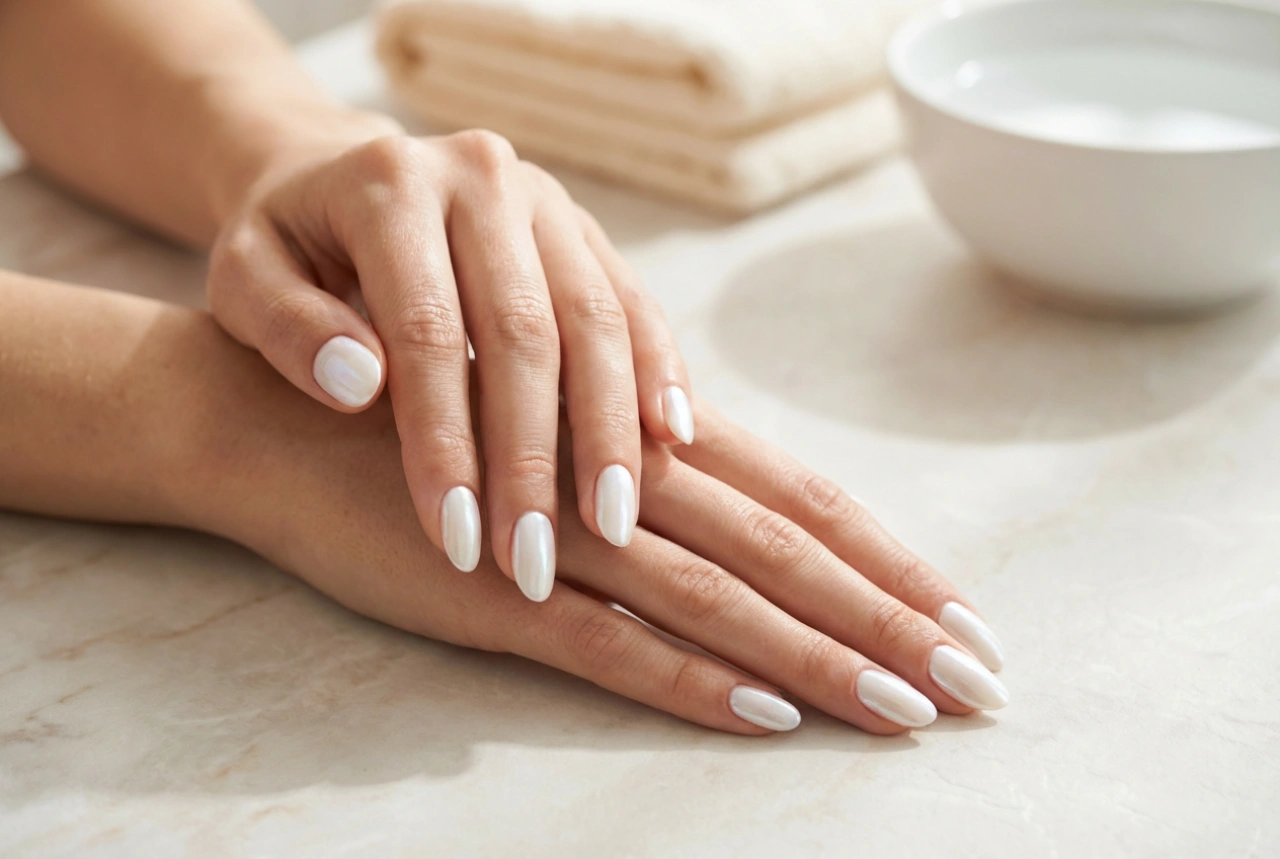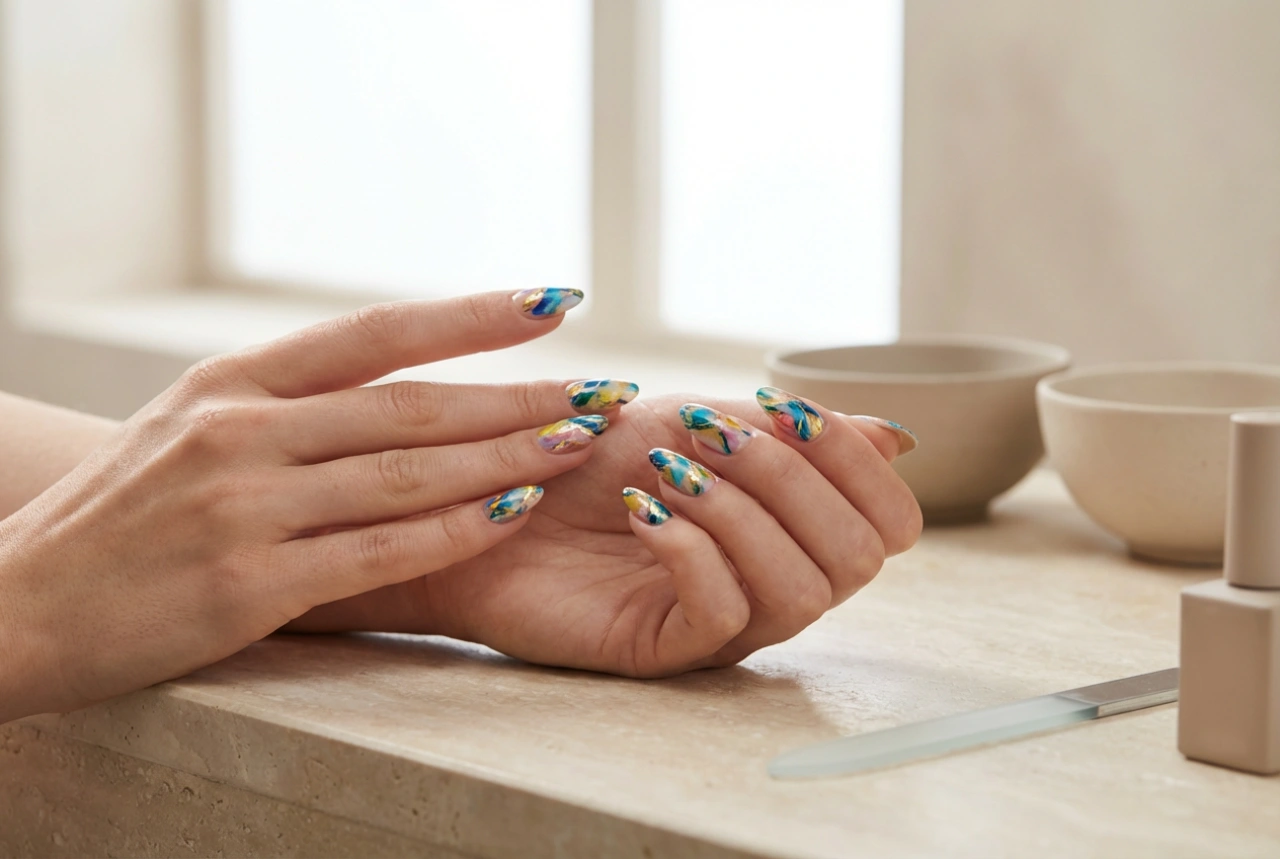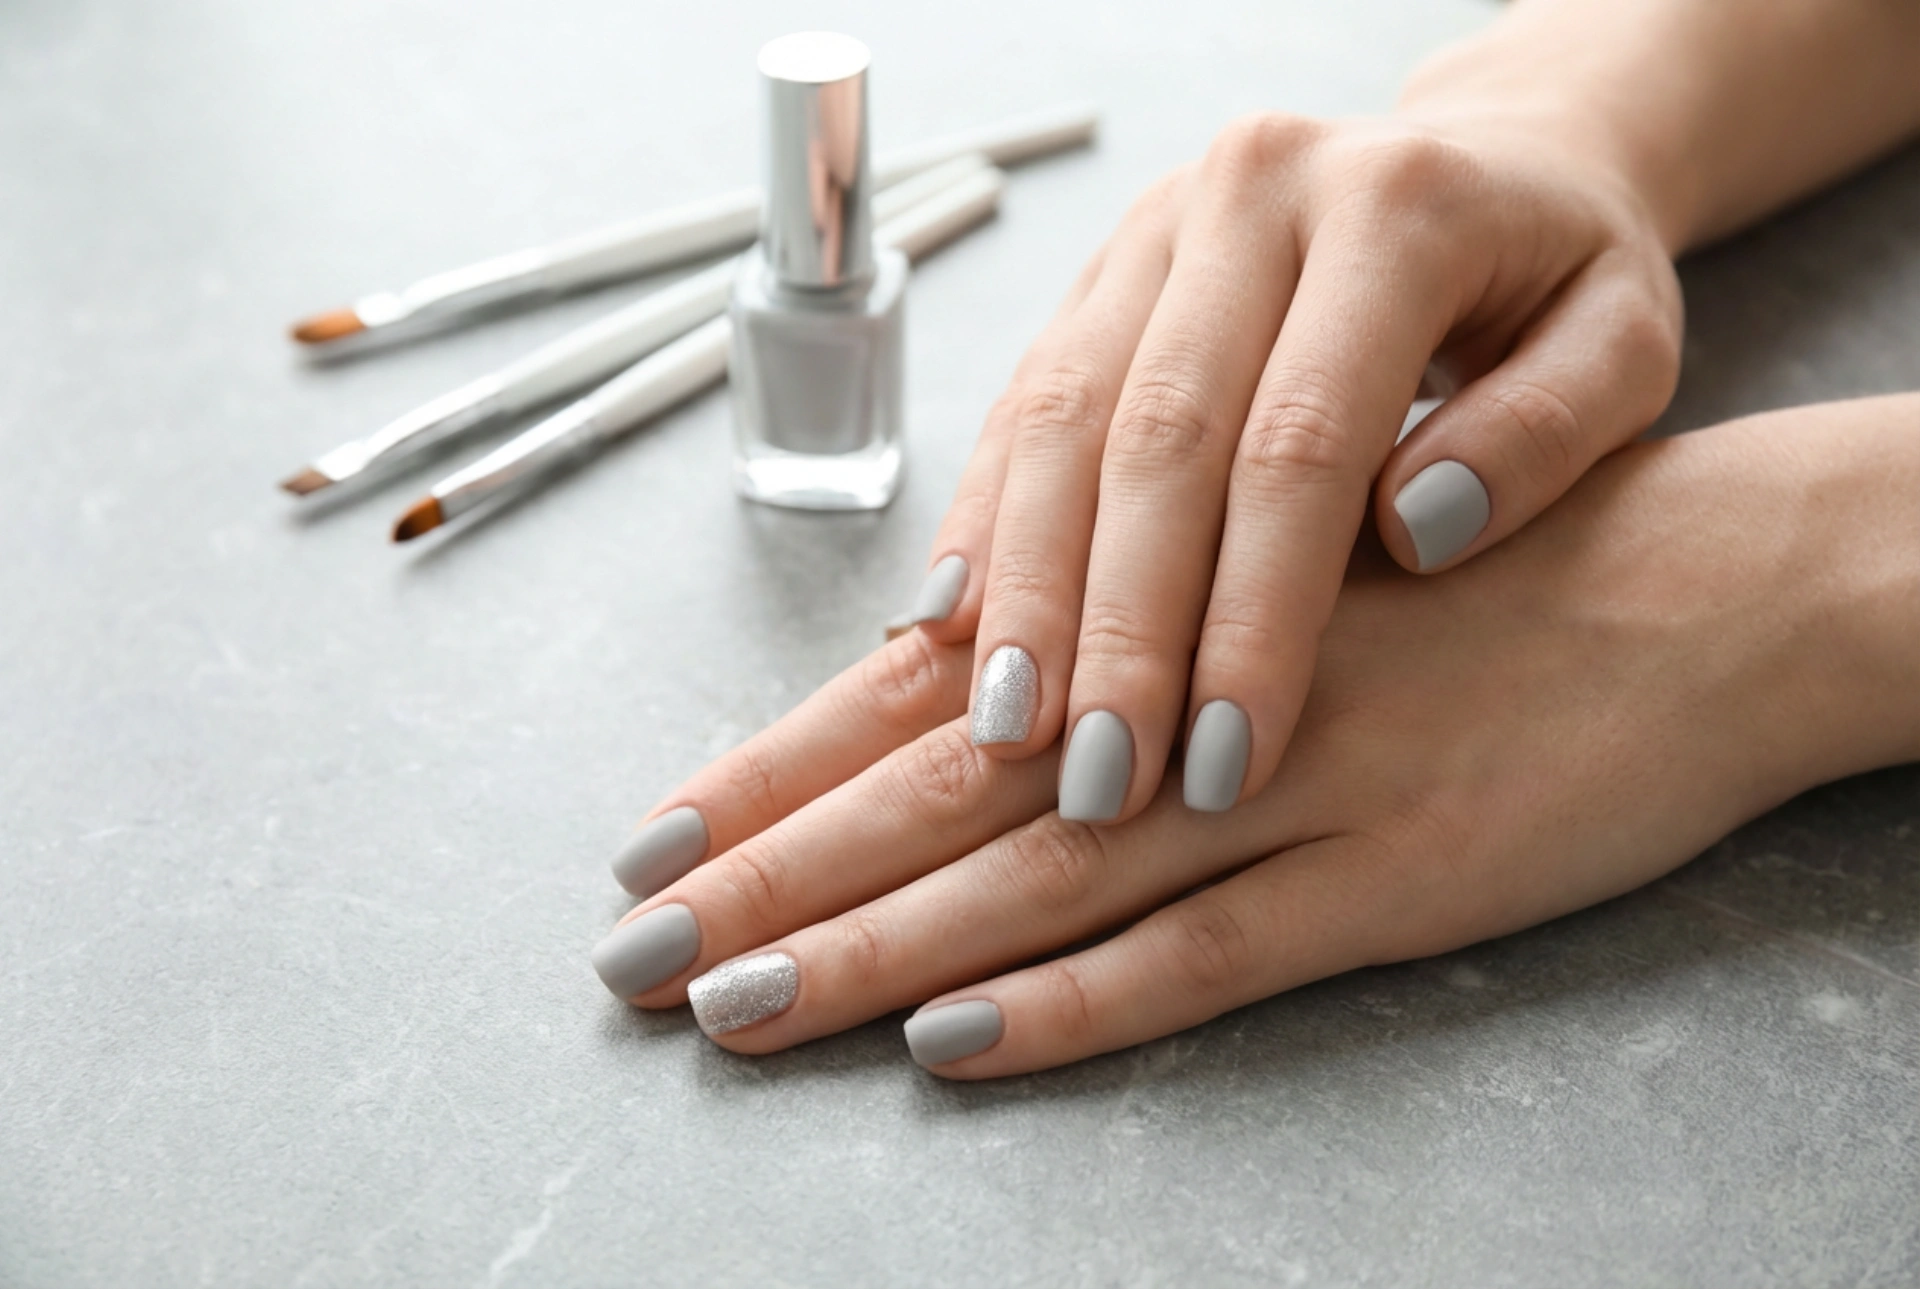


Grey is a colour of timeless elegance and versatility in the world of beauty. A grey manicure can be both subtle and striking, suitable for any occasion, from a professional meeting to a sophisticated evening out. By adding a simple silver accent, you can elevate this classic look into something truly special and modern. Creating this chic design at home is easier than you might think. With a few basic tools and a steady hand, you can achieve a salon-quality manicure that reflects a polished, contemporary aesthetic.
Preparing Your Nails for a Flawless Finish
Before you even think about opening a bottle of polish, proper nail preparation is crucial. This step ensures a smooth application and helps your manicure last longer. Start by removing any old polish completely. Then, wash and dry your hands thoroughly.
Shaping and Buffing
Use a nail file to gently shape your nails into your desired form, whether it's square, oval, or almond. Always file in one direction to prevent splitting. Next, lightly buff the surface of your nails with a buffing block. This removes natural oils and creates a slightly textured surface for the polish to adhere to. Be gentle; the goal is not to thin the nail, but simply to prepare it.
Cuticle Care
Apply a cuticle remover and let it sit for a minute before gently pushing your cuticles back with a wooden or rubber-tipped cuticle pusher. Avoid cutting your cuticles, as this can lead to irritation and damage. Once done, wipe away any excess product. This step creates a clean, neat frame for your nail colour.
Achieving the Perfect Grey Base
With your nails prepped, it's time to apply the base colour. The shade of grey you choose will set the tone for your entire manicure. Lighter, dove greys feel soft and airy, while deep charcoals are bold and dramatic. Whether you opt for a matte or glossy finish, the application technique is key.
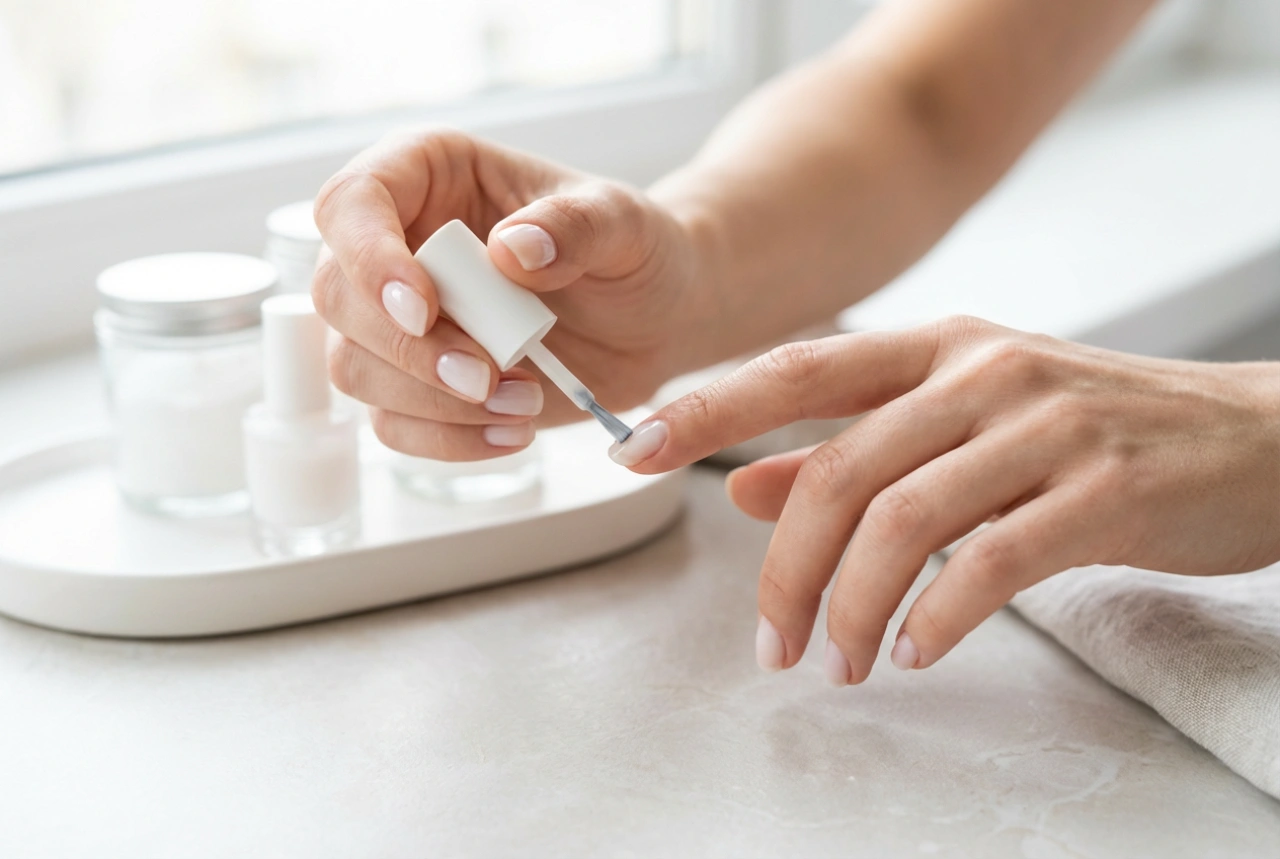
Application Technique
Begin with a thin layer of a quality base coat. This protects your nails from staining and helps the colour last. Once dry, apply your chosen grey polish. The secret to an even, streak-free finish is to use thin coats. Start with a single stripe down the centre of the nail, then one on each side. Allow the first coat to dry completely for a few minutes before applying a second. Two thin coats will almost always provide better coverage and durability than one thick coat.
Adding the Silver Accent: Creative Ideas
This is where you can let your creativity shine. The silver accent is what makes this manicure stand out. There are several simple yet effective techniques you can try, even as a beginner.
The Classic Accent Nail
The easiest and most popular method is to paint one nail on each hand entirely in a silver polish. The ring finger is the traditional choice for an accent nail, but feel free to experiment with your thumb or index finger for a different look. You can use a metallic silver for a sleek finish or a glittery silver for extra sparkle.
Subtle Silver Lines and Tips
For a more minimalist design, use a thin nail art brush to add delicate silver lines. A simple vertical stripe down the centre of one or more nails looks incredibly chic. Another option is a silver French tip, where you paint just the tip of the nail with silver polish. You can do this on all nails or just your accent nail for a subtle touch of glamour.
Simple Dotting Patterns
A dotting tool is an excellent instrument for beginners. Simply dip the tool into your silver polish and create a pattern of small dots. You could place a single dot at the base of each nail, create a line of dots, or scatter them randomly over an accent nail. It's a playful yet sophisticated way to incorporate the silver element.
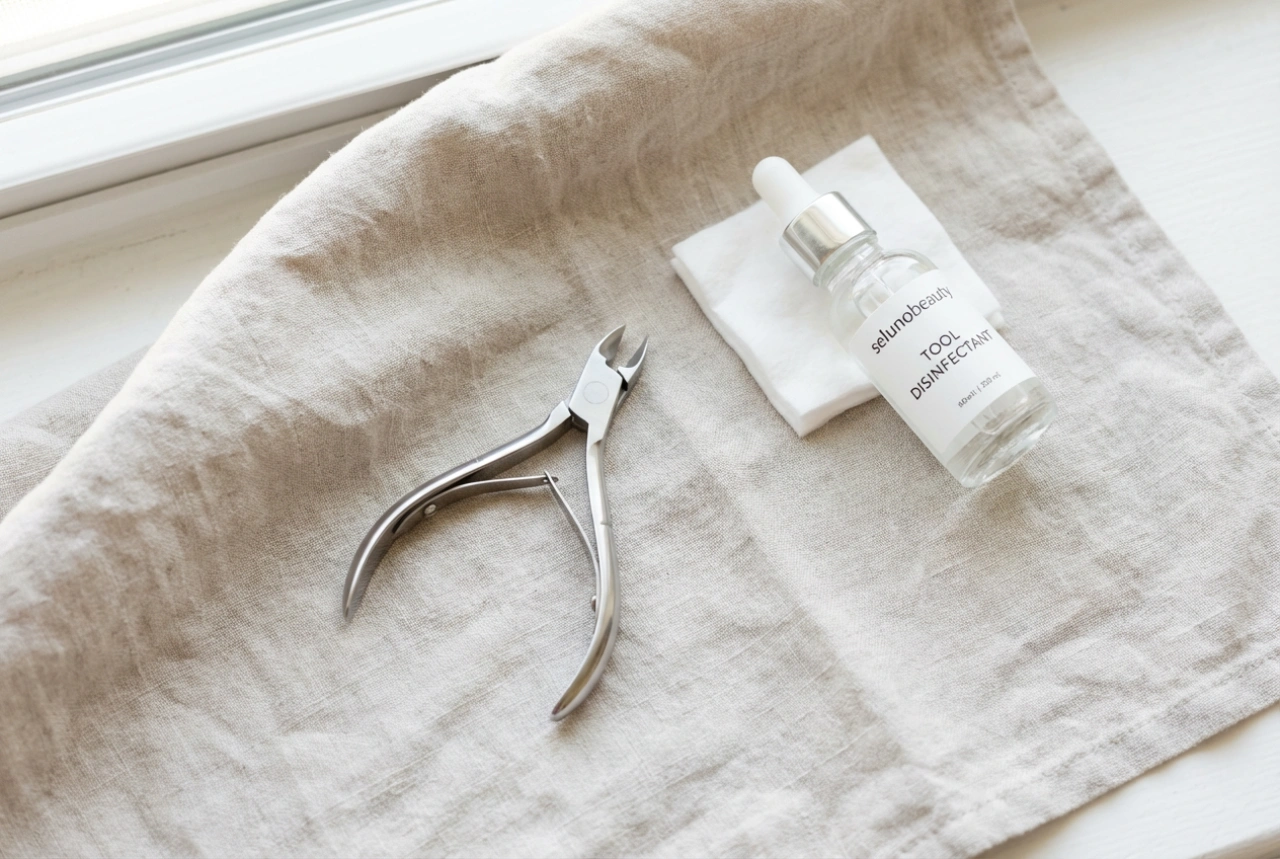
Essential Tools for Your Home Manicure
Having the right tools on hand makes the process much smoother. For this design, you'll want to have a basic home nail kit that includes:
- Nail file and buffer
- Cuticle pusher
- A good quality base coat and top coat
- Your chosen grey nail polish
- A silver nail polish (metallic or glitter)
- A thin nail art brush and/or a dotting tool
- Nail polish remover and a small, clean brush for tidying up any mistakes around the nail edge
Sealing Your Design for Longevity
After you've applied your silver accents and they are completely dry, the final step is to seal your artwork with a high-shine top coat. This not only adds a beautiful gloss but also protects your manicure from chipping and extends its life. Apply a generous layer over the entire nail, making sure to 'cap' the free edge by swiping the brush along the tip of the nail. To maintain the fresh look, you can reapply the top coat every two to three days.