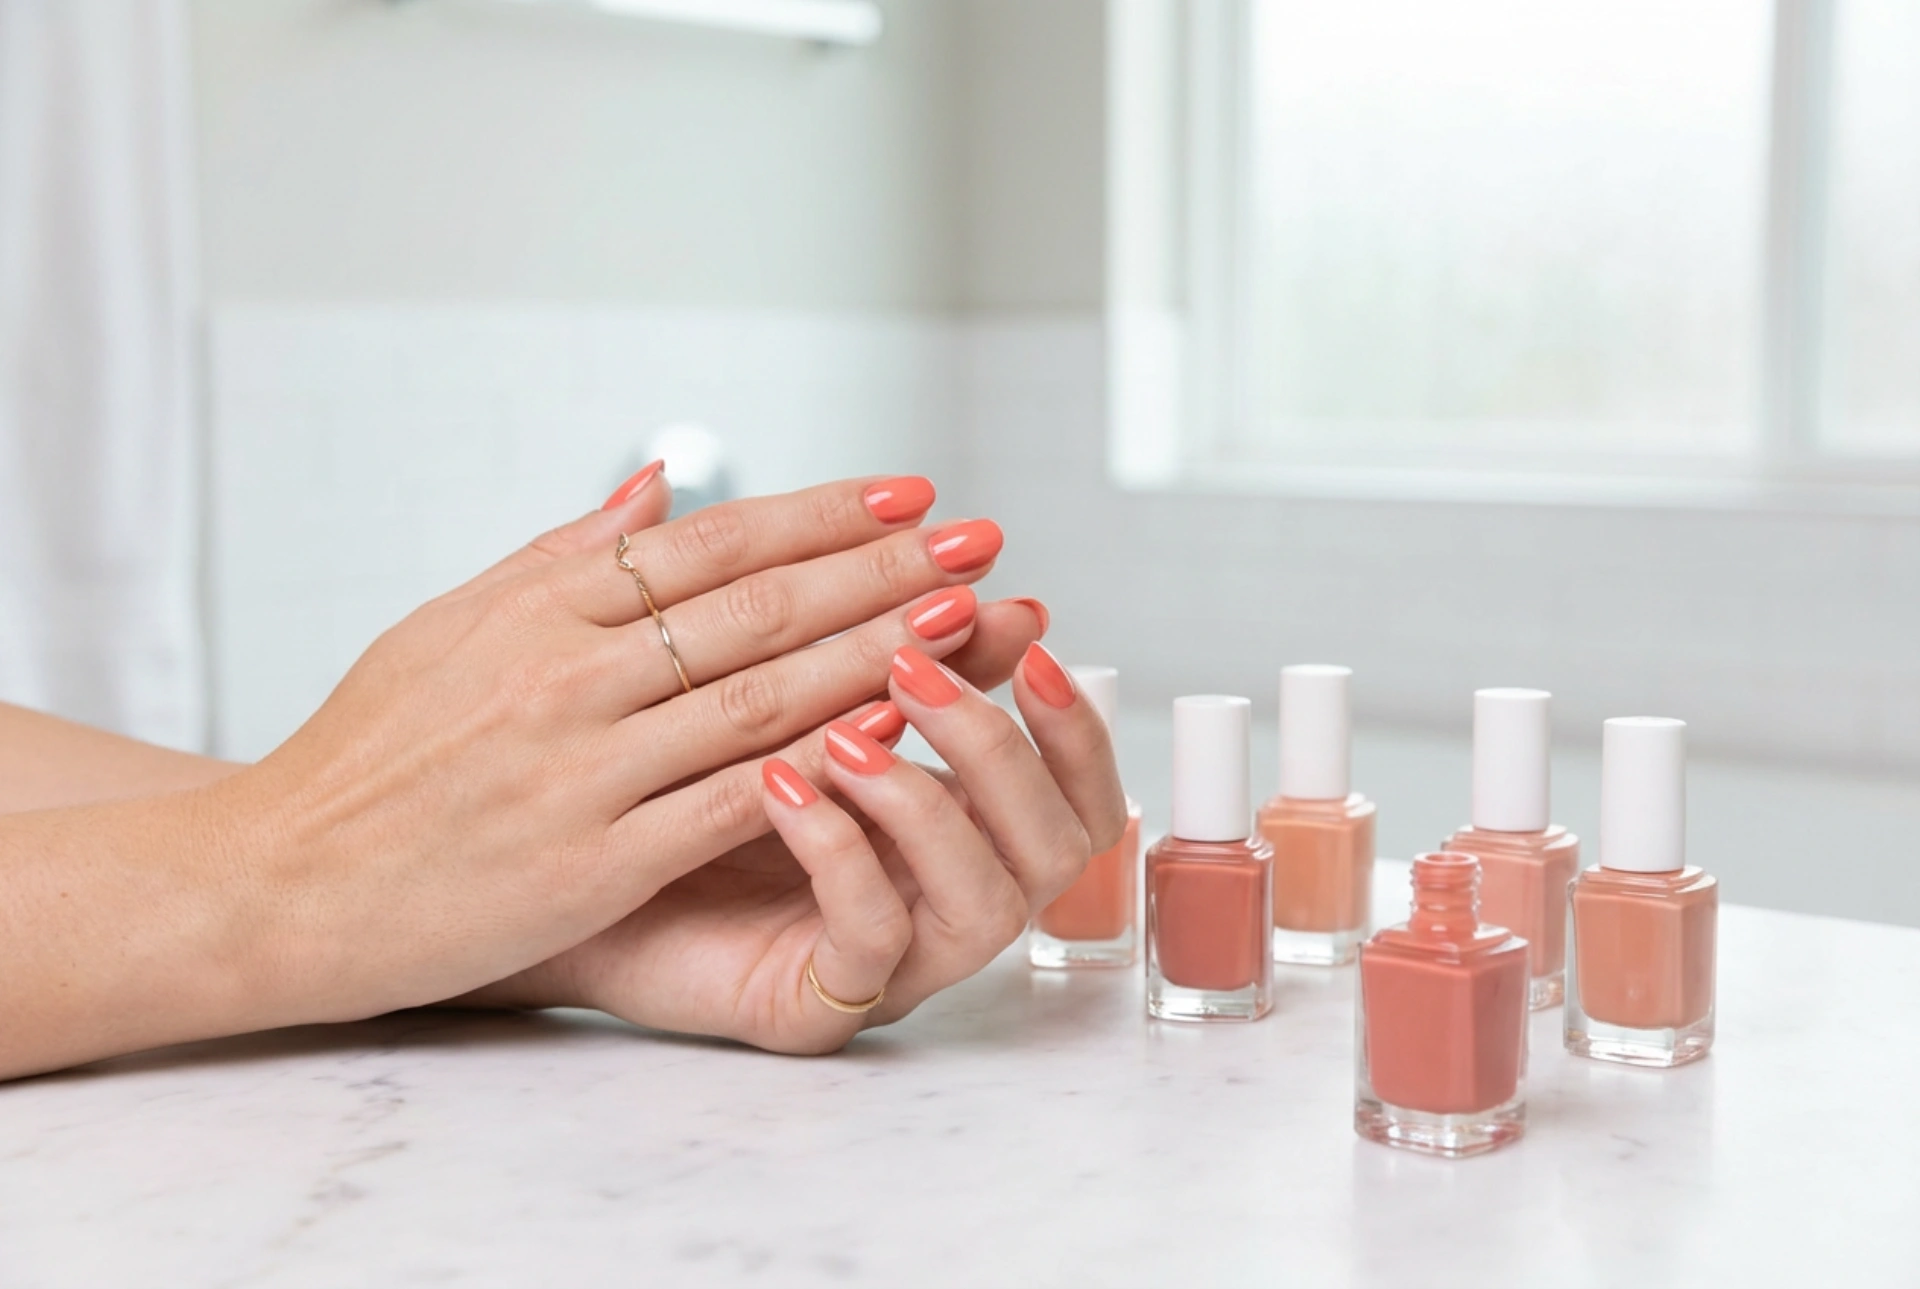


Coral is a wonderfully vibrant and versatile colour that brings a touch of warmth and cheerfulness to any manicure. It sits beautifully between pink and orange, offering a wide spectrum of shades that can complement various styles and occasions. A perfect coral manicure, as seen on elegant hands with a glossy finish, is achievable at home with the right techniques. This guide will walk you through selecting the ideal coral hue for your skin tone and mastering the application process for a flawless, long-lasting result.
Choosing the Right Coral Shade for Your Skin Tone
The key to a stunning coral manicure is finding a shade that harmonises with your skin's undertones. While personal preference is paramount, certain guidelines can help you select the most flattering colour.
For Fair Skin Tones
If you have fair or pale skin, softer coral shades often work best. Look for corals with a strong pink or peachy undertone. Pastel corals or light, creamy shades can illuminate the skin without appearing too harsh. A delicate, soft coral will provide a chic and subtle pop of colour that enhances the natural brightness of your complexion.
For Medium and Olive Skin Tones
Medium and olive skin tones can handle a broader range of corals. Bright, vibrant, and true coral shades look particularly striking against this complexion. You can confidently experiment with vivid orange-based corals that make a bold statement. These warmer, more intense hues create a beautiful contrast and bring out the golden or olive undertones in your skin, resulting in a radiant, sun-kissed look.
For Dark Skin Tones
Dark skin tones provide a stunning backdrop for almost any coral shade, from the brightest neons to the deepest reds. Rich, intense corals with a reddish undertone create a sophisticated and elegant effect. At the same time, bright and electrifying orange-corals can offer a spectacular, eye-catching contrast that is both modern and stylish. Don't be afraid to embrace bold and saturated colours, as they will look incredibly vibrant against your skin.
Preparing Your Nails for a Flawless Manicure
Proper preparation is the foundation of a professional-looking and durable manicure. Taking the time to prep your nails will ensure the polish applies smoothly and lasts longer.
- Clean the Nails: Start by removing any old polish with a gentle nail polish remover. Wash your hands with soap and water to ensure your nails are free from oils and residue.
- Shape and File: Trim your nails to your desired length. Use a nail file to shape them. Popular shapes include square, round, oval, or almond. Always file in one direction to prevent splitting.
- Cuticle Care: Gently push back your cuticles using a wooden or rubber-tipped cuticle pusher. Avoid cutting your cuticles, as they protect your nails from impurities. If you have any hangnails, carefully trim them with a cuticle nipper.
- Buff the Surface: Lightly buff the surface of your nails with a fine-grit buffer. This smooths out any ridges and creates a slightly textured surface that helps the polish adhere better.
- Dehydrate the Nail Plate: Wipe each nail with a lint-free pad soaked in nail polish remover or rubbing alcohol. This final step removes any remaining oils and moisture, ensuring maximum adhesion for your base coat.
The Art of Perfect Coral Polish Application
Applying the polish correctly is crucial for achieving that smooth, glossy finish. Patience and precision are your best tools.
- Apply a Base Coat: Never skip the base coat. It creates a barrier that prevents bright colours like coral from staining your natural nails. It also provides a smooth canvas for the colour and helps the manicure last longer.
- Apply the First Coat of Colour: Use a thin coat of your chosen coral polish. The three-stroke method is effective: one stroke down the centre of the nail, followed by one on each side. Keep the coat thin to ensure it dries properly and to avoid bubbles.
- Apply the Second Coat: Once the first coat is dry to the touch, apply a second thin coat in the same manner. This will build up the opacity and reveal the true richness of the coral shade.
- Finish with a Top Coat: A high-quality top coat is essential. It seals in the colour, adds a brilliant shine, and protects your manicure from chipping and scratching. Be sure to 'cap' the free edge of the nail with the top coat for extra protection.
Tips for a Long-Lasting Coral Manicure
To keep your beautiful coral nails looking fresh for as long as possible, incorporate a few simple habits into your routine.
- Cap the Free Edge: With each layer—base coat, colour, and top coat—swipe the brush along the free edge (the tip) of your nail. This seals the polish and significantly reduces chipping.
- Allow Proper Drying Time: Be patient and allow adequate drying time between each coat. Rushing this step can lead to smudges and dents.
- Reapply the Top Coat: To maintain shine and durability, apply a fresh layer of top coat every two to three days.
- Protect Your Hands: Wear gloves when washing dishes or using household cleaning products. Harsh chemicals and prolonged water exposure are the main culprits behind chipped polish.
- Hydrate Daily: Apply cuticle oil or hand cream daily. Hydrated cuticles and skin not only look better but also promote healthy nail growth.


