


Achieving elegant, long nails is a desire for many, and with the right techniques, it's a look you can create in the comfort of your own home. The combination of well-fitted nail tips and the strength of gel can result in a durable and beautiful manicure that looks professionally done. This guide will walk you through the entire process, from selecting the perfect tips to creating a seamless, glossy finish that enhances the natural beauty of your hands.
Choosing the Right Nail Tips
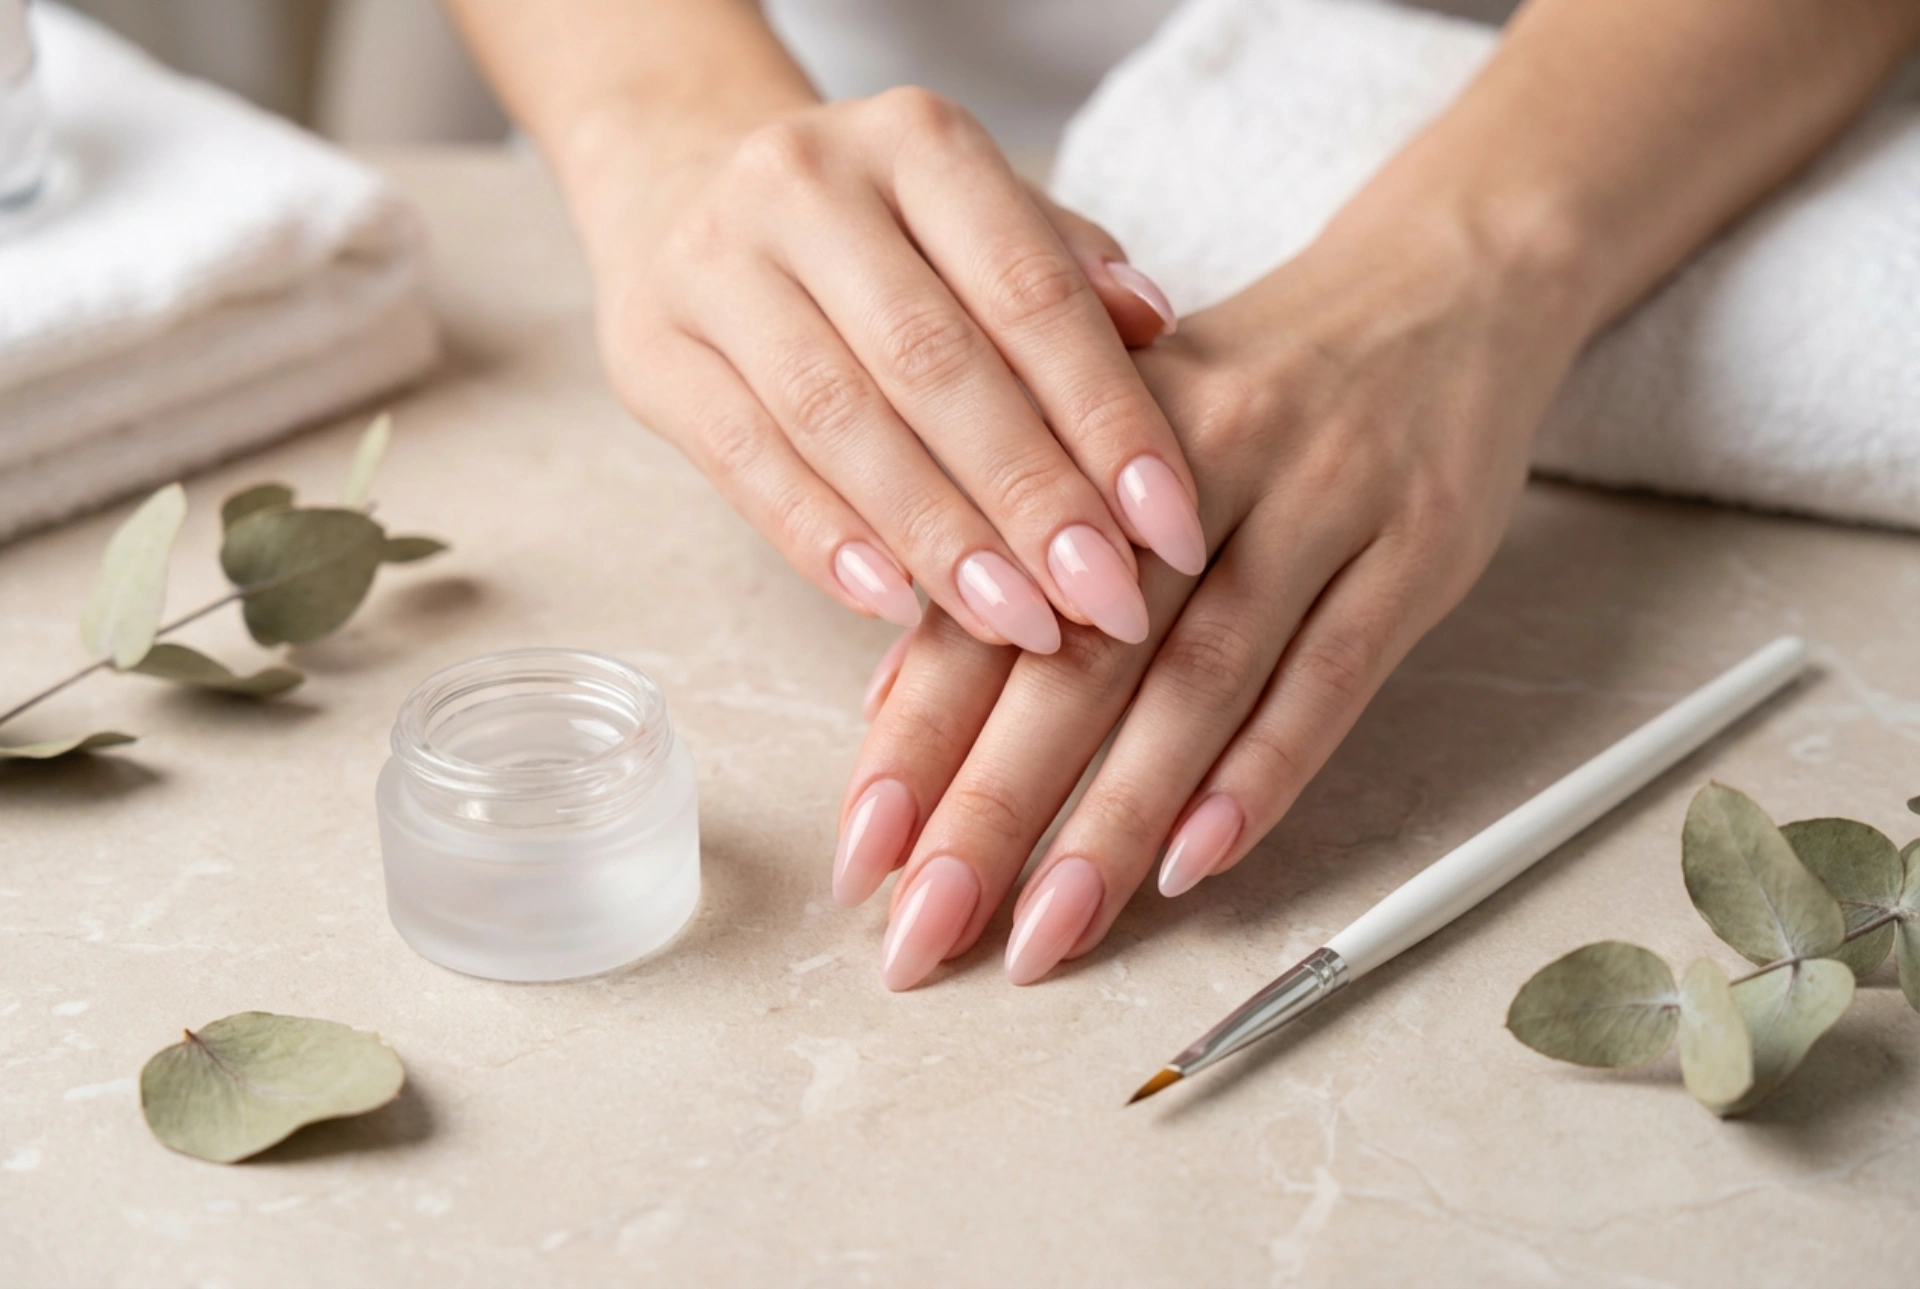
The foundation of a great nail enhancement is the tip itself. They come in various shapes, sizes, and styles, so choosing the correct one is crucial for a comfortable fit and a natural appearance. Look for tips made from a flexible yet durable material like ABS plastic, which can withstand daily wear. The most important factor is the fit; a tip should perfectly cover your natural nail from one side wall to the other without extending onto the skin. If you are between sizes, it's always better to choose the slightly larger one and gently file the sides for a custom fit. Common shapes include square, stiletto, almond, and coffin, allowing you to pick a style that complements your hands and personal taste.
Full Cover vs. Half Cover Tips
You will generally find two main types of tips: full cover and half cover (or well-tips). Full cover tips are designed to cover the entire nail bed, offering a quick way to get a full set of enhancements. Half cover tips, on the other hand, are applied to the free edge of the nail. These require more blending but offer a very strong and traditional structure when overlaid with gel. For this guide, we will focus on the popular half cover method, as it provides a fantastic base for building a strong, gel-reinforced nail.
Preparing Your Natural Nails for Application
Proper preparation is non-negotiable for a long-lasting and safe manicure. Skipping these steps can lead to lifting and prevent the products from adhering correctly. Start with clean, dry hands.
- Cuticle Care: Gently push back your cuticles using a cuticle pusher. If necessary, carefully trim any excess non-living tissue with a cuticle nipper. Avoid cutting the living tissue of the eponychium.
- Shape and Buff: Lightly file the free edge of your natural nail. Then, using a fine-grit buffer (around 180-240 grit), gently remove the shine from the entire surface of your natural nail. This creates a slightly rough texture for the glue and gel to grip onto. Be careful not to over-file or thin your natural nail.
- Dehydrate and Cleanse: Once buffed, remove all dust with a soft nail brush. Wipe each nail with a lint-free wipe soaked in a nail cleanser or isopropyl alcohol. This step removes any remaining oils and debris, dehydrating the nail plate for maximum adhesion.
The Art of Applying Nail Tips
With your nails prepped, it's time to apply the tips. This stage requires precision and a steady hand to avoid air bubbles, which can compromise the bond. Work on one nail at a time.
- Find the Right Fit: Before using any glue, dry-fit a tip for each nail to ensure a perfect match from side wall to side wall. Lay them out in order.
- Apply the Adhesive: Place a small drop of a quality nail tip adhesive into the well (the indented part) of the nail tip. Avoid using too much, as it will seep out onto the skin.
- Press and Hold: Place the tip onto the free edge of your natural nail at a 45-degree angle. Rock it down slowly, pushing out any potential air bubbles as you press it flat against your nail plate. Hold it firmly in place for about 10-15 seconds until the glue has bonded securely.
- Trim and Shape: Once all tips are applied, use a tip cutter to trim them to your desired length. Then, use a nail file to shape them into your chosen style (e.g., almond, square). It's easier to perfect the shape now before the gel is applied.
Creating a Seamless Overlay with Gel
The final construction phase involves blending the tip and overlaying it with gel to create a single, strong, and beautifully shaped nail.
- Blend the Seam: Use a fine-grit file to gently file the seam where the plastic tip meets your natural nail. The goal is to create a smooth, invisible transition. Be careful not to file your natural nail.
- Apply Primer: Apply a thin layer of nail primer or bonder only to the exposed natural nail area. This enhances the adhesion of the gel. Allow it to air dry as per the product's instructions.
- Build with Gel: Apply a thin slip layer of builder gel over the entire nail (natural nail and tip) without curing it. This helps the next layer flow evenly. Next, take a larger bead of builder gel and place it in the center of the nail, at the apex area (the stress point). Gently guide the gel to cover the whole nail, creating a slight curve for strength and a natural look. Avoid flooding the cuticles.
- Cure and Refine: Turn your hand upside down for a few seconds to allow gravity to help form a perfect apex. Cure the gel under an LED or UV lamp according to the manufacturer's directions. After curing, cleanse the sticky inhibition layer with an appropriate solution. You can then do any final shaping with a file and buffer to perfect the surface.
- Top Coat: After removing all dust, apply a thin layer of gel top coat over the entire nail, capping the free edge to seal it. Cure one final time. The result should be a strong, glossy, and perfectly smooth nail. Finish by applying cuticle oil to nourish the skin around your nails.


