


Achieving a beautiful manicure at home can be a relaxing and rewarding part of your beauty routine. With a carefully selected set of tools and a little practice, you can create a polished look while ensuring your nails remain healthy and strong. Setting up your own at-home nail station requires a few key essentials and an understanding of basic safety principles to get professional-looking results without leaving your house.
Your Essential Home Manicure Toolkit
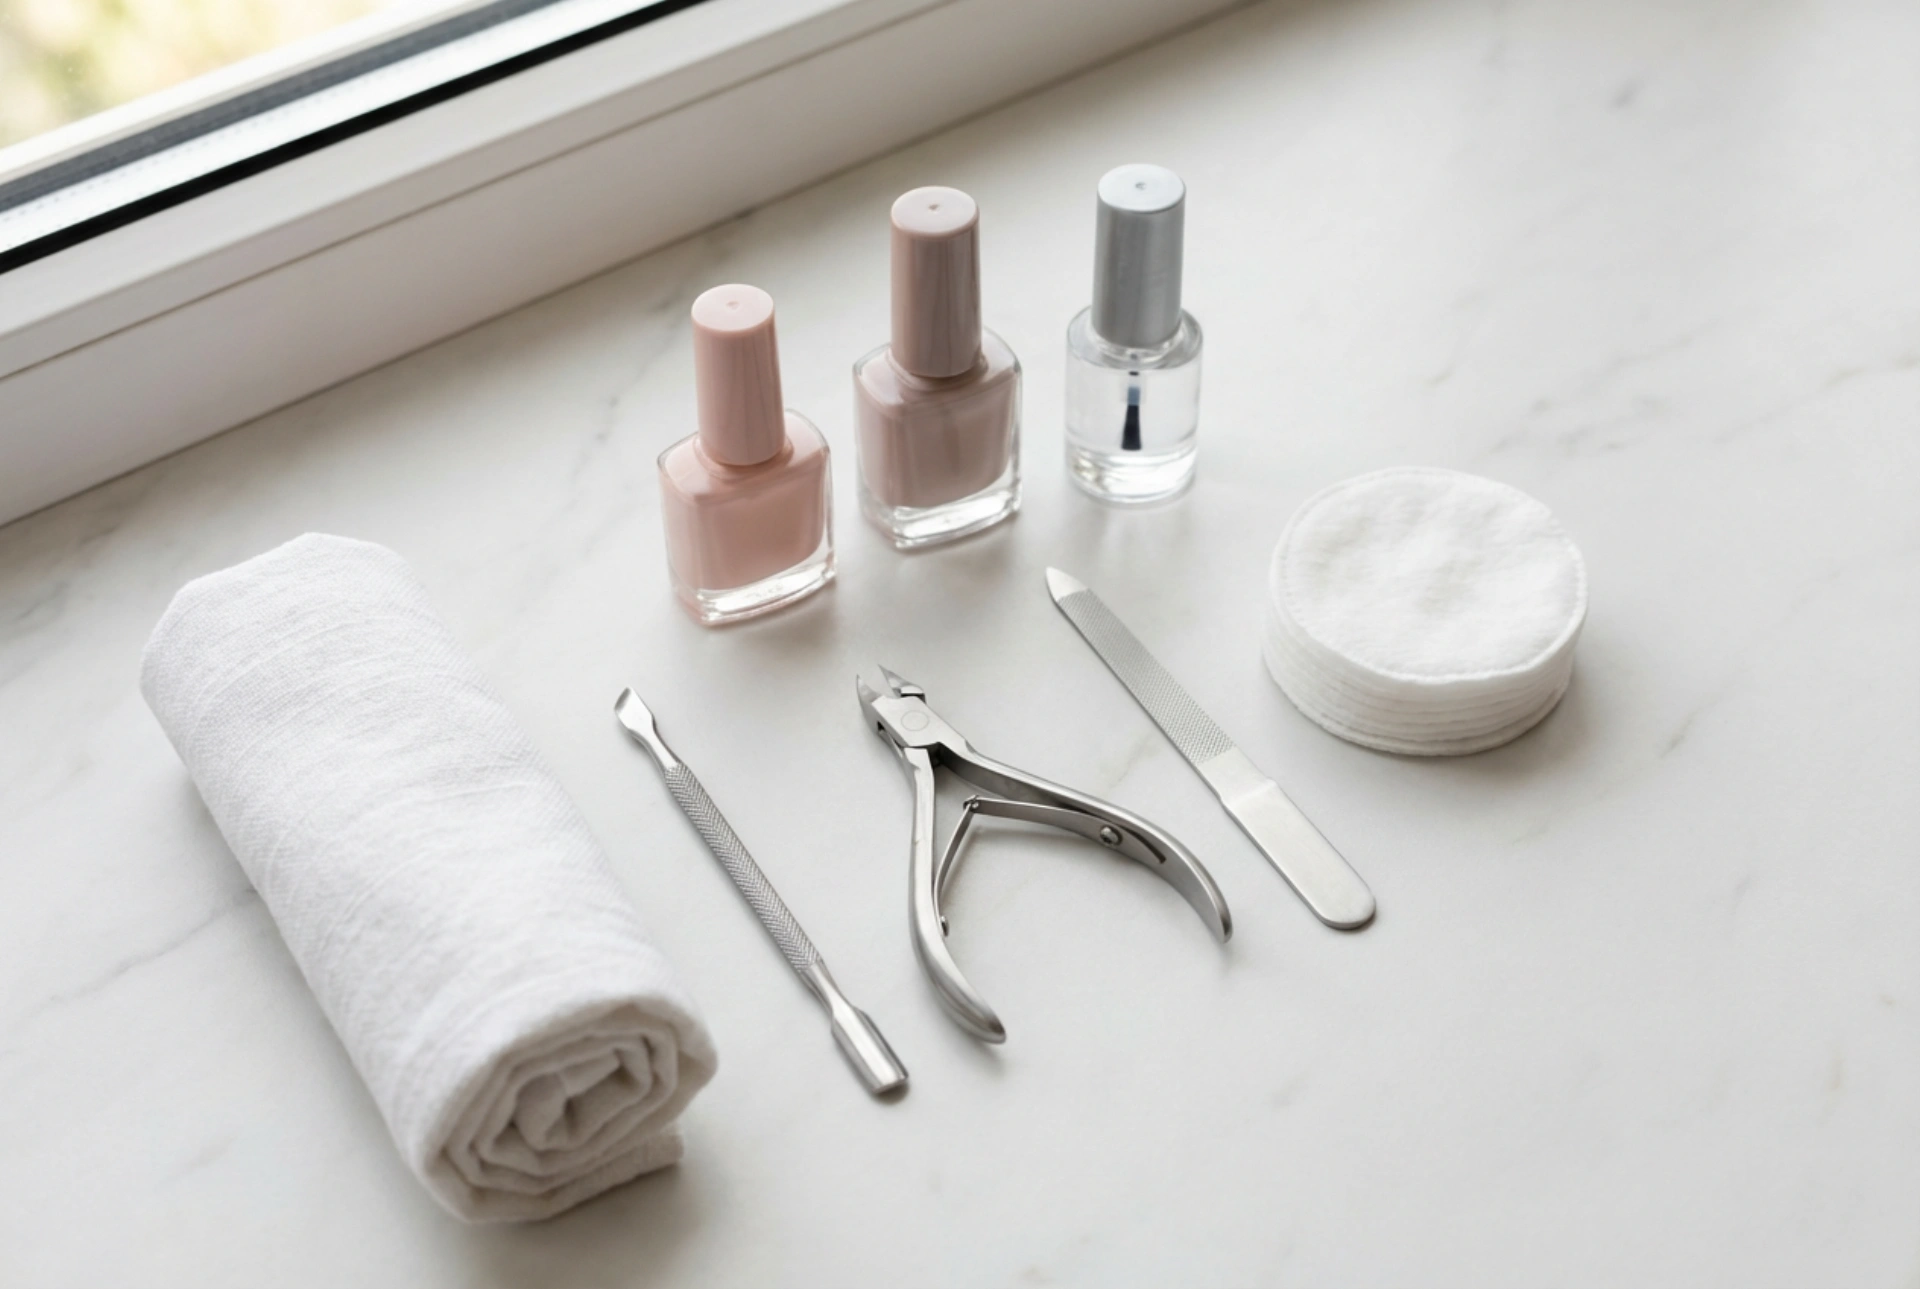
Building a comprehensive kit doesn't mean you need a vast array of professional gadgets. A few high-quality, basic tools are all it takes to prepare your nails perfectly for a coat of polish. These items form the foundation of any good home manicure.
Shaping and Smoothing Tools
- Nail Clippers or Scissors: The first step for managing length. Choose clippers for a quick, straight cut on stronger nails, or scissors for more precise shaping on softer nails. Always cut nails when they are dry to prevent tearing.
- Nail File: Essential for shaping the nail edge after trimming. Glass or crystal files are gentle and long-lasting, while traditional emery boards are effective but need regular replacement. To prevent splitting, always file in one direction, from the side of the nail towards the centre.
- Buffer Block: This multi-sided tool is used to smooth ridges on the nail surface, creating a perfect canvas for polish. Use the gentler sides to lightly buff the nail plate and the smoothest side to create a natural shine. Be careful not to over-buff, as this can weaken the nail.
Cuticle Care Implements
- Cuticle Pusher: A wooden stick (often called an orange stick) or a metal pusher with a soft, rounded edge is used to gently push back the cuticle. This should be done after a shower or after soaking your fingertips in warm water to soften the skin, making it more pliable and preventing damage.
- Cuticle Remover Solution: A liquid or gel that helps to dissolve dead skin cells around the nail, making it easier to push back the cuticles without force. It's a much safer alternative to cutting the cuticle.
- Cuticle Nipper (for advanced users): This tool should be used with extreme caution to trim only hangnails or tiny pieces of dead, lifted skin. Never cut the living cuticle tissue (the eponychium), as this can lead to irritation and create an entry point for bacteria.
Application and Clean-up Aids
- Lint-Free Cotton Pads: Use these with nail polish remover to clean the nail plate before polishing and to remove old polish without leaving behind fuzzy fibres.
- Small, Flat Brush: A small art brush or a dedicated clean-up brush is invaluable. Dip it in nail polish remover to precisely clean up any polish that gets on the skin around your nails for a sharp, professional finish.
The Core Nail Products
Beyond the tools, a few key liquids and polishes are necessary to protect your nails and ensure your manicure lasts as long as possible.
- Nail Polish Remover: Choose an acetone-free formula if you have dry or brittle nails, as it is less harsh. An acetone-based remover will work faster on stubborn polishes but can be very drying.
- Base Coat: This is a non-negotiable step. A good base coat protects your natural nail from staining, especially with dark colours. It also creates a sticky surface for the colour polish to adhere to, extending the life of your manicure.
- Nail Polish Colour: The fun part! Choose any colour you like. Applying two thin coats is always better than one thick coat, as it allows for quicker drying and a smoother, more durable finish.
- Top Coat: A high-quality top coat seals in your colour, adds a high-gloss shine, and protects your manicure from chipping and scratching. Reapply a thin layer of top coat every two to three days to prolong the wear of your polish.
- Cuticle Oil or Cream: The final step in any manicure. Massaging a nourishing oil or cream into the cuticles and surrounding skin helps to hydrate and condition them, promoting healthy nail growth and preventing dryness.
Hygiene and Safety: The Golden Rules
Keeping your tools clean and using them correctly is paramount for preventing nail problems and ensuring a safe manicure experience.
Tool Sterilisation and Storage
Metal tools like clippers, pushers, and nippers must be cleaned after every single use. First, wash them with soap and warm water to remove any debris. Then, thoroughly wipe them down with a cotton pad soaked in rubbing alcohol to disinfect them. Allow them to air dry completely before storing them in a clean, dry pouch or container to protect them from dust and bacteria.
Safe Nail Preparation Techniques
Work in a well-ventilated area to avoid inhaling strong fumes from polish and remover. When preparing your nails, be gentle. Avoid aggressive filing or sawing back and forth. As mentioned, never cut your live cuticle tissue. Pushing it back gently is sufficient for a neat appearance. If you accidentally cause a small cut, clean it immediately and wait for it to heal before applying any products.
Listening to Your Nails
Pay attention to the health of your nails. If they appear discoloured, brittle, or are peeling, it might be a good idea to take a break from nail polish for a week or two. Use this time to apply a nail strengthening treatment or simply keep them moisturised with cuticle oil. A healthy nail is the best foundation for a beautiful manicure.
By investing in a few essential tools and prioritising hygiene, you can turn your home into your personal nail salon. This mindful practice not only results in beautiful nails but also contributes to their long-term health and strength.


