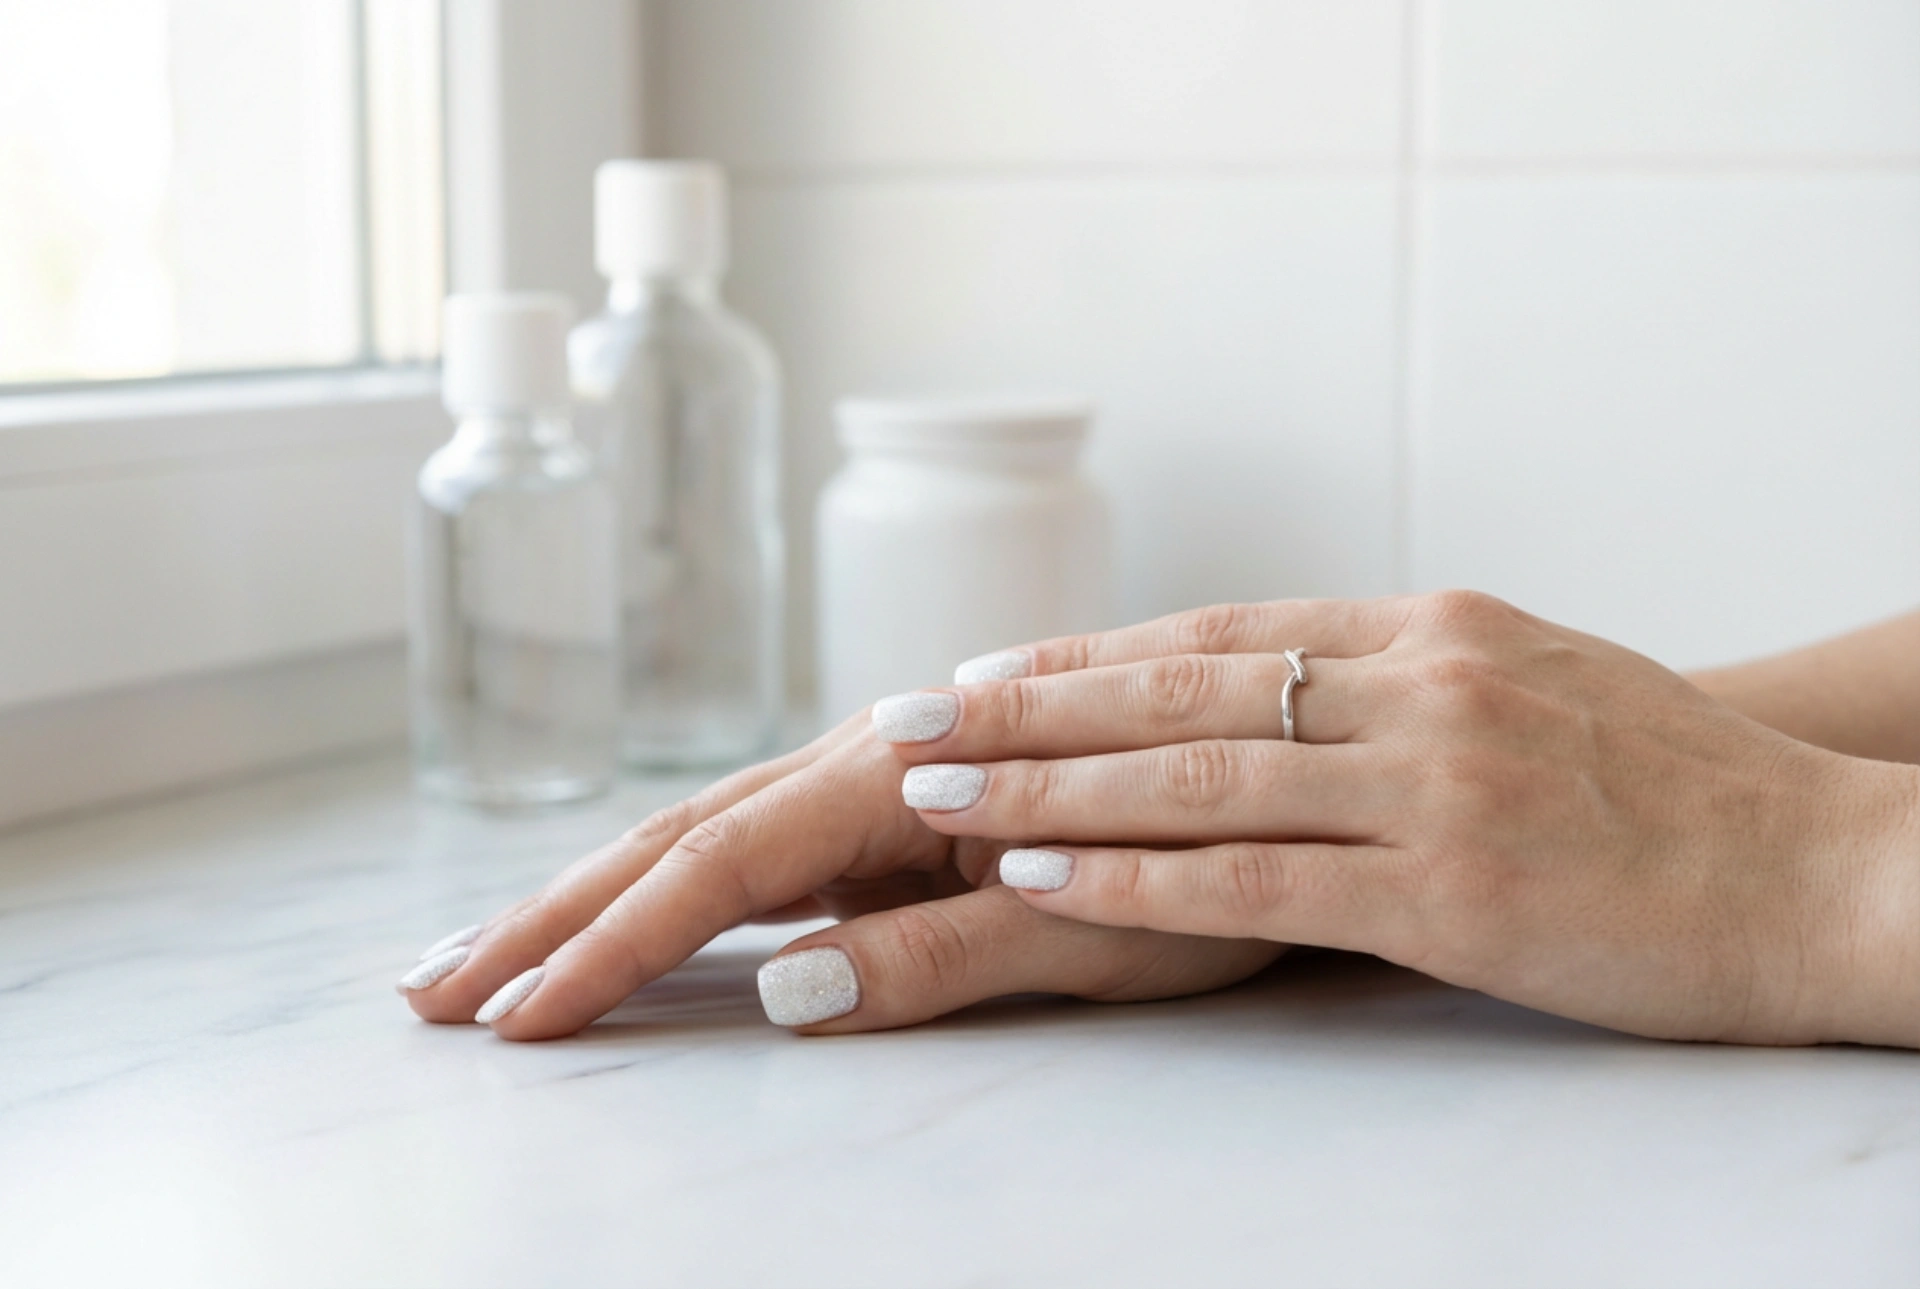


White glitter nails offer a touch of elegance and sparkle, perfect for any season or occasion. They can look incredibly chic and sophisticated, but achieving a perfectly opaque finish without any patchiness can be a challenge. The key to a flawless, uniform look lies in a methodical approach that covers preparation, application, and sealing. This guide will walk you through the essential steps to get those stunning, gap-free white glitter nails at home.
Preparing Your Nails for a Flawless Finish
Proper preparation is the foundation of any long-lasting and beautiful manicure. Before you even think about opening the glitter polish, dedicating time to prepping your nails will make a significant difference in the final outcome. This step ensures a smooth canvas for the polish to adhere to, preventing premature chipping and uneven texture.
Cleaning and Shaping
Start by removing any old nail polish completely. Afterwards, wash your hands and gently scrub your nails with a soft brush to ensure they are clean. Push back your cuticles gently using a cuticle pusher. Avoid cutting them, as this can lead to irritation. Next, file and shape your nails to your desired length and form. Whether you prefer square, round, or almond shapes, ensure all nails are uniform. Finally, lightly buff the surface of your nails. This removes natural oils and creates a slightly textured surface for the base coat to grip onto.
The Crucial Role of the Base Coat
Never skip the base coat, especially with glitter polish. A good base coat serves multiple purposes. It creates a protective barrier between your nail and the polish, preventing potential staining. It also smooths out any minor ridges on the nail surface, providing an even canvas. For white glitter nails, consider using a ridge-filling base coat or one with a slightly milky, semi-opaque tint. This can provide an initial layer of colour, reducing the number of glitter coats you'll need for full opacity.
Mastering the Art of White Glitter Application
The application technique is where the magic happens. Achieving that dense, uniform sparkle without see-through patches requires patience and the right method. The type of polish and how you apply it are the two most important factors in achieving your desired look.
Choosing the Right Polish
While we avoid specific product names, look for a white glitter polish that has a high concentration of glitter particles suspended in an opaque or milky-white base. Polishes with a clear base and sparse glitter will be much harder to build up. A polish described as having 'full coverage' or a 'high-density' formula is usually a good indicator. The size of the glitter can also matter; a mix of fine and slightly larger particles often creates more dimension and better coverage.
The Layering Technique
The traditional layering method works well if done correctly. The key is to apply thin, even coats and allow each one to dry before applying the next.
- First Coat: Apply a thin, even layer across the entire nail, from cuticle to tip. Don't worry about achieving full coverage on this first pass. The goal is to create a base layer of glitter.
- Second Coat: Once the first coat is tacky or dry to the touch, apply a second layer. This time, you can be a little more generous with the polish. Focus on covering any areas that looked sparse after the first coat.
- Third Coat (Optional): Assess your nails after the second coat has dried. If you can still see your natural nail through the polish, a third thin coat may be necessary to achieve complete opacity.
The Sponging Method for Maximum Coverage
For an intensely packed glitter effect, the sponging technique is unparalleled. This method deposits the glitter particles onto the nail with minimal base polish, resulting in a dense, textured finish.
- Apply your base coat and let it dry. You may also apply one thin layer of a plain white or off-white polish to create an opaque foundation.
- Paint a small amount of the white glitter polish onto a corner of a disposable makeup sponge.
- Gently dab the sponge onto your nail. The sponge absorbs some of the excess base liquid, leaving a concentrated layer of glitter on the nail.
- Repeat the dabbing motion until the nail is fully covered. Reload the sponge with polish as needed. This method creates a rough texture, which will be smoothed out with a top coat.
Sealing the Sparkle with a Top Coat
A top coat is absolutely essential for a glitter manicure. It not only protects the polish and extends its wear time but also transforms the gritty, textured surface into a smooth, glossy finish. This final step is what gives your glitter nails a professional and polished look.
Smoothing the Texture
Glitter polishes, especially when applied using the sponging method, can feel rough to the touch. A good top coat will fill in the gaps between the glitter particles, creating a perfectly smooth surface. For best results, opt for a thick, 'plumping' or 'gel-effect' top coat. You may need to apply two layers of the top coat to achieve a completely glassy feel. 'Float' the brush over the nail rather than dragging it to avoid dislodging any glitter particles.
Adding Shine and Durability
Beyond smoothing the texture, a top coat adds a brilliant shine that enhances the sparkle of the glitter. It also acts as a protective shield against chips and wear. Remember to 'cap the free edge' of your nail with the top coat by swiping the brush along the tip. This seals the polish and significantly reduces the chances of chipping, ensuring your beautiful white glitter manicure lasts for days.


