


A beautiful, long-lasting manicure is not just about the final colour, but also about the crucial preparation that comes before it. Just as you prime a wall before painting, preparing your nails correctly is the key to a flawless finish that endures. One of the most important, yet often overlooked, steps in this process is the application of a nail primer. This simple product can make a significant difference to the longevity and appearance of your manicure, forming the perfect foundation for any nail enhancement.
What Exactly is a Nail Primer?
A nail primer is a liquid product applied to the natural nail plate before any other products like gel polish, builder gel, or acrylics. Its primary function is to prepare the nail surface to ensure maximum adhesion of the product that will be applied on top. It works by removing any residual oils and moisture from the nail plate, and by altering its pH level to create a more receptive base. This helps to prevent the lifting, peeling, or chipping of your manicure, significantly extending its wear time. Think of it as a professional secret for achieving a salon-quality result at home.
The Main Types of Nail Primers
Primers generally fall into two categories: acid-free and acid-based. Understanding the difference is key to choosing the right one for your needs and nail type.
- Acid-Free Primers: This is the most common and widely used type of primer today. It is much gentler on the nail and surrounding skin. It functions like double-sided tape, leaving a slightly tacky layer on the nail plate after it air-dries. This sticky surface creates a strong chemical bond with the nail product applied over it. It is an excellent choice for most nail types and is particularly well-suited for gel polish manicures.
- Acid-Based Primers: These primers are stronger and contain an ingredient like methacrylic acid. They work by creating microscopic etches on the surface of the nail plate, which allows the nail product to anchor itself more securely. Due to their strength, they are typically reserved for individuals with particularly oily or problematic nail plates who experience chronic lifting, and they are often used with acrylic nail systems. It is crucial to apply this type of primer very sparingly and to avoid contact with the skin.
When Should a Nail Primer Be Used?
While not always necessary for a simple coat of traditional nail polish, a primer becomes an essential step in several scenarios. You should consider using a nail primer if you are applying gel polish, hard gel, builder gels, or acrylics. These systems require a perfectly prepared surface to bond correctly and last for weeks without lifting. A primer is also highly recommended for anyone who finds that their manicures, even regular polish ones, tend to chip or peel quickly. By creating an optimal surface for adhesion, the primer gives any manicure a fighting chance to last longer and look better.
How to Apply Nail Primer: A Step-by-Step Guide
Proper application is just as important as the product itself. Applying too much or getting it on the skin can be ineffective or cause irritation. Follow these steps for perfect results.
- Step 1: Nail Preparation. Begin with clean, dry hands. Shape your nails with a file and gently push back your cuticles. Using a fine-grit buffer, lightly and carefully remove the shine from the entire surface of the nail plate. This creates a slightly rough texture for the primer to grip onto.
- Step 2: Cleanse the Nail. After buffing, there will be fine dust on your nails. Take a lint-free wipe saturated with a nail cleansing solution or isopropyl alcohol and thoroughly wipe down each nail. This step is vital for removing all dust, oils, and contaminants. Allow the nails to air-dry completely.
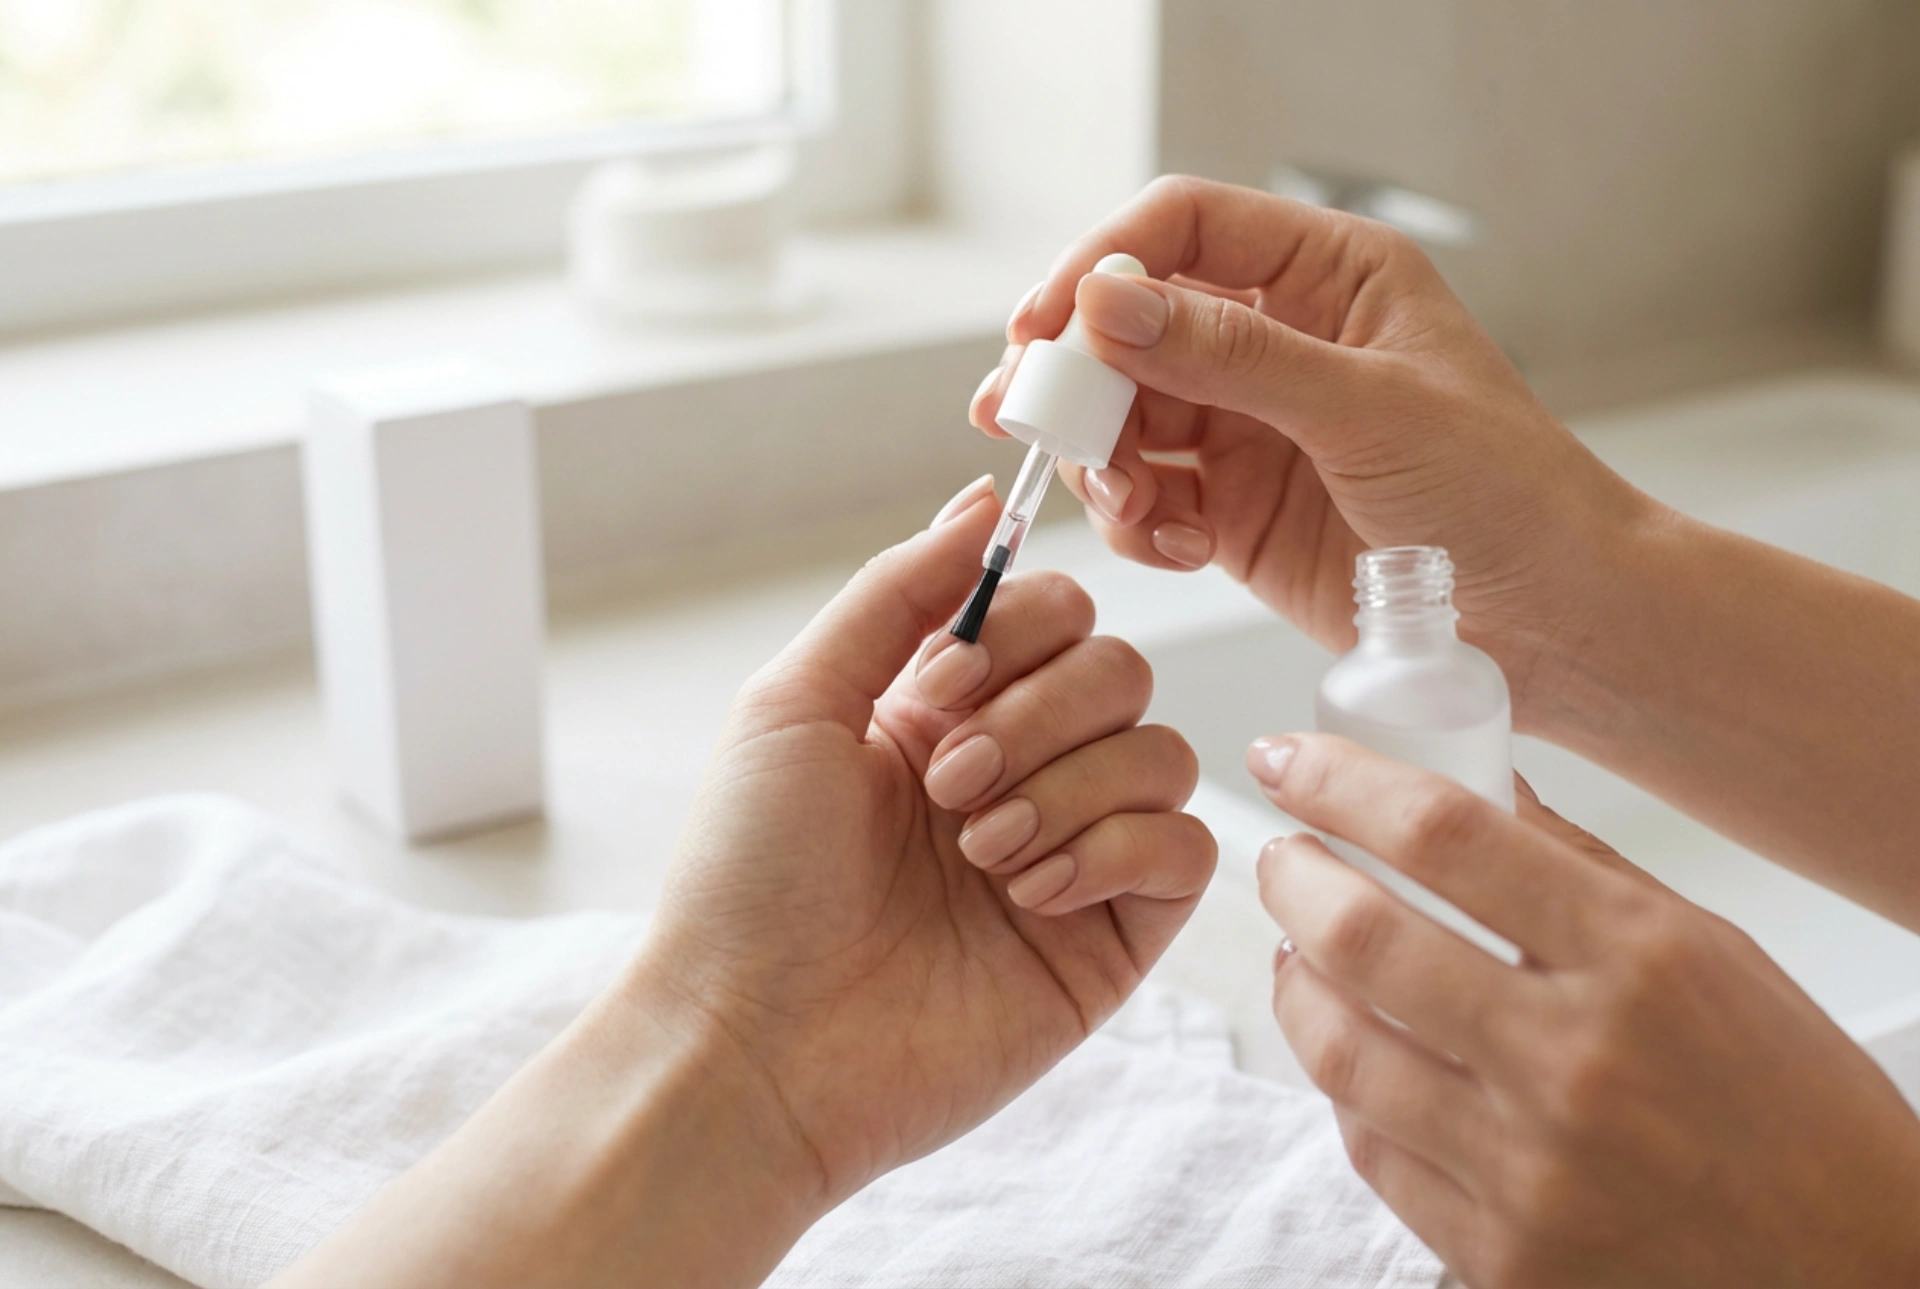
- Step 3: Sparingly Apply the Primer. This is the most important part: less is more. Remove the brush from the bottle and wipe off almost all of the product against the inside of the neck. You need only a tiny amount. Carefully dot the primer in the centre of your nail plate. It will naturally spread out. Avoid flooding the nail and ensure the product does not touch your cuticles or the surrounding skin.
- Step 4: Allow it to Dry. Let the primer air-dry according to the manufacturer's instructions. An acid-based primer will typically dry to a chalky, white finish. An acid-free primer will remain slightly tacky or shiny, which is normal as this is what creates the bond. Do not touch the nail surface after the primer has been applied.
- Step 5: Proceed with Your Manicure. Once the primer is ready, you can continue with your manicure by applying your chosen base coat, gel polish, or other enhancement product directly on top.
Incorporating a nail primer into your routine is a simple change that yields professional-level results. It is the foundational step that ensures your efforts result in a durable, beautiful manicure that you can be proud of, protecting your nails and making your favourite styles last longer than ever before.


