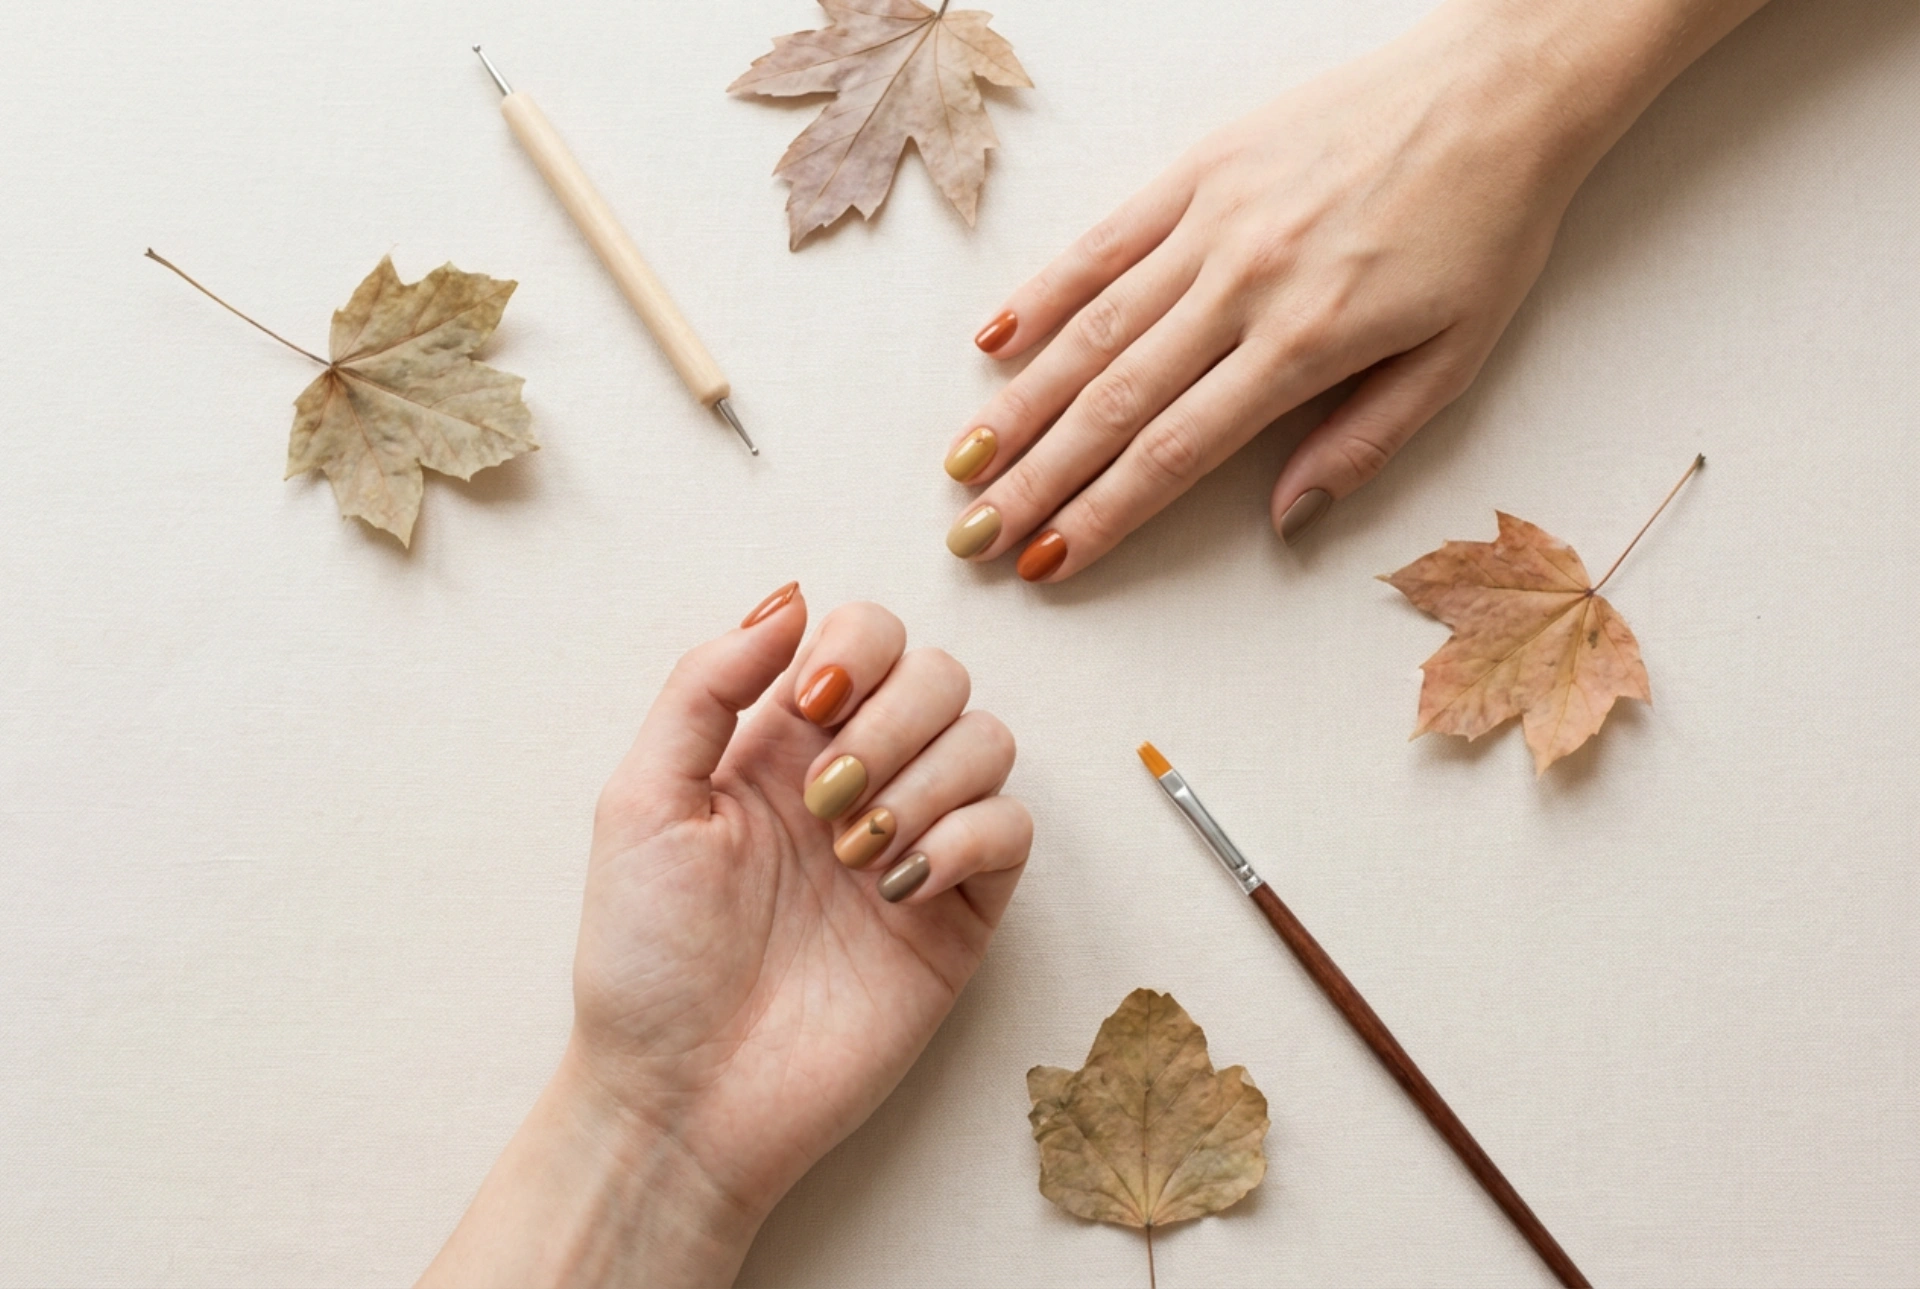


As the seasons change, so does our inspiration for beauty. Autumn, with its warm, earthy hues, offers a wonderful palette for creative nail art. You don't need to be a professional to achieve an elegant, seasonal manicure. With a few simple tools and some basic techniques, you can create beautiful autumn-inspired designs right at home. This guide will walk you through the essential tools and easy-to-follow ideas perfect for any beginner.
Essential Tools for Beginner Nail Artists
Getting started with nail art doesn't require a large investment. A few key tools will allow you to create a wide variety of simple yet effective designs. Most of these can be found in basic cosmetic kits or improvised with household items.
- Dotting Tools: These are double-ended pens with small metal balls of varying sizes on each end. They are perfect for creating precise dots, simple flowers, and other rounded patterns. If you don't have one, the end of a bobby pin, a toothpick, or even the head of a pin can work as a substitute.
- Fine-Liner Brushes: A very thin, long-bristled brush is essential for drawing straight lines, delicate curves, and intricate details. It gives you control that the standard nail varnish brush can't offer.
- A Small Makeup Sponge: A simple wedge-shaped makeup sponge can be used to create beautiful gradient or ombré effects. By dabbing colours onto the nail, you can achieve a soft, blended look.
- Base and Top Coats: These are non-negotiable for a polished and long-lasting manicure. A base coat protects your natural nails from staining and helps the colour adhere better, while a top coat seals your design, adds shine, and prevents chipping.
Preparing Your Nails for an Autumnal Manicure
Proper preparation is the key to a flawless finish. Before you even think about colours and designs, ensure your nails are ready. Start by removing any old varnish. Gently file your nails to your desired shape—classic oval or soft square shapes work beautifully with autumnal themes. Push back or carefully trim your cuticles. Finally, cleanse the nail plate with a remover to get rid of any oils, then apply a thin layer of a quality base coat. Let it dry completely before proceeding.
Simple Autumn Nail Art Ideas to Try
Now for the creative part. These designs use basic techniques and a classic autumn colour palette—think deep reds, burnt oranges, mustard yellows, forest greens, and warm browns.
Minimalist Polka Dots
This is one of the easiest yet most chic designs. After applying your chosen base colour and letting it dry, simply dip your dotting tool into a contrasting autumn shade. Gently press the tool onto your nail to create a dot. You can place a single dot at the base of your nail for a subtle look, create a full polka dot pattern, or arrange dots in a line or curve. It's simple, quick, and always looks stylish.
Subtle Stripes and Lines
Using a fine-liner brush, you can add a touch of sophistication with simple lines. You could paint a single, thin vertical line down the centre of each nail or an off-centre stripe for a more modern feel. Horizontal stripes at the tip, like a modified French manicure, also look great. Try a metallic gold or copper line over a dark brown or burgundy base for a truly autumnal feel.
Abstract Autumn Leaf Accent
You don't need to be an artist to paint a leaf. An abstract version is much easier and just as effective. Use a dotting tool to place three to five dots in a small cluster. Then, take your fine-liner brush and gently drag it through the dots from one side to create a simple, leaf-like shape. You can add a tiny stem with the brush. This design works wonderfully as an accent on just one or two nails per hand.
Tips for a Long-Lasting and Flawless Finish
Once you've completed your design, patience is key. Allow each layer and element of your art to dry thoroughly before moving on to the next step. Rushing can cause smudges and ruin your hard work. When your design is completely dry, apply a generous layer of a glossy or matte top coat. This will not only protect your art from chipping but also smooth out any minor imperfections and give your manicure a professional finish. To keep your hands and nails looking their best, apply cuticle oil regularly to nourish the skin around your nails.


