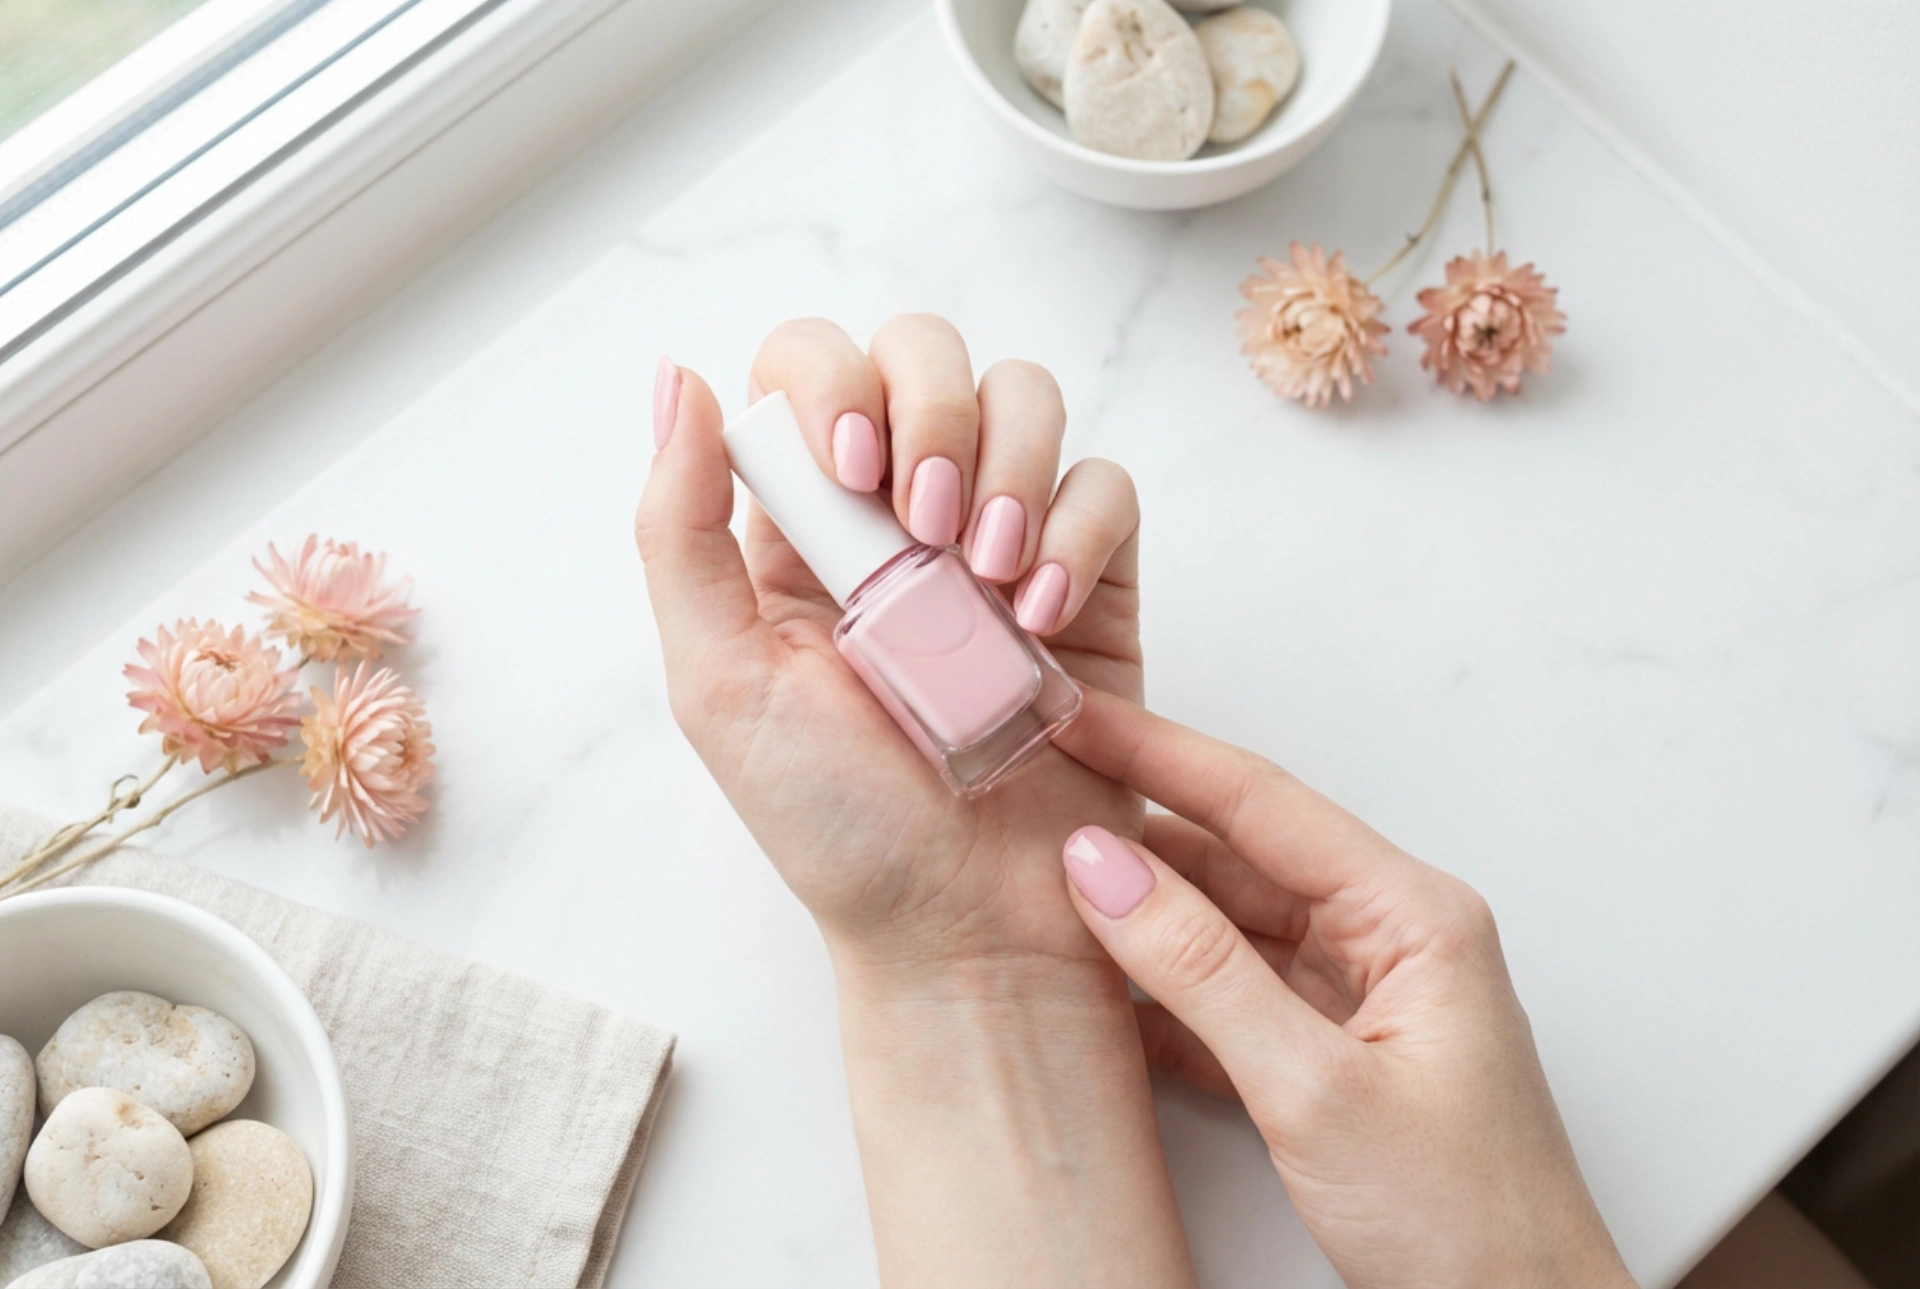


A classic pink manicure is the epitome of elegance and versatility, suitable for every occasion from a professional meeting to a relaxed weekend. Achieving that perfect, streak-free, salon-quality finish at home might seem challenging, but it is entirely attainable with the right knowledge and technique. The key lies in careful preparation, thoughtful colour selection, and a patient application process. This guide will walk you through the steps to achieve a beautiful and durable pink manicure that looks polished and professional.
Preparing Your Nails for a Flawless Finish
Proper preparation is the foundation of any long-lasting manicure. Rushing this stage will almost certainly lead to a less-than-perfect result. Start by ensuring your nails are completely clean and free of any oils or old polish. Use a gentle, non-acetone remover if necessary. Next, shape your nails with a file. Whether you prefer square, oval, or almond, file in one direction to prevent splitting. Gently push back your cuticles with a wooden or rubber-tipped stick; avoid cutting them, as this can lead to irritation. Finally, lightly buff the surface of your nails to create a smooth canvas for the polish. The last, non-negotiable step is applying a quality base coat. This not only protects your natural nails from staining but also gives the coloured polish something to grip onto, preventing chips and ensuring a more even application.
Choosing the Perfect Shade of Pink
With countless shades of pink available, finding the right one can be overwhelming. A great way to narrow down your options is to consider your skin tone and the type of finish you prefer.
Consider Your Skin Tone
Matching the polish to your skin's undertones can make a significant difference. For fair skin tones, soft pastels, sheer baby pinks, and shades with a blue undertone often look stunning. If you have a medium or olive skin tone, you can beautifully pull off peachy pinks, warm corals, and rich mauve shades. For deeper skin tones, vibrant and bold pinks like fuchsia, magenta, and deep berry tones create a striking and elegant contrast. Ultimately, the best colour is the one that makes you feel confident, so feel free to experiment.
The Finish Matters
The finish of the polish also affects the final look. A classic cream finish is opaque and offers a solid block of colour, but can be less forgiving of application errors. A sheer or jelly polish provides a more translucent, buildable wash of colour that is excellent for a natural look and is generally easier to apply without noticeable streaks. Shimmery or glittery pinks are also a great choice, as the reflective particles can help disguise minor imperfections and add a touch of glamour.
The Art of Streak-Free Application
The application itself is where precision and patience pay off. The goal is to apply thin, even coats of polish.
The Three-Stroke Method
This professional technique ensures full coverage without overloading the nail. Start with a small bead of polish on your brush. Wipe one side of the brush on the neck of the bottle to remove excess. Place the brush in the centre of your nail, slightly away from the cuticle. Push back gently towards the cuticle, then pull the brush straight down to the tip of the nail. Return to the base of the nail and apply a second stroke down the left side, and finally, a third stroke down the right side. This method should cover the entire nail with minimal brush strokes.
Building with Thin Coats
One of the biggest mistakes leading to streaks, bubbles, and long drying times is applying polish too thickly. It is always better to apply two or three very thin coats than one thick, goopy one. A thin coat dries faster and more evenly. Allow each coat to dry for at least two to three minutes before applying the next. This patience prevents the new layer from dragging the one beneath it, which is a common cause of streaks.
Sealing the Deal with a Top Coat and Aftercare
Do not skip the top coat. This final layer is essential for several reasons: it seals in the colour, protects your manicure from chipping and scratching, and adds a high-gloss shine that makes the colour pop. It can also help to smooth over any minor ridges or imperfections from the colour coats. For extra durability, run the top coat brush along the free edge of your nail tip. Once your manicure is complete, allow it plenty of time to fully harden—at least an hour. To keep your manicure looking fresh and extend its life, apply a nourishing cuticle oil daily. This keeps the skin around your nails hydrated and healthy, preventing hangnails and maintaining a polished look.


