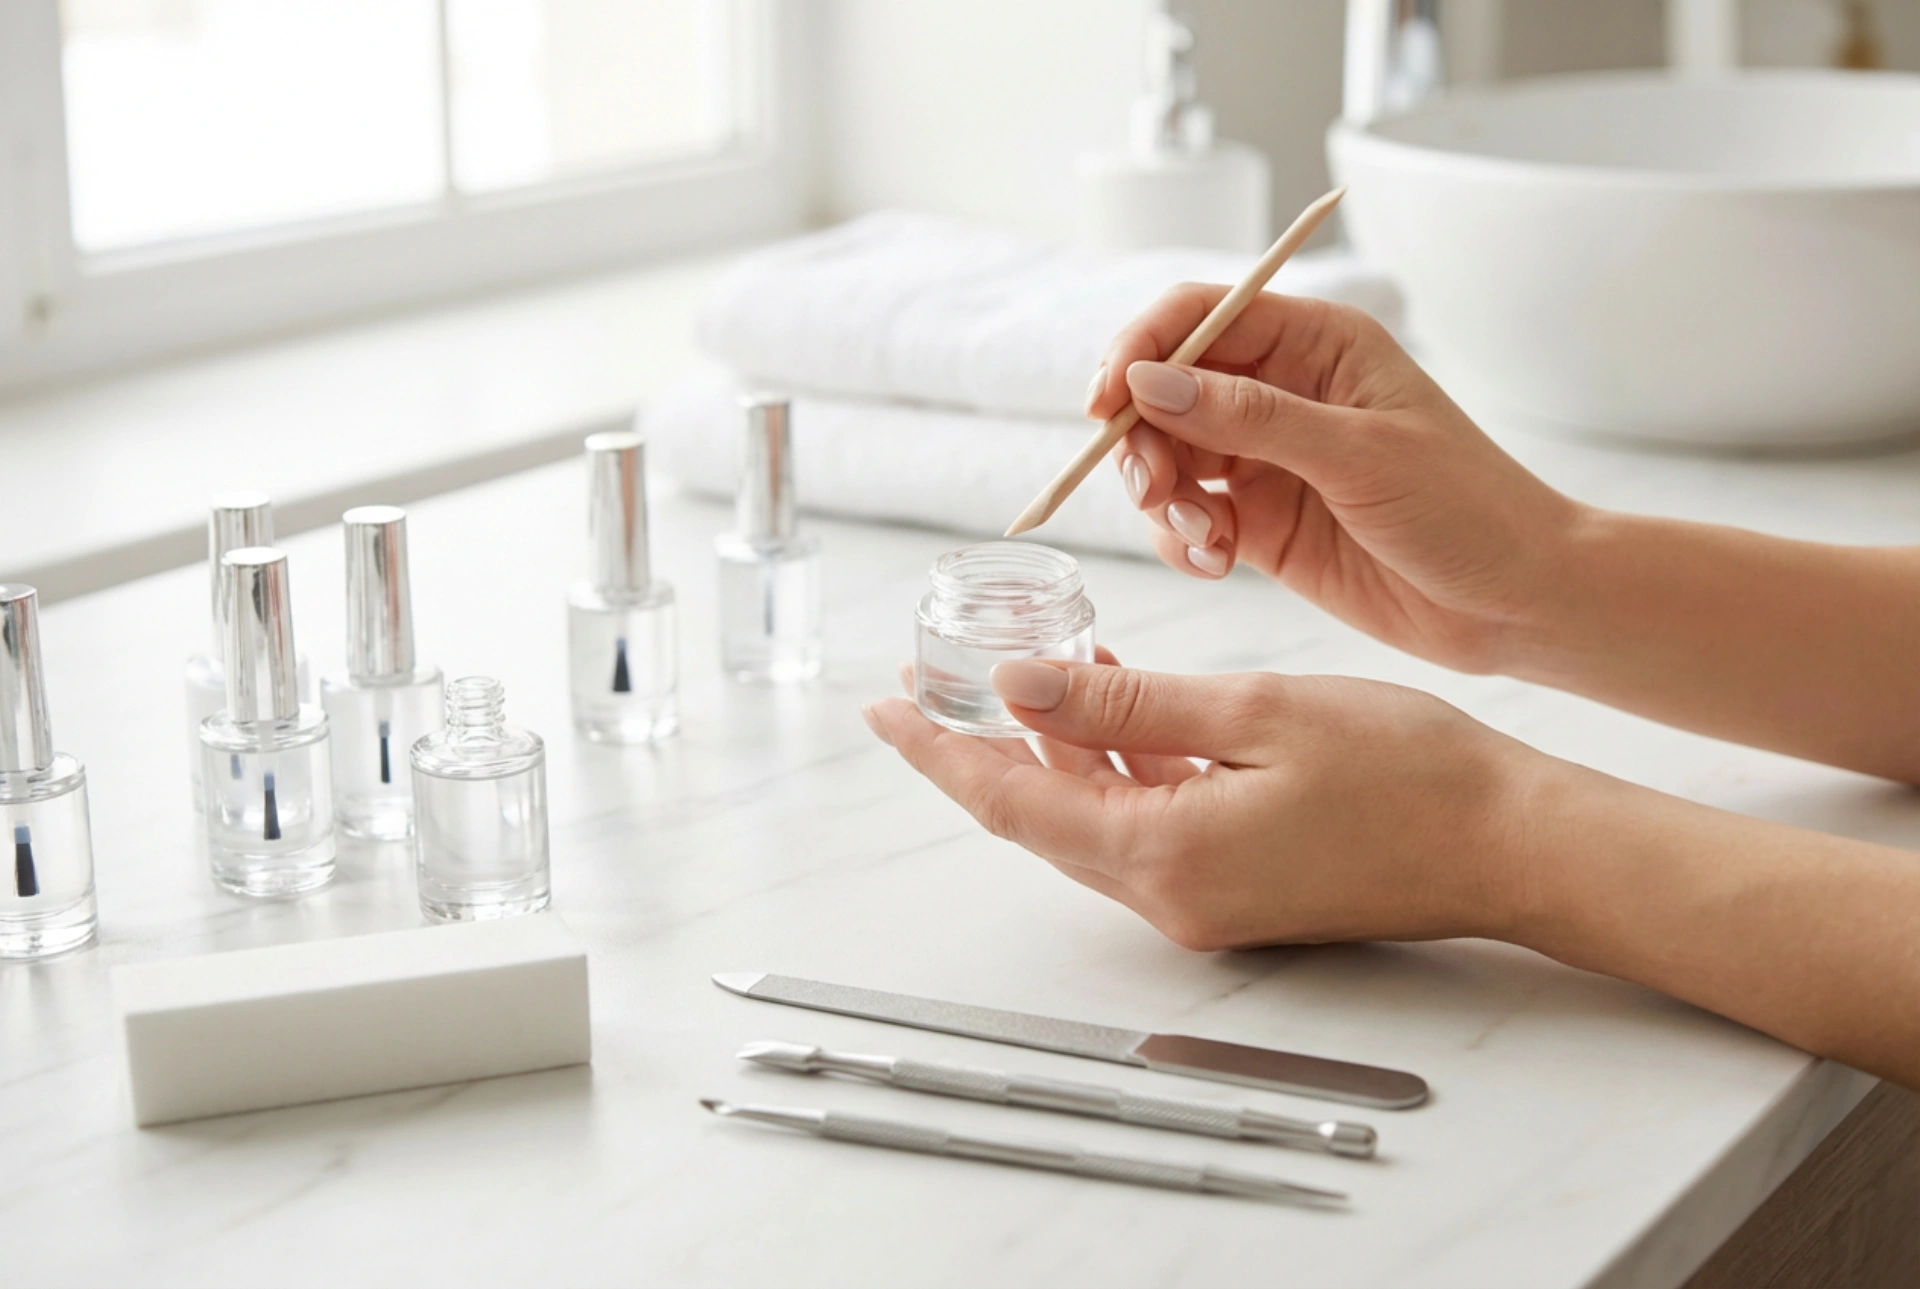


Achieving long, elegant nails is a popular beauty goal, and with modern at-home kits, it's more accessible than ever. The image of a meticulously organised set of nail tools captures the essence of a careful and rewarding home beauty ritual. Understanding the contents of a nail extension kit and the correct application process is key to achieving a beautiful result while prioritising the health of your natural nails. This guide will walk you through the essentials, from preparation to the final finishing touches.
What's Typically in a Nail Extension Kit?
While the exact contents can vary, most comprehensive starter kits for home nail extensions contain a similar set of tools and products designed to work together. Familiarising yourself with each component will help you understand its role in the process.
- Nail Tips or Forms: These provide the structure for the extension. Tips are pre-shaped plastic pieces glued onto the natural nail's free edge, while forms are stickers placed under the nail to guide the shape of the sculpted extension.
- Nail Dehydrator and Primer: A dehydrator removes oils and moisture from the nail plate. A primer follows, creating a slightly sticky surface that helps the extension product adhere better, improving longevity.
- Building Product: This is the core material used to create the extension. Most commonly, home kits use a builder gel, which has a thick consistency and is cured (hardened) under an LED or UV lamp.
- Curing Lamp: An LED or UV lamp is essential for curing gel-based products. Without it, the gel will not harden.
- Nail Files and Buffers: A set of files with different grits is used for shaping the extension, while a softer buffer is used to smooth the surface before applying the top coat.
- Top Coat: A special gel top coat is applied as the final layer to seal the extension, provide a high-gloss shine, and protect it from chipping.
- Cleanser Solution: An alcohol-based solution is used to wipe off the sticky inhibition layer that remains on the gel after curing.
- Cuticle Pusher and Nippers: Tools for preparing the nail plate by gently pushing back and tidying the cuticle area.
Preparing Your Natural Nails for Extensions
Proper preparation is the most critical step for ensuring your extensions last and that your natural nails remain healthy. Rushing this stage can lead to lifting and potential damage. Take your time to create a clean and prepped canvas.
The Essential Prep Routine
- Clean Hands: Start by washing your hands thoroughly to remove any dirt or oils. Ensure your nails are completely dry.
- Cuticle Care: Gently push back your cuticles using a cuticle pusher. Avoid cutting the living tissue; only trim any non-living, loose skin if necessary.
- Shape and Buff: Lightly file the free edge of your natural nail. Then, using a fine-grit buffer, gently remove the shine from the entire surface of the nail plate. This creates a slightly rough texture for the products to grip onto. Be careful not to over-file or apply too much pressure.
- Dehydrate and Prime: Brush away all the dust. Apply a layer of nail dehydrator to the nail plate, followed by a thin layer of primer. Allow them to air dry completely according to the product's instructions. Avoid touching your nails or letting them come into contact with any oils after this step.
Step-by-Step Guide to Applying Nail Extensions
With your nails prepped, you are ready to begin the application. This guide focuses on a common method using tips and builder gel. Always read and follow the specific instructions that come with your kit.
Step 1: Tip Application
Select a nail tip that fits your natural nail from sidewall to sidewall. Apply a small amount of nail glue to the well of the tip and press it firmly onto the free edge of your natural nail, holding it for a few seconds until it adheres. Trim the tip to your desired length and file it into your preferred shape (e.g., square, almond, oval).
Step 2: Applying the Building Product
Apply a thin base layer of the builder gel over the entire nail, including the tip, and cure it under the lamp. Next, take a larger bead of builder gel and place it in the centre of the nail. Gently 'float' the gel to build up the structure and apex (the highest point of the extension, which provides strength), avoiding flooding the cuticles and sidewalls. Turn your hand upside down for a few seconds to let gravity help create a smooth, self-levelled shape.
Step 3: Curing and Shaping
Cure the builder gel according to the kit's instructions, which is typically 60-120 seconds in an LED lamp. The nail will have a sticky layer on top; wipe this off with the cleanser solution. Now, use your nail file to refine the shape, smooth the surface, and ensure the area near the cuticle is flush with the natural nail.
Step 4: Finishing Touches
Once you are happy with the shape and smoothness, buff the entire extension. Brush away all dust, and apply a thin layer of the gel top coat, making sure to cap the free edge. Cure this final layer under the lamp. After the final cure, your beautiful and durable nail extensions are complete.
Key Safety Precautions and Aftercare
Maintaining the health of your nails and the appearance of your extensions requires care both during and after application.
- Work in a Ventilated Area: Ensure you are in a well-ventilated room to minimise inhalation of fumes and dust.
- Avoid Skin Contact: Uncured gel products can cause skin sensitivities. Be precise with your application and clean up any gel that gets on your skin immediately, before curing.
- Proper Removal: Never pull or pry off your extensions. They should be professionally removed or gently filed down, leaving a thin layer to protect the natural nail as it grows out.
- Daily Care: Apply cuticle oil daily to keep the skin around your nails hydrated. Be mindful when using your hands—treat your extensions as jewels, not tools—to prevent breakage.


