


Glitter nail polish is the perfect way to add a touch of sparkle and glamour to your look. Its dazzling effect can elevate any manicure from simple to spectacular. However, anyone who has used it knows it comes with two common challenges: achieving an even, dense coat of glitter and the notoriously difficult removal process. Fortunately, with the right techniques, you can master the art of the glitter manicure, making it a joy to apply and simple to take off. This guide will walk you through the best practices for a flawless, long-lasting sparkle and a damage-free removal.
Preparing Your Nails for a Flawless Glitter Manicure
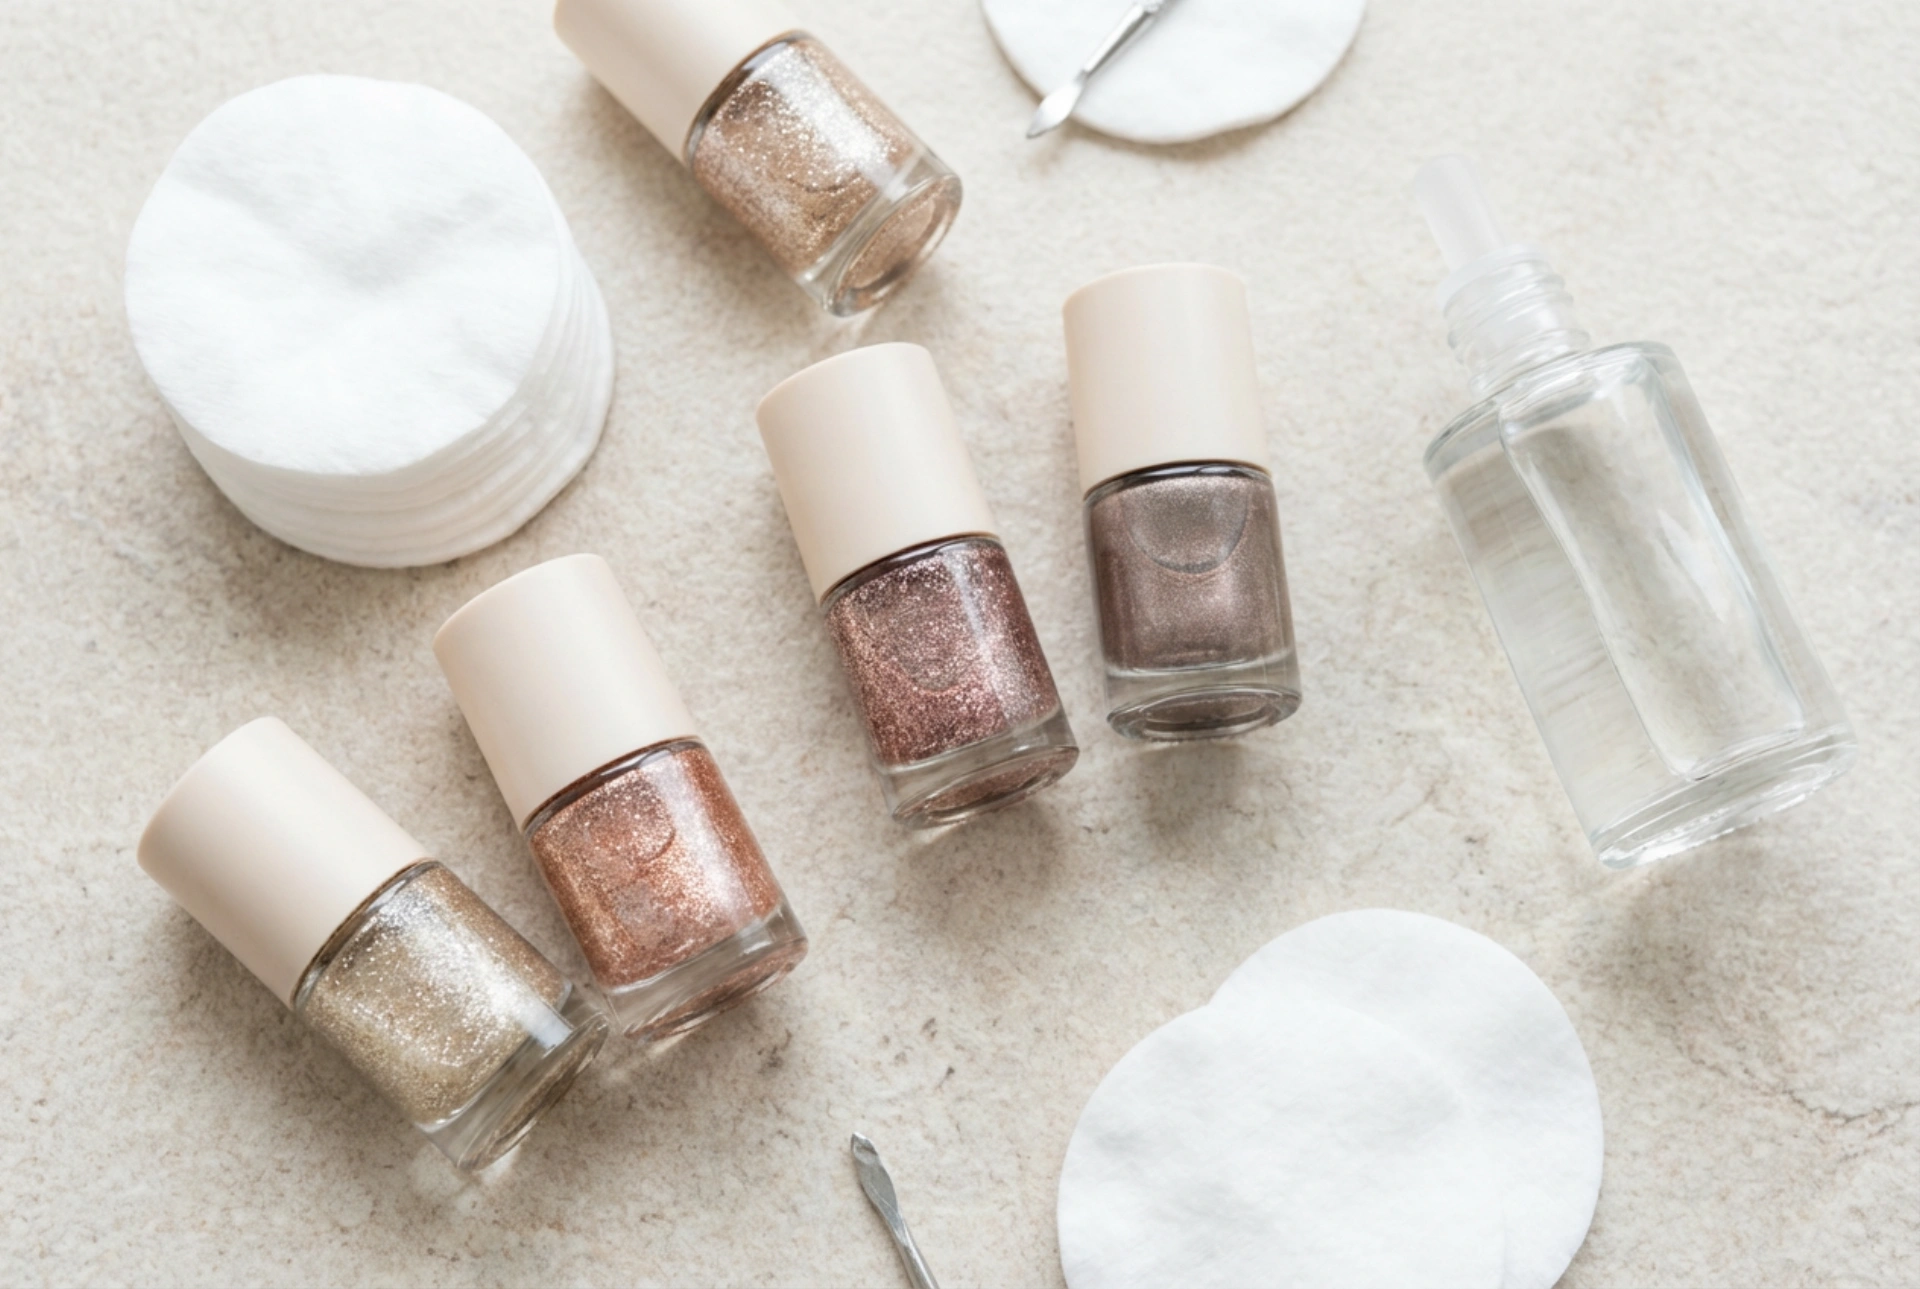
Proper preparation is the foundation of any great manicure, and it's especially crucial when working with textured polishes like glitter. Taking a few extra minutes to prep your nails will not only ensure a smoother application but also protect your natural nails and can even make the removal process easier down the line.
Clean and Shape
Start with clean, dry nails. Remove any old polish completely. Gently push back your cuticles and file your nails into your desired shape. A smooth, well-defined nail shape provides the perfect canvas for the glitter to shine. Afterwards, wipe each nail with a nail polish remover or a bit of rubbing alcohol on a cotton pad. This step removes any natural oils or residues from the nail surface, which helps the polish adhere better and last longer.
The Importance of a Base Coat
Never skip the base coat, especially with glitter polish. A good quality base coat serves several purposes. Firstly, it creates a protective barrier between the pigmented polish and your natural nail, preventing potential staining. Secondly, it provides a smooth, slightly tacky surface for the glitter polish to grip onto, leading to a more even application. For glitter polishes, consider using a 'ridge-filling' base coat, as its thicker consistency can help create an even smoother canvas for the glitter particles to lie on.
Master the Art of Glitter Polish Application
Achieving that opaque, jewel-like effect seen in bottles can be tricky with a standard application. The key is to use a method that deposits the glitter particles densely without a thick build-up of the clear or coloured base liquid.
The Classic Brushing Technique
For sheer or sparsely packed glitter polishes, the traditional brushing method works well. Apply a thin coat just as you would with a regular crème polish. Let it dry completely before applying a second or even a third coat to build up the intensity. The trick is to wait for each layer to be fully dry to avoid dragging the glitter particles and creating bald spots. This method is ideal for a subtle shimmer or for using glitter polish as a topper over a solid colour.
The Sponging Method for Maximum Sparkle
For a full-coverage, high-impact glitter look, the sponging technique is a game-changer. You will need a small piece of a disposable makeup sponge. Paint the glitter polish directly onto the sponge, then dab the sponge onto your nail. The sponge absorbs most of the clear polish base, leaving behind a concentrated layer of glitter particles on your nail. This method gives you an opaque glitter finish in just one or two coats. To protect the surrounding skin from polish, you can apply a liquid latex barrier or some petroleum jelly around your nail before you start sponging.
Achieving a Smooth, Glass-Like Finish
One of the downsides of glitter polish is its gritty, rough texture once it dries. This can be prone to snagging on clothes and can feel unpleasant. The solution lies in choosing the right top coat and applying it correctly.
Taming the Texture with a Top Coat
A single layer of a standard quick-dry top coat might not be enough to smooth out a dense glitter manicure. A great trick is to apply one generous layer of a regular, thicker top coat first. This initial layer will fill in the gaps between the glitter particles, creating a more level surface. Let it dry for a few minutes. Then, apply a second layer of a fast-drying, high-shine top coat. This two-step process will encapsulate the glitter, resulting in a smooth, glossy, and durable finish that feels as good as it looks.
The Secret to Hassle-Free Glitter Polish Removal
The dreaded removal process is what puts many people off using glitter polish. Scraping and scrubbing at stubborn glitter can be time-consuming and damaging to your nails. However, there are highly effective methods that lift the glitter away with minimal effort.
The Foil Wrap Method
This is the most reliable technique for removing stubborn glitter polish. It allows the remover to penetrate the multiple layers of polish and loosen the glitter particles effectively.
- Cut a few cotton pads into smaller pieces, one for each nail, and have ten small squares of aluminium foil ready.
- Saturate a cotton piece with a strong nail polish remover and place it directly onto your nail, ensuring it covers the entire surface.
- Wrap the nail and fingertip snugly with a piece of aluminium foil. The foil traps heat and prevents the remover from evaporating, allowing it to work its magic.
- Repeat for all nails and wait for 5 to 10 minutes. You might feel a slight warming sensation, which is normal.
- After waiting, press down on the foil and slide it off the nail. The polish and glitter should come off with the cotton pad. Use a clean pad with remover to wipe away any minor residue.
Peel-Off Base Coats: A Game Changer
If you love wearing glitter polish frequently, investing in a peel-off base coat is a fantastic idea. These are applied just like a regular base coat, but they create a film that allows you to simply peel the entire manicure off in one piece when you are ready for a change, with no remover needed. This is the ultimate solution for lovers of heavy glitter and special effect polishes.


