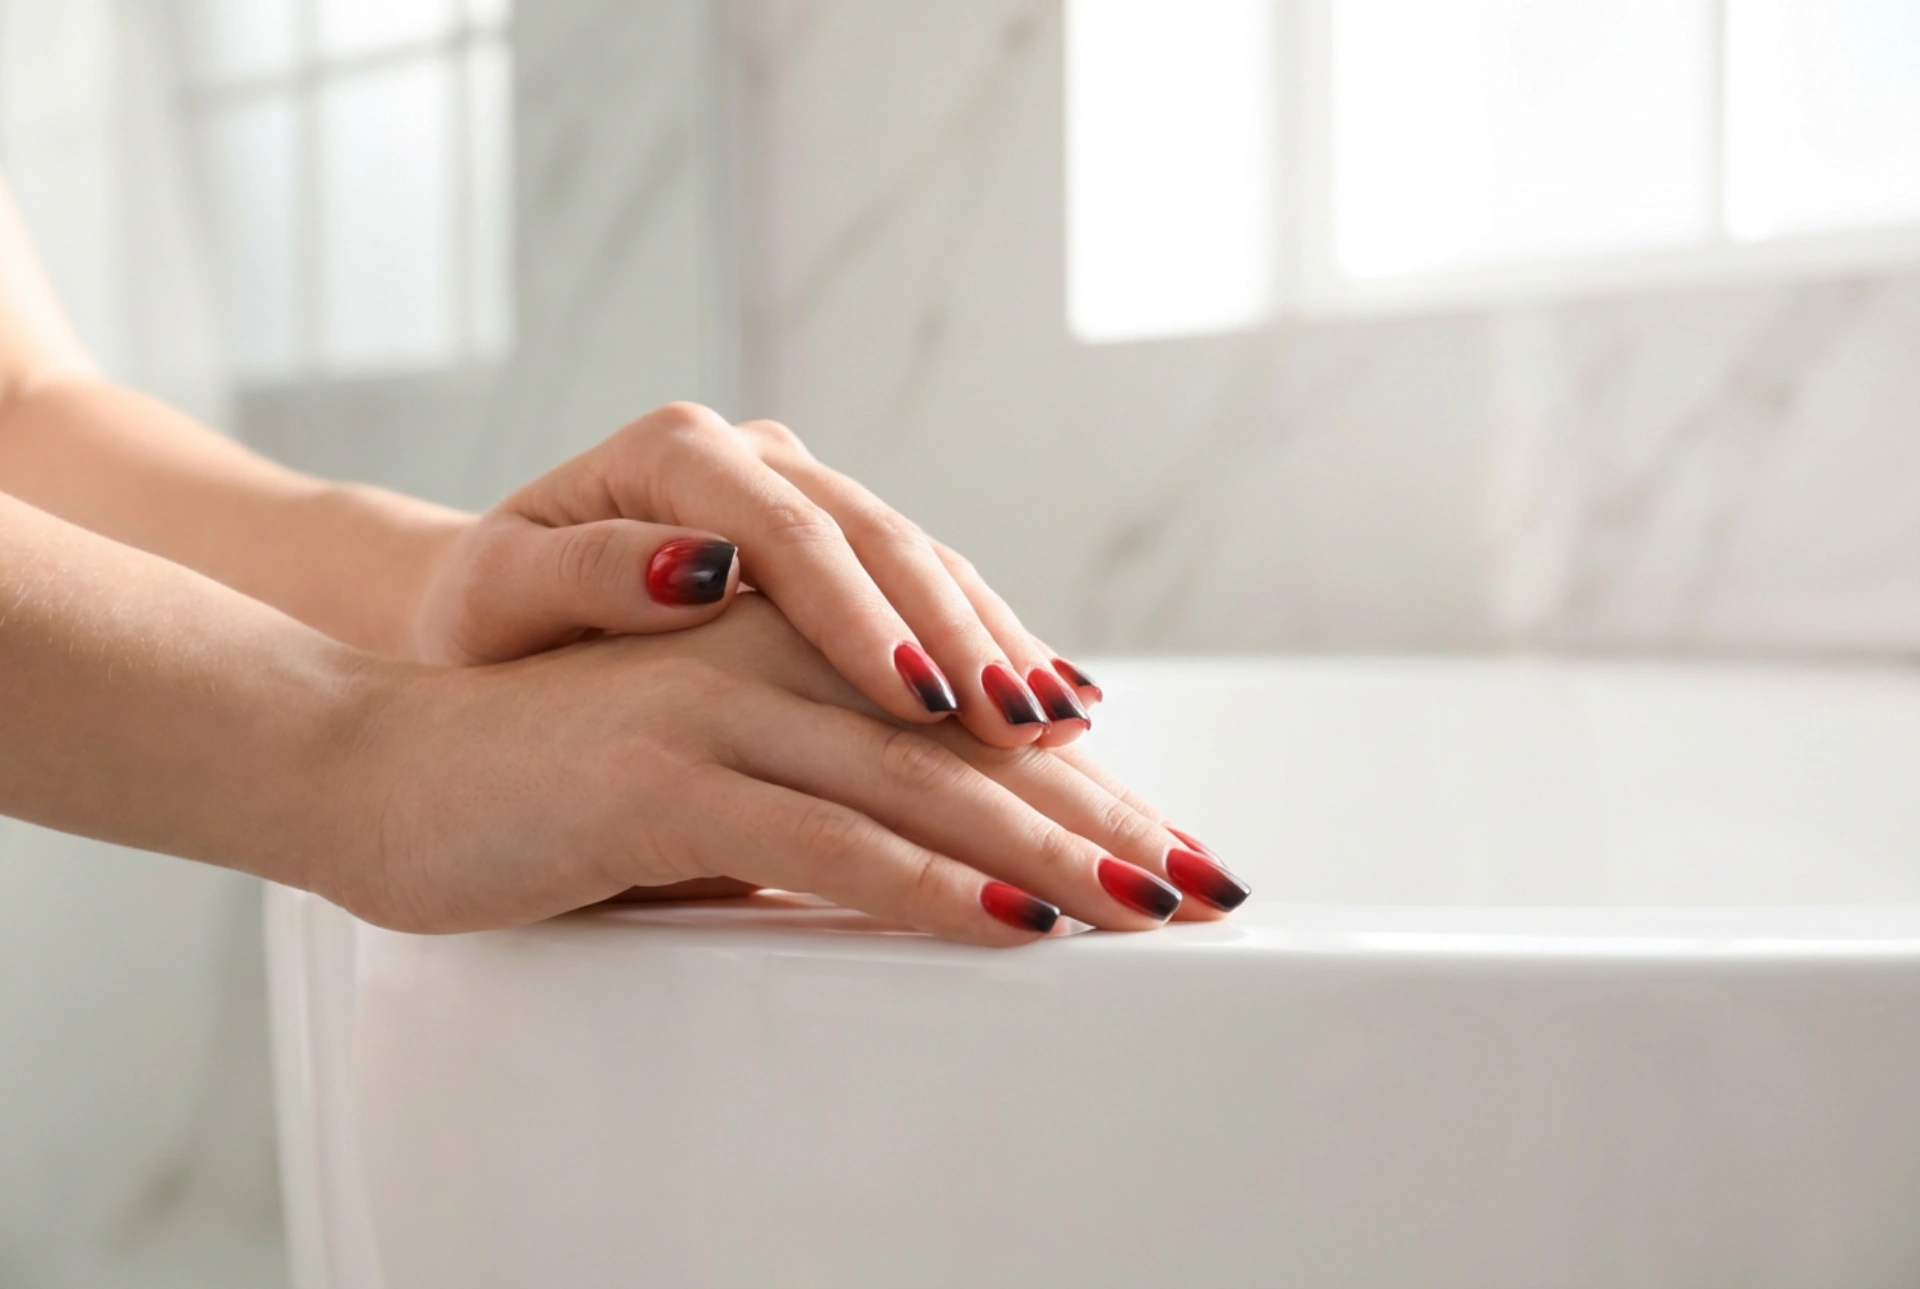


The red and black ombre nail design is a timeless choice that exudes sophistication and drama. This striking gradient effect, blending deep black into a vibrant red, can elevate any look, making a bold statement. While it may seem like a complex style reserved for nail salons, achieving a seamless, streak-free transition is entirely possible at home with the right technique and a little patience. This guide will walk you through the process, helping you master this elegant piece of nail artistry.
Preparing Your Nails for the Ombre Effect
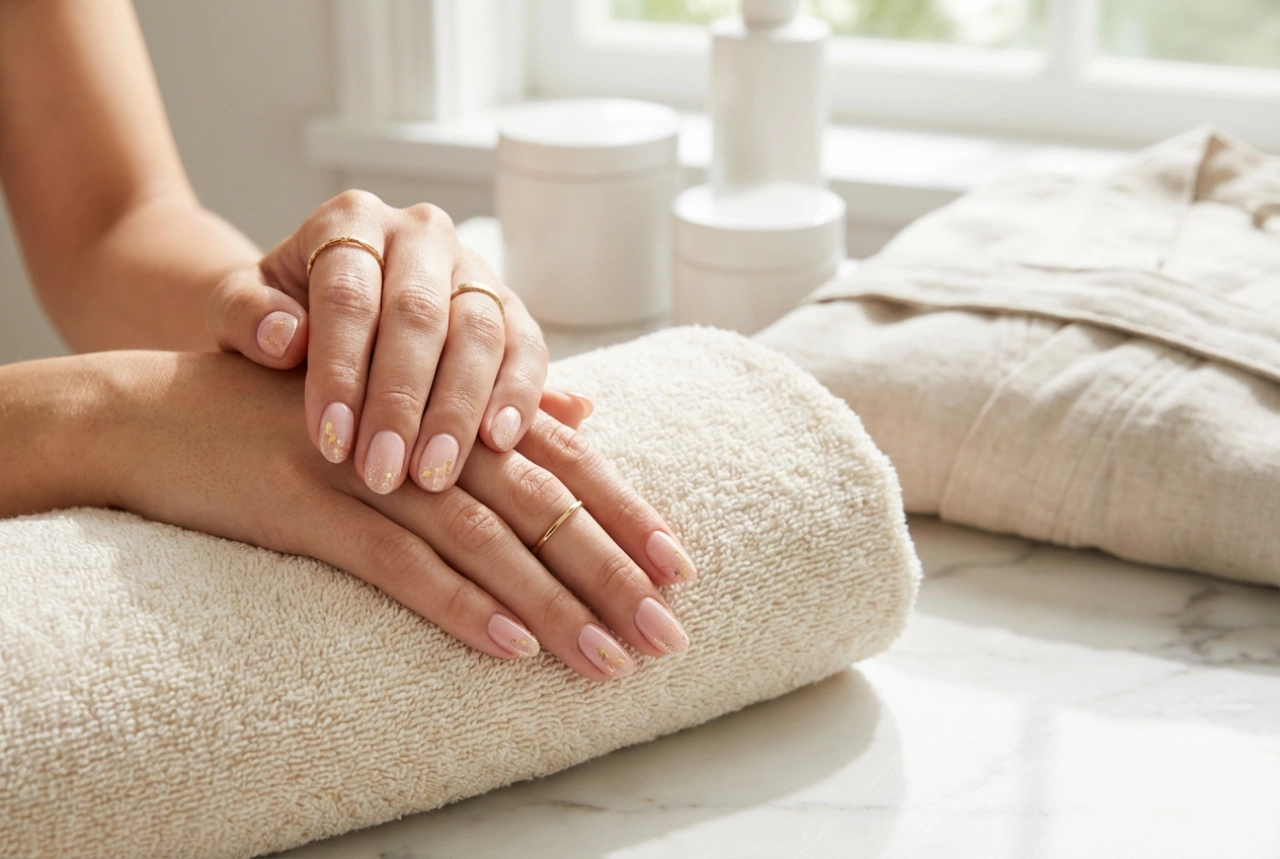
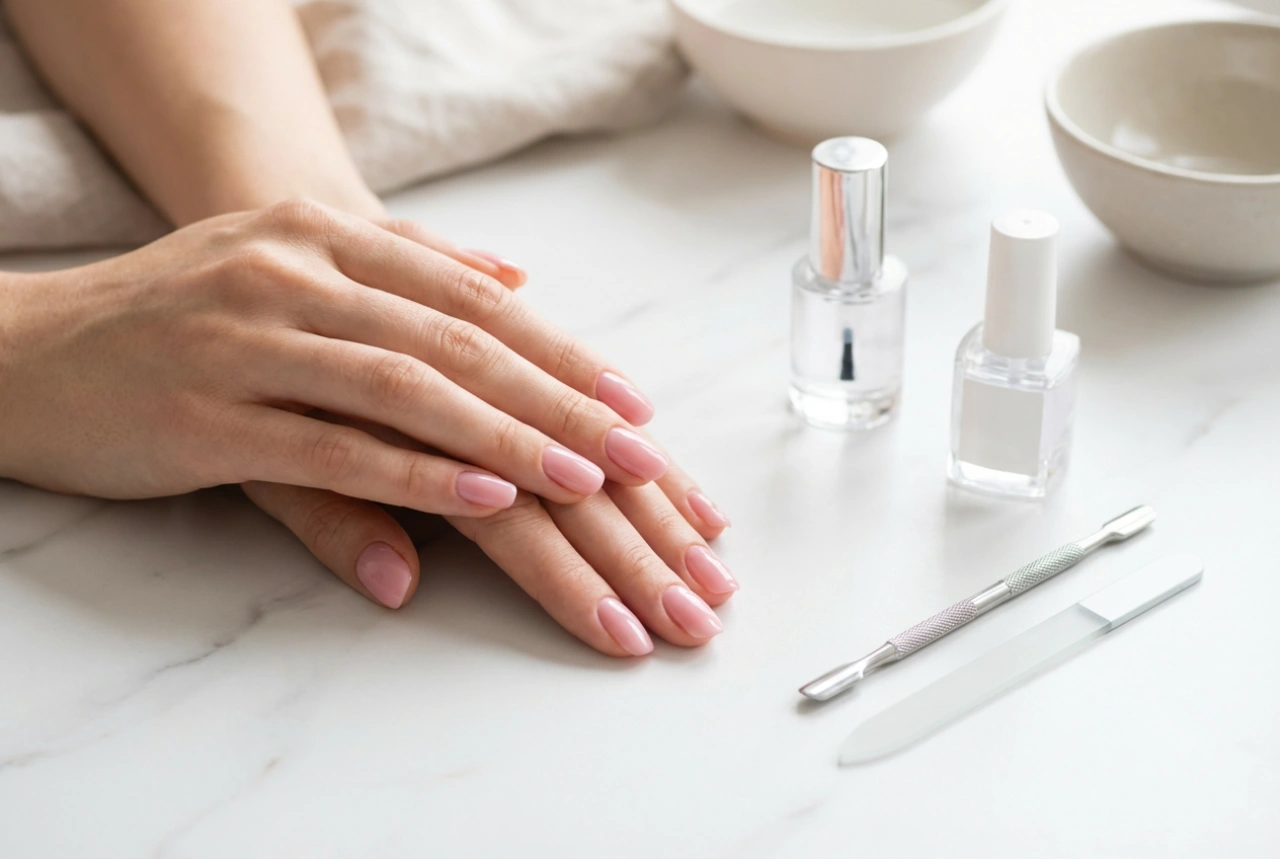
A flawless manicure begins with proper nail preparation. A clean and smooth canvas is essential for the ombre effect to look its best and last longer. Rushing this step can lead to a less polished result. Start by removing any old nail polish completely. Then, wash your hands and nails to ensure they are free of oils and debris. Shape your nails with a file to your desired length and form, whether it's square, oval, or almond. Gently push back your cuticles using a cuticle pusher, but avoid cutting them to maintain nail health. Finally, apply a thin layer of a quality base coat. This not only protects your natural nails from staining but also creates a tacky surface for the polish to adhere to, improving the longevity of your design.
Essential Tools for a Flawless Gradient
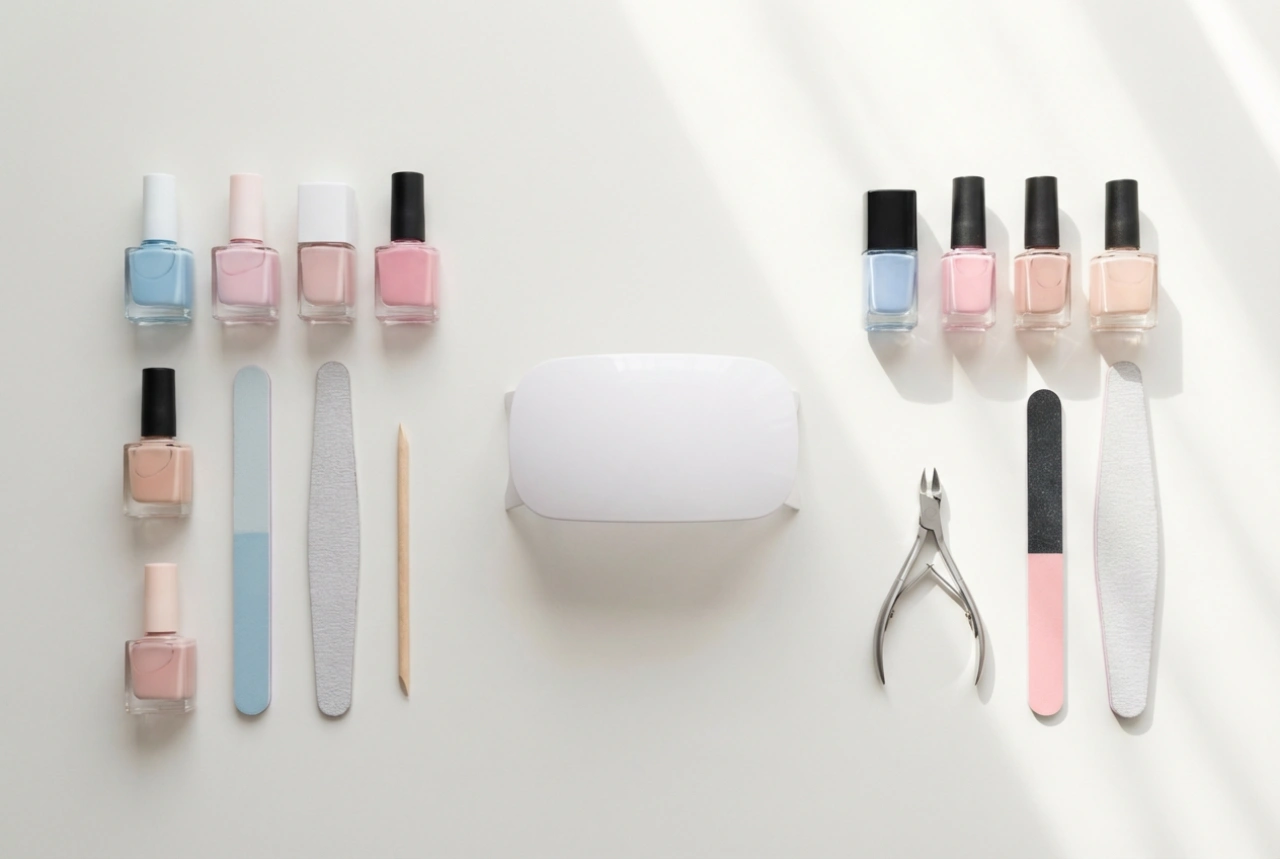
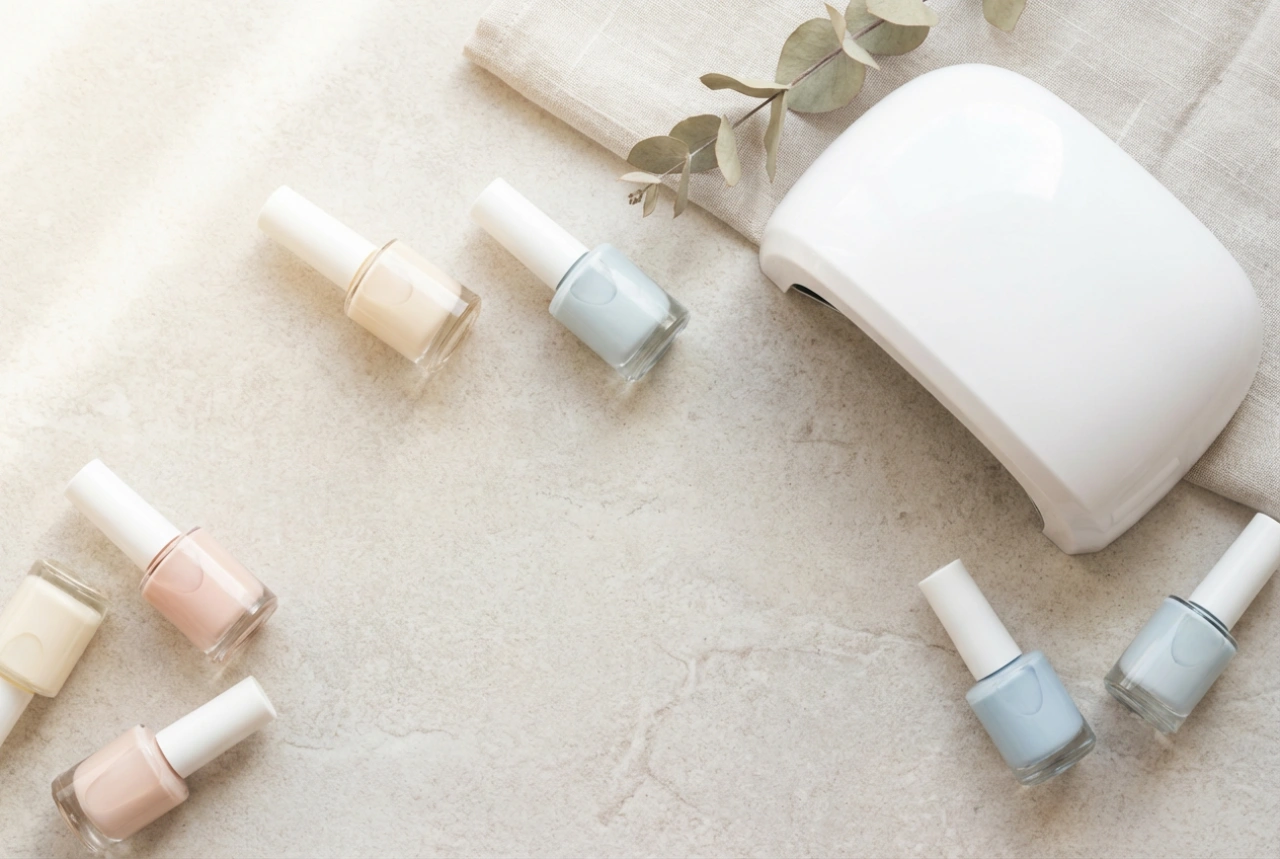
Gathering your tools before you start will make the process much smoother. You don't need a lot of specialised equipment; most items can be found in a standard home manicure kit or at a beauty supply store. The key to the ombre effect is a simple makeup sponge.
- Two nail polishes: one vibrant red and one deep black.
- A base coat and a glossy top coat.
- A small, disposable makeup sponge (a wedge shape works well).
- A flat, non-porous surface for your polish, such as a piece of foil or a plastic palette.
- Liquid latex for nails or petroleum jelly to protect the skin around your nails.
- A small brush and nail polish remover for clean-up.
Step-by-Step Guide to Creating Red and Black Ombre Nails
With your nails prepped and tools ready, it's time to create the gradient. This technique relies on dabbing the polish onto the nail, which blends the colours together beautifully. Take your time with each step for the best results.
Step 1: Protect Your Skin
The sponging technique can be messy. To make clean-up easier, apply liquid nail tape or a thin layer of petroleum jelly to the skin surrounding your nails. Be careful not to get any on the nail itself, as this will prevent the polish from sticking. Let the liquid tape dry completely before you proceed.
Step 2: Prepare the Sponge
On your flat surface, paint two thick stripes of polish, one red and one black, right next to each other. Make sure the stripes touch and slightly overlap in the middle—this is crucial for a smooth blend. The combined width of the stripes should be about the same as your nail.
Step 3: Apply the Gradient
Gently press your makeup sponge onto the polish stripes. The sponge will absorb the colours. Now, carefully dab the sponge onto your nail. Use a light bouncing or rolling motion rather than a hard press. You may need to dab a few times to cover the entire nail. The first coat will look sheer and textured; this is normal. Re-apply the polish stripes to your palette and dab the sponge again for each nail to ensure a fresh, vibrant application.
Step 4: Build the Intensity and Blend
Wait a minute or two for the first layer to dry slightly. Then, repeat the process. Apply a second layer of the gradient using the sponge, trying to align the colours in the same position as the first layer. This second coat will deepen the colours and further blend the transition line, making it softer and more seamless. If needed, a third coat can be applied for maximum opacity and a perfect blend.
Finishing Touches and Aftercare
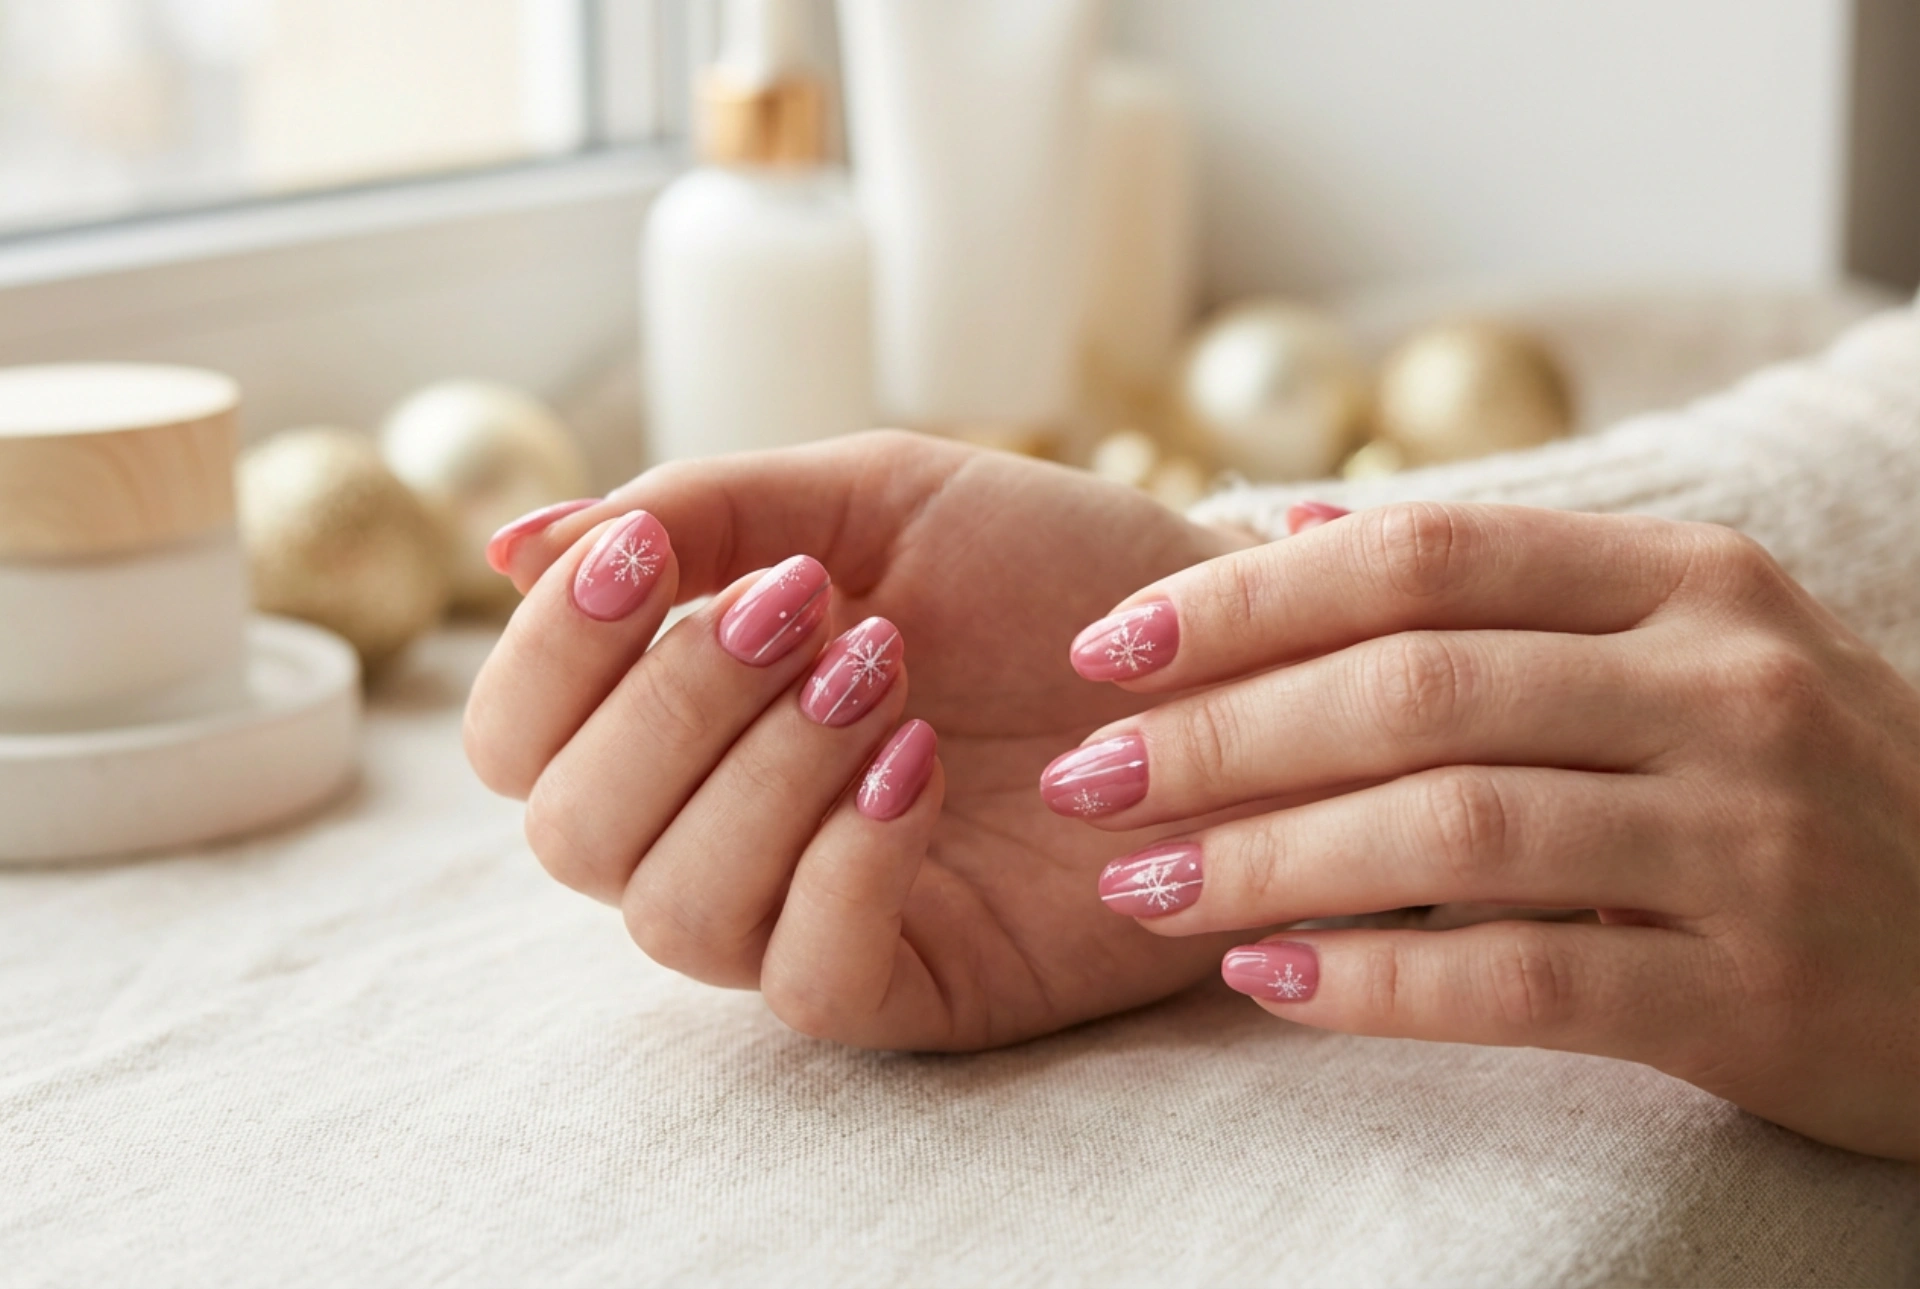
The final steps are what will transform your textured manicure into a smooth, professional-looking design. Once the last ombre layer is semi-dry, carefully peel off the liquid latex. If you used petroleum jelly, wipe it away. Use your small brush dipped in nail polish remover to meticulously clean up any polish that got onto your skin or cuticles. Now for the most important part: apply a generous layer of a glossy top coat. The top coat will not only protect your design but will also melt the layers together, smoothing out the texture from the sponge and creating that stunning, seamless gradient effect. To keep your manicure looking fresh and your cuticles healthy, apply cuticle oil daily.