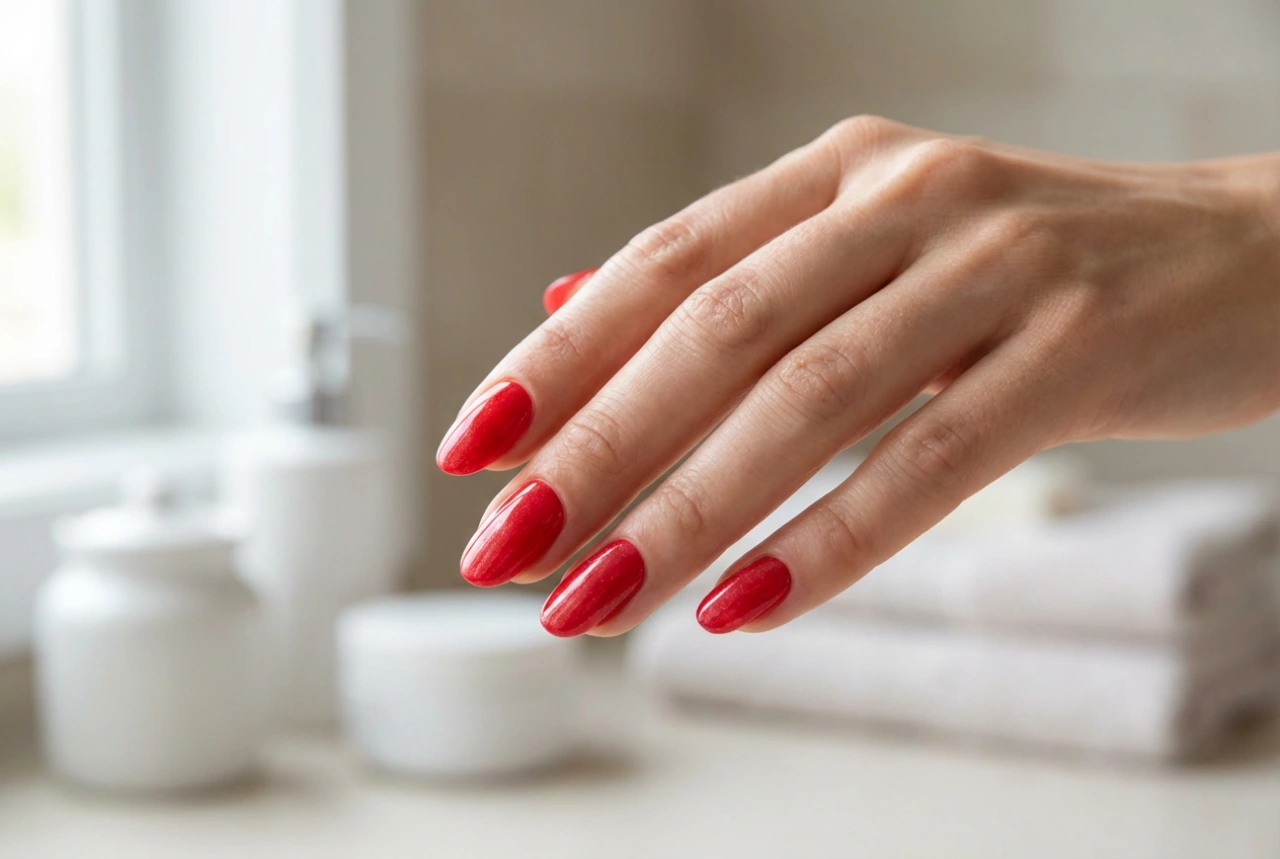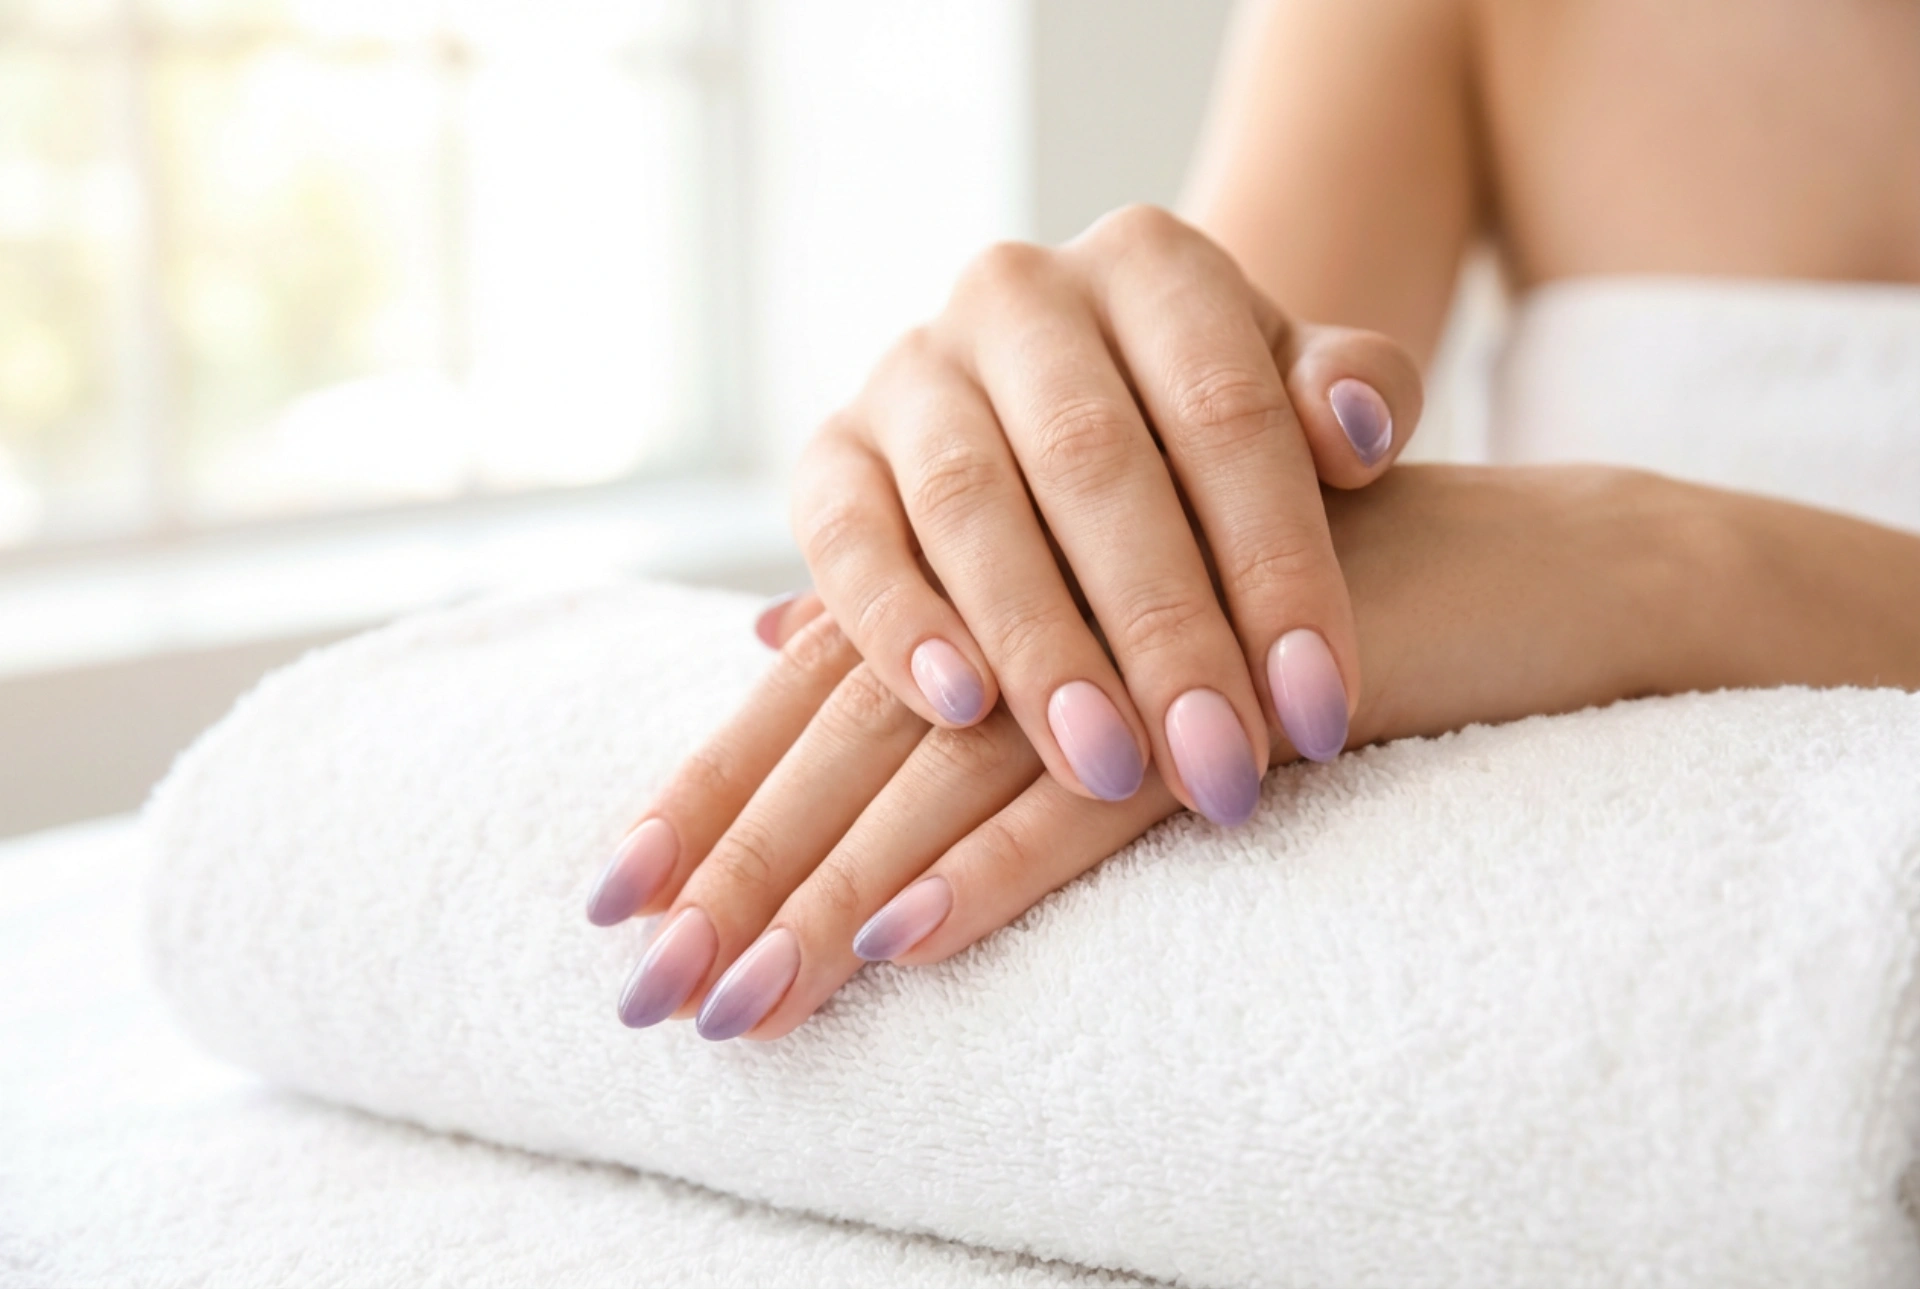


The ombre effect remains one of the most elegant and sought-after styles in nail art, offering a seamless transition between colours that is both subtle and striking. Combining the softness of pink with the richness of purple creates a particularly beautiful and versatile look, suitable for any occasion. This sophisticated gradient can elevate your manicure, adding a touch of creativity and polish. Achieving this look at home is more accessible than you might think, requiring just a few simple tools and a bit of patience. Let's explore how to master the pink and purple ombre nail design for a flawless finish.
The Allure of the Pink and Purple Combination
Why do pink and purple work so well together? These colours sit next to each other on the colour wheel, creating an analogous colour scheme that is naturally harmonious and pleasing to the eye. Pink often evokes feelings of gentleness, romance, and femininity, while purple is associated with luxury, creativity, and sophistication. When blended, they produce a dynamic yet balanced effect. A light, pastel pink fading into a soft lavender can feel dreamy and delicate, whereas a vibrant fuchsia transitioning into a deep violet can be bold and dramatic. This versatility allows you to tailor the manicure to your personal style and the season.
Preparing Your Nails for a Perfect Gradient
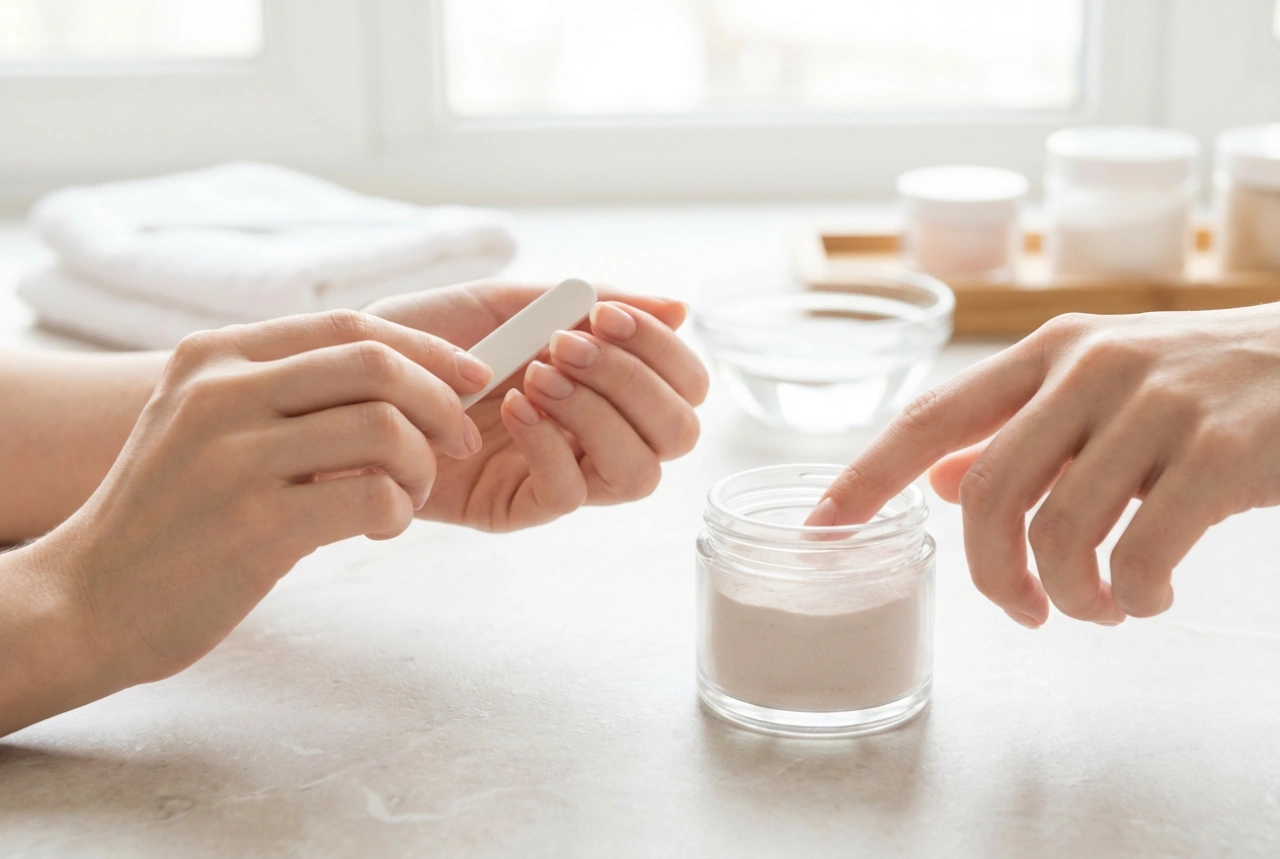
A beautiful manicure always begins with well-prepped nails. Proper preparation not only ensures the polish applies smoothly but also helps your design last longer. Neglecting this stage can lead to a lumpy finish and premature chipping, undoing all your hard work.
Cleanse and Shape
Start by removing any old nail polish completely. Gently push back your cuticles, but avoid cutting them, as they protect your nails from impurities. Next, file your nails into your desired shape, whether it's square, round, almond, or stiletto. Make sure all nails are of a uniform length and shape for a cohesive look. Finally, buff the surface of your nails very lightly to create a smooth canvas, and wipe them with a nail polish remover or alcohol to eliminate any oils or dust.
Apply a Protective Base Coat
Never skip the base coat. This essential layer serves multiple purposes: it protects your natural nails from staining (especially important with pigmented colours like purple), helps the polish adhere better, and fills in any minor ridges to ensure a smoother application. Apply one thin layer of a quality base coat and allow it to dry completely before you begin with your colours.
Creating the Ombre Effect: A Step-by-Step Guide
The most popular and effective method for creating a DIY ombre effect is using a simple makeup sponge. This technique helps to blur the lines between the colours, creating that signature soft gradient.
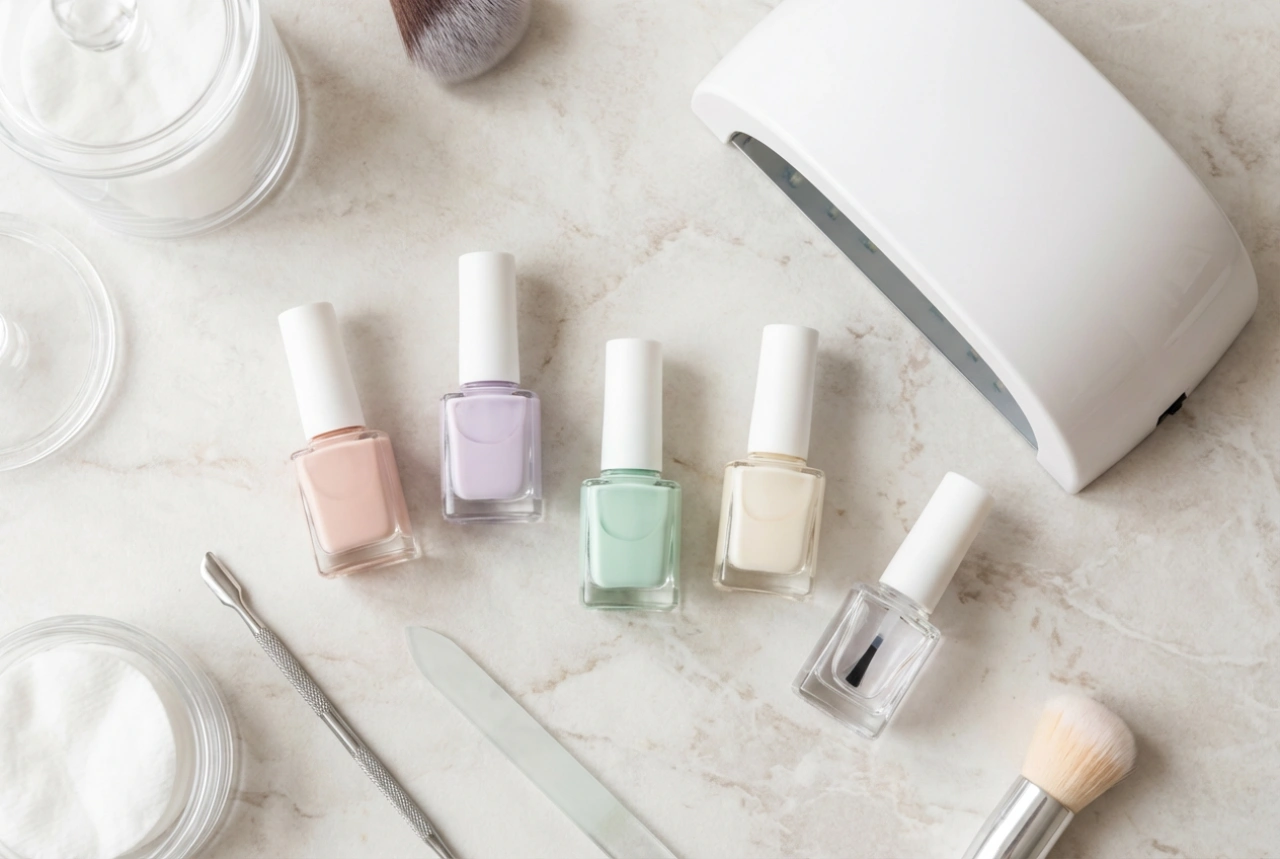
What You Will Need
- A light pink nail polish
- A purple nail polish
- A clear top coat
- A disposable makeup sponge (a dense one works best)
- A small brush and nail polish remover for clean-up
- Optional: Liquid latex or petroleum jelly to protect the skin
The Sponging Technique
First, apply one or two coats of your lightest colour—in this case, the pink polish—to all your nails. This will serve as the base for your gradient. Let it dry completely. To make clean-up easier, apply liquid latex or a thin layer of petroleum jelly to the skin around your nails. Next, take your makeup sponge and paint horizontal stripes of your pink and purple polishes directly onto it. Make sure the stripes are right next to each other and slightly overlapping. Working one nail at a time, gently press and dab the sponge onto your nail. You may want to roll the sponge slightly from side to side to help blend the colours. Don't worry if it looks a bit textured or isn't perfectly opaque on the first try. Let it dry for a minute, then reapply the polish to the sponge and dab onto the nail again to intensify the colours. Repeat until you are happy with the opacity and blend. Once you're finished, carefully remove the liquid latex or use a small brush dipped in nail polish remover to clean up any polish on your skin.
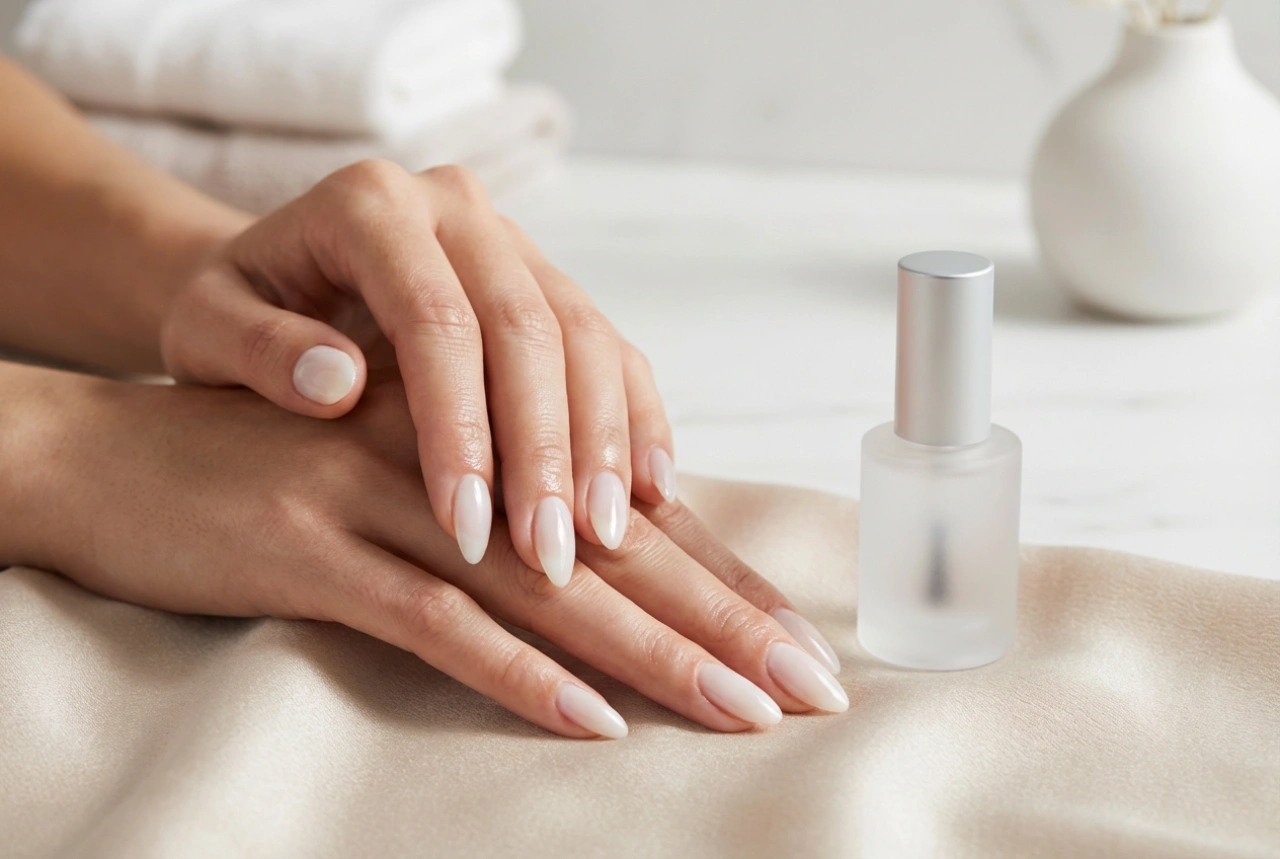
Sealing the Design
The sponging technique can leave a slightly bumpy texture on the nail. A generous layer of a good-quality top coat is crucial to smooth everything out, blend the colours even further, and give your nails a glossy, professional-looking shine. The top coat will also protect your beautiful design from chipping, ensuring your ombre manicure lasts for days.