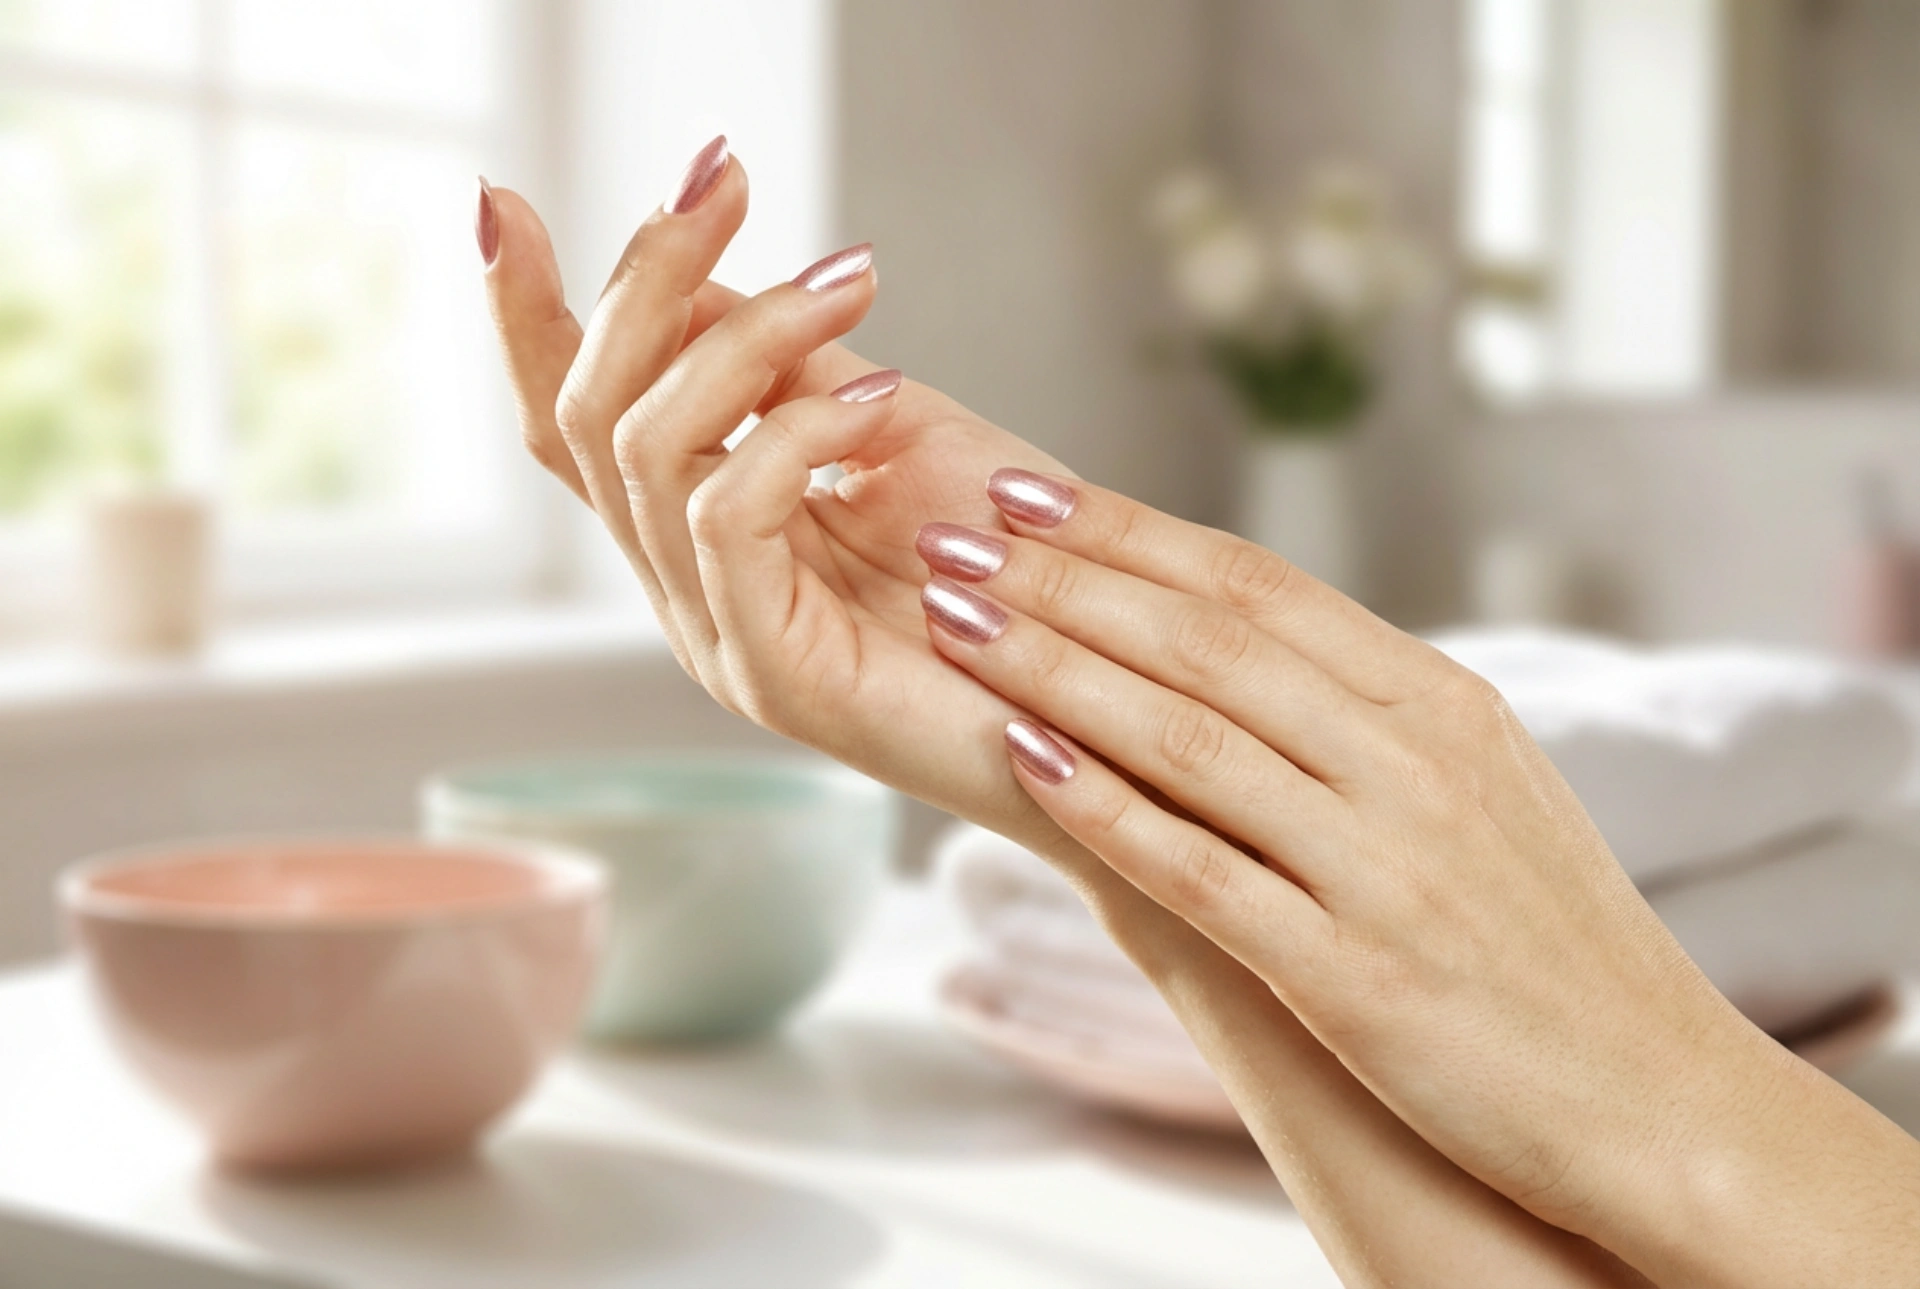


The combination of pink and gold on nails creates a look that is both timeless and incredibly versatile, exuding sophistication and glamour. Whether you're preparing for a special event or simply want to add a touch of elegance to your everyday style, a pink and gold manicure is a perfect choice. This design can be adapted to be as subtle or as bold as you wish, making it suitable for all tastes. With a few simple tools and techniques, you can achieve a professional-looking result right at home.
Preparing Your Nails for a Flawless Manicure
The key to any beautiful manicure is a well-prepared canvas. Taking the time to properly prep your nails will ensure a smoother application and a longer-lasting design. Neglecting this step can lead to chipping and an uneven finish.
- Clean and Shape: Start by removing any old polish with a gentle nail polish remover. Wash your hands, then file your nails to your desired shape, whether it's square, oval, or almond. Always file in one direction to prevent breakage.
- Cuticle Care: Gently push back your cuticles using a cuticle pusher or an orangewood stick. Avoid cutting them, as this can lead to irritation. A cuticle-softening solution can make this process easier.
- Buff the Surface: Lightly buff the surface of each nail with a fine-grit buffer. This removes natural oils and creates a slightly textured surface for the polish to adhere to, improving longevity.
- Apply a Base Coat: Never skip the base coat. It protects your natural nails from staining, especially with pigmented colours, and provides a smooth foundation for your nail polish. Allow it to dry completely before proceeding.
Creating Your Pink and Gold Design
There are numerous ways to combine pink and gold for a stunning effect. From a simple wash of colour to more intricate designs, you can tailor the look to your skill level and personal preference. Here are a few popular techniques to try.
Technique 1: The Classic Rose Gold Sheen
The simplest way to achieve the look is by using a single, high-quality rose gold nail polish. This shade perfectly melds pink and gold tones into one elegant colour. Apply two thin, even coats, allowing the first to dry for a few minutes before applying the second. This technique is quick, easy, and provides a uniformly chic and shimmering finish that is perfect for any occasion.
Technique 2: Pink Base with Gold Accents
For a more customised look, start with a solid pink base colour of your choice, from a soft baby pink to a vibrant magenta. Once the base is dry, you can add gold details. Consider these ideas:
- Accent Nail: Paint one nail on each hand (typically the ring finger) with a glittery gold polish for a classic and eye-catching accent.
- Gold Flakes: While the second coat of pink polish is still slightly tacky, use tweezers to carefully place small gold foil flakes onto the nail. You can scatter them randomly or create a pattern.
- Fine Lines: Use a thin striping brush dipped in gold polish to draw delicate lines, chevrons, or other geometric shapes over the pink base.
- Modern French Tip: Instead of the traditional white tip, apply a thin line of metallic gold polish to the ends of your nails for a modern twist on a classic French manicure.
Technique 3: Subtle Ombré Gradient
An ombré or gradient effect creates a beautiful transition between colours. For a pink and gold gradient, you will need a disposable makeup sponge. Paint stripes of your chosen pink and gold polishes directly onto the sponge, slightly overlapping them. Gently dab the sponge onto your nail, repeating a few times to build up the colour intensity. This creates a seamless blend from pink to gold.
Finishing Touches for a Lasting Manicure
Once you are happy with your design and it has had some time to dry, the final step is to seal it. Apply a generous layer of a high-quality, quick-drying top coat. This not only adds a brilliant shine but also protects your nail art from chipping and extends the life of your manicure. After the top coat is dry to the touch, apply a nourishing cuticle oil or a rich hand cream to moisturise your skin and cuticles, giving your hands a perfectly polished and cared-for appearance.


