


A beautiful and long-lasting manicure begins long before the first coat of colour is applied. The foundation of any stunning nail look, especially a hybrid manicure, lies in the meticulous preparation of the nail plate. Proper preparation not only ensures better adhesion and longevity of the polish but also contributes to the overall health and appearance of your nails. Understanding these fundamental steps allows you to achieve a professional-looking finish at home, transforming your nails into a perfect canvas.
What You Need for a Home Hybrid Manicure
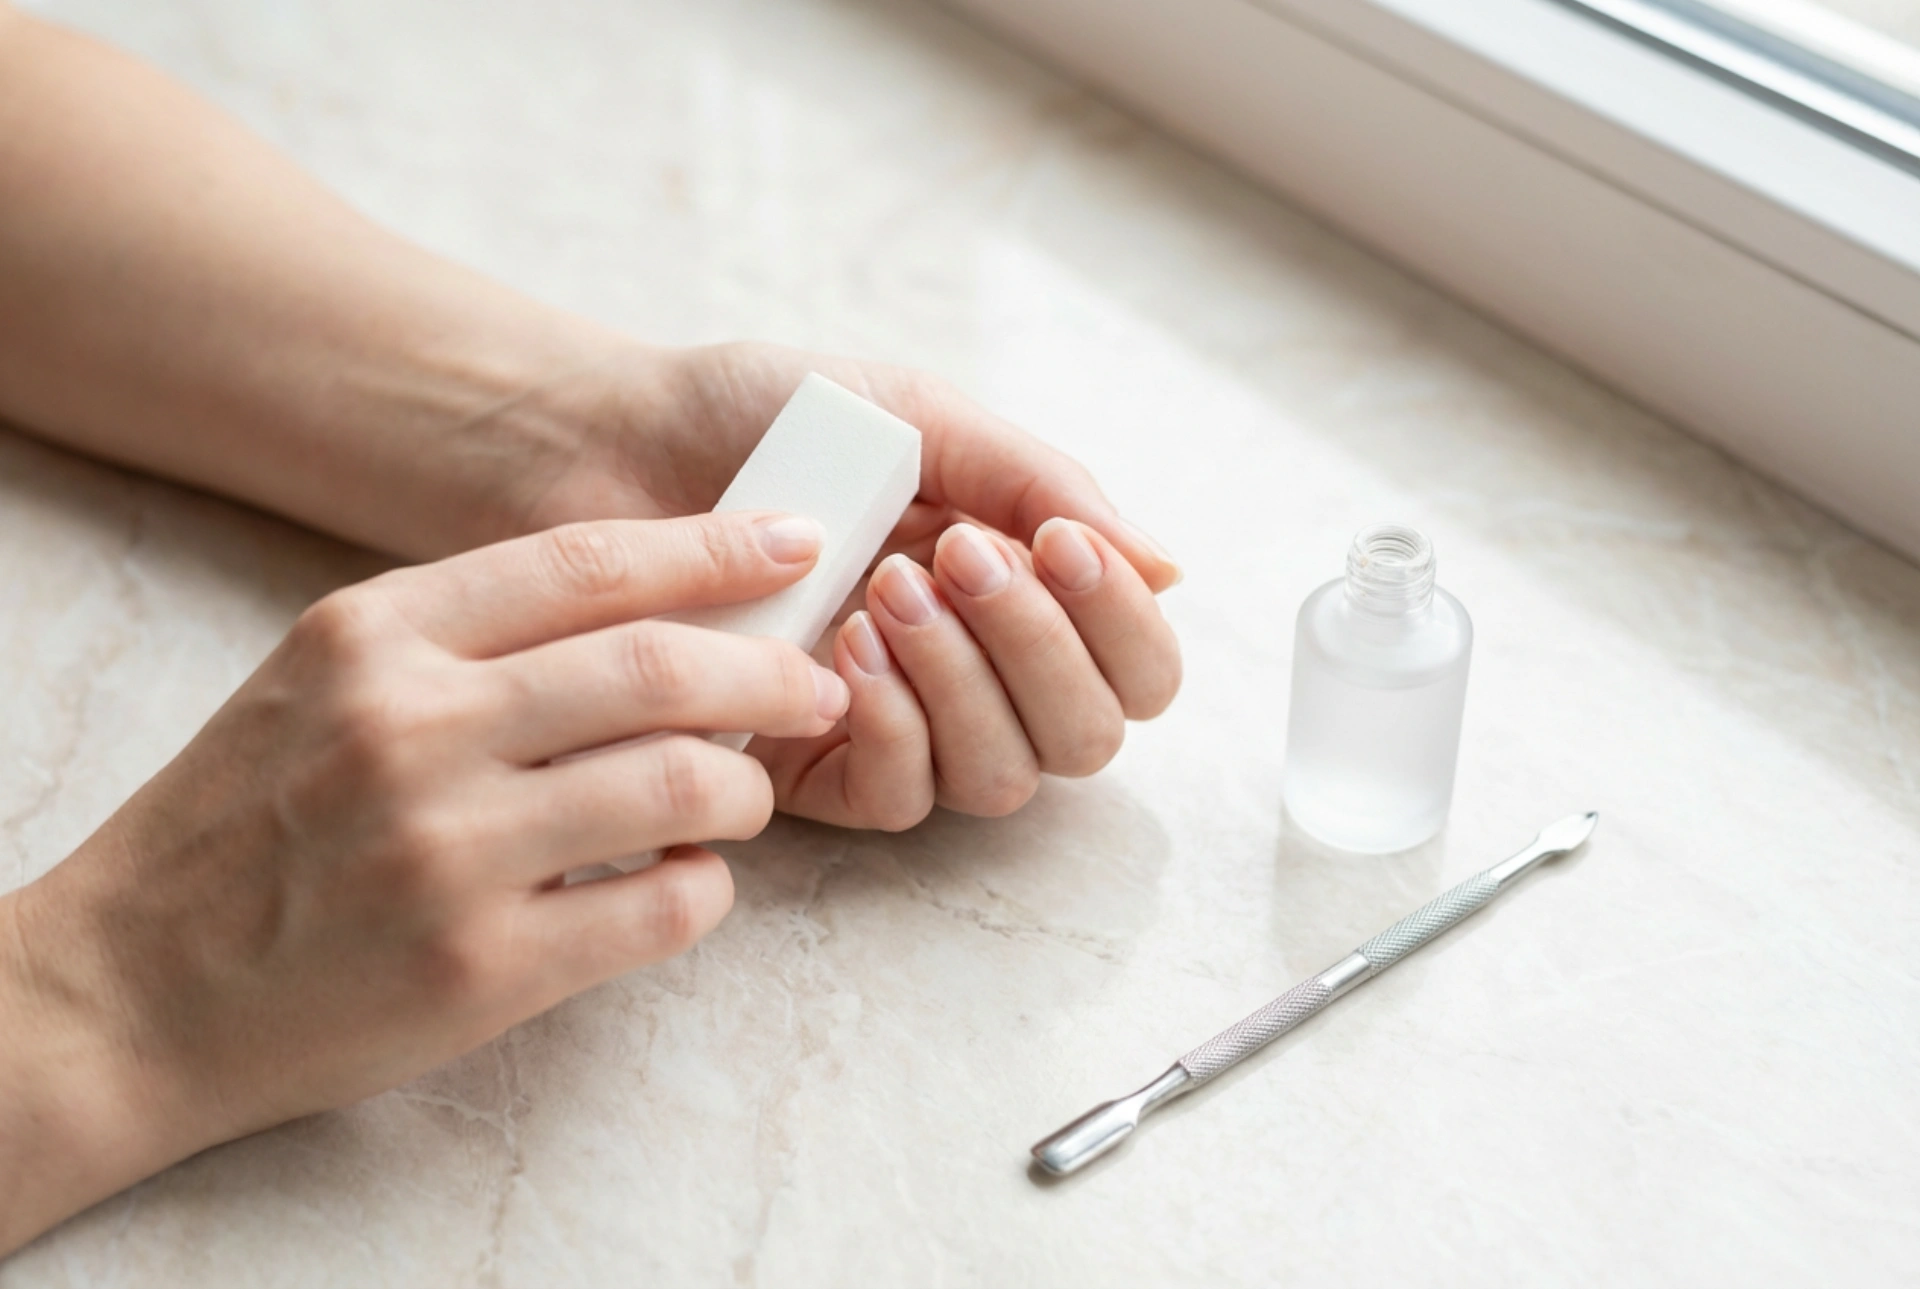
Before you begin, it's wise to gather all the necessary tools and products. Having everything within reach will make the process smoother and more enjoyable. You don't need a professional salon setup, but a few key items are essential for a successful outcome. Ensure your workspace is clean, well-lit, and comfortable.
- A nail file (glass or paper, with a fine grit)
- A wooden or orange stick for cuticles
- A cuticle remover fluid (optional)
- A buffing block or a very fine-grit polisher
- Lint-free wipes
- A nail cleaner/degreaser solution
- A non-acidic primer
- A hybrid base coat
- Your chosen hybrid colour polish
- A hybrid top coat (no-wipe or standard)
- A UV/LED lamp suitable for curing hybrid polishes
Step-by-Step Nail Plate Preparation
This is the most crucial stage for ensuring your manicure lasts. Rushing through these steps can lead to lifting, chipping, and a shorter lifespan for your hybrid nails. Dedicate enough time to perform each action with care and precision.
1. Shaping and Cuticle Care
Start by gently filing your nails to your desired shape. Always file in one direction to prevent splitting and weakening the nail. Next, address the cuticles. You can apply a special cuticle remover fluid and wait for a moment. Then, use a wooden stick to gently push back the cuticles. Avoid cutting them, as this can lead to irritation and damage. The goal is to create a clean, neat line at the base of the nail.
2. Matting the Nail Plate
Using a soft buffing block, gently matte the entire surface of the nail plate. The aim is not to thin the nail but to remove its natural shine. This creates a slightly rougher surface, which significantly improves the adhesion of the base coat. Be gentle and use light, even strokes. Once done, use a soft brush or a lint-free wipe to remove all the dust.
3. Degreasing the Nails
After buffing, the nail plate needs to be thoroughly cleansed. Soak a lint-free wipe in a nail cleaner or degreaser solution and wipe each nail carefully. Pay special attention to the areas around the cuticles and the free edge of the nail. This step removes any remaining dust, oils, and moisture, which are the main culprits for polish lifting.
The Application Process: Base, Colour, and Top Coat
With your nails perfectly prepared, you are ready to start the application. Remember that hybrid polishes require curing under a UV/LED lamp after each coat. Applying thin layers is key to achieving a durable and even finish.
1. Applying the Base Coat
Apply a thin layer of the hybrid base coat to each nail, being careful not to touch the surrounding skin or cuticles. The base coat protects the natural nail and provides a sticky foundation for the colour. Cure the base coat under the lamp according to the manufacturer's instructions (typically 30-60 seconds).
2. Applying the Colour
Now for the fun part. Apply a very thin, even layer of your chosen hybrid colour. If you apply it too thickly, it may not cure properly and could wrinkle. It's better to apply two or three thin coats than one thick one. Cure each coat under the lamp as instructed. This ensures a deep, rich colour and a solid, durable finish.
3. Sealing with a Top Coat
The final step is to apply a top coat. This layer protects the colour from chipping and scratching, and adds a beautiful, high-gloss shine. Apply an even layer, making sure to 'cap' the free edge of the nail by running the brush along its tip. This seals the manicure and prevents lifting. Cure the top coat under the lamp. If you've used a standard top coat (not a 'no-wipe' version), it will have a sticky inhibition layer after curing. Simply wipe it off with a lint-free wipe soaked in the degreaser solution to reveal the perfect shine.


