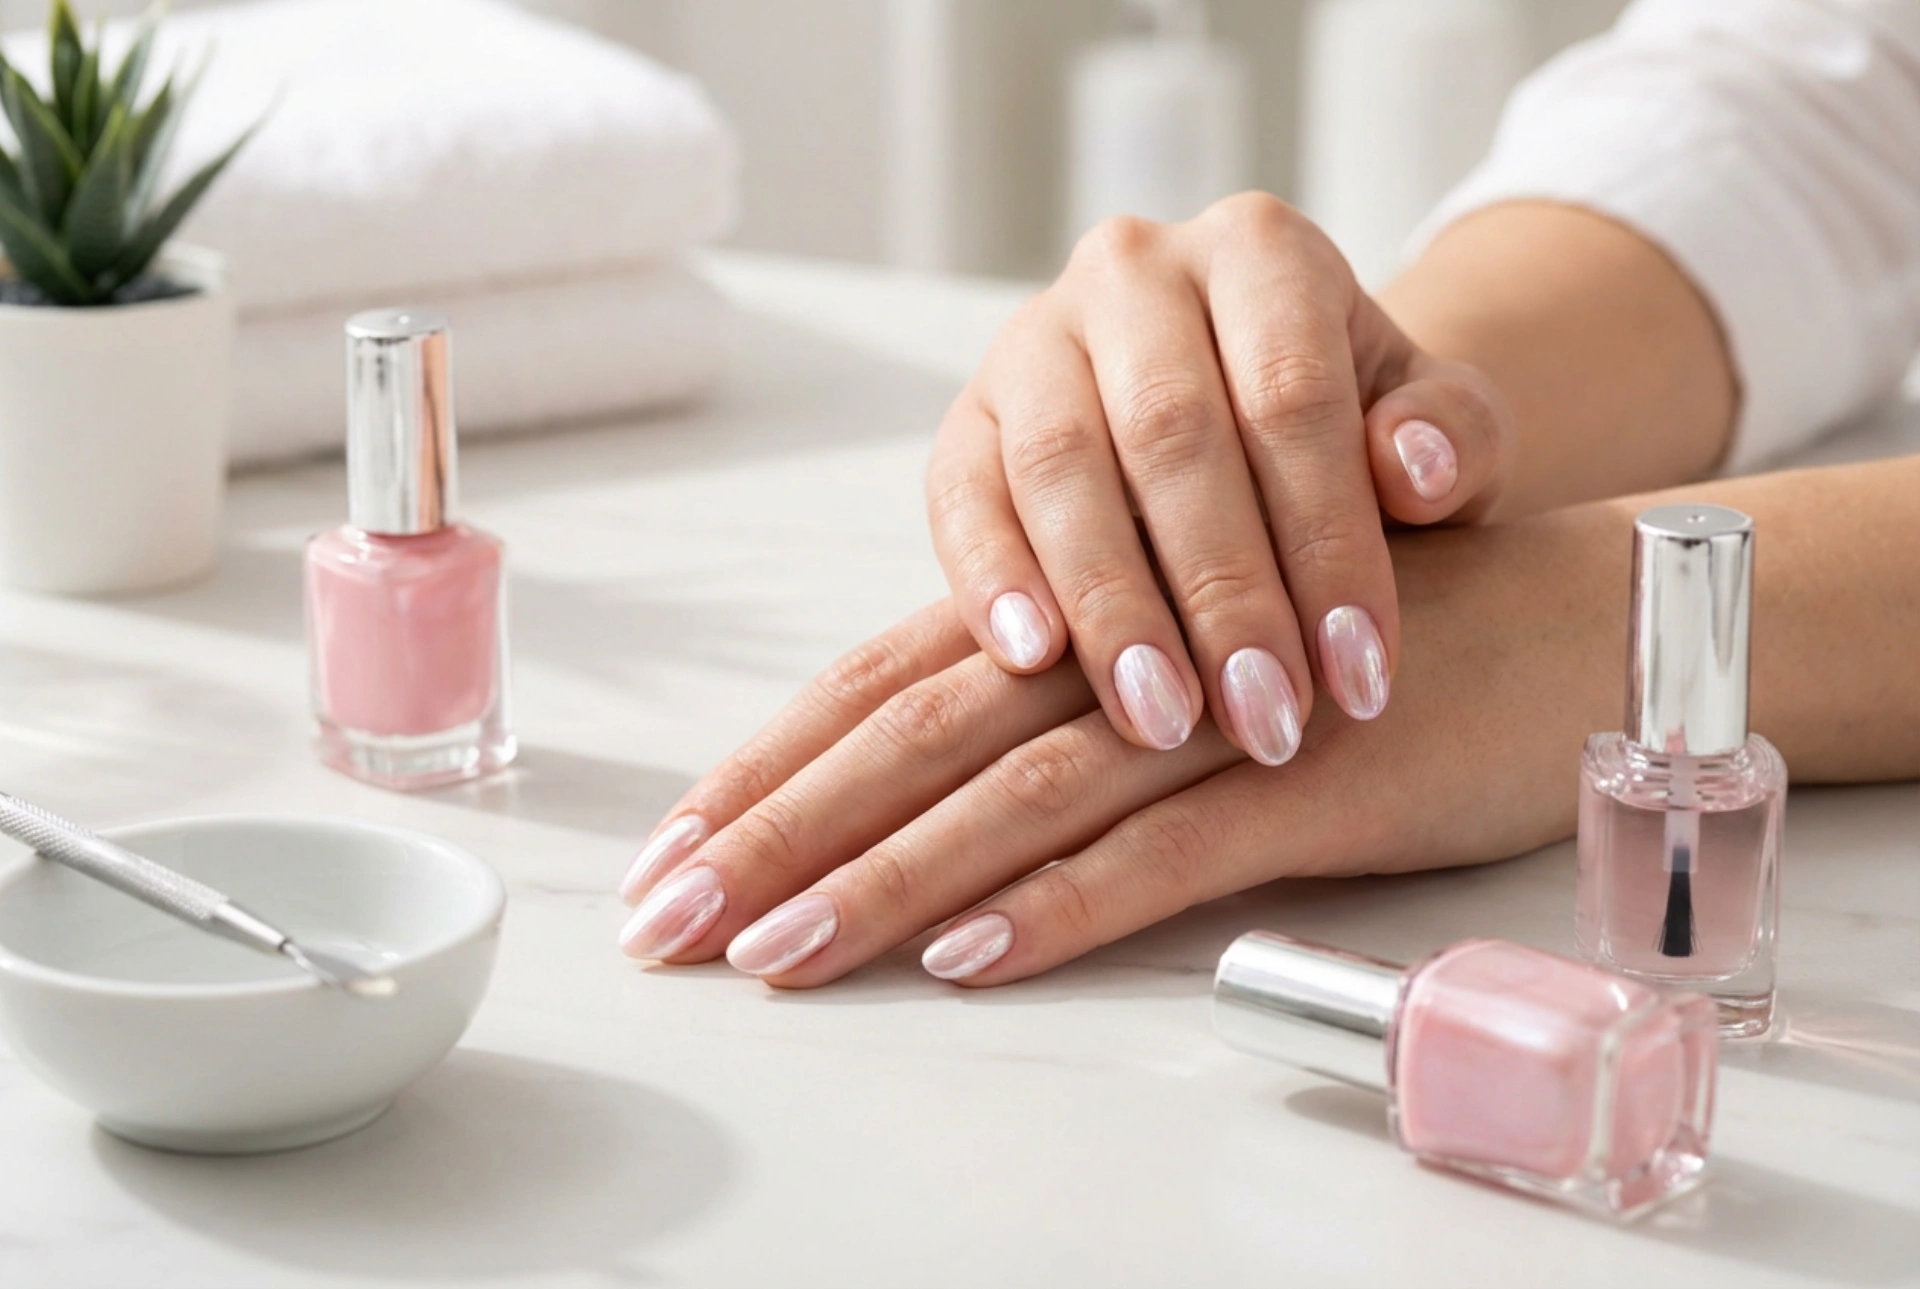


The trend for delicate, shimmering nails has captivated beauty enthusiasts, and the pearl pink manicure with a shell-like effect is a perfect example of refined elegance. This style mimics the subtle, iridescent lustre found inside a seashell, creating a look that is both sophisticated and enchanting. It’s a versatile finish that complements any outfit and occasion, adding a touch of understated glamour to your hands. Achieving this beautiful effect at home is simpler than it looks. With the right techniques and a little patience, you can transform your nails into miniature works of art.
Preparing Your Nails for a Flawless Finish
The foundation of any beautiful manicure is well-prepared nails. A smooth, clean canvas ensures that your polish applies evenly and lasts longer. Neglecting this step can lead to a bumpy finish and premature chipping, so it's worth taking the time to do it right.
- Cleanse: Start by removing any old polish completely. Wash your hands and nails with a gentle soap to get rid of any oils or residues.
- Shape: Use a soft nail file to gently shape your nails to your desired length and form. Filing in one direction, rather than sawing back and forth, helps prevent splitting.
- Buff: Lightly buff the surface of your nails with a fine-grit buffer. This smooths out any ridges and creates a slightly textured surface for the polish to adhere to.
- Cuticle Care: Apply a cuticle remover and gently push back your cuticles with a wooden or rubber-tipped stick. Avoid cutting them, as this can lead to irritation. Finish by moisturising the area with a cuticle oil.
Building the Perfect Pearl Pink Base
The choice of pink is crucial for achieving the authentic pearl shell look. You should opt for a soft, milky, or semi-sheer pink. A colour that is too opaque or bright can overwhelm the delicate iridescent effect you'll be adding later. The goal is to create a subtle, luminous base that allows the pearlescent shimmer to shine through.
Step-by-Step Base Application
Follow these steps to create your perfect pink canvas:
- Apply a Base Coat: Always begin with a thin layer of a quality base coat. This protects your natural nails from staining, helps the manicure last longer, and provides a smooth surface for the colour polish.
- First Coat of Pink: Apply a very thin, even layer of your chosen pearl pink polish. Don't worry if it looks streaky or sheer; this is normal for the first coat. Focus on covering the entire nail from cuticle to tip.
- Second Coat of Pink: Once the first coat is almost dry, apply a second thin layer. This will build up the colour and opacity, creating a more uniform and milky appearance. Ensure you allow adequate drying time before moving to the next stage.
Creating the Iridescent Shell Effect
This is the magical step that transforms your pink manicure into a shimmering shell-inspired look. The key is to use a product that imparts a multi-tonal, pearlescent sheen. While professionals often use special chrome powders, you can easily replicate this effect at home using a specific type of top coat. Look for a polish described as 'iridescent,' 'pearlescent,' or 'unicorn skin.' These top coats contain fine, light-reflecting particles that create a beautiful, shifting shimmer when layered over a base colour.
- Choose Your Shimmer: Select a top coat with a fine, subtle shimmer. The effect should be a soft glow that shifts in the light, rather than chunky glitter. A shimmer with hints of blue, purple, or gold over the pink base often creates the most authentic seashell look.
- Apply the Iridescent Layer: Once your pink base is tacky but not completely wet, apply one thin layer of your chosen iridescent top coat. Applying it at this stage can help the shimmer meld beautifully with the base colour. Brush it on evenly and watch as the pearlescent effect comes to life.
Sealing the Deal: The Final Top Coat and Aftercare
To protect your intricate work and give it a high-gloss, durable finish, a final top coat is essential. This last step not only seals in the layers of polish but also enhances the iridescence, making the shell effect even more prominent. It provides a protective barrier against daily wear and tear, preventing chips and extending the life of your manicure.
Application and Maintenance
Apply a generous layer of a clear, quick-drying, high-shine top coat over the entire nail, making sure to 'cap' the free edge by swiping the brush along the tip of the nail. This helps to prevent chipping. To maintain your beautiful pearl pink nails, reapply the top coat every two to three days. Additionally, keep your hands and cuticles moisturised with a good hand cream and cuticle oil. This not only keeps your skin soft but also helps maintain the flexibility of the polish, making it less prone to cracking.


