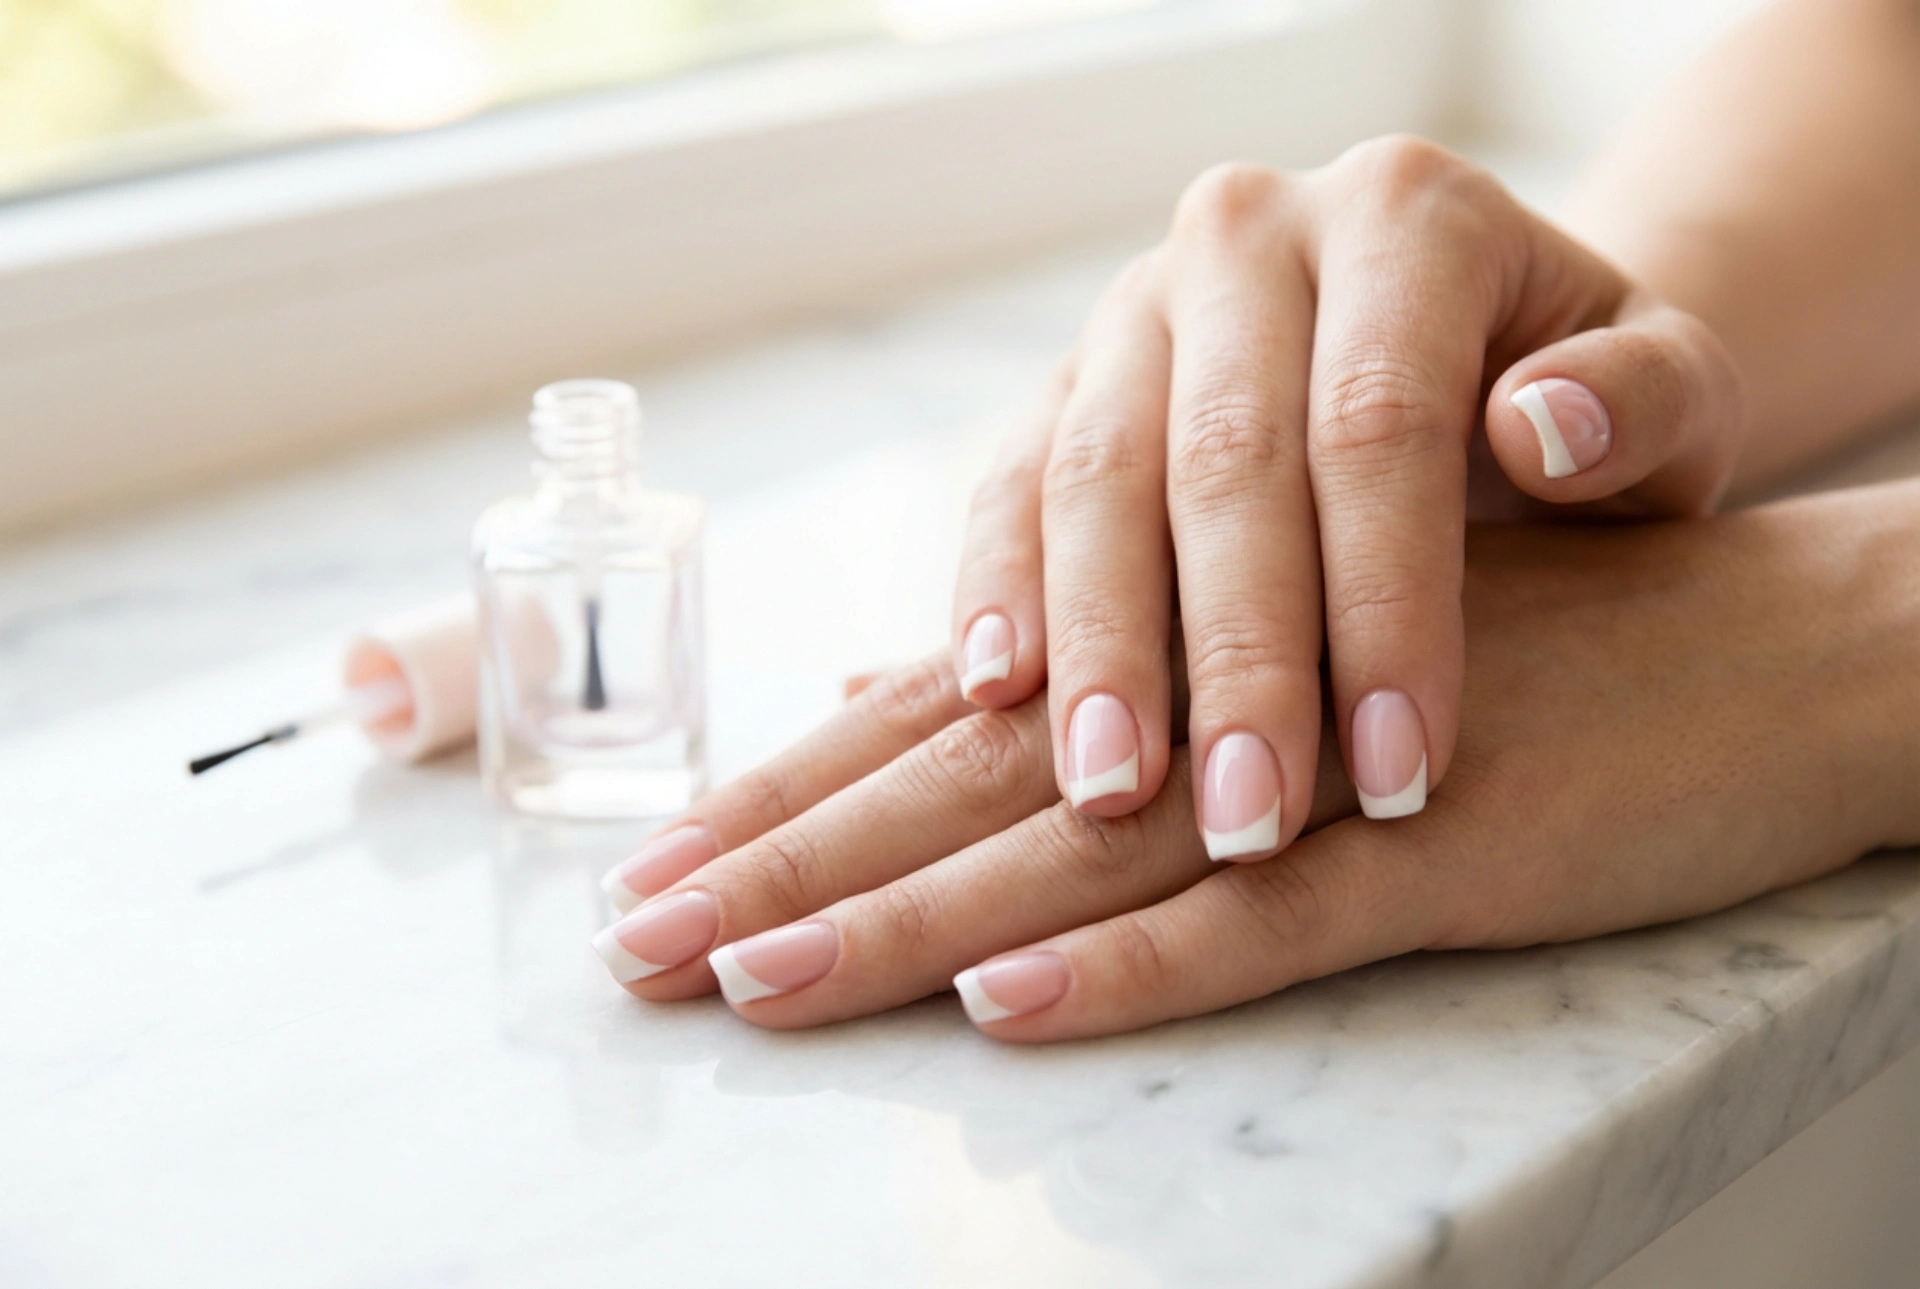


The French manicure is a symbol of timeless elegance, known for its clean lines and understated beauty. Achieving this classic look at home is entirely possible with the right technique and a little patience. A perfect French manicure begins with well-prepared nails, creating a smooth canvas for the iconic white tip and sheer pink base. This guide will walk you through each step, from initial preparation to the final glossy top coat, helping you create a professional-looking result that enhances the natural beauty of your hands.
Preparing Your Nails for a Flawless Manicure
Proper preparation is the most critical step for a long-lasting and beautiful manicure. Neglecting this stage can lead to a less polished finish and a shorter lifespan for your nail art. Start by ensuring your nails are completely clean and free of any old polish.
Cleaning and Shaping
Begin by removing any existing nail polish with a gentle remover. Afterwards, wash your hands to get rid of any residue. Once your nails are dry, it's time to shape them. The classic shape for a French manicure is 'squoval' – slightly square with rounded edges – but you can choose any shape that you prefer. Use a fine-grit nail file to gently shape the nails, filing in one direction to prevent splitting. Avoid a back-and-forth sawing motion. After filing, lightly buff the surface of your nails with a buffing block. This smooths out any ridges and helps the polish adhere better, but be careful not to over-buff as this can weaken the nail.
Cuticle Care
Healthy-looking cuticles are essential for a neat manicure. After soaking your fingertips in warm, soapy water for a few minutes to soften the skin, gently push back your cuticles using a wooden orange stick or a soft-tipped cuticle pusher. It is generally advised to avoid cutting cuticles at home, as this can lead to irritation and potential issues. Pushing them back is a safer and effective way to achieve a clean nail bed. Once you're done, apply a small amount of cuticle oil to nourish the area.
Applying the Base and Creating the Tip
With your nails perfectly prepped, you are ready to start the polishing process. This involves applying a base coat and then creating the signature white tip that defines the French manicure.
The Base Coat Foundation
Never skip the base coat. It serves multiple purposes: it protects your natural nails from staining, provides a smooth surface for the colour, and helps your manicure last longer. Apply one thin, even layer of a quality base coat to each nail, from the cuticle to the tip. Allow it to dry completely before moving on to the next step. Patience here is key to avoiding smudges.
Creating the Iconic White Tip
This is often seen as the most challenging part, but there are two main methods to make it easier. You can use either nail guides or a freehand technique. For beginners, nail guides are a great help. These are small, curved stickers that you place on your nail, leaving the tip exposed. Press the guide down firmly to prevent any polish from seeping underneath. Then, paint the tip of your nail with an opaque white polish. Apply one or two thin coats for full coverage. For the freehand method, use a thin brush or the brush from the polish bottle. Rest your hand on a stable surface to steady it. Start from one corner of the nail tip and sweep the brush across to the other side in a smooth, slightly curved motion. Don't worry if it's not perfect on the first try; you can clean up any mistakes with a small brush dipped in nail polish remover. Let the white tips dry completely.
Finishing Touches for a Professional Look
The final steps involve applying the sheer colour and the top coat, which bring the whole look together and provide a durable, glossy finish.
Applying Sheer Colour
Once the white tips are fully dry, it’s time to apply the translucent polish. Traditionally, a sheer pink, nude, or beige shade is used to give the nails a healthy, natural glow. Apply one or two thin coats over the entire nail, including the white tip. This softens the contrast between the white tip and the nail bed, creating a sophisticated and blended appearance. Let each coat dry for a few minutes before applying the next.
Sealing with a Top Coat
The final step is to apply a high-shine top coat. This is essential for protecting your manicure from chipping and for adding that beautiful, glossy finish. Apply a generous layer over the entire nail, making sure to 'cap' the free edge by swiping the brush along the very tip of the nail. This seals the polish and helps prevent premature wear. Allow your manicure to dry thoroughly. To speed up the process, you can use quick-dry drops or a drying spray, but air-drying is often the best way to ensure a hard, durable finish.
- To extend the life of your manicure, reapply a top coat every two to three days.
- Wear gloves when washing dishes or using cleaning products.
- Keep your cuticles and hands moisturised with oil and hand cream.


