


Well-groomed hands are a hallmark of personal care, and tidy cuticles are central to achieving a polished look. While cutting cuticles can be risky and lead to irritation, a cuticle remover offers a gentle and effective alternative. This specially formulated liquid softens the dead, overgrown skin around the nail plate, making it easy to push back for a clean, professional-looking finish. Incorporating this simple step into your home manicure routine can significantly improve the health and appearance of your nails.
Understanding the Role of a Cuticle Remover
Before diving into the application process, it's helpful to understand why a cuticle remover is a preferred choice for nail care. The cuticle is a thin layer of skin that forms a protective barrier at the base of the nail. Cutting it can break this seal, leaving the nail matrix vulnerable. Cuticle removers, on the other hand, typically contain alkaline ingredients that break down only the non-living, excess tissue. This makes the process of tidying them up much safer and less abrasive. Regular use can prevent the build-up of tough skin, reduce the likelihood of hangnails, and create a smooth canvas for nail polish application.
Preparation: What You'll Need
Gathering your tools beforehand makes the process smooth and efficient. For a successful at-home cuticle treatment, you will need just a few simple items. Having everything ready will ensure you can work quickly and effectively, achieving the best results without any fuss.
Essential Toolkit:
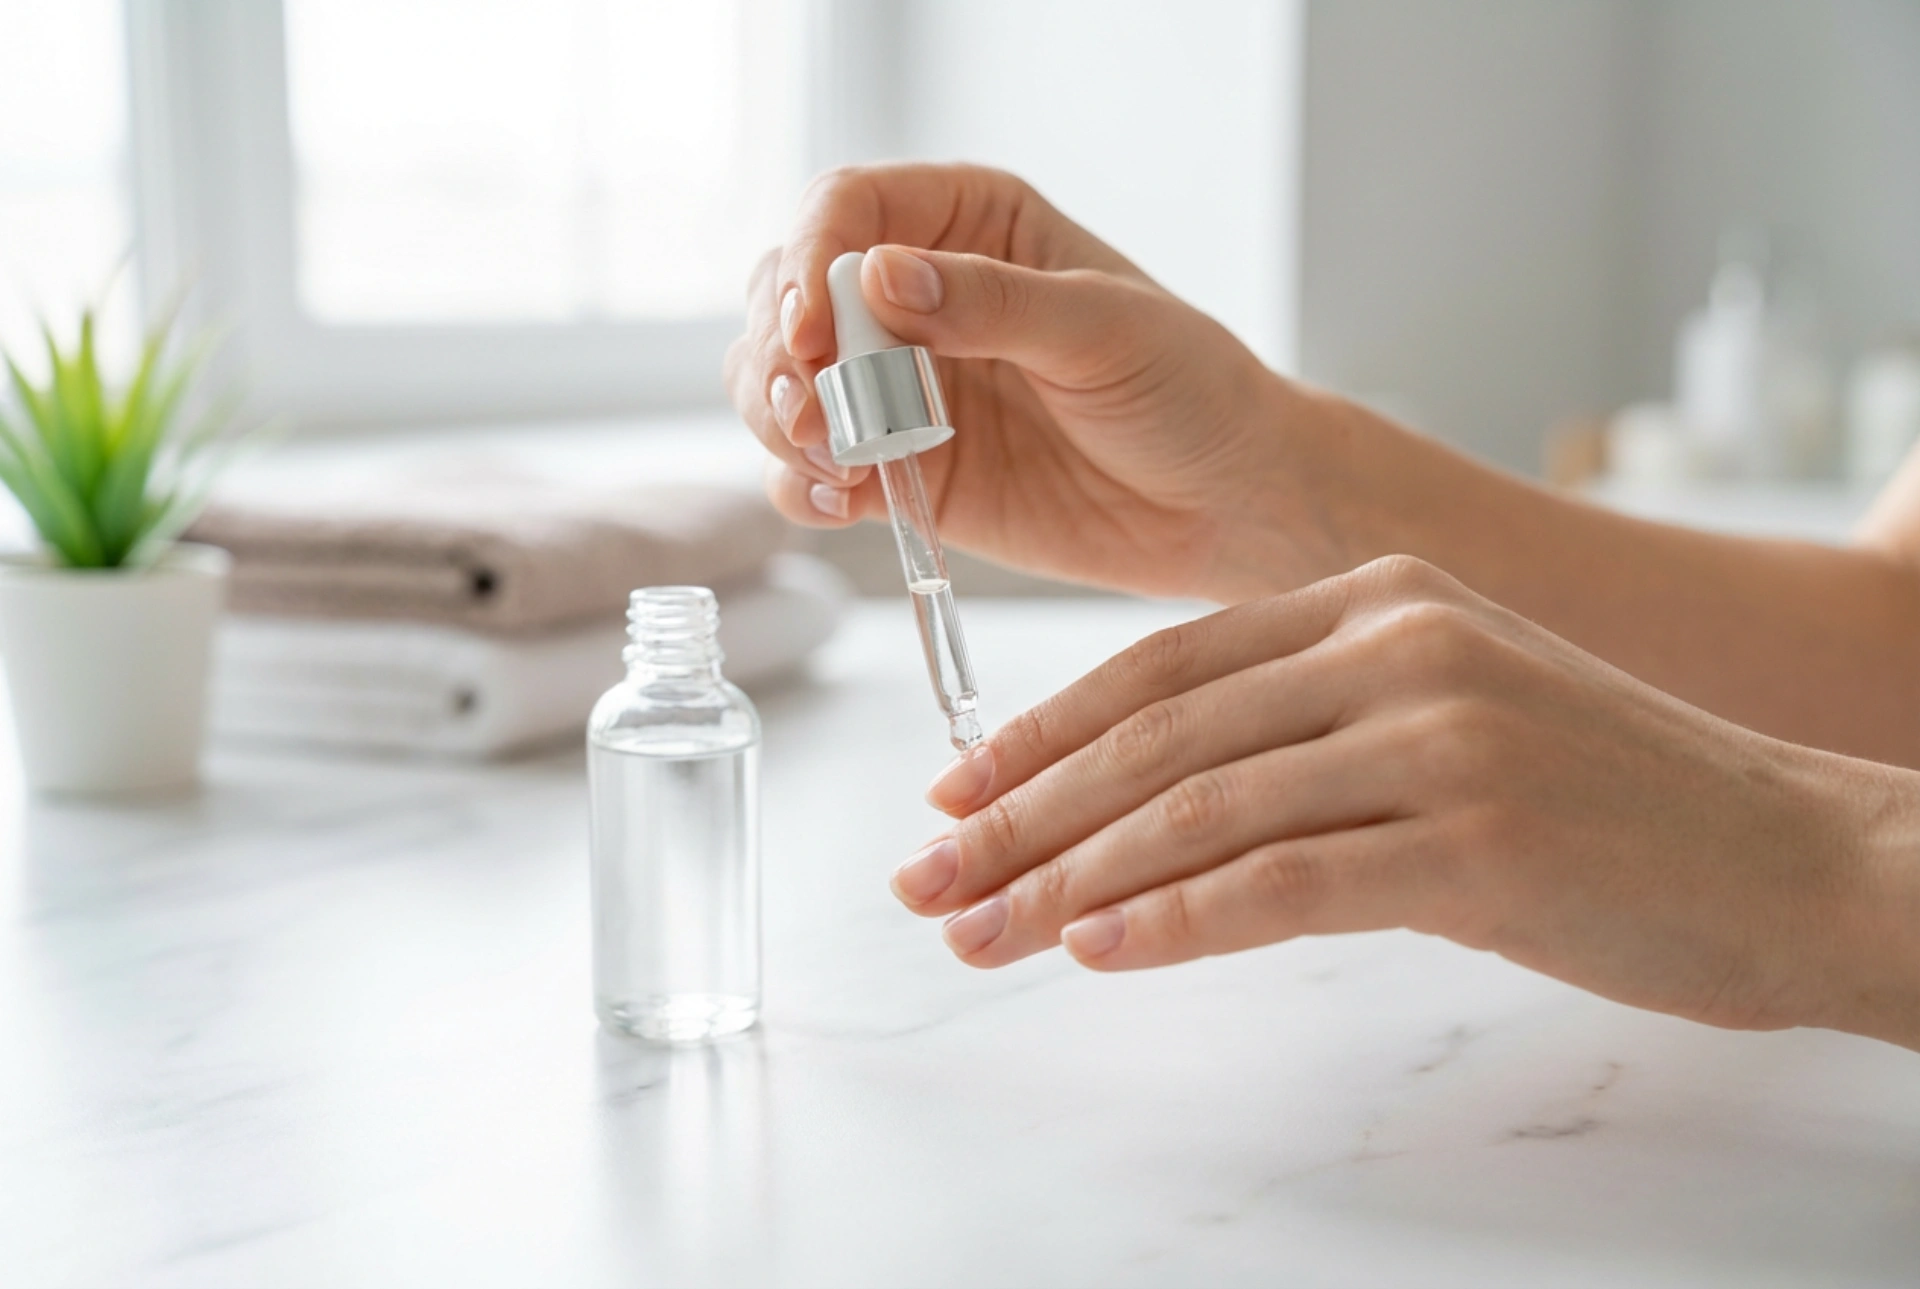
- A bottle of liquid cuticle remover
- A wooden or soft-tipped cuticle pusher (often called an orange stick)
- Cotton pads or balls
- A small bowl of warm, soapy water
- A soft towel
- A nourishing hand cream or cuticle oil for aftercare
Start with clean, polish-free nails. If you have any nail varnish on, remove it completely. Wash your hands with soap and water and dry them thoroughly to ensure you're working on a clean surface. This prevents any residue from interfering with the action of the cuticle remover.
The Step-by-Step Application Guide
Using a cuticle remover is a straightforward process, but following the steps carefully is key to achieving a neat result without causing any skin dryness or irritation. Always work on one hand at a time to ensure you don't leave the product on for too long.
Step 1: Apply the Product
Using the brush or dropper that comes with the bottle, apply a thin line of the cuticle remover directly onto the cuticle area of each nail. Try to be precise and avoid getting too much of the product on the surrounding skin or the main body of the nail plate. A little goes a long way.
Step 2: Allow it to Soften
Let the remover sit on your cuticles for the time specified in the product's instructions. This is a crucial step. Most formulas work very quickly, often in as little as 15 to 60 seconds. Do not exceed the recommended time, as prolonged exposure can be drying to the skin.
Step 3: Gently Push Back the Cuticles
Take your wooden or soft-tipped cuticle pusher. With the flat, angled end, gently begin to push the softened cuticles back towards the base of your nail. Use small, circular motions to help lift away the dissolved dead skin. You should feel no discomfort; the process should be easy and smooth. Be gentle and avoid applying excessive pressure.
Step 4: Clean and Rinse Thoroughly
Once you have pushed back the cuticles on all five fingers, use a cotton pad to wipe away the product residue and the loosened skin. Immediately afterwards, wash your hands with warm, soapy water. This step is essential to neutralise the remover's active ingredients and ensure your nails and skin are completely clean. Pat your hands dry with a soft towel.
Aftercare for Healthy Nails
Proper aftercare is just as important as the removal process itself. It helps to restore moisture and keep your cuticles healthy, soft, and pliable. After washing and drying your hands, apply a nourishing cuticle oil or a rich hand cream. Massage it into the skin around your nails to hydrate the area. This finishing touch not only feels pleasant but also promotes healthy nail growth and prevents dryness. For best results, incorporate cuticle removal into your routine every one to two weeks, depending on your needs. This regular maintenance will keep your nails looking impeccably groomed at all times.


