


The ombre effect, with its seamless transition of colours, has become a timeless trend in the world of beauty. When applied to nails, it creates a look of sophistication and depth. The purple spectrum, ranging from the softest lilac to the richest plum, offers a particularly stunning canvas for this technique. A purple ombre manicure is versatile, suitable for both everyday elegance and special occasions, adding a touch of refined colour to your hands.
What Exactly is Ombre Nail Art?
Ombre is a French term meaning "shaded." In beauty, it refers to a gradual blending of one colour hue into another, creating a beautiful gradient effect. On nails, this typically involves moving from a lighter shade at the cuticle to a darker shade at the tip, or vice versa. The key to a successful ombre look is the smooth, almost imperceptible transition between the colours. While it may look complex and best left to professionals, with the right technique, it is surprisingly achievable at home. Purple is an excellent choice for ombre as its wide range of shades allows for both subtle and dramatic combinations.
Choosing Your Perfect Purple Palette
The beauty of a purple ombre manicure lies in the colours you choose. The purple family is vast and varied, offering endless possibilities for customisation. Your choice can reflect your personal style, the season, or the occasion.
Lighter Shades for a Subtle Look
For a delicate and fresh appearance, consider using lighter shades of purple. Colours like lilac, lavender, and pastel violet are perfect for creating a soft, ethereal gradient. This style is ideal for spring and summer months, and it complements a wide range of outfits without being overpowering. A gradient from a milky white or a very pale lilac to a soft lavender can look incredibly chic and polished.
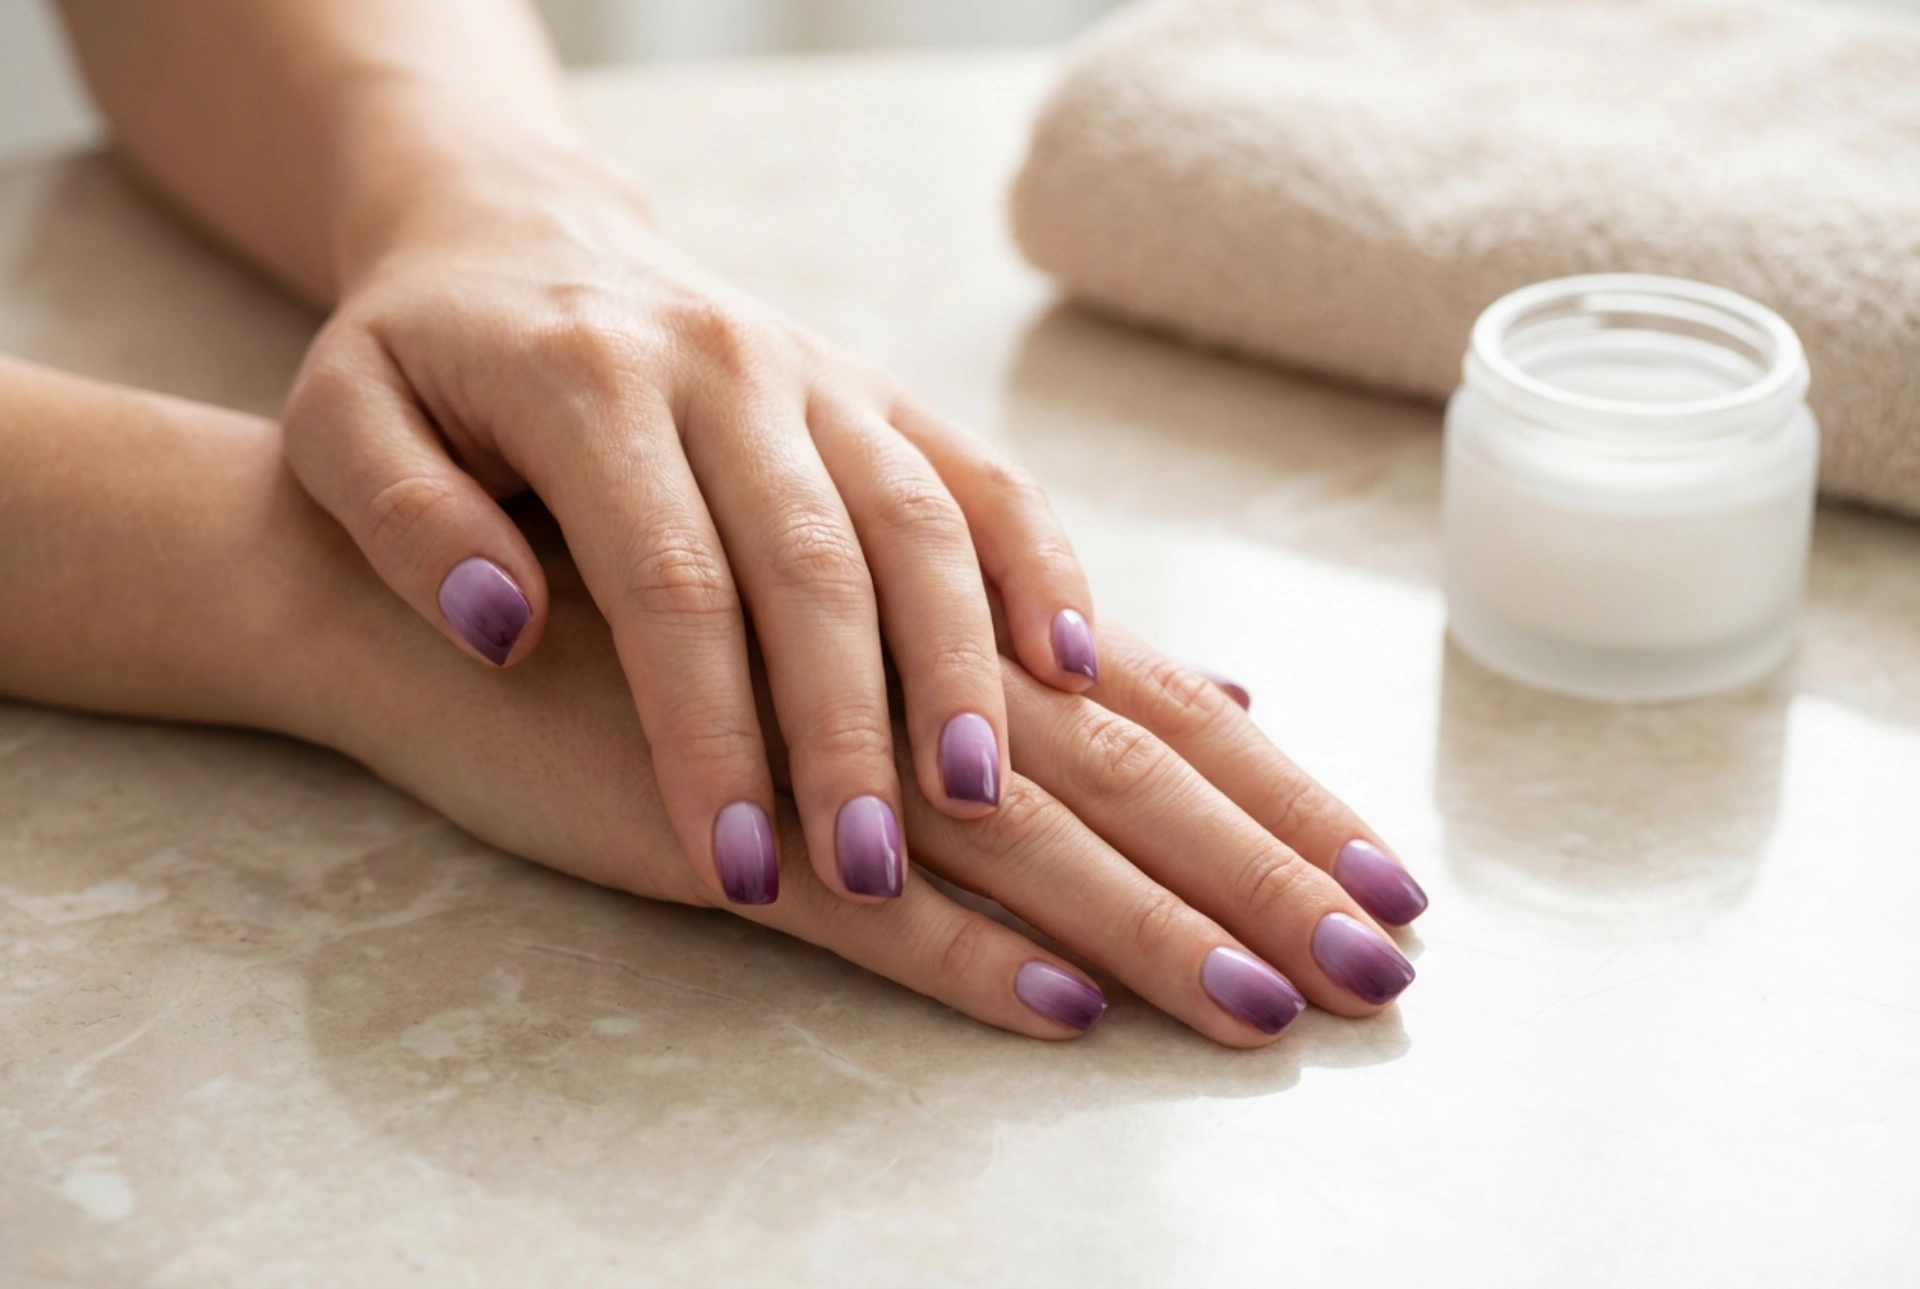
Deeper Tones for a Dramatic Effect
If you prefer a bolder, more impactful look, deep purples are the way to go. Shades such as plum, aubergine, deep violet, and indigo create a sense of mystery and luxury. A dark ombre is particularly striking for evening events or during the autumn and winter seasons. You could blend a rich berry shade into a near-black plum at the tips for a truly dramatic and sophisticated manicure.
How to Create Purple Ombre Nails at Home
Achieving a salon-quality ombre manicure at home is easier than you think. The most popular and effective method uses a simple makeup sponge. Follow these steps for a beautiful purple gradient.
- Preparation is Key: Begin with clean, dry nails. Shape them with a file and gently push back your cuticles. To ensure your manicure lasts, apply a thin layer of a quality base coat. This also protects your natural nails from staining.
- Apply the Base Colour: Choose your lightest purple shade (e.g., lilac) and apply one or two even coats to the entire nail. Allow this base colour to dry completely. This step is crucial as it creates the foundation for your gradient.
- Prepare the Sponge: Take a small piece of a disposable makeup sponge. On a flat, non-porous surface of the sponge, paint horizontal stripes of your chosen purple polishes. Start with the lightest shade at the top and the darkest at the bottom, slightly overlapping the colours where they meet to help them blend.
- Create the Gradient: Gently press and dab the polish-covered sponge onto your nail. Use a light, rolling or bouncing motion rather than swiping. The sponge will transfer the gradient onto your nail. You may need to repeat this step two or three times to achieve the desired opacity and blend, reapplying polish to the sponge for each coat.
- The Clean-Up: This technique can be a bit messy. You will likely have polish on the skin around your nail. To clean this up, dip a small, flat brush or a cotton swab in nail polish remover and carefully trace around your cuticle line to remove any excess. For easier clean-up next time, you can apply a liquid latex barrier around your nail before dabbing with the sponge.
- Seal with a Top Coat: Once you are happy with the gradient and the clean-up, wait a few minutes for the polish to set slightly. Then, apply a generous layer of a glossy top coat. This will smooth out any texture from the sponge application, add a beautiful shine, and protect your ombre design, helping it to last longer.
Tips for a Flawless Ombre Finish
To perfect your technique, keep a few extra tips in mind. If you find the sponge absorbs too much polish, try lightly dampening it with water and squeezing out the excess before applying the colours. This helps the polish sit on the surface. It's also best to work on one nail at a time, from applying the gradient to the initial clean-up, as the polish can dry quickly. If you make a mistake, don't worry. A little practice is all it takes to master the dabbing motion. For an extra touch of glamour, you can apply a fine glitter top coat over your finished ombre to catch the light beautifully.


