


Achieving beautifully sculpted, long and elegant nails is a desire for many. Nail extension gels offer a durable and versatile solution to add length and strength to your natural nails, resulting in a flawless, professional-looking manicure. Understanding the process, from choosing the right gel to the final curing, is key to mastering this technique at home. This guide will walk you through the essential steps to create stunning gel extensions.
What Is Nail Extension Gel?
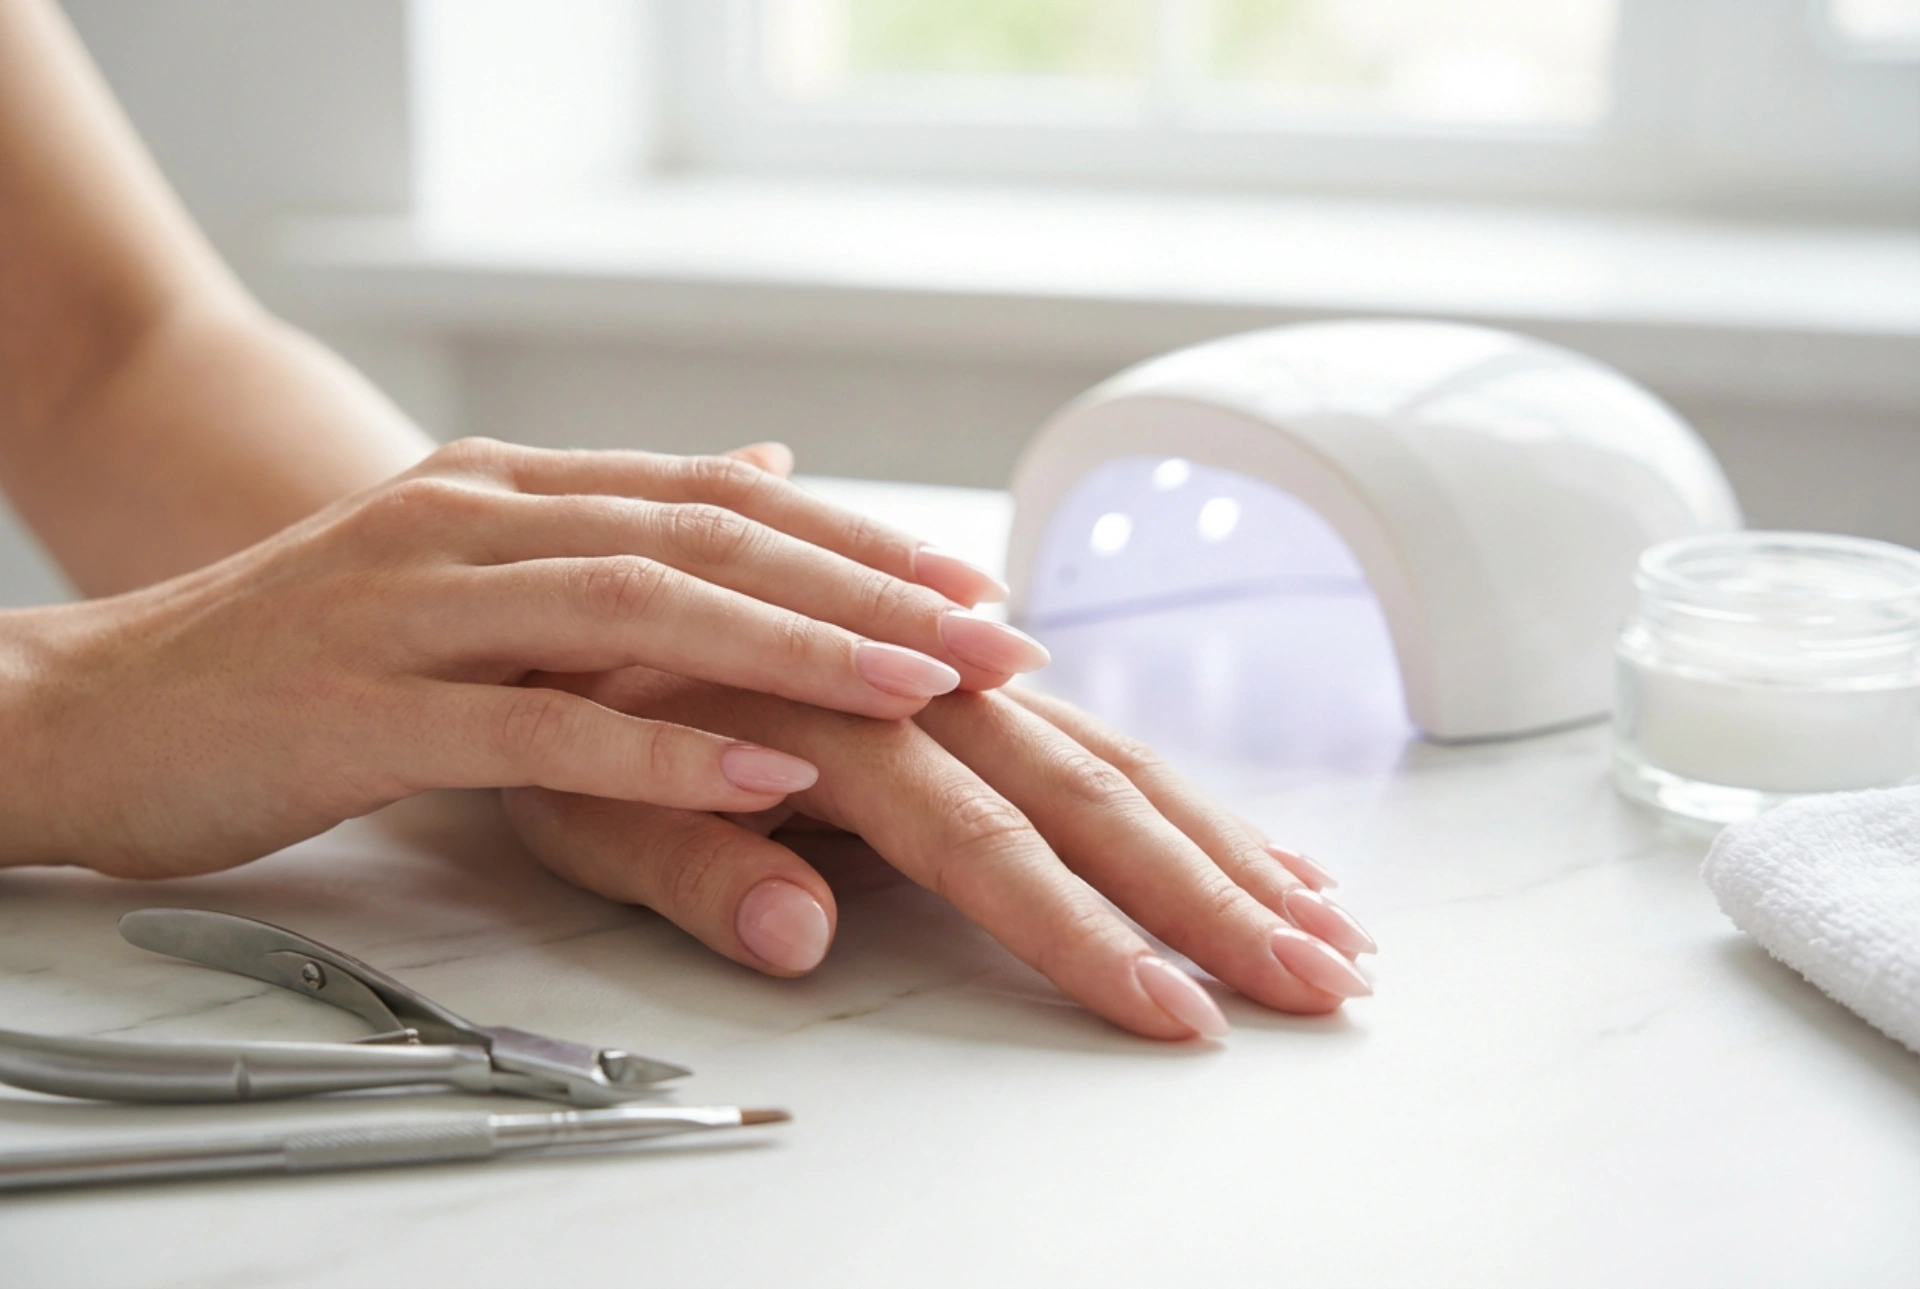
Nail extension gel is a type of viscous, light-sensitive cosmetic product used to build, extend, and strengthen nails. Unlike traditional acrylics that air-dry, gels require curing (hardening) under an ultraviolet (UV) or light-emitting diode (LED) lamp. This unique property gives you ample time to shape and perfect the nail before setting it. The result is a lightweight, flexible, and durable enhancement that can last for several weeks with proper care.
Understanding the Types of Nail Extension Gels
Gels come in various formulations, primarily categorised as single-phase or three-phase systems. Choosing the right one depends on your experience and desired outcome.
Single-Phase Gels
Also known as one-step gels, these are all-in-one products that function as a base, builder, and top coat. They are an excellent choice for beginners due to their simplicity. A single product is used for the entire application process, streamlining the steps and reducing the number of products you need. They offer good adhesion and a glossy finish in one formula.
Three-Phase Systems
This system involves three separate products, each with a specific function, providing superior durability and a more customised result. It is often preferred by those with more experience.
- Base Gel: A thin gel applied first to create a strong bond between the natural nail and the builder gel. It acts as a foundation for the entire extension.
- Builder Gel: A thicker gel used to sculpt the nail's length and shape. It creates the structure, including the 'apex' (the highest point of the nail), which provides strength and a natural curve.
- Top Coat Gel: A thin, final layer applied to seal the nail, protect it from scratches, and provide a high-gloss or matte finish.
Essential Preparation of the Nail Plate
Proper preparation is the most critical step for ensuring your gel extensions last. Rushing this stage can lead to lifting and poor adhesion. Follow these steps carefully:
- Cleanse: Wash your hands thoroughly. Gently push back your cuticles with a cuticle pusher and carefully remove any non-living tissue from the nail plate.
- Shape and Buff: Lightly file the free edge of your natural nail. Then, using a fine-grit buffer, gently remove the shine from the entire surface of the nail plate. This creates a slightly rough texture for the gel to grip onto.
- Dehydrate: Wipe the nail with a lint-free wipe soaked in a specialised nail cleanser or isopropyl alcohol. This removes all dust and natural oils, dehydrating the surface for optimal adhesion.
- Prime: Apply a very thin layer of a nail primer to the natural nail only, avoiding the skin. The primer acts like double-sided tape, creating a powerful bond between the nail plate and the gel. Allow it to air dry completely.
The Application and Curing Process
With your nails prepped, you are ready to begin the application. You can use nail forms (stickers that go under the nail) or tips (pre-shaped plastic extensions) to create length.
Step-by-Step Guide
1. Apply the Base: If using a three-phase system, apply a thin, even layer of base gel over the entire nail plate. Be careful not to touch the surrounding skin. Cure under the UV/LED lamp according to the manufacturer's instructions (typically 30-60 seconds).
2. Build the Extension: Place your nail form or apply your tip. Take a small bead of builder gel and place it in the centre of the nail. Gently 'float' the gel to guide it over the entire nail and onto the form, sculpting your desired length and shape. Focus on creating a smooth structure with a proper apex. Cure this layer. You may need to apply a second layer to perfect the structure, curing after each one.
3. Refine the Shape: After the builder gel is fully cured, it will have a sticky 'inhibition' layer. Wipe this off with your nail cleanser. Now, file and shape the extension to refine its length, shape, and surface smoothness. Use a buffer to create a perfectly even surface.
4. Apply Colour and Top Coat: Remove all filing dust. You can now apply gel polish colour if desired, curing each layer. Finish by applying a thin layer of top coat gel, making sure to 'cap' the free edge of the nail to prevent chipping. Perform the final cure under the lamp. After the final cure, wipe away the sticky layer (if it's not a 'no-wipe' top coat) to reveal a hard, glossy finish.
Aftercare for Long-Lasting Nails
To keep your gel extensions looking their best, apply cuticle oil daily to nourish the skin around your nails. Avoid using your nails as tools to open cans or scrape things. When it's time for a change, have them professionally removed or learn the proper, safe removal technique which involves filing down the product, to avoid damaging your natural nails.


