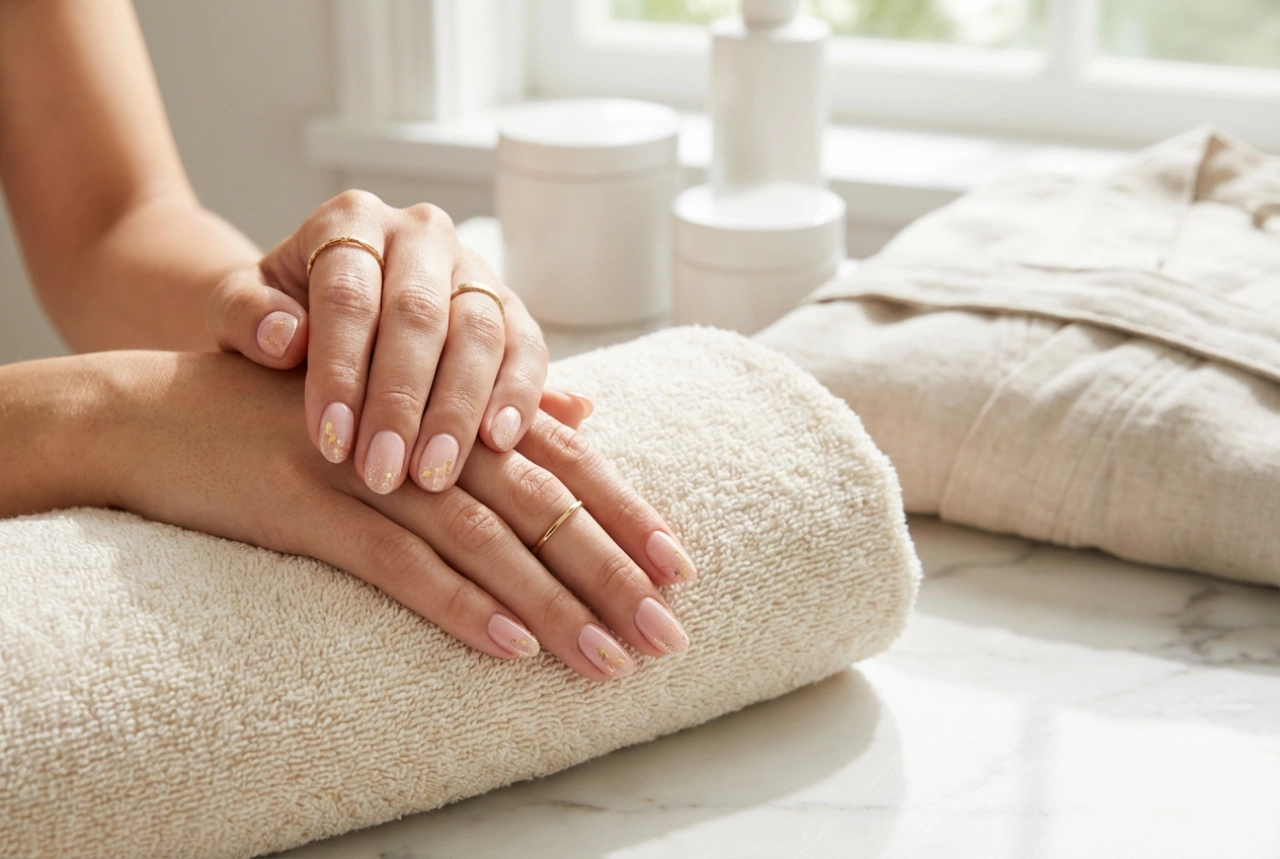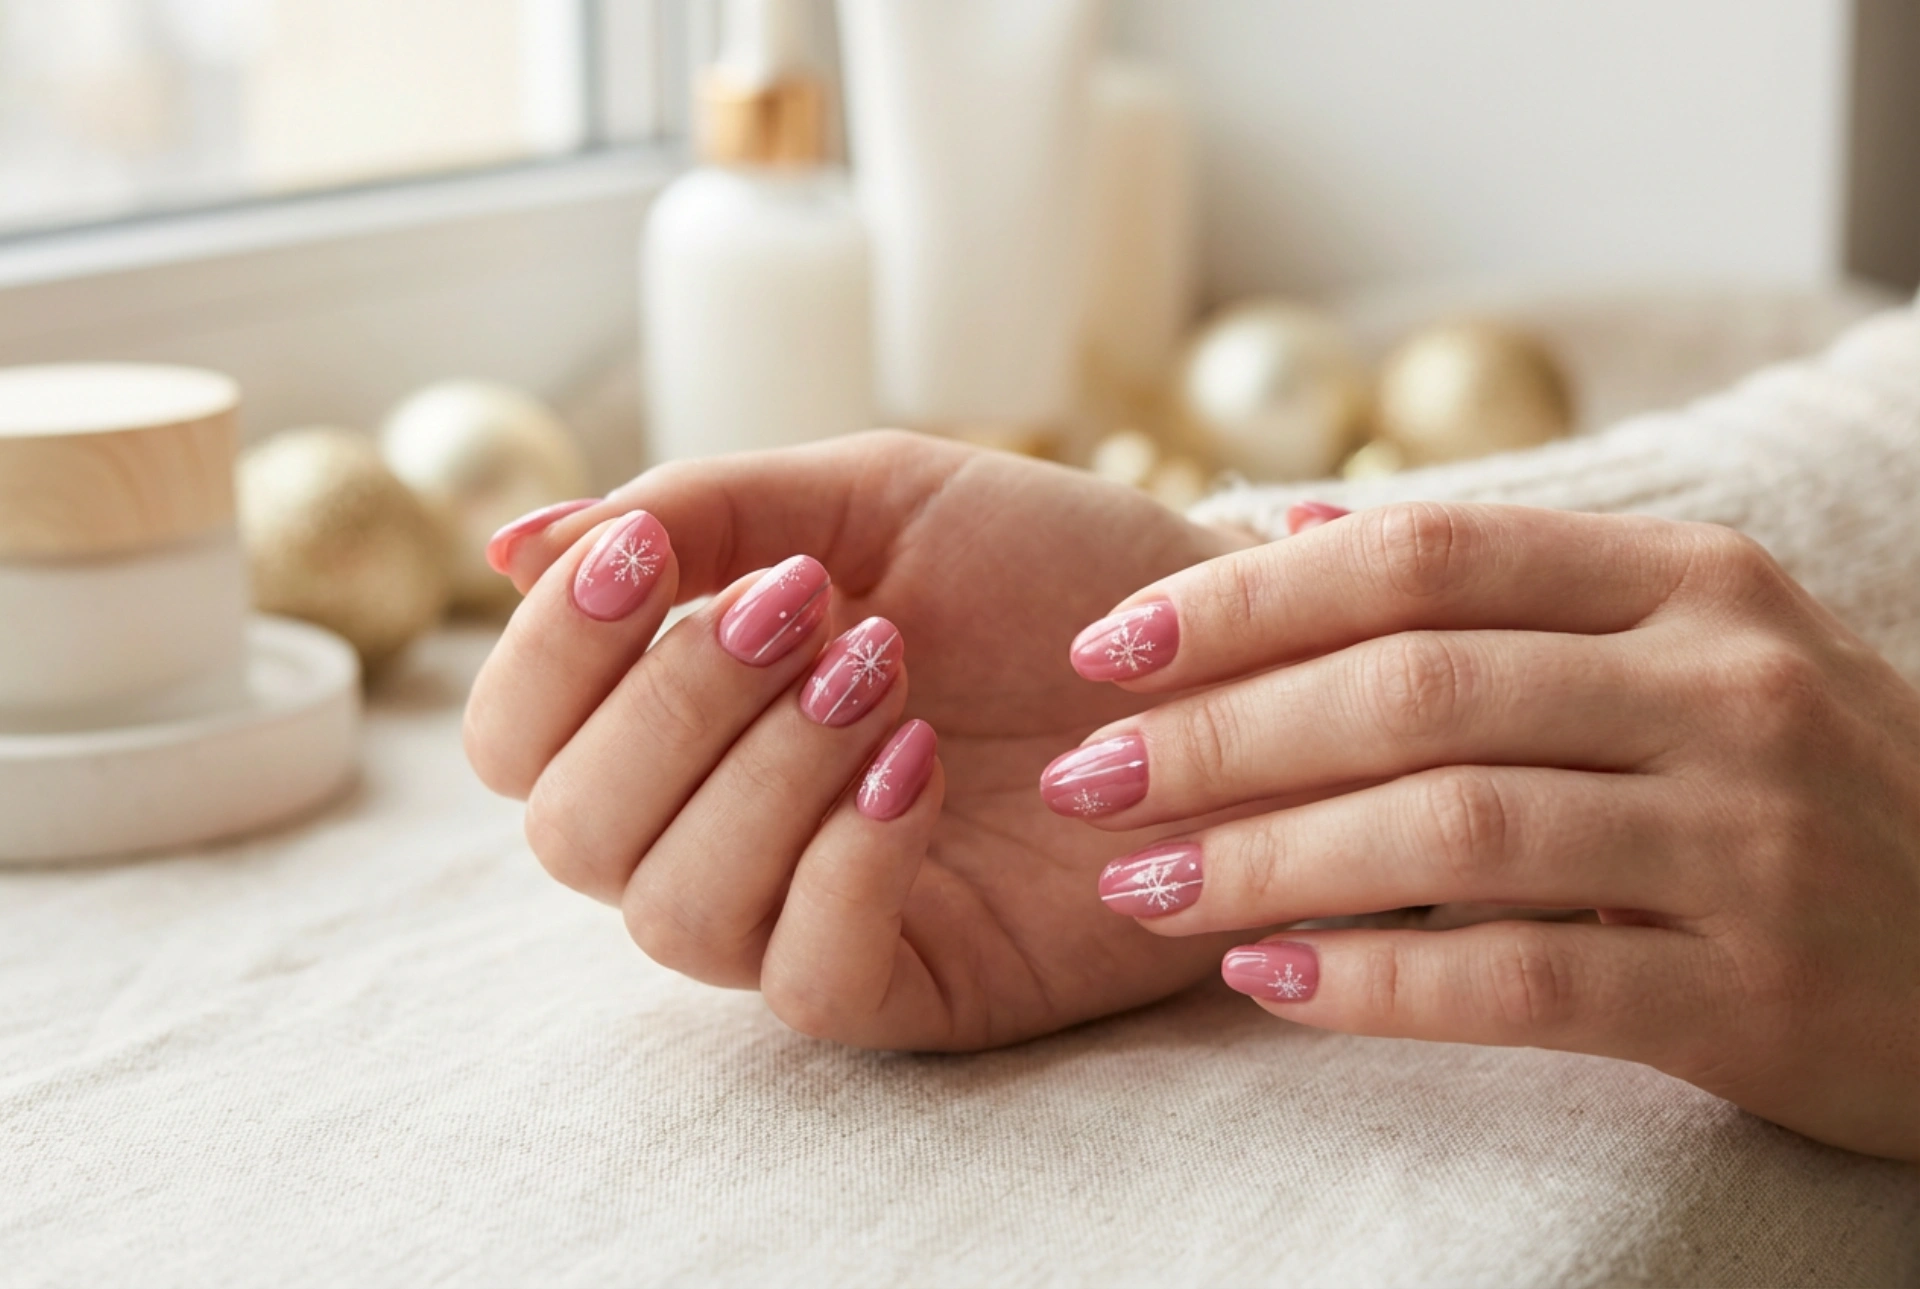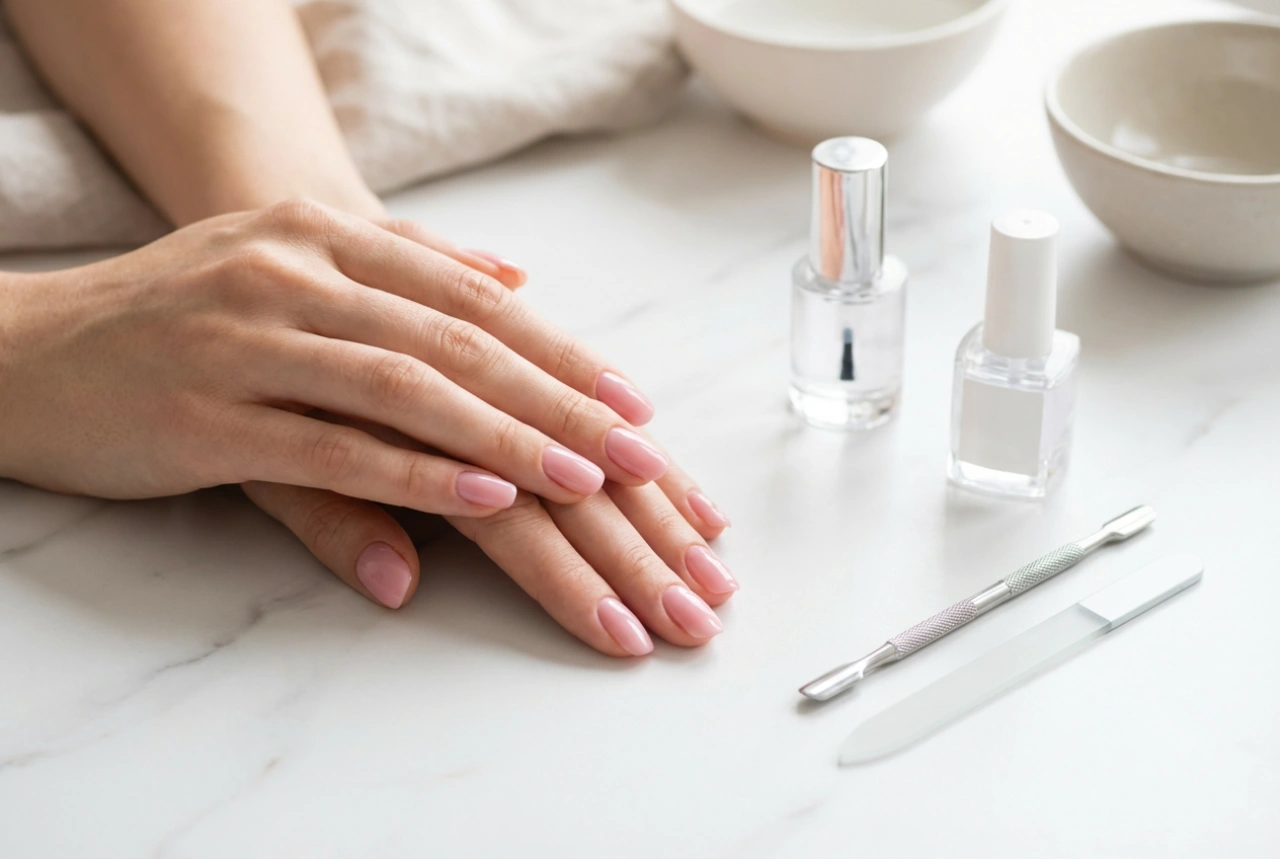


The elegant and subtle look of milky nails is a timeless choice for any occasion. However, achieving that flawless, streak-free finish with semi-transparent polishes can be a challenge. The key to success lies not only in the application technique but also in meticulous preparation of the nail plate. With the right approach, you can create a professional-looking manicure at home that is smooth, even, and beautifully understated, just like the delicate finish seen in pristine beauty aesthetics.
The Foundation: Flawless Nail Plate Preparation
A perfect manicure begins long before the first coat of polish is applied. A smooth and clean canvas is essential for preventing streaks and ensuring the gel polish adheres correctly. Rushing this stage is often the primary cause of an uneven finish.
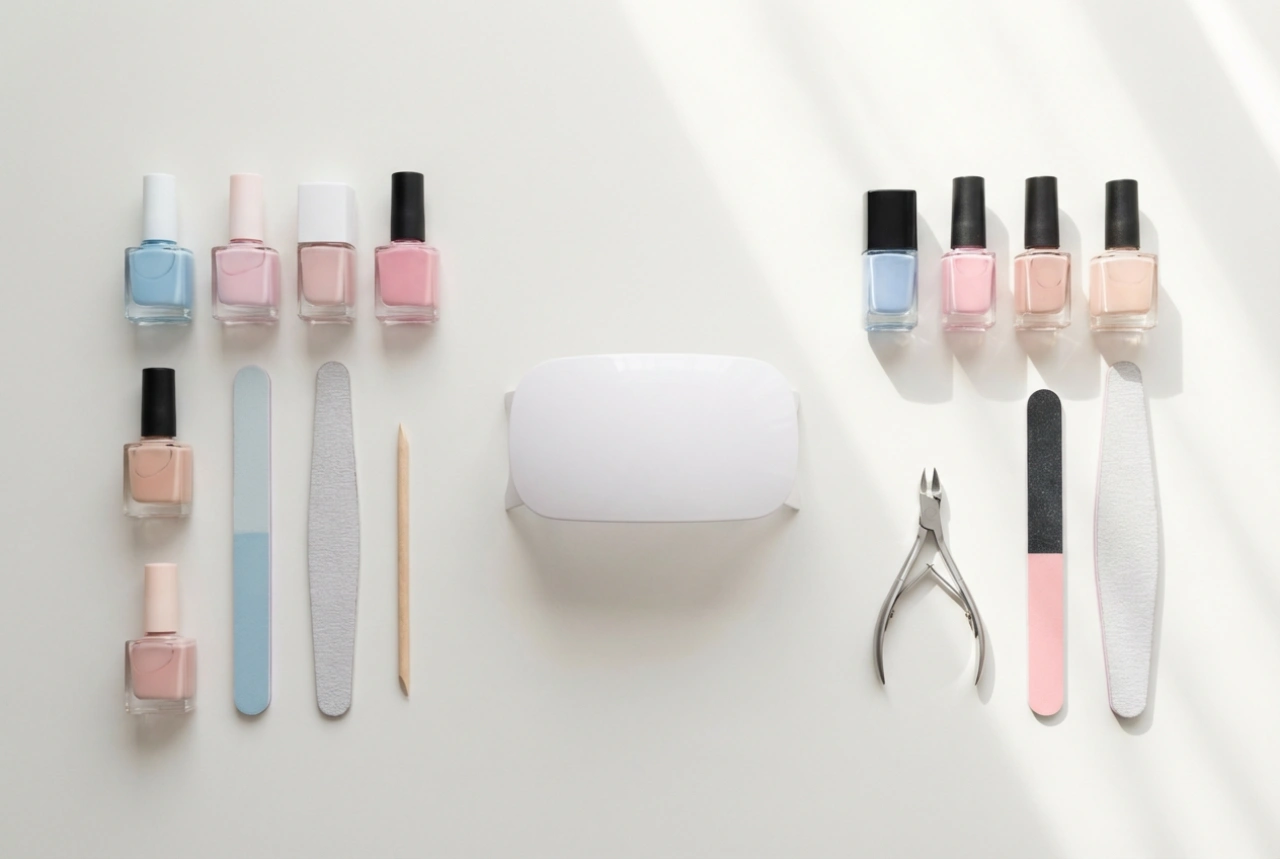
Key Preparation Steps:
- Shaping and Cleaning: Begin by filing your nails to your desired shape. Afterwards, gently push back or remove your cuticles. Any residue left on the nail plate can cause lifting and an uneven surface.
- Buffing the Surface: Use a fine-grit buffer to lightly roughen the entire surface of the nail. This removes the natural shine and creates a texture that the base coat can grip onto. Be gentle to avoid thinning the nail. The goal is to remove shine, not layers of nail.
- Dehydrating and Cleansing: After buffing, wipe each nail with a lint-free pad soaked in a nail cleaner or dehydrator solution. This step removes all dust, oils, and moisture, which are the main culprits behind streaks and poor adhesion. Allow the nails to air-dry completely before proceeding.
Mastering the Application Technique
With a perfectly prepped nail plate, the focus shifts to the application itself. The consistency of milky polishes requires a delicate touch and a specific method to achieve that coveted smooth look. Patience is your greatest ally here.
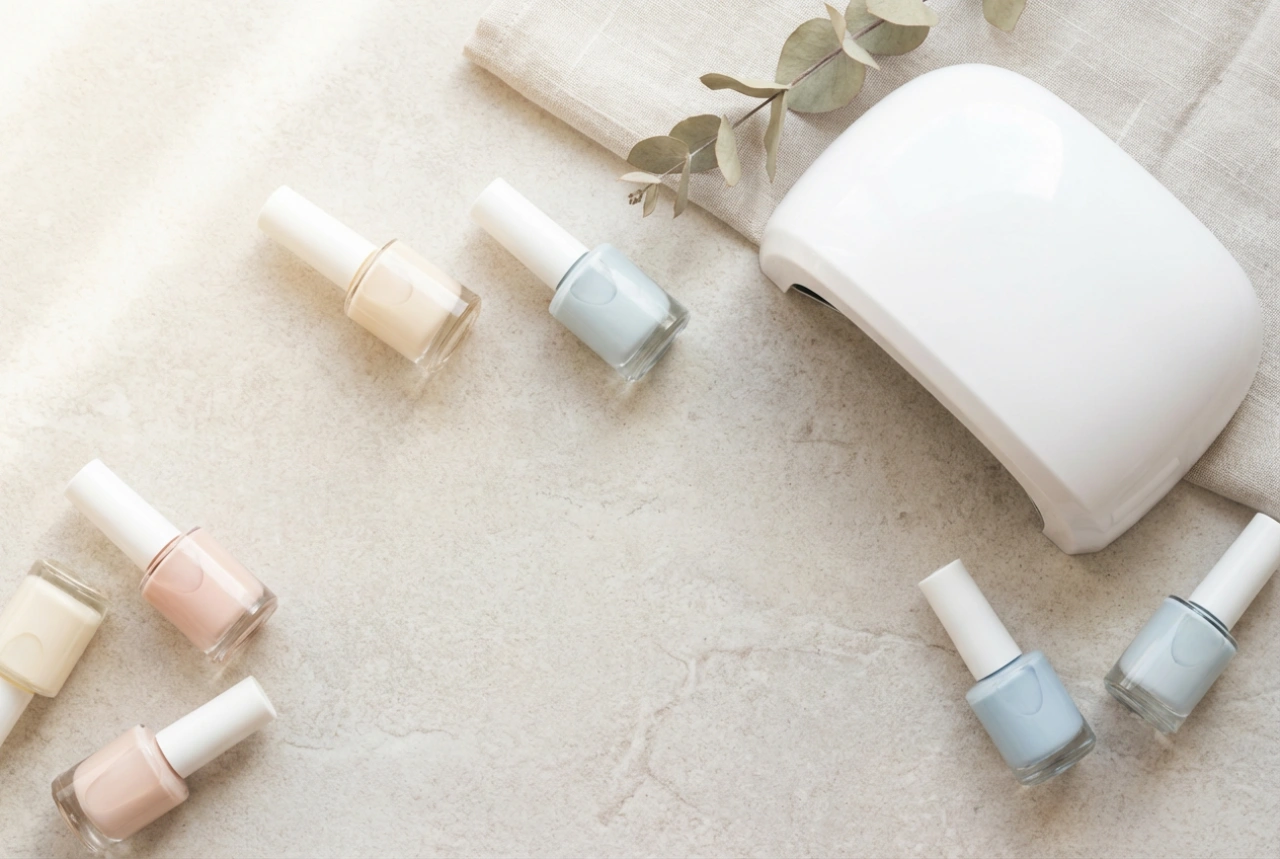
Step 1: The Crucial Base Coat
Apply a thin, even layer of a quality gel base coat. A self-levelling base coat is an excellent choice as it helps to create an even smoother foundation for the colour. Make sure to cap the free edge of the nail to prevent chipping. Cure the base coat under your lamp according to the product's instructions.
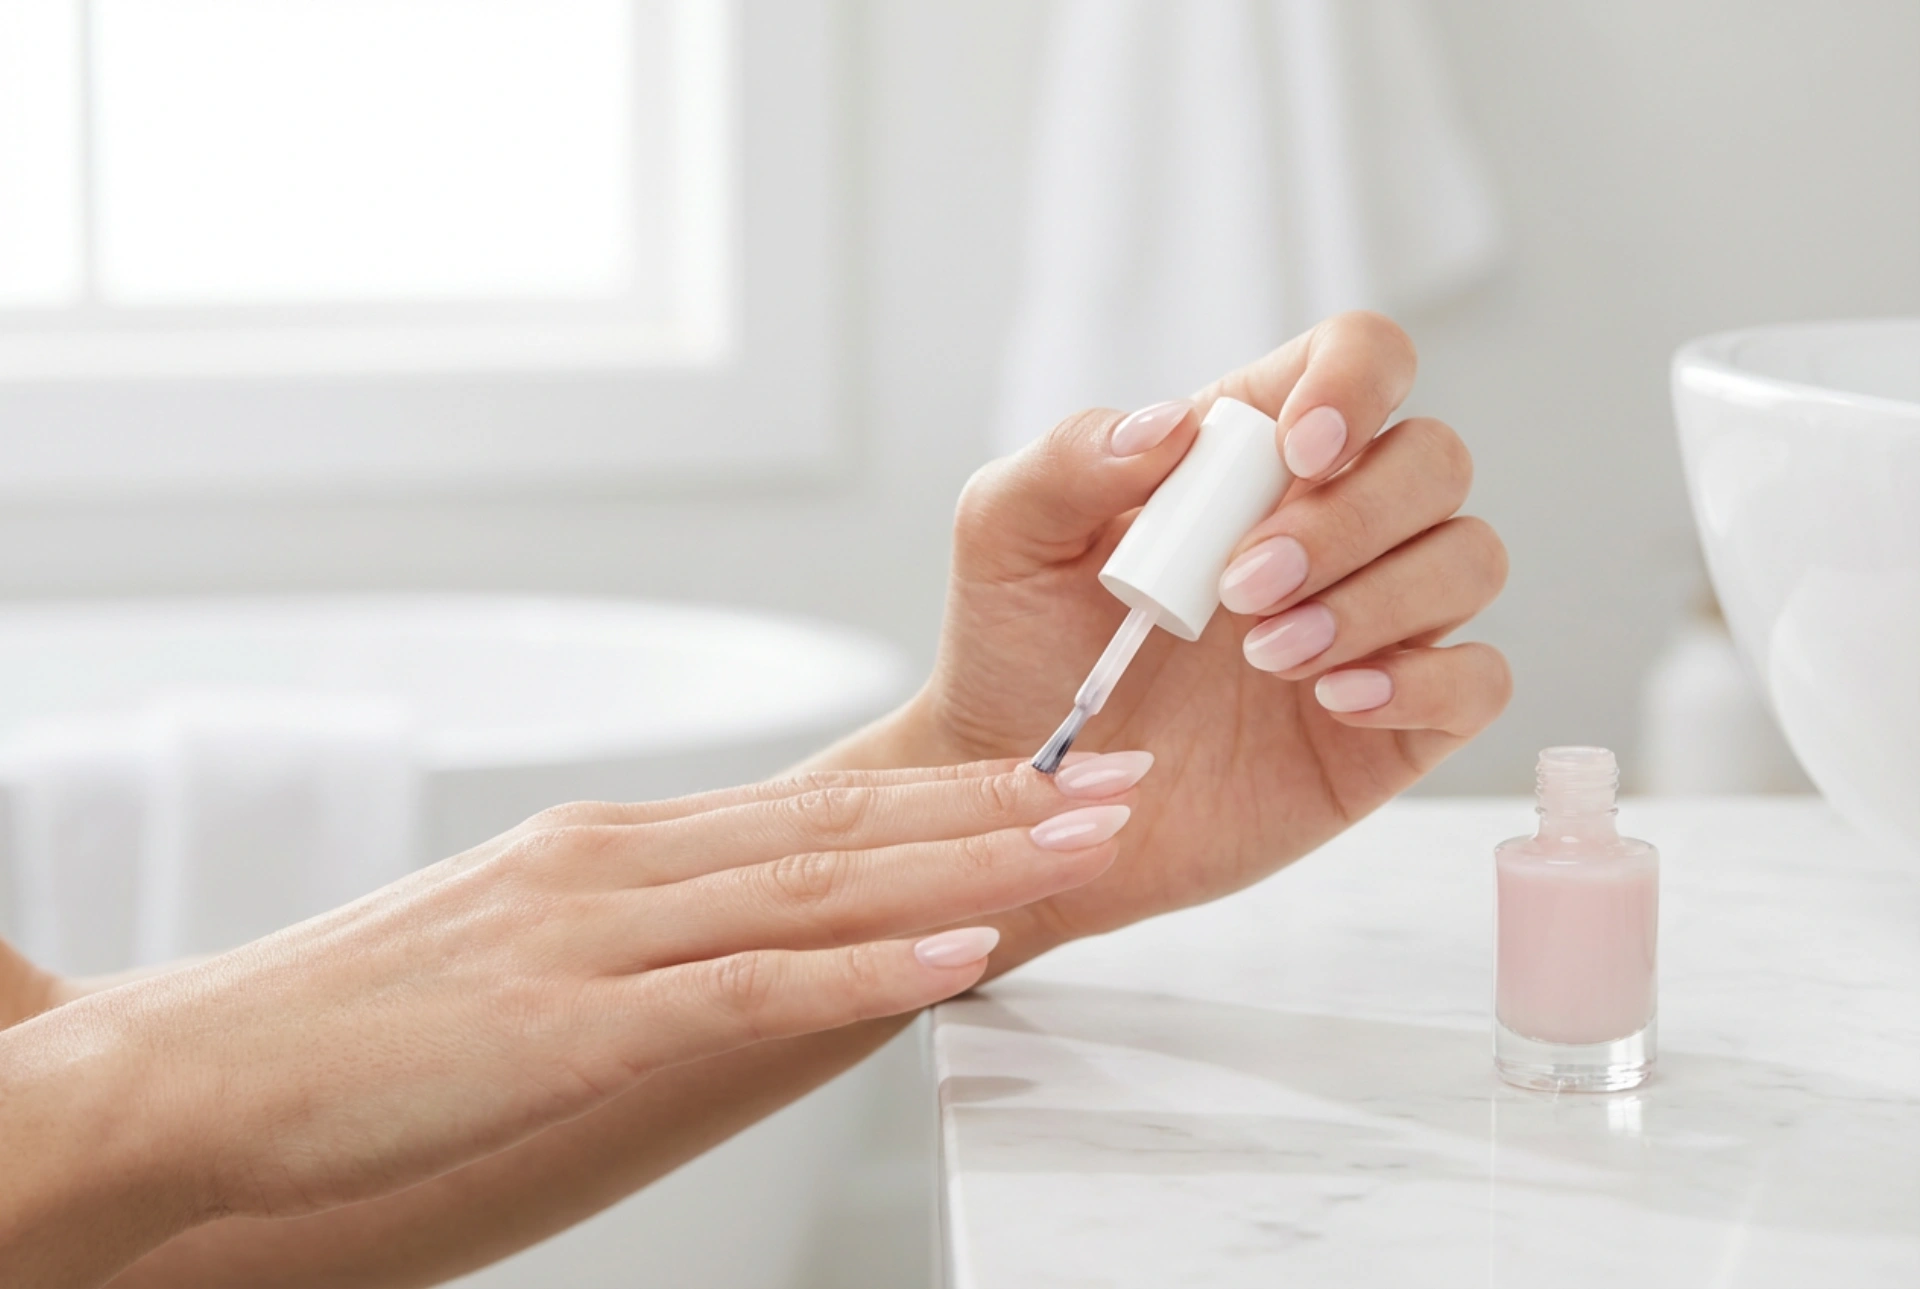
Step 2: The First Layer of Milky Polish
The secret to a streak-free application is thin layers. Load your brush with a small amount of milky gel polish. Apply the polish using a 'floating' technique. This means you should apply very light pressure, allowing the brush to glide over the nail rather than pressing it down. This helps the polish to spread evenly without the bristles creating lines. Don't worry if the first coat looks patchy or very sheer; this is normal. Cure the layer completely.
Step 3: Building Opacity
Apply a second thin layer using the same floating technique. This coat will build upon the first, evening out the colour and increasing opacity. Before curing, give the polish a few seconds to self-level. You can gently rock your finger from side to side to help this process. For a more opaque look, a third, equally thin layer can be applied. Always cure each layer fully before applying the next.
The Finishing Touches and Common Pitfalls
Once you are happy with the opacity and evenness of your colour, it's time to seal your work for a long-lasting, glossy finish. A good top coat not only protects the manicure but can also help to further smooth over any minor imperfections.
Applying the Top Coat
Apply a generous but not overly thick layer of a no-wipe gel top coat. As with the base coat, remember to cap the free edge. The top coat will add brilliant shine and durability to your manicure. Cure it for the recommended time, and once done, your streak-free milky nails are complete. Finish by applying some cuticle oil to nourish the skin around your nails.
Mistakes to Avoid
- Thick Layers: Applying thick coats to get opacity faster will lead to streaks, pooling at the cuticles, and improper curing.
- Too Much Pressure: Pressing the brush hard against the nail will create grooves and streaks in the delicate polish.
- Skipping Surface Prep: Oils and dust on the nail plate will prevent the polish from laying down smoothly.
- Rushing the Process: Not allowing the polish a moment to self-level before curing can lock in imperfections.