


A beautifully executed manicure is a small detail that can significantly enhance your overall style, acting as the perfect finishing touch to any outfit. The combination of deep, rich burgundy and opulent gold is a timeless classic that exudes sophistication and luxury. This pairing is wonderfully versatile, suitable for both everyday elegance and special occasions. Achieving this polished look at home is simpler than you might think. Follow our five-step guide to create a stunning burgundy and gold manicure that looks professionally done.
Step 1: The Essential Preparation
A flawless manicure begins with well-prepared nails. Rushing this step can lead to a less durable and untidy result. Start by removing any old polish completely. Next, gently file your nails to your desired shape, whether it's square, oval, or almond. Always file in one direction to prevent splitting. Afterwards, soak your fingertips in warm, soapy water for a few minutes to soften the cuticles. Gently push them back using a cuticle pusher or an orange stick. Avoid cutting your cuticles, as they protect your nail bed from impurities. Lightly buff the surface of your nails to create a smooth canvas for the polish. Finally, wipe each nail with a nail polish remover to eliminate any oils or residue, and apply a thin layer of a quality base coat. This will protect your nails from staining and help your manicure last longer.
Step 2: Building the Burgundy Foundation
With your nails prepped and primed, it's time to apply the star of the show: the burgundy polish. This deep, wine-toned shade requires careful application for a rich and even finish. To begin, load your brush with a moderate amount of polish, wiping off any excess on the inside of the bottle's neck. Start your stroke in the centre of the nail, slightly away from the cuticle, and push back gently before swiping down to the tip. Then, complete the nail with a stroke on each side. The key is to apply thin, even coats. Let the first coat dry for a few minutes before applying a second. Two thin coats will provide a much more opaque, vibrant, and professional-looking colour than one thick coat, which can be prone to smudging and bubbling.
Step 3: Choosing Your Gold Accent Style
This is where your creativity comes into play. The beauty of the burgundy and gold combination lies in its versatility. Before you start painting, decide on the type of gold accent you want to create. Here are a few elegant ideas:
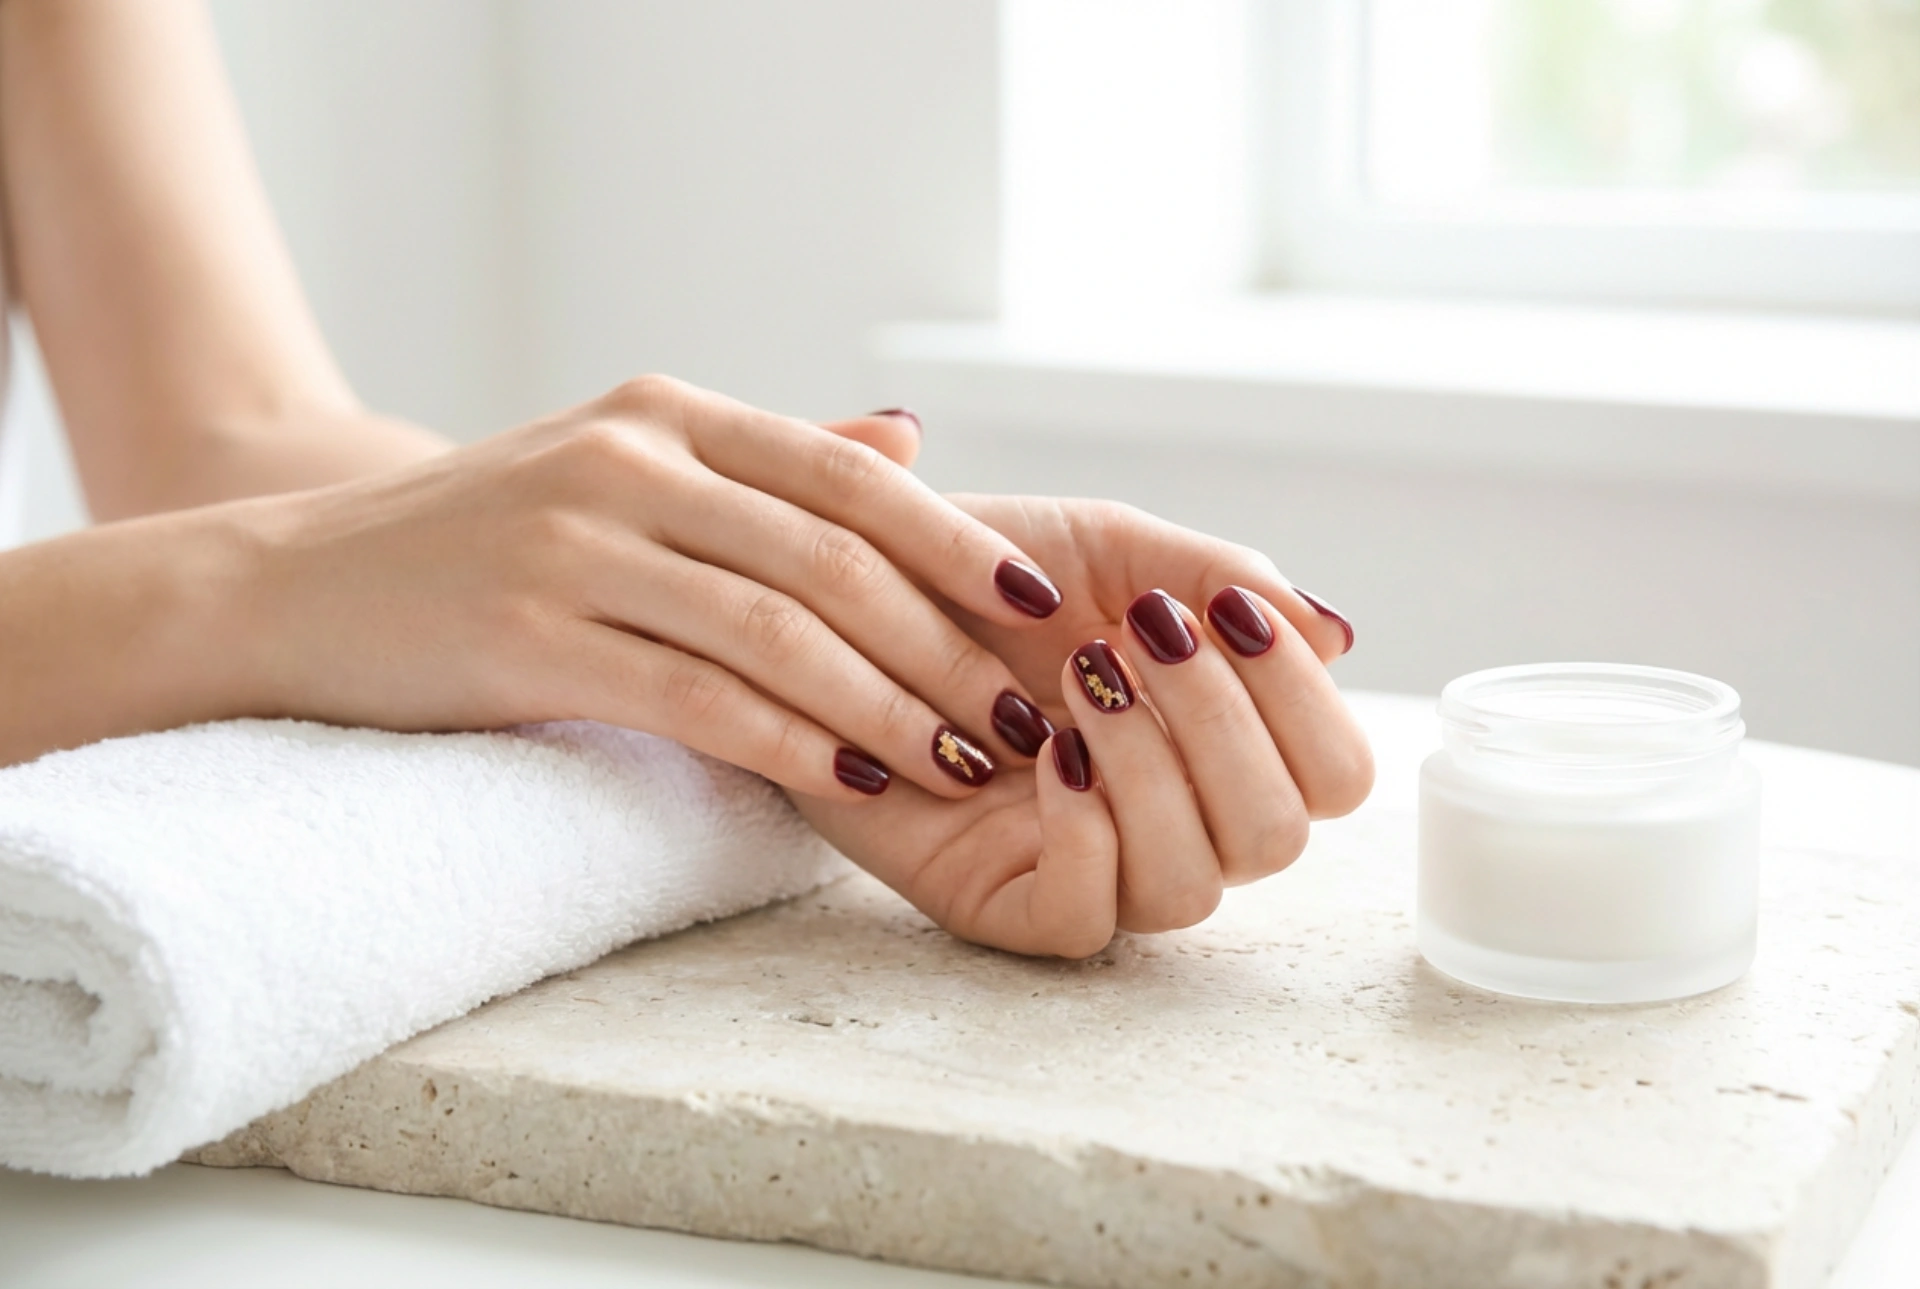
- The Accent Nail: This is a simple yet impactful choice. Paint the nail on your ring finger (or any finger of your choice) entirely with a shimmering gold polish while the rest remain solid burgundy.
- Subtle Gold Tips: A modern twist on the classic French manicure. Once your burgundy base is dry, carefully paint a thin line of gold polish along the tips of your nails.
- Delicate Patterns: For a more intricate look, consider adding small gold details. Simple dots at the base of the nail, thin vertical or horizontal lines, or subtle half-moon shapes can add a touch of bespoke artistry.
Step 4: Applying the Gold Details with Precision
The success of your gold accents depends on a steady hand and the right tools. For clean lines, such as for gold tips or stripes, you can use striping tape as a guide. Apply the tape once the burgundy polish is completely dry, paint your gold accent, and remove the tape while the gold is still wet for a crisp edge. If you prefer freehand designs, a very thin nail art brush is your best friend. It will give you the control needed for delicate lines and swirls. For perfect dots, a dotting tool is ideal. You can dip the tip into the gold polish and gently press it onto the nail. If you don't have a dotting tool, the end of a bobby pin or a toothpick will work just as well. Remember to work on one nail at a time and allow the gold polish to dry sufficiently before moving on to the final step.
Step 5: Sealing Your Design with a Top Coat
The final and most crucial step for a long-lasting, glossy manicure is applying a top coat. This protective layer seals in your design, prevents chipping, and adds an enviable high-shine finish that makes the colours pop. Wait until your burgundy and gold polish are completely dry to the touch to avoid smudging your hard work. Apply a generous layer of a quick-drying top coat, making sure to "cap" the free edge of your nail by swiping the brush along the tip. This adds extra protection against chipping. Your top coat will not only protect your manicure but also smooth out any minor imperfections, giving your nails that smooth, gel-like appearance.


