


The combination of soft pink and bold black creates a striking contrast that is both elegant and modern. When paired with geometric patterns and precise lines, this colour duo transforms a simple manicure into a sophisticated work of art. This style is incredibly versatile, suitable for both everyday elegance and special occasions, adding a refined touch to your look. Learning to create these designs at home is a rewarding way to express your personal style and elevate your beauty routine.
The Timeless Appeal of Pink and Black
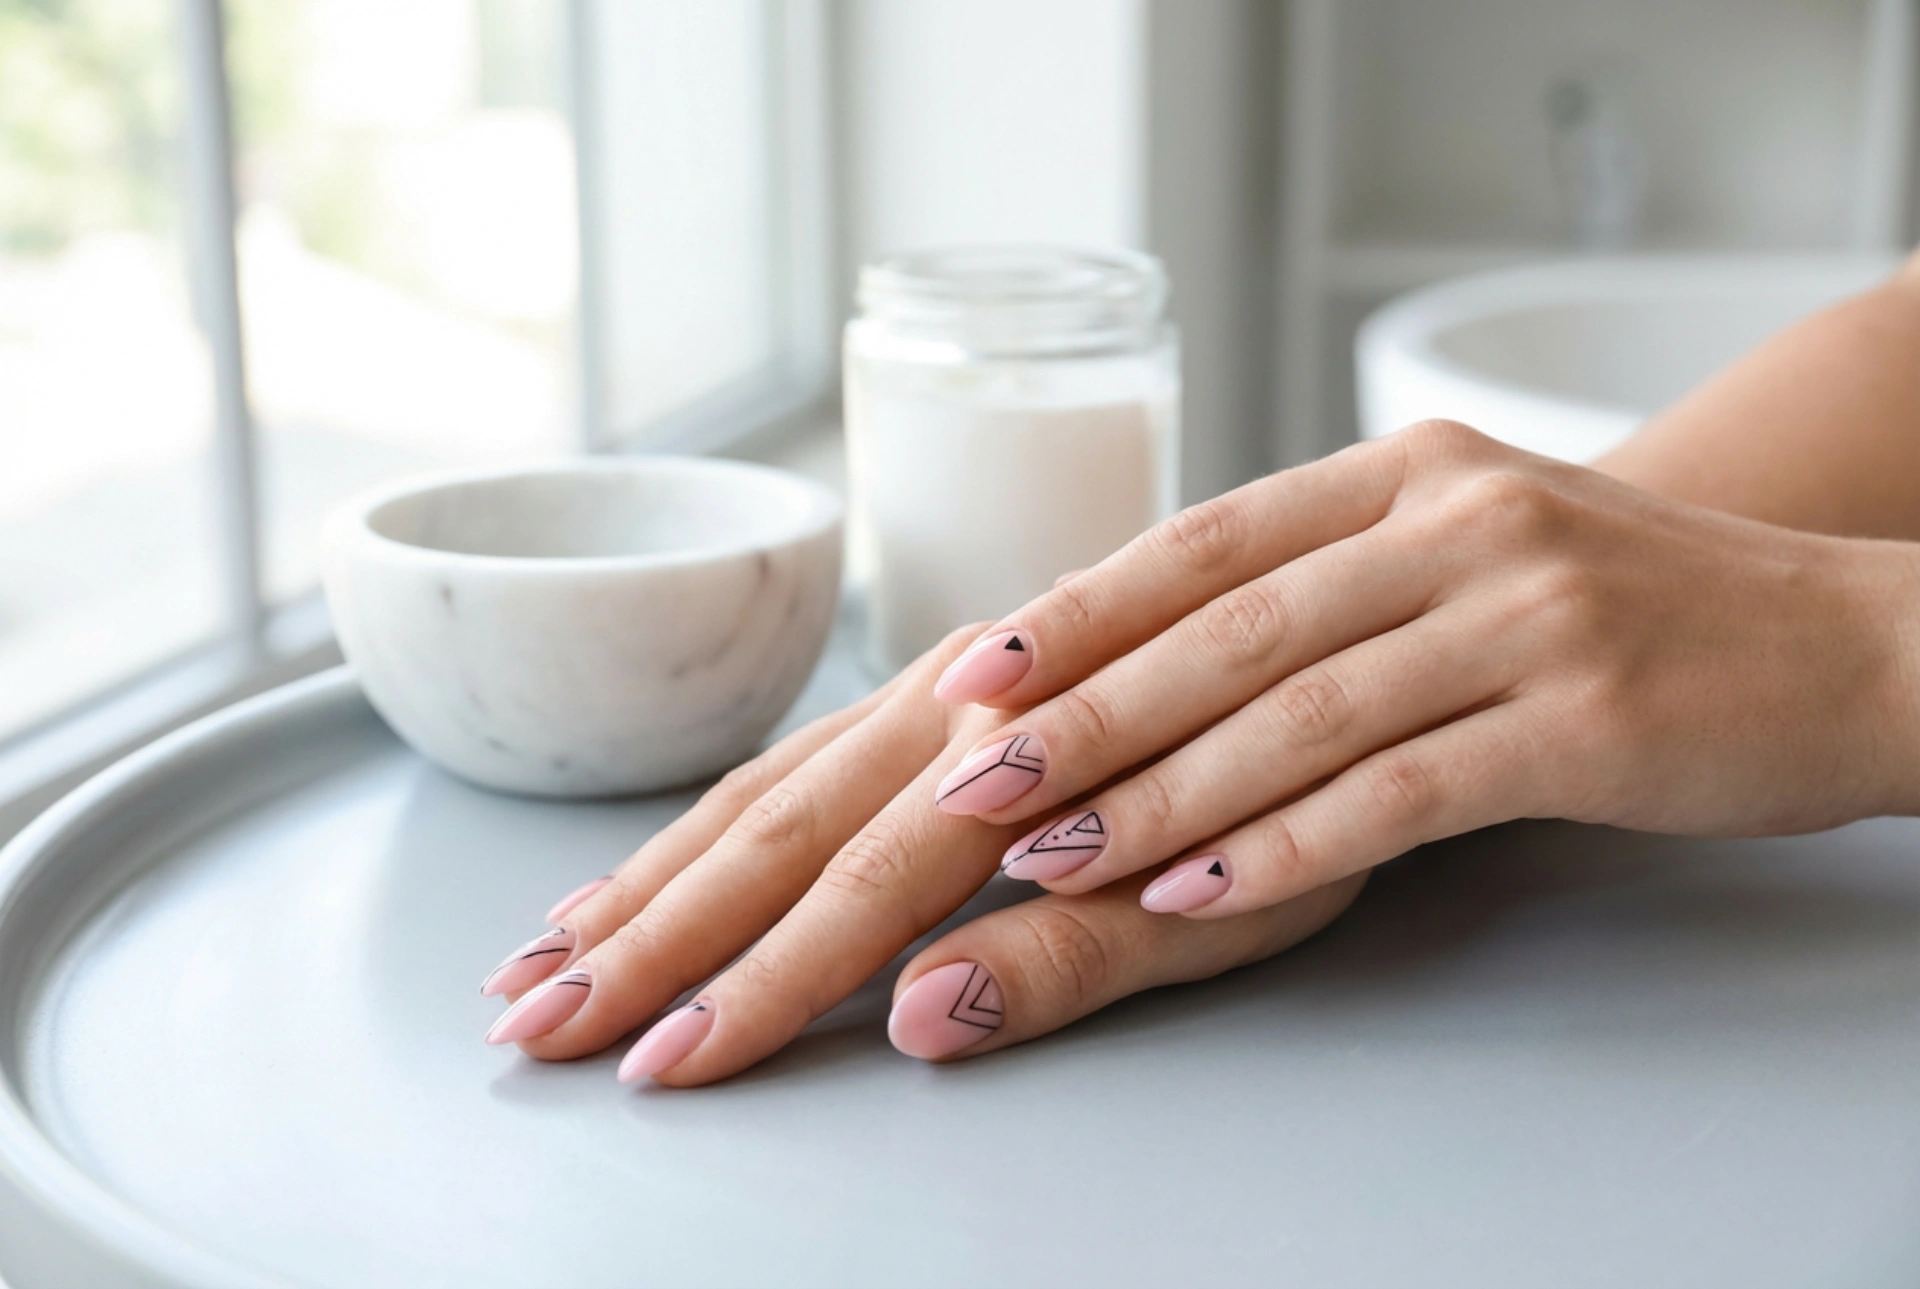
The beauty of a pink and black manicure lies in its powerful contrast. The softness and femininity of pink are perfectly balanced by the strength and boldness of black. This classic pairing has been a staple in fashion and design for decades, and it translates beautifully to nail art. Adding geometric elements—such as sharp lines, triangles, or chevrons—introduces a contemporary twist, making the design feel fresh and architectural. Whether you opt for a minimalist single black line on a pale pink base or a more complex pattern, the result is always chic and eye-catching.
Preparing Your Nails for a Flawless Design
A professional-looking manicure starts with well-prepared nails. A clean and smooth canvas is essential for achieving crisp lines and ensuring your design lasts. Follow these simple preparation steps for the best results.
- Clean and Shape: Begin by removing any old polish. Gently file your nails to your desired shape, whether it's square, oval, or almond. Ensure all nails are of a uniform length and shape for a cohesive look.
- Cuticle Care: Soften your cuticles by soaking your fingertips in warm water for a few minutes. Afterwards, gently push them back using a cuticle pusher or an orange wood stick. Avoid cutting your cuticles, as this can lead to issues.
- Buff the Surface: Lightly buff the surface of your nails with a fine-grit buffer. This smooths out any ridges and creates a slightly textured surface that helps the polish adhere better.
- Apply a Base Coat: Never skip the base coat. It protects your natural nails from staining, especially from dark colours like black, and provides a smooth foundation for your colour polish, helping your manicure last longer.
Creating Geometric Patterns at Home
You don't need to be a professional nail artist to create stunning geometric designs. With a few simple tools and a bit of patience, you can achieve precise patterns right at home.
Essential Tools for Precision
To create sharp, clean lines, it's helpful to have the right tools. Invest in a few key items: a very thin nail art brush for freehand work, nail striping tape for creating perfectly straight lines, and a dotting tool for adding small, uniform dots. In a pinch, a toothpick can also be used for very fine details.
Step-by-Step Guide to Simple Lines
One of the easiest yet most effective geometric designs is a simple linear pattern. Start by applying two coats of your chosen pink polish and allow it to dry completely. This is a critical step; if the base isn't fully dry, the tape will lift the polish. Once dry, place thin strips of nail striping tape across your nail to create your desired pattern—a single vertical line, horizontal stripes, or a grid. Press the tape down firmly. Paint over the nail with black polish. For the cleanest result, carefully remove the tape while the black polish is still slightly wet. This prevents the polish from cracking or peeling off with the tape.
Tips for Triangles and Chevrons
Triangles and chevrons add a dynamic element to your nails. Use two pieces of striping tape to create a 'V' shape on your nail to form a chevron or a triangle. You can place this at the tip for a modern take on a French manicure, or at the base of the nail for a 'reverse French' look. Fill in the shape with black polish and, as before, remove the tape while the polish is wet. Feel free to mix and match, perhaps creating an accent nail with a more complex pattern while keeping the others simpler.
Finishing Touches for a Lasting Manicure
After you've finished your design and allowed it to dry, the final step is to seal it with a high-quality top coat. This is non-negotiable for protecting your artwork from chipping and smudging. A good top coat not only adds a beautiful, high-gloss shine (or a modern matte finish, if you prefer) but also smooths out any minor imperfections and helps your manicure last for a week or more. Be sure to apply the top coat over the entire nail, including 'capping' the free edge, to prevent chips from starting at the tip. Reapplying a thin layer of top coat every two to three days can further extend the life of your manicure.


