


The milky nails trend has taken the beauty world by storm, celebrated for its subtle elegance and natural finish. This manicure style, characterised by a soft, semi-translucent white or pale pink hue, offers a sophisticated alternative to both opaque white and clear polish. It provides a clean, polished look that enhances the natural beauty of your nails, making them appear healthy and well-groomed. Achieving this ethereal glow at home is entirely possible with hybrid polishes, offering a durable and glossy finish that lasts for weeks. This guide will walk you through the process, ensuring a flawless result.
What Exactly Are Milky Nails?
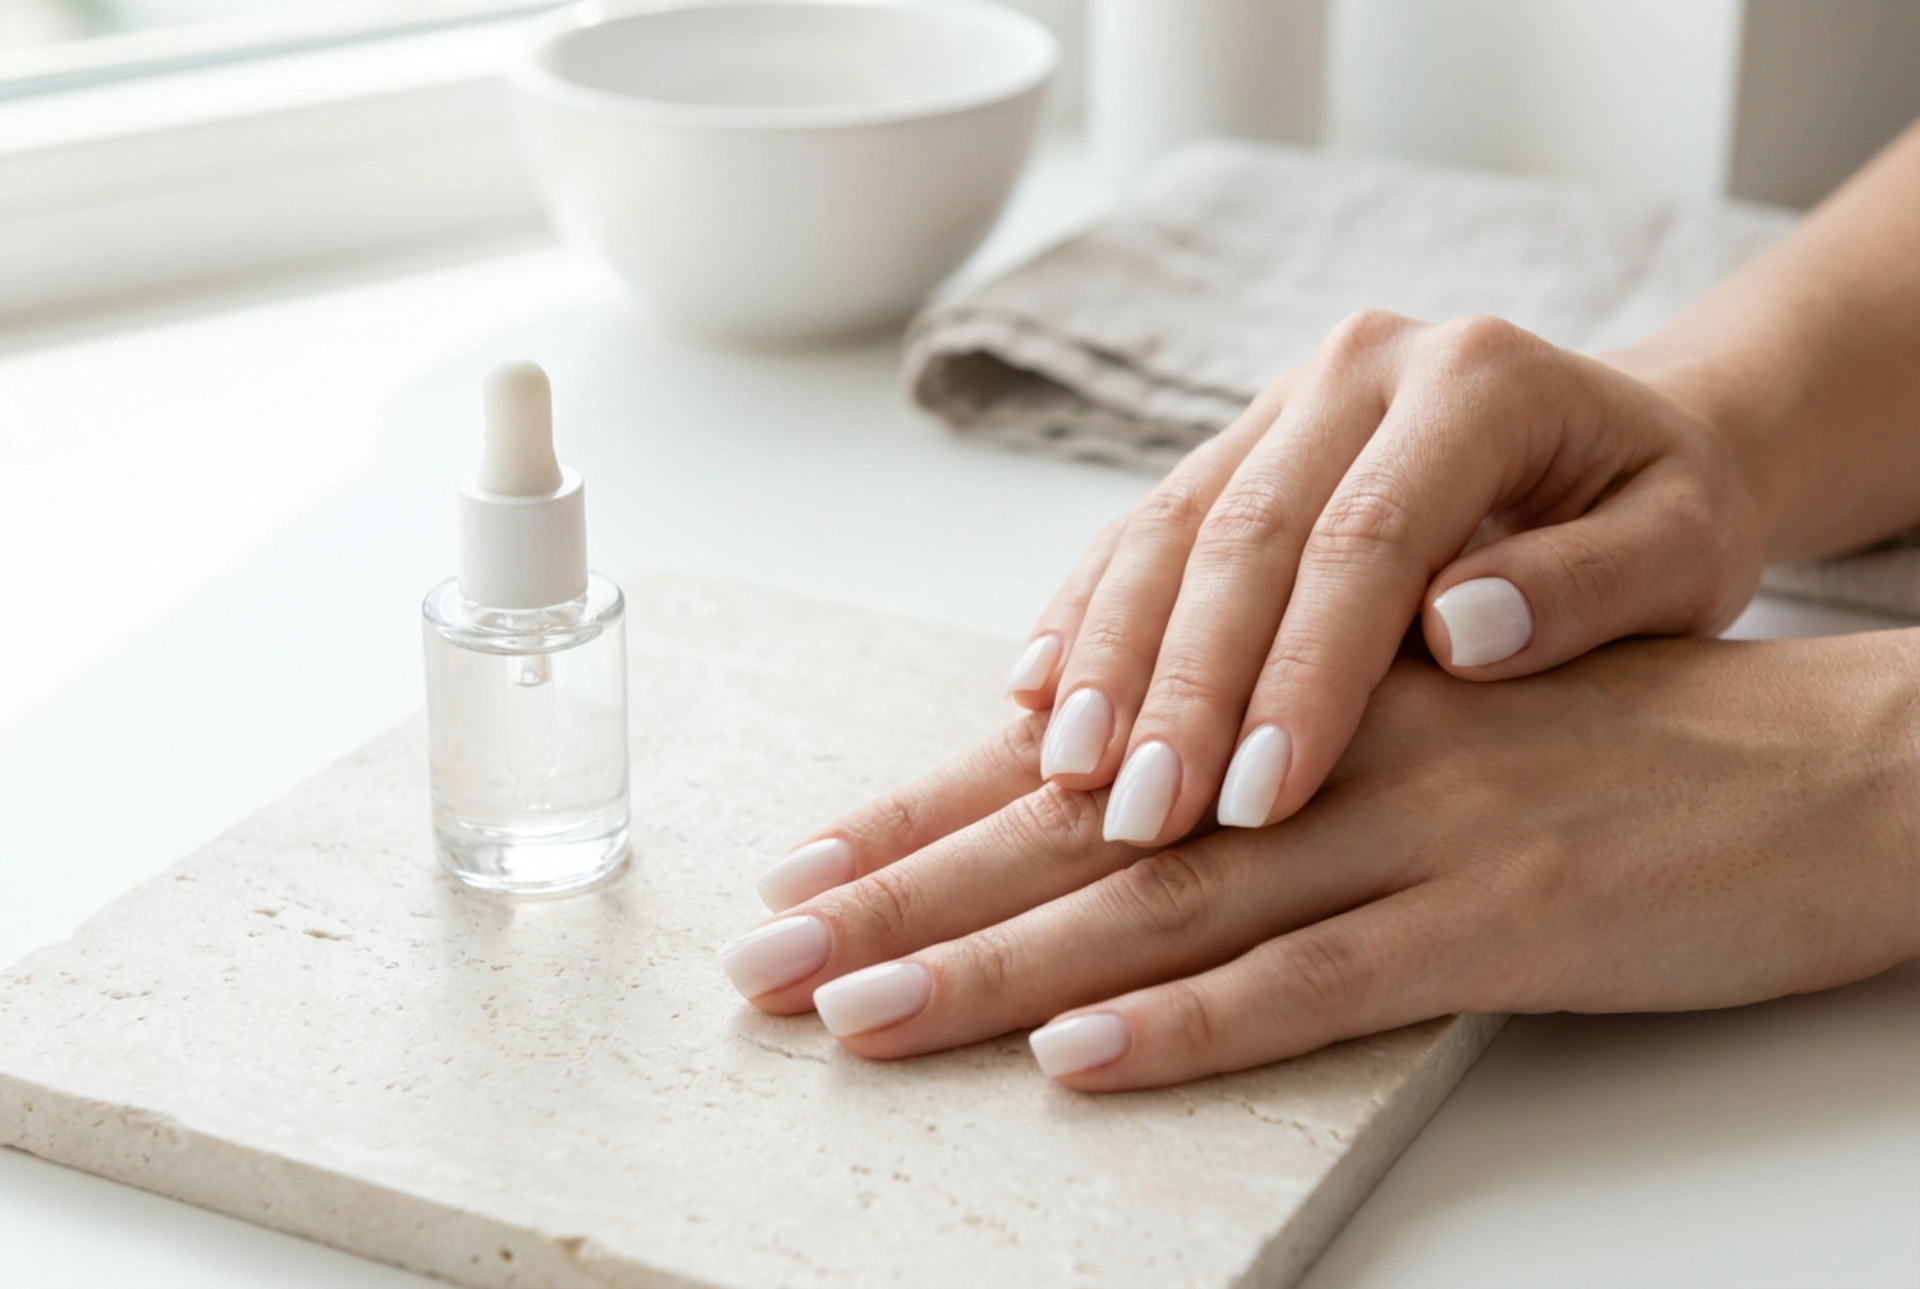
Milky nails are defined by their unique, soft-focus appearance. Unlike a bold, opaque white manicure, the milky look is delicate and translucent, allowing a hint of the natural nail to show through. The effect is similar to a cloud or a splash of milk diluted in water, hence the name. This versatility is one of its greatest strengths; it complements every skin tone, nail shape, and length. Whether your nails are short and square or long and almond-shaped, the milky finish provides a touch of understated class that is perfect for any occasion, from everyday wear to formal events.
Preparing Your Nails for a Hybrid Manicure
Proper preparation is the foundation of any long-lasting and beautiful hybrid manicure. Skipping these steps can lead to lifting, chipping, and an uneven finish. Taking the time to prepare your nail plate correctly ensures better adhesion and a professional-looking result. Follow these essential steps before you begin applying any polish.
- Clean and Shape: Start by removing any old polish. Wash and dry your hands thoroughly. File your nails into your desired shape, ensuring all edges are smooth.
- Cuticle Care: Gently push back your cuticles using a wooden stick or a cuticle pusher. Avoid cutting them if you are not experienced, as this can cause damage. The goal is to create a clean nail plate for polish application.
- Buff the Nail Plate: Using a fine-grit buffer, gently buff the entire surface of each nail. This removes the natural shine and creates a slightly textured surface, which helps the hybrid base coat adhere securely. Be gentle to avoid thinning the nail.
- Dehydrate and Cleanse: Wipe each nail with a lint-free pad soaked in a nail cleaner or dehydrator solution. This crucial step removes any dust, oils, and moisture from the nail plate, ensuring maximum longevity for your manicure.
Achieving the Milky Effect: A Step-by-Step Guide
With your nails perfectly prepped, you are ready to create the milky effect. The key to this look is using a specific semi-translucent hybrid polish and applying it in thin, even layers. Patience and precision are vital for achieving that signature delicate finish.
Step 1: Apply the Base Coat
Apply a thin, even layer of a hybrid base coat to each nail, making sure to cover the entire surface without touching the surrounding skin. A good base coat protects your natural nail and provides a strong foundation for the colour. Cure the base coat under an LED or UV lamp according to the product's instructions (typically 30-60 seconds).
Step 2: Apply the First Coat of Milky Polish
Choose a semi-translucent, milky white or very pale pink hybrid polish. Shake the bottle well. Apply a very thin coat of the colour to the nail. The first coat will likely look quite sheer and possibly a bit streaky – this is normal. The goal is to build the colour gradually. Cure this layer under the lamp.
Step 3: Apply the Second Coat (If Needed)
Assess the finish after the first coat. For a more subtle, ultra-natural look, one coat might be enough. If you desire a slightly more opaque milky appearance, apply a second thin coat. This will help to even out the colour and build up the soft, milky depth. Avoid thick layers, as they can cure improperly and look bulky. Cure the second coat under the lamp.
Step 4: Seal with a Top Coat
To finish your manicure, apply a layer of a high-shine, no-wipe hybrid top coat. This will seal in the colour, protect it from chipping, and provide a brilliant, long-lasting gloss. Make sure to 'cap' the free edge of the nail by running the brush along the tip. Cure the top coat for the recommended time. Finally, if your top coat has a sticky layer, wipe it off with a cleaner-soaked lint-free pad to reveal the smooth, glossy finish.
Tips for a Perfect and Lasting Manicure
To keep your milky nails looking pristine, remember a few key tips. Always keep your coats of polish thin to ensure they cure properly and to maintain the delicate, translucent effect. If you're unsure about the opacity, it's always better to start with one coat and add another if you feel it's necessary. After your manicure is complete, apply cuticle oil daily to nourish the skin around your nails and keep them looking healthy. This simple step can make a big difference in the overall appearance and longevity of your manicure.


