


Achieving a flawless manicure at home begins with perfectly shaped nails, a fundamental step that sets the stage for any polish or nail art. While a steady hand and a beautiful colour are important, the true secret lies in using the right tools. Among the most versatile and essential items in any nail care kit is the dual-sided 100/180 grit nail file. Understanding how to use this professional-grade tool correctly can transform your nail care routine, helping you to achieve salon-quality results with precision and care.
Understanding Nail File Grits
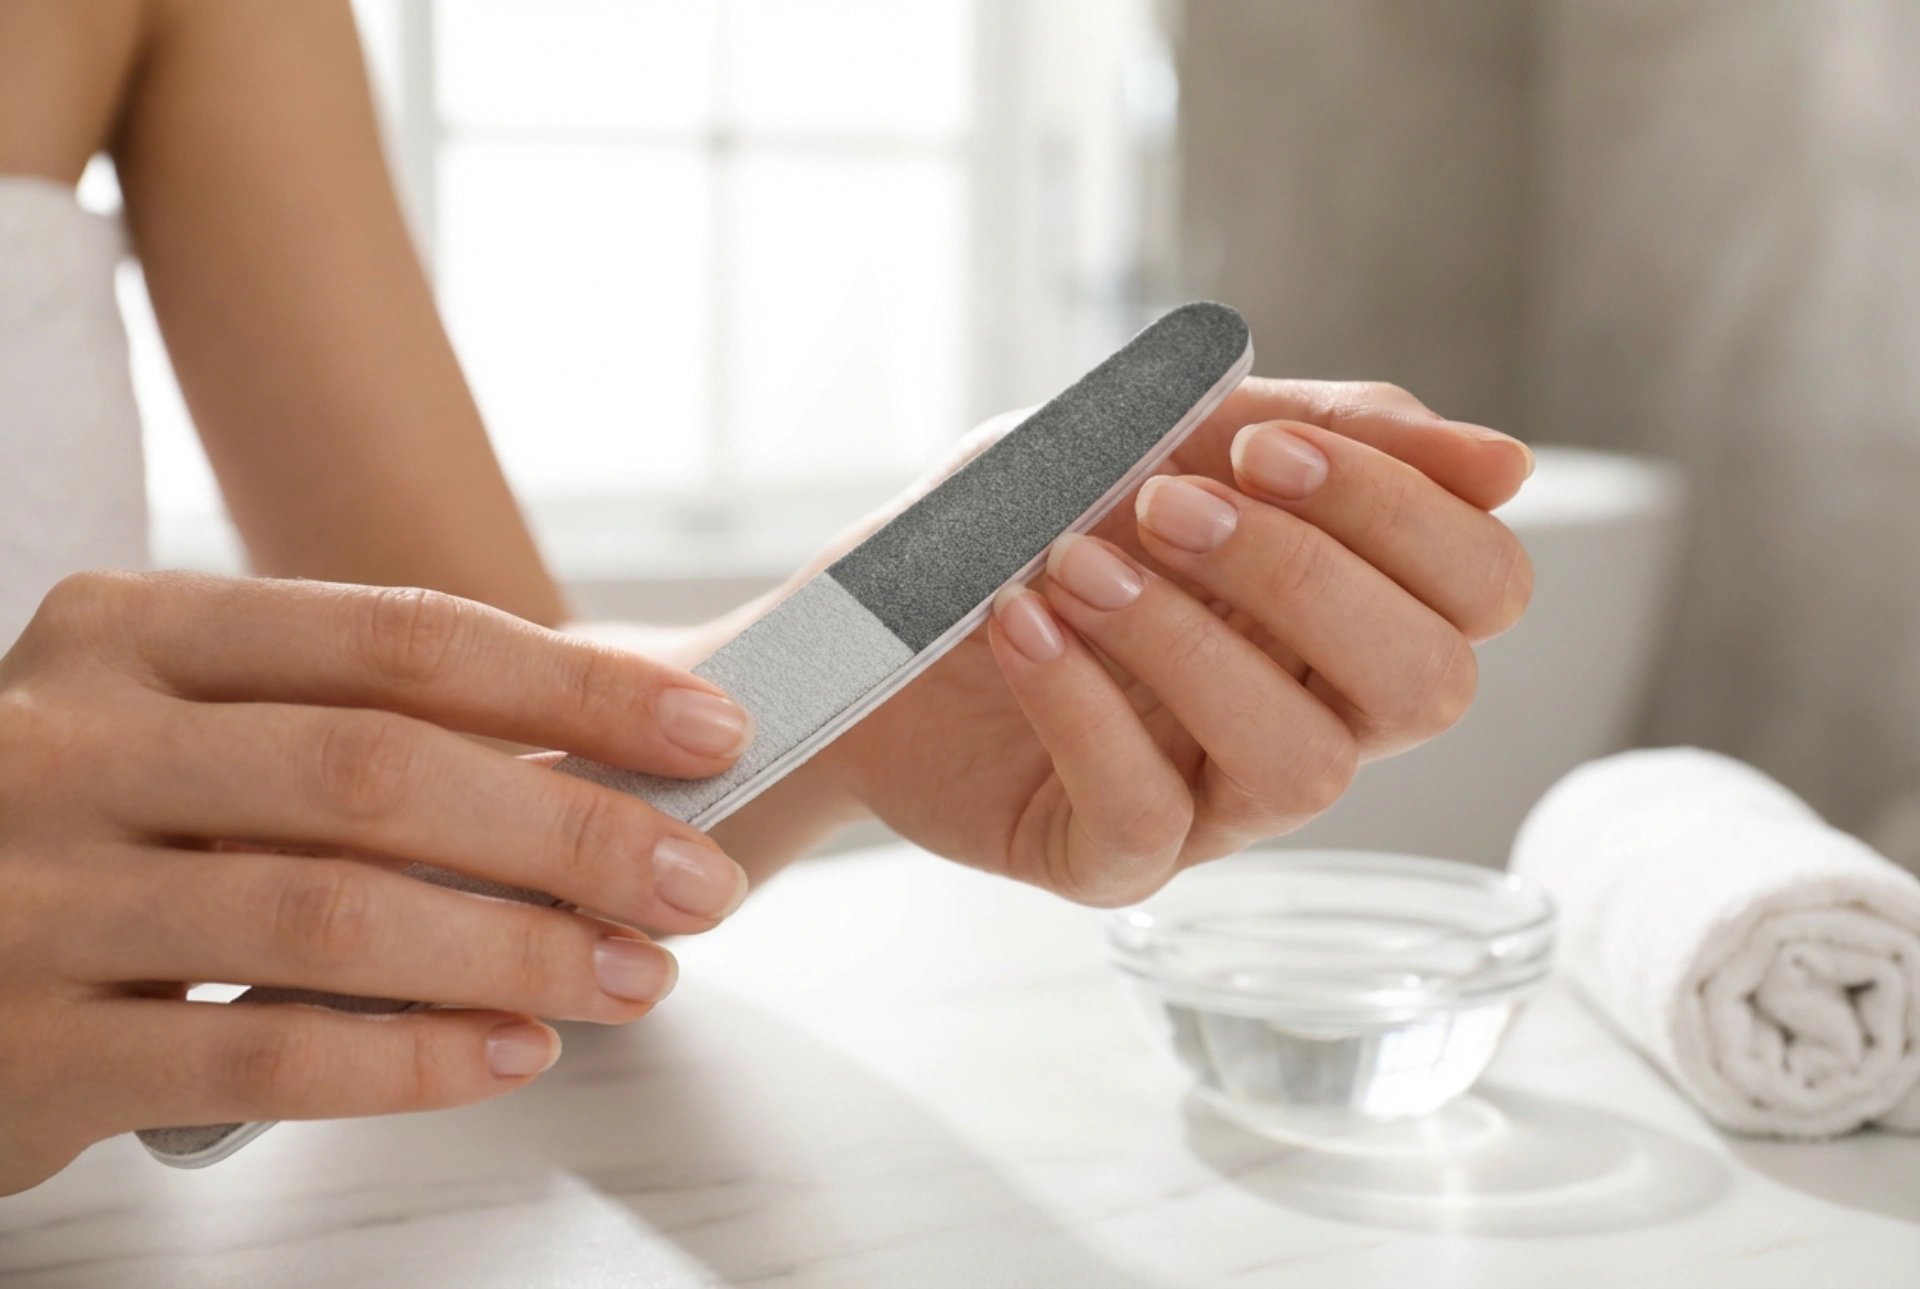
Before diving into the specifics of the 100/180 file, it's helpful to understand what the numbers mean. The 'grit' number refers to the coarseness of the file's surface. It indicates the number of abrasive particles per square inch. The rule is simple: the lower the number, the coarser the grit, and the more abrasive the file will be. Conversely, a higher number signifies a finer grit, which is gentler on the nails. A dual-sided file like the 100/180 offers two different levels of abrasiveness in one convenient tool, making it incredibly versatile for various nail care tasks.
The Purpose of Each Side
The beauty of a 100/180 file is its duality. Each side has a distinct purpose, allowing you to tailor your filing technique to different needs, whether you're working with natural nails or nail enhancements.
The 100 Grit Side: For Shaping and Reduction
The 100 grit side is the coarser of the two. Its primary function is to quickly reduce the length of nails and perform significant shaping. Due to its abrasive nature, it is most suitable for:
- Shaping and shortening artificial nails, such as gel or acrylic extensions.
- Filing down very thick, strong toenails.
- Quickly altering the shape of particularly resilient natural nails.
The 180 Grit Side: For Refining and Finishing
The 180 grit side is a medium-fine grit, making it the perfect all-rounder for natural nails. It is gentle enough not to cause damage but effective enough to shape and smooth with ease. This side is ideal for:
- Gently shaping the free edge of natural nails.
- Smoothing out any roughness left by a coarser file.
- Preparing the nail surface for a buffing or polishing step.
- Blending the tips of nail extensions to create a seamless look.
How to Use Your 100/180 Nail File Correctly
Technique is everything when it comes to filing. Using your file correctly not only helps you achieve your desired shape but also protects the health of your nails. Follow these steps for the best results:
1. Start with Clean, Dry Nails
Always file your nails when they are completely dry. Wet nails are more flexible and prone to tearing and damage. Ensure they are free from any oils or lotions before you begin.
2. File in One Direction
One of the most common mistakes is filing back and forth in a sawing motion. This creates tiny fractures in the nail edge, leading to peeling and splitting. Instead, place the file at the side of the nail and gently sweep it towards the centre. Lift the file away and return to the starting point for each stroke. This one-directional movement creates a smooth, sealed edge.
3. Choose the Right Grit
Start with the grit appropriate for the task. If you need to remove significant length, begin with the 100 grit side, then switch to the 180 grit side to refine the shape and smooth the edge. For regular shaping of natural nails, you can often use the 180 grit side exclusively.
4. Hold the File at an Angle
Hold the file at a slight angle underneath the nail edge rather than holding it flat against the tip. This helps you see what you are doing and prevents you from accidentally thinning the nail tip too much.
5. Be Gentle
Let the file do the work. There's no need to apply excessive pressure, which can cause heat and damage the nail plate. Use light, even strokes for a controlled and precise finish.
Caring For Your Nail File
To ensure your file remains effective and hygienic, it's important to keep it clean. After each use, tap it to remove dust. If you have a washable file, you can scrub it gently with a small brush, soap, and water. Allow it to air dry completely before storing it. Over time, the grit will wear down. Replace your file once you notice it has become smooth and is no longer shaping your nails effectively. A fresh file provides better results and requires less pressure, which is healthier for your nails.


