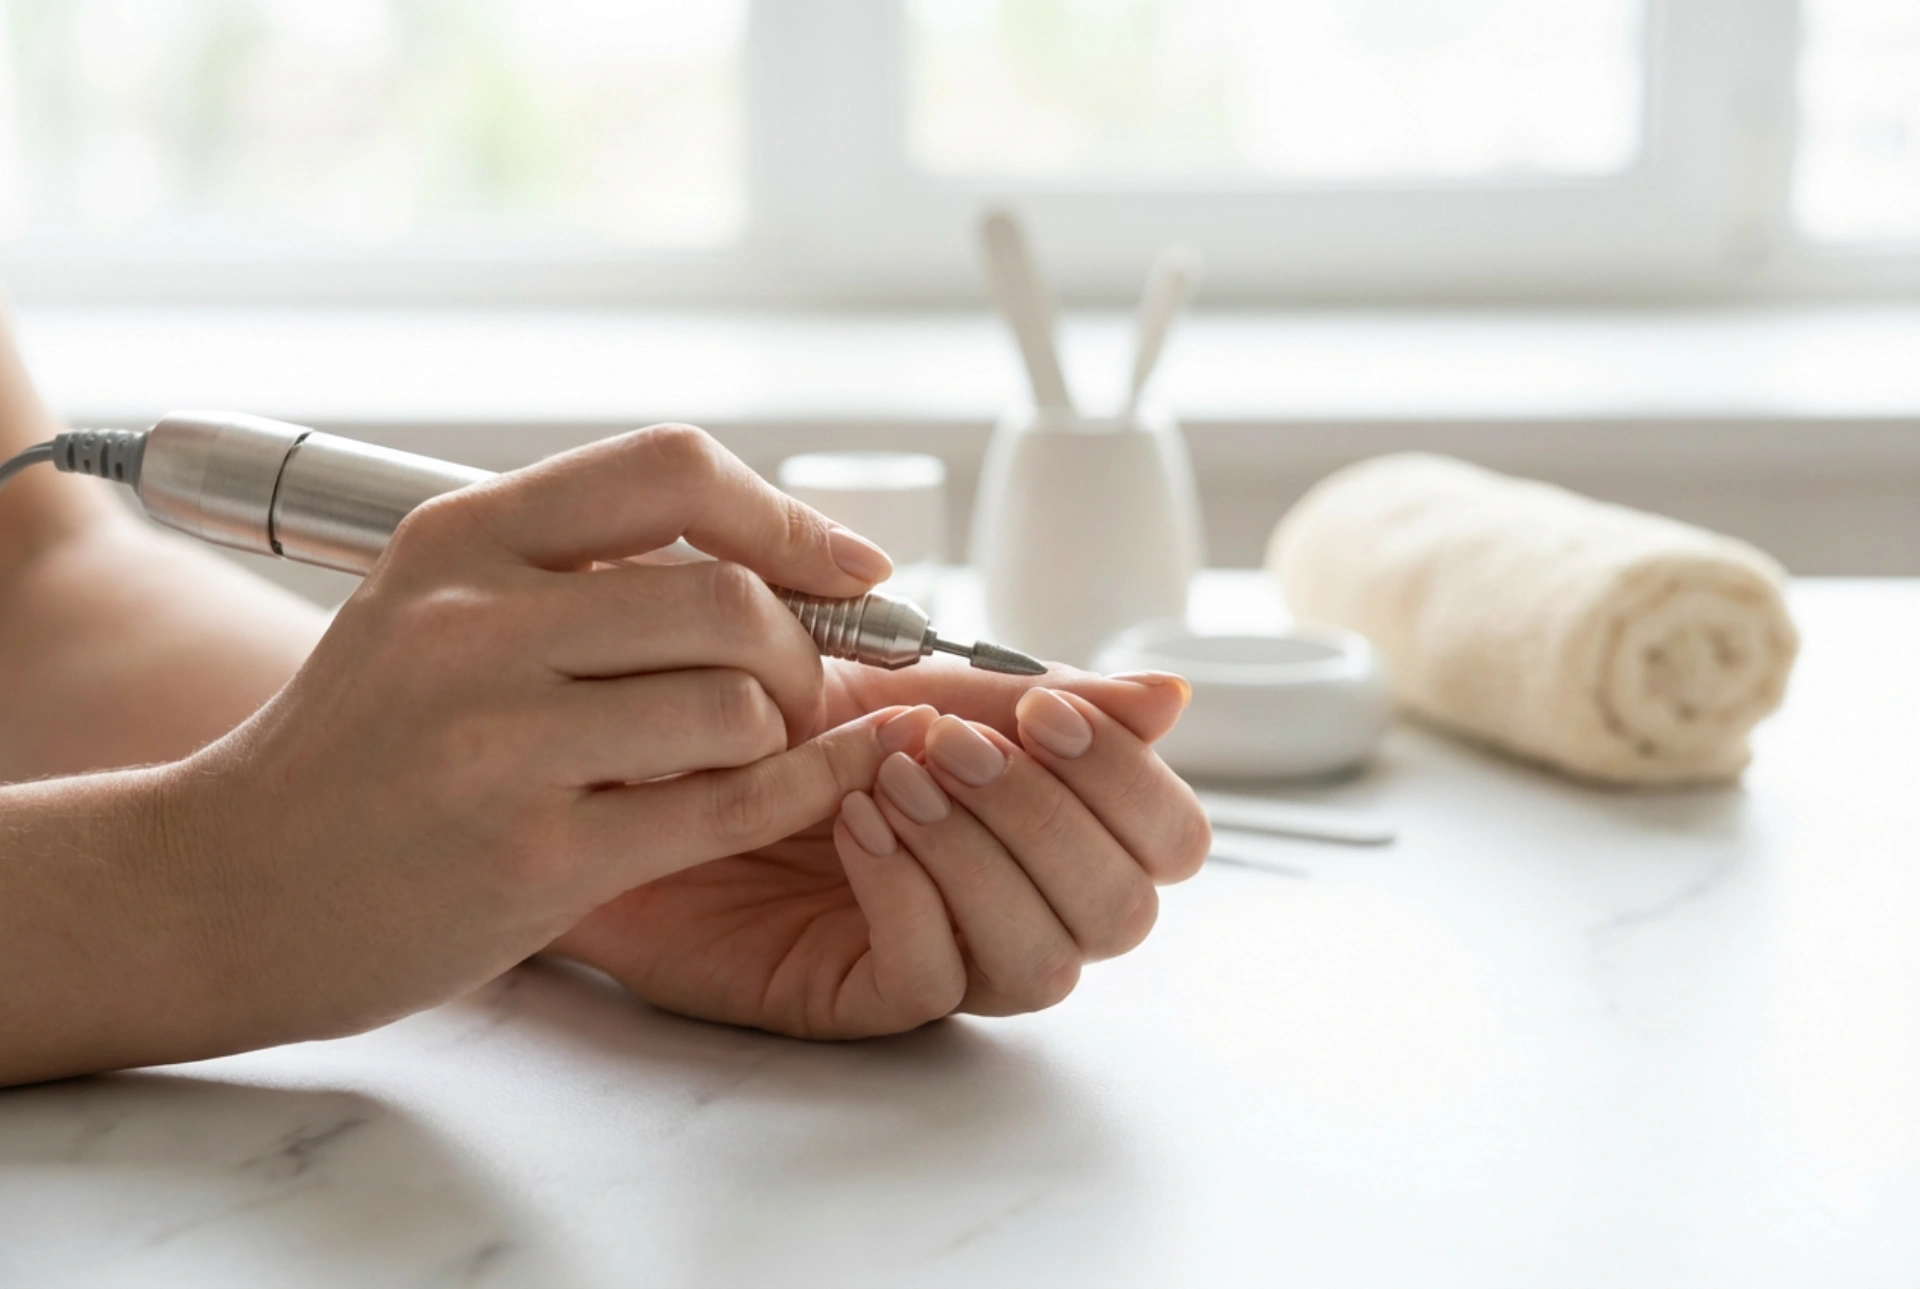


Achieving a flawless, professional-looking manicure or pedicure often involves tools that offer precision and efficiency. Among these, the nail drill, or e-file, stands out as a powerful assistant. A model with 65 watts (W) of power is a robust piece of equipment, often seen in a professional context. Understanding what this power means and how to use it correctly is crucial for achieving beautiful results while prioritising the health and safety of your nails. It's a tool that signifies expertise, but with the right knowledge, it can be mastered for specific, demanding tasks.
What Does 65W Mean for a Nail Drill?
When discussing nail drills, many people focus on RPM (revolutions per minute), which indicates speed. However, wattage (W) is arguably more important as it measures the motor's power and torque. A 65W nail drill has a powerful motor that can maintain its rotational speed even when pressure is applied. In contrast, a lower-wattage drill might slow down or stall when used on tougher materials, like hard gel or acrylic, or during intensive pedicure work. This consistent power, or torque, allows for smoother, more efficient filing and shaping without the drill getting bogged down. It ensures a stable and predictable performance, which is essential for detailed and demanding nail work.
When is a High-Power Drill the Right Choice?
A 65W nail drill is not necessary for every user or every task. Its capabilities are best suited for specific, more challenging applications. Understanding when this power is an advantage helps in choosing the right tool for the job.
- Removing Hard Materials: The primary use for such a powerful drill is the efficient removal of hard materials like acrylics, dip powders, and hard gels. The high torque allows the drill bit to file away the product smoothly and quickly, significantly reducing the time required for a fill or removal service.
- Intensive Pedicures: During a pedicure, a nail technician may need to reduce thick toenails or smooth down callused skin on the feet. A 65W drill provides the necessary, consistent power to perform these tasks effectively without straining the motor.
- Professional Salon Use: For a nail technician who performs multiple services a day, a powerful and reliable drill is a necessity. It withstands continuous use and handles a wide variety of tasks, from simple gel polish removal to complex nail extensions, making it a versatile workhorse in a salon environment.
- Experienced Home Users: While generally considered a professional tool, an experienced home user who regularly works with hard gels or acrylics might find a 65W drill beneficial. However, this requires a high level of skill and understanding of safety protocols. For natural nails or simple gel polish removal, a lower-power drill is often sufficient and safer.
Essential Safety for Using a High-Power Drill
With great power comes the need for great caution. The potential to damage the natural nail is higher with a powerful drill, so adhering to safety rules is non-negotiable.
Core Safety Principles
- Start with Low Speed: Always begin at the lowest possible speed setting and gradually increase it only as needed for the task at hand. Never use the maximum speed on the natural nail.
- Use a Light Touch: Let the drill do the work. Applying excessive pressure does not make the process faster; instead, it creates heat and increases the risk of damaging the nail plate or surrounding skin.
- Keep it Moving: Never hold the spinning drill bit in one spot. Use continuous, even strokes across the nail surface to prevent heat build-up (which can cause a burning sensation) and avoid creating dips or uneven patches.
- Select the Right Bit: Different nail drill bits are designed for specific purposes (e.g., product removal, cuticle care, shaping). Using the correct bit for the job at the appropriate speed is fundamental to safe and effective use.
- Protect Yourself: Always wear safety glasses to protect your eyes from dust and debris. A dust extraction system or a simple mask is also highly recommended to avoid inhaling dust particles.
Basic Techniques for a 65W Nail Drill
Mastering a high-power drill involves practice and a focus on technique. Here are some fundamental approaches for common tasks.
Removing Old Product (Gel or Acrylic)
Use a coarse-grit bit (such as carbide or ceramic) designed for product removal. Work at a medium speed, using light, sweeping motions from the cuticle area towards the free edge. Work in sections and be mindful of how much product is left. Always leave a thin base layer to protect the natural nail from the drill bit. Finish the final, thin layer with a hand file for maximum safety.
Refining Nail Shape and Length
For shortening extensions or making significant changes to the shape, a powerful drill can quickly remove bulk. Use a sanding band or a medium-grit bit at a low to medium speed. Use the side of the bit to file the free edge and side walls. Be gentle and check your progress frequently to avoid removing too much. Final shaping and refinement should always be done with a hand file for precision.
Gentle Cuticle Care
This is an advanced technique that requires extreme caution. Use a specialised, fine-grit cuticle bit (like a diamond ball or flame bit) at the absolute lowest speed setting. Gently lift the non-living tissue from the nail plate without ever touching the surrounding skin or the nail itself with excessive pressure. This task requires a very steady hand and proper training to avoid injury.


