


A hybrid manicure offers durability and shine, but the real creativity begins when you introduce decorations. Elements like subtle glitter, shimmering dusts, or elegant rhinestones can transform a simple colour into a unique piece of art for your fingertips. Achieving a professional and long-lasting result, however, depends entirely on the correct application and securing techniques. Without proper attachment and sealing, your beautiful designs can quickly chip, fall off, or lose their lustre. This guide will walk you through the essential steps to master the art of applying and securing nail decorations for a flawless finish.
Preparation: The Foundation for Flawless Nail Art
Before you even think about reaching for the glitter, ensuring your base is perfectly prepared is paramount. A successful decorated manicure starts with a flawlessly applied hybrid base and colour. After applying your chosen colour coats and curing each one according to the product's instructions, you will typically be left with a sticky, or 'dispersion', layer. This tacky surface is not a mistake; it's a key element in hybrid systems that helps subsequent layers adhere properly. For many types of fine decorations, this dispersion layer can act as a natural adhesive, but for others, you will need to cleanse it first.
To Cleanse or Not to Cleanse?
The decision to work on a tacky or a smooth, cleansed surface depends on the type of decoration you are using. Here’s a general rule of thumb:
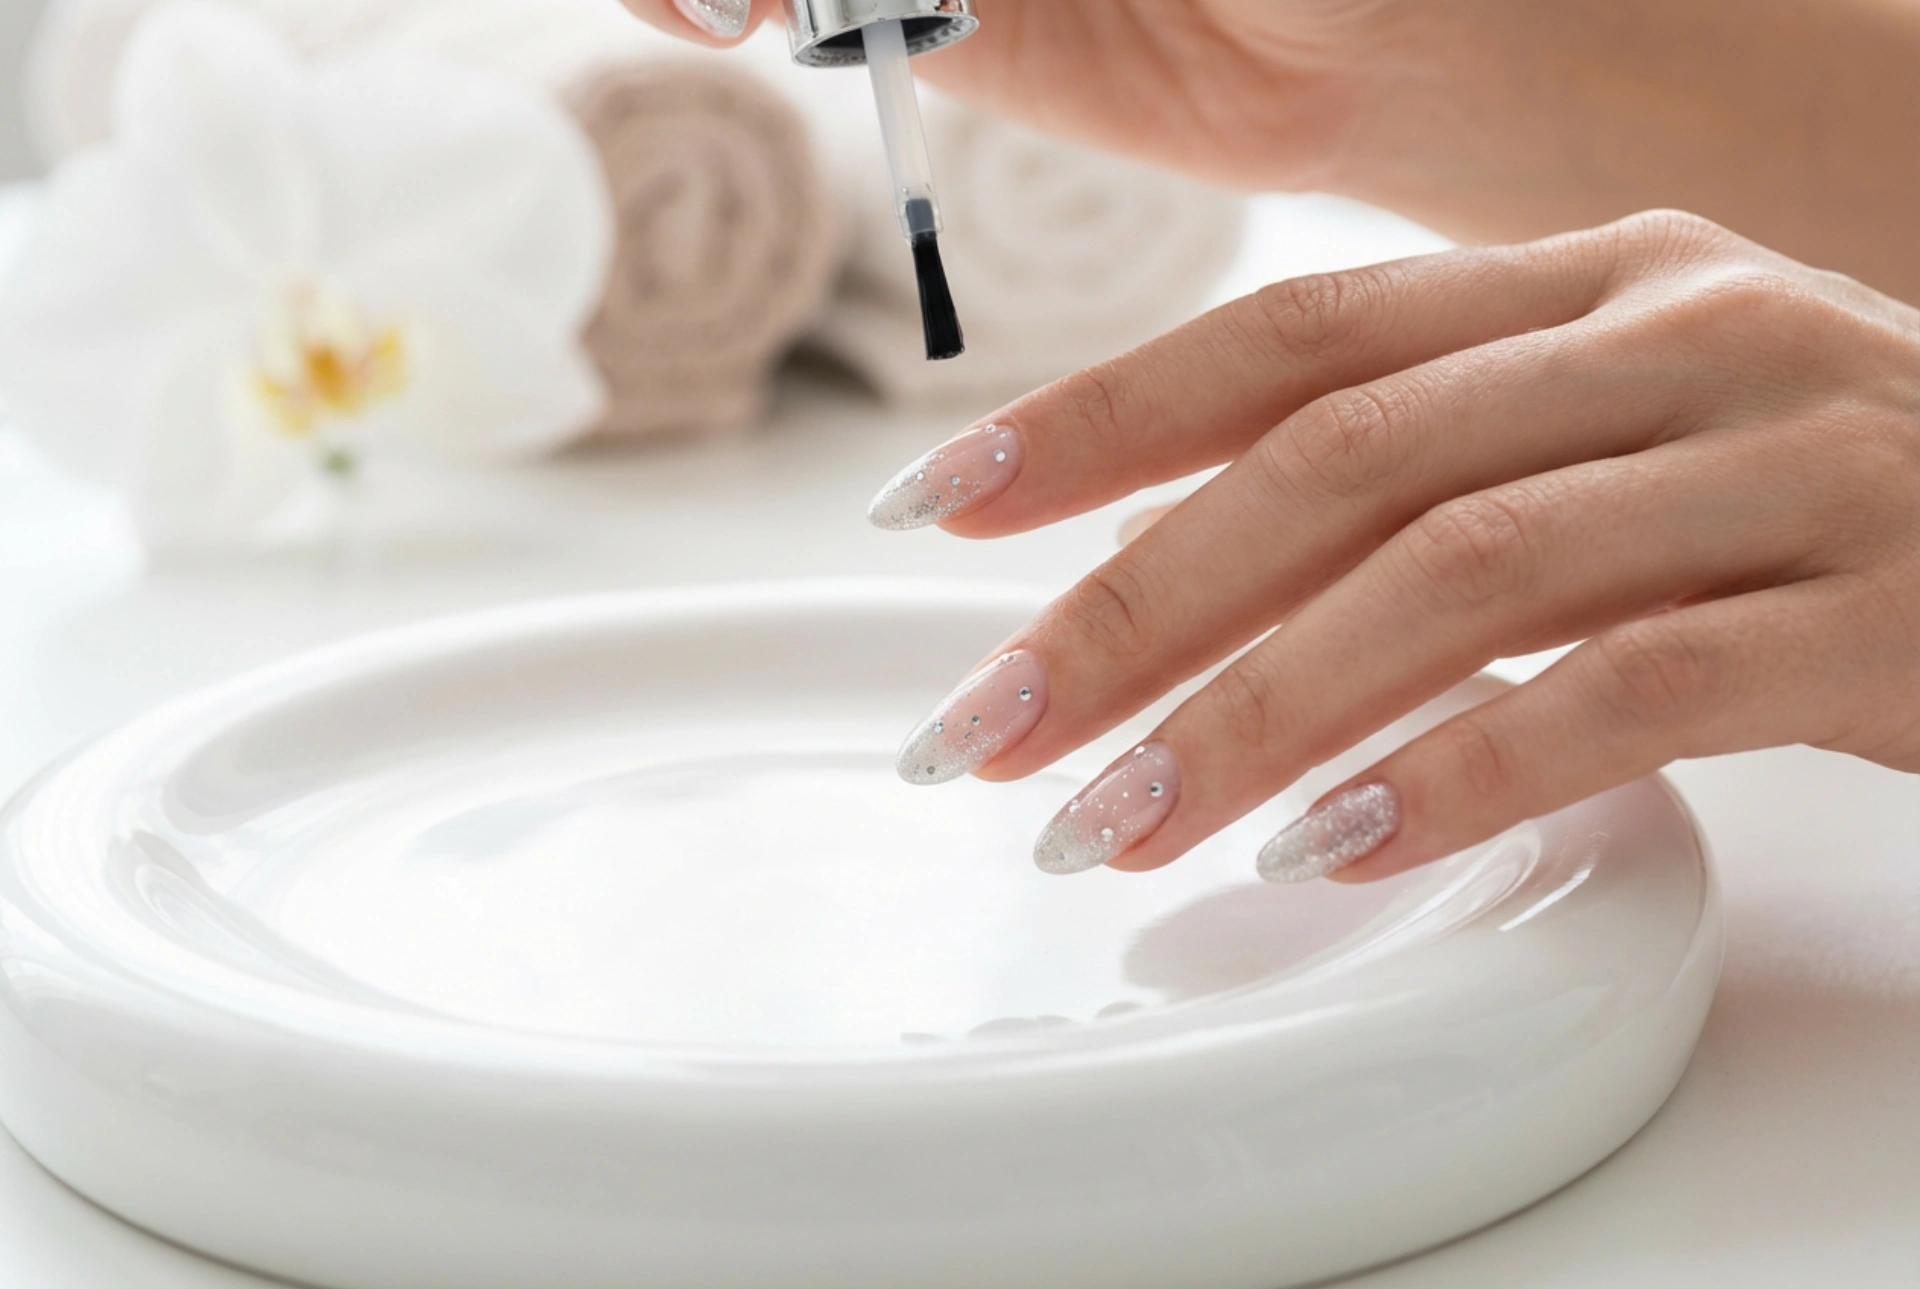
- For loose powders and glitter: The tacky dispersion layer is your best friend. It provides an even, sticky base for the particles to grab onto.
- For stickers and water decals: These require a smooth, dry, and non-tacky surface. Always wipe the cured colour coat with a lint-free wipe soaked in a cleaner before application.
- For 3D embellishments (rhinestones, studs): These require a stronger bonding agent than the dispersion layer can provide, so the surface preparation is part of the application process itself.
Application Techniques for Different Types of Decorations
Different ornaments require different tools and methods for application. Mastering these techniques will ensure your decorations look intentional and stay put. Always work on one nail at a time to prevent smudging or accidentally disturbing other nails.
Fine and Loose Decorations: Glitter, Dusts, and Powders
These are some of the most popular and versatile decorations. To apply, simply sprinkle the glitter or dust over the uncured top coat or the tacky layer of the cured colour coat. You can use a fan brush to dust it on for a subtle effect or a cuticle pusher to gently press it in for more opacity. For chrome or mirror effects, you will need a no-wipe top coat. After curing the colour, apply and cure the no-wipe top, then use a special applicator sponge to firmly rub the powder onto the smooth surface until the mirror effect appears. Gently brush off any excess before sealing.
Flat Decorations: Transfer Foils and Stickers
Transfer foils and stickers offer intricate designs with minimal effort. For transfer foils, you must use a dedicated foil glue. Apply a thin layer of the glue over the cured colour coat and wait for it to become completely transparent and tacky. Then, press the foil (dull side down) firmly onto the nail, rubbing gently to ensure the design transfers. Peel the backing off in a swift motion. For stickers, ensure the nail surface is cleansed and dry. Use tweezers to carefully peel the sticker and place it on the nail. Press it down firmly, paying special attention to the edges to ensure there are no air bubbles and the sticker lies completely flat.
3D Embellishments: Rhinestones, Crystals, and Studs
Due to their weight and dimension, these decorations need a strong adhesive. The tacky layer is not sufficient. You have two main options: a special gem glue or a thick builder gel. Using a dotting tool or a thin brush, apply a small bead of the glue or gel exactly where you want to place the rhinestone. Do not cure it yet. Use a wax-tipped pen or tweezers to pick up the embellishment and gently place it onto the gel. Lightly press it into place. Once you are happy with the positioning, cure the nail under the lamp to fix the decoration in place before moving on to the final sealing step.
The Final Step: Securing Everything with a Top Coat
This is the most critical step for ensuring the longevity of your nail art. An incorrectly applied top coat can either fail to protect the decorations or, in some cases, ruin their appearance. The technique varies based on the type of decoration used.
Sealing Flat and Fine Decorations
For glitter, powders, foils, and stickers, the goal is to fully encapsulate the design. Apply a generous layer of your hybrid top coat, making sure to 'cap' the free edge of the nail. This means running the brush along the very tip of the nail to seal everything in. For glittery or textured surfaces, you may need two layers of top coat to achieve a perfectly smooth finish. Cure each layer fully.
Securing 3D Embellishments
The key to securing rhinestones and crystals is to apply the top coat *around* them, not *over* them. Covering a faceted crystal with a top coat will cause it to lose its intricate cuts and brilliant shine, making it look like a dull blob. Use a fine liner brush to carefully apply the top coat around the base of each rhinestone, creating a secure 'prong' setting just like in jewellery. Ensure the top coat flows into the small gaps between the embellishment and the nail surface. This anchors it securely without sacrificing its sparkle. After applying the top coat around all the decorations, cure the nail one final time.


