


Achieving a durable and glossy manicure that looks professionally done is entirely possible within the comfort of your own home, and surprisingly, without the need for a UV or LED lamp. The trend for at-home beauty rituals has led to the development of innovative nail products that offer a salon-quality finish with simple, air-dried application. If you desire a long-lasting, chip-resistant manicure but prefer to avoid curing lamps, this guide is for you. We will walk you through the process of creating a beautiful manicure using a specially designed kit that doesn't require any special equipment.
Understanding the UV-Free Manicure
A UV-free manicure, often referred to as a long-wear or gel-effect manicure, uses a system of nail polishes that work together to create a finish similar to traditional gel or hybrid manicures. The key lies in the formulation of the products, particularly the top coat. These polishes are designed to harden and become more durable when exposed to natural ambient light, without the need for concentrated UV radiation. This method offers the longevity and high shine of a gel manicure but with the ease of removal of classic nail varnish, making it a gentler option for your nails.
Assembling Your At-Home Manicure Kit
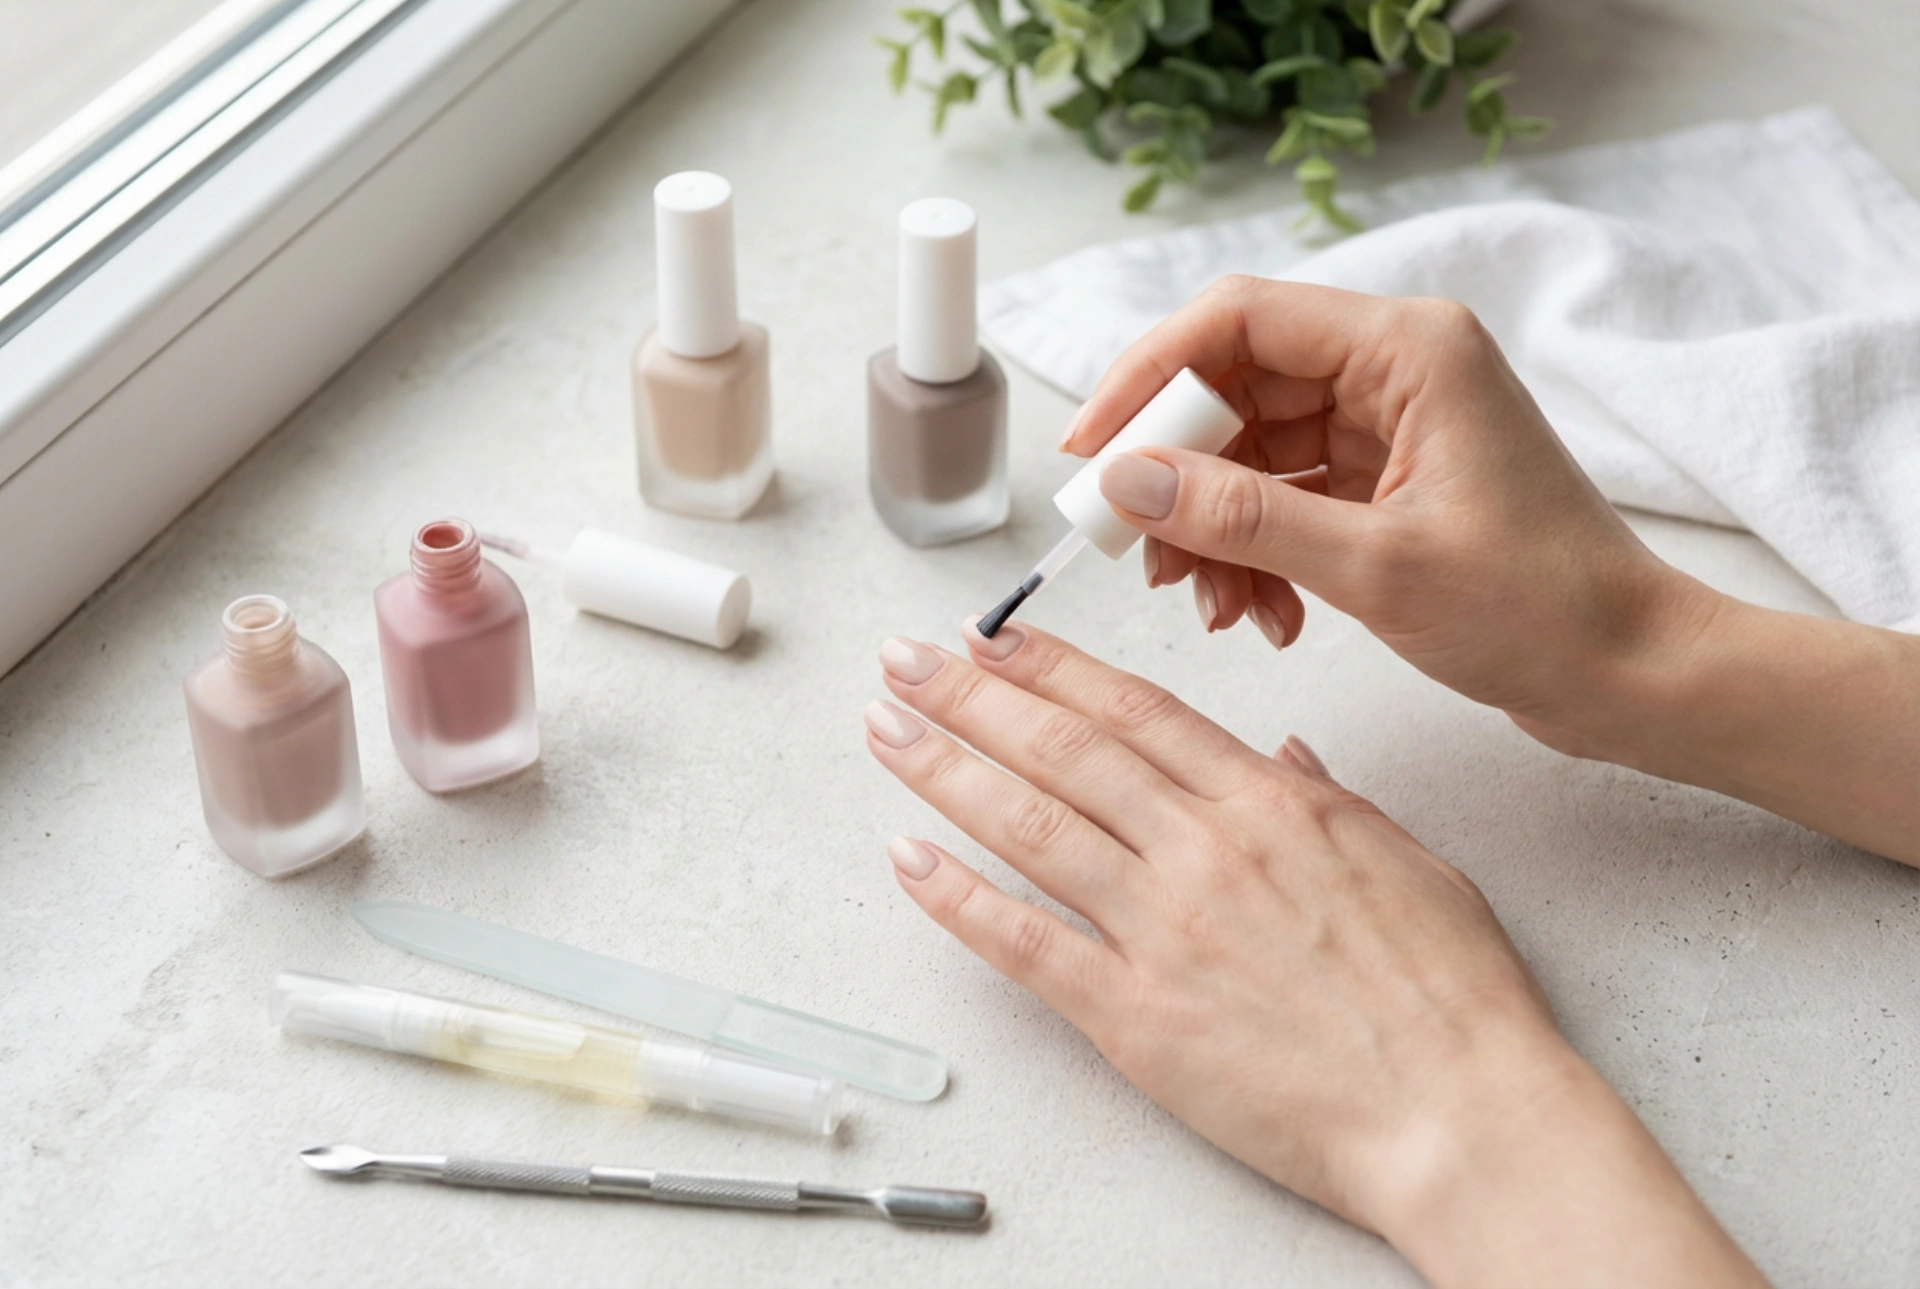
To achieve the best results, it is essential to have the right tools and products on hand. A complete kit ensures a smooth process from preparation to the final glossy finish. You do not need any electronic devices, just a few key items.
Essential Tools
- Nail File: For shaping your nails to your desired length and form. A glass or crystal file is a gentle option.
- Nail Buffer: To gently smooth the surface of the nail plate, creating an ideal canvas for the polish.
- Cuticle Pusher: A wooden or metal tool used to gently push back the cuticles.
- Nail Clippers or Scissors: For trimming nails to the desired length before filing.
- Cotton Pads and Nail Polish Remover: To clean the nails and remove any old varnish. Opt for an acetone-free remover to be kinder to your nails.
Key Products
- Long-Wear Base Coat: This is the foundation of your manicure. It protects the nail from staining and helps the colour polish adhere better.
- Long-Wear Colour Polish: Choose a colour from a specific long-wear system. These polishes are formulated to work in synergy with the base and top coats.
- Long-Wear Top Coat: This is the star of the show. This special top coat reacts with natural light to create a hard, durable, and exceptionally shiny layer that seals in the colour and protects it from chipping.
A Step-by-Step Guide to the Perfect Lamp-Free Manicure
Follow these steps carefully to ensure a flawless and long-lasting result. Patience is key, especially when allowing each layer to dry properly.
Step 1: Prepare Your Nails
Start with a clean canvas. Remove any old polish using a nail polish remover. Wash and dry your hands thoroughly. Trim and file your nails into your preferred shape. Gently push back your cuticles using a cuticle pusher. Finally, lightly buff the surface of your nails to create a smooth base and then wipe them with a cotton pad soaked in remover to eliminate any oils or dust.
Step 2: Apply the Base Coat
Apply one thin, even layer of your long-wear base coat to each nail. This step is crucial as it prevents the colour from staining your natural nail and provides a tacky surface for the colour to grip onto, extending the life of your manicure. Allow it to dry completely for about two minutes.
Step 3: Add Your Chosen Colour
Apply the first thin coat of your chosen colour polish. The key to a professional look is thin layers. A thick layer will take much longer to dry and is more prone to smudging. Let the first coat dry for at least two to three minutes. Once dry, apply a second thin coat to achieve full, opaque coverage. Ensure you seal the free edge of the nail by running the brush along the tip.
Step 4: Seal with a Top Coat
This is the most critical step for achieving that gel-like finish. Apply a generous layer of the special long-wear top coat over the dry colour polish. Make sure to cover the entire nail, including capping the free edge. This top coat will not only provide a brilliant shine but will also cure in natural light over the next few hours, forming a protective, durable shield over your manicure.
Tips for a Longer-Lasting Manicure
To extend the life of your beautiful UV-free manicure, follow a few simple rules. Proper care will keep your nails looking perfect for up to a week or more. Avoid contact with hot water for several hours after application to allow the polish to fully harden. To refresh the shine and add an extra layer of protection, you can re-apply the top coat every two to three days. Additionally, moisturise your cuticles daily with a nourishing oil to keep your nails and the surrounding skin healthy and hydrated.


