


A nail drill, also known as an e-file, can transform your at-home manicure routine, offering a level of precision and efficiency that's hard to achieve with manual files alone. When used correctly, it allows for the swift removal of old gel polish and meticulous preparation of the nail plate for a fresh, flawless application. Understanding the proper techniques is key to harnessing its benefits while ensuring the health and safety of your nails. This guide will walk you through the essential steps for using a nail drill safely and effectively.
Understanding Your Nail Drill and Its Bits
Before you begin, it’s crucial to familiarise yourself with your tool. A nail drill consists of the handpiece and interchangeable heads called 'bits'. These bits come in various shapes, sizes, and materials, each designed for a specific task. For home use, it's best to start with a device that has adjustable speed settings, and always begin on the lowest setting until you feel comfortable.
Common Types of Drill Bits:
- Ceramic Bits: These are excellent for beginners as they generate less heat than other types. They are effective for removing gel polish without being overly aggressive.
- Carbide Bits: Made of a strong metal, these bits can quickly remove product. They often have flute-like cuts. Use these with caution and a very light hand, as they are very efficient.
- Diamond Bits: These are best for delicate work, such as preparing the cuticle area. They file and exfoliate with finer particles and are used for precision rather than bulk removal.
- Sanding Bands: These are single-use paper bands that fit over a mandrel bit. They are gentle and ideal for prepping the natural nail surface or smoothing edges, but should be used at low speeds to avoid heat and friction.
A Step-by-Step Guide to Removing Gel Polish
Safely removing gel polish is one of the primary uses for a nail drill. The goal is to remove the colour and top coat while leaving a thin, protective layer of the base coat on the natural nail. This prevents over-filing and damage.
1. Choose the Right Bit and Speed
Select a medium-grit ceramic or a fine-grit carbide bit for removal. Set your nail drill to a low or medium speed (around 5,000-15,000 RPM, depending on your device). A higher speed can cause heat spikes and remove product too quickly, leading to mistakes.
2. The Removal Technique
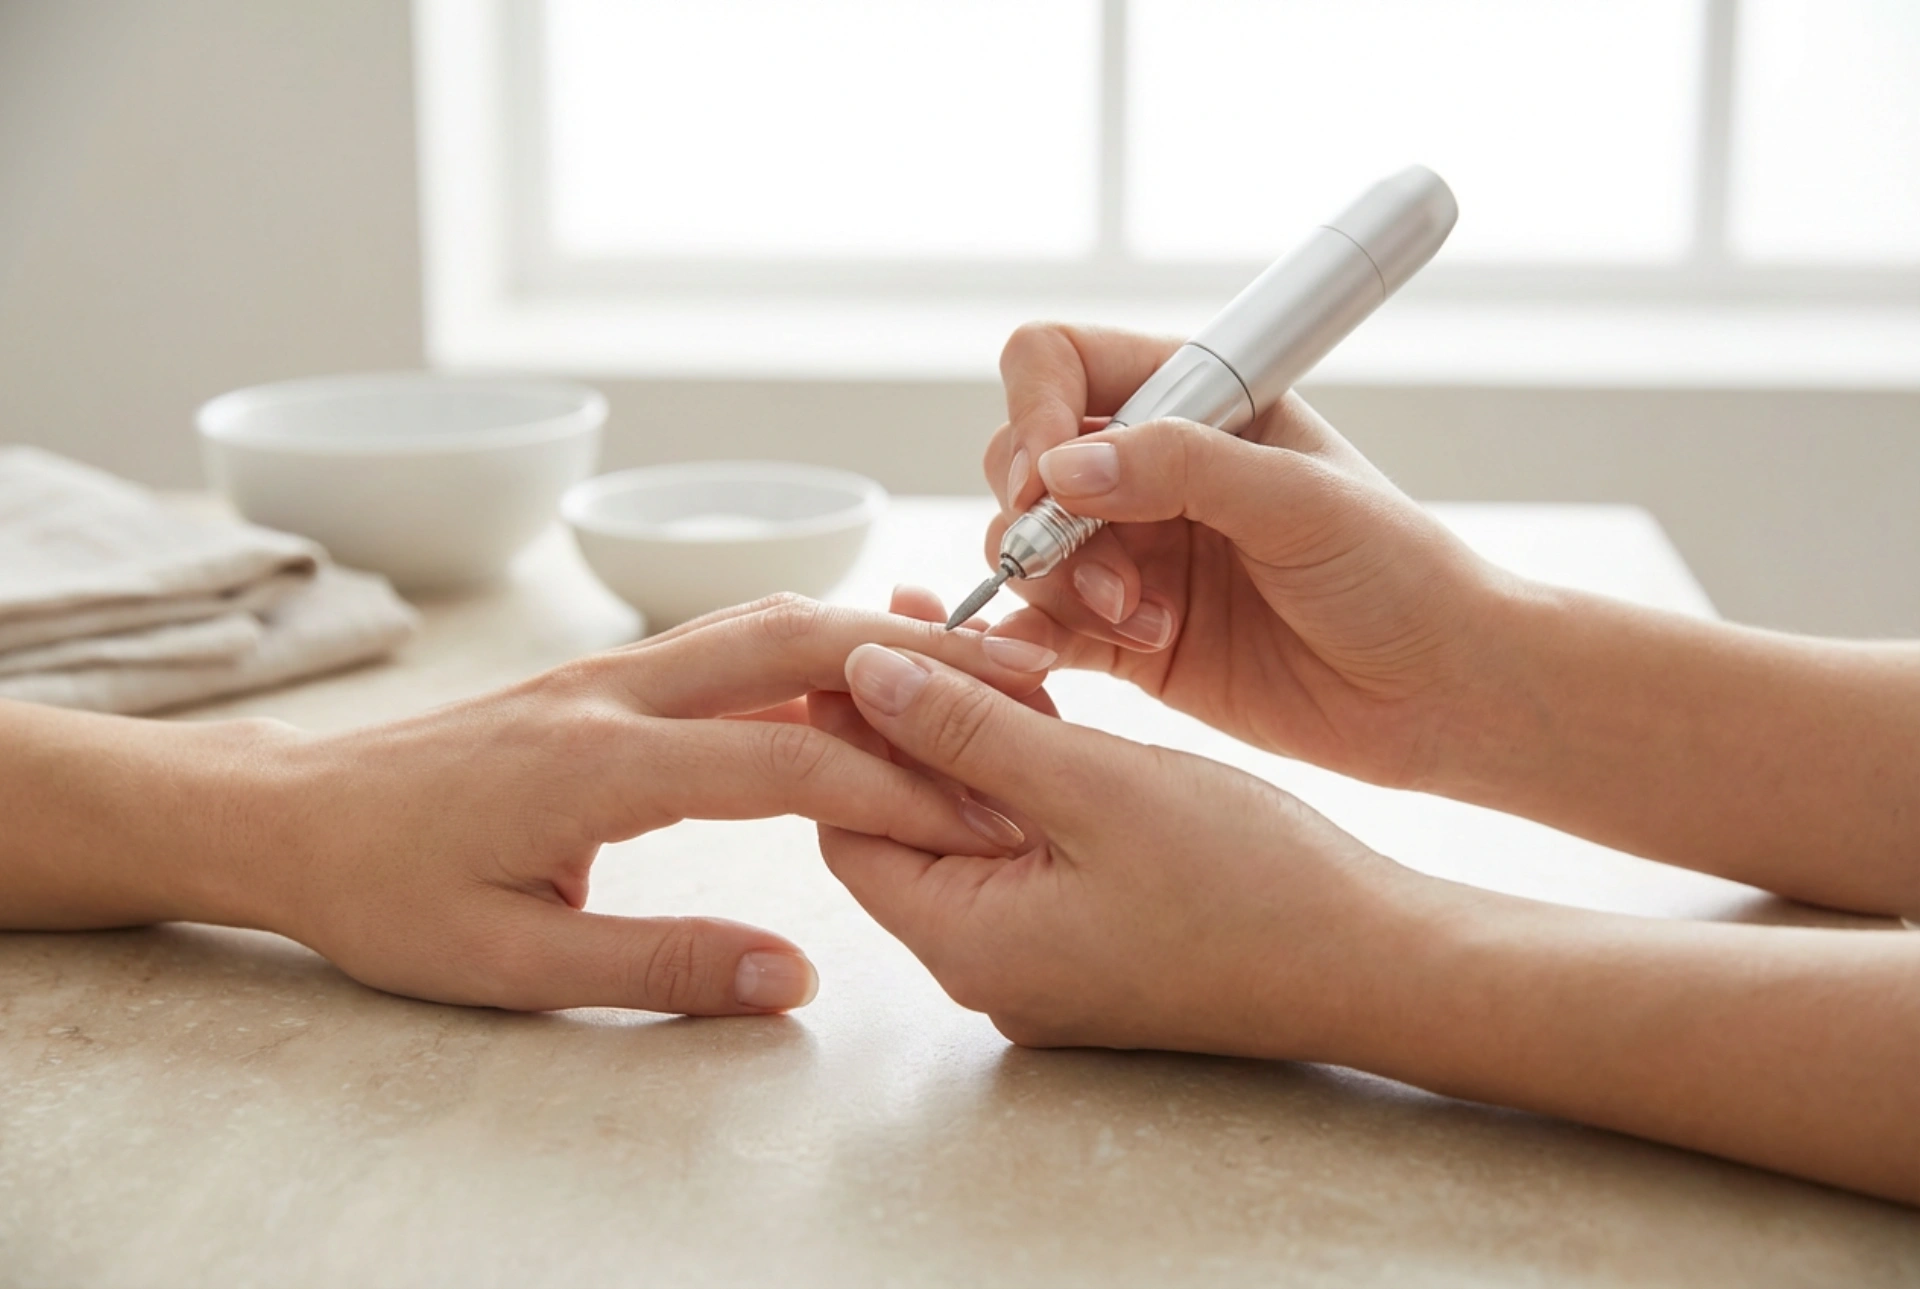
Hold the handpiece like a pencil for maximum control. Rest your hand on a stable surface. Begin filing the surface of the nail, keeping the bit parallel to the nail plate. Use gentle, sweeping motions from side to side or from the cuticle area towards the tip. It is absolutely critical to keep the drill bit in constant motion. Never press down hard or hold the bit in one spot, as this will create friction, heat, and can easily cause dips or damage to the natural nail underneath. Focus on removing the shiny top coat first, then the colour layers. Stop when you see the thin base coat layer remaining.
Preparing the Nail Plate and Cuticles
Once the old polish is removed, you can use the drill for precise nail and cuticle preparation. This creates a clean canvas for your new manicure.
1. Cuticle Work
Switch to a fine-tipped diamond bit, such as a flame or cone shape. Set the drill to its lowest speed. First, gently push back your cuticles with a traditional wooden or metal pusher. Then, using the tip of the diamond bit, carefully trace around the cuticle line. The aim is to lift and remove any non-living tissue (the true cuticle) from the nail plate. Be extremely gentle and avoid touching the living skin (the eponychium) or the nail folds. Let the bit do the work without applying any pressure.
2. Prepping the Nail Surface
If you need to lightly etch the natural nail for better adhesion, you can use a very fine sanding band or a gentle buffer bit on the lowest speed. Lightly pass over the new nail growth and the remaining base coat to remove any shine. The surface should look matte, not scratched. Afterwards, cleanse the nail thoroughly with an alcohol-based solution to remove all dust and oils before applying your new polish.
Essential Safety Rules and Aftercare
Adhering to safety protocols is non-negotiable when using a nail drill. Proper care after the process is equally important to maintain healthy nails and skin.
Key Safety Reminders:
- Always start on the lowest speed setting and increase gradually only if necessary.
- Never apply pressure; let the speed and grit of the bit do the work.
- Keep the handpiece in constant motion to prevent heat and uneven filing.
- Use the correct bit for each specific task. Never use a removal bit for cuticle work.
- Avoid using a drill on nails that are very thin, weak, or damaged.
- Clean and disinfect your reusable bits after every single use to maintain hygiene.
After your manicure is complete, always finish by applying a nourishing cuticle oil to the skin around your nails and a hydrating hand cream. This replenishes moisture lost during the process and keeps your cuticles and skin healthy and soft.


