


Manicured hands are a beautiful expression of personal style, and one of the most eye-catching ways to adorn them is with colourful ombre nails. This technique moves beyond the classic two-tone fade, embracing a vibrant spectrum of shades that blend seamlessly into one another. It's a form of artistry that turns your nails into miniature canvases, perfect for showcasing your creativity. With a few simple tools and a little practice, you can master this stunning look at home.
What Are Colourful Ombre Nails?
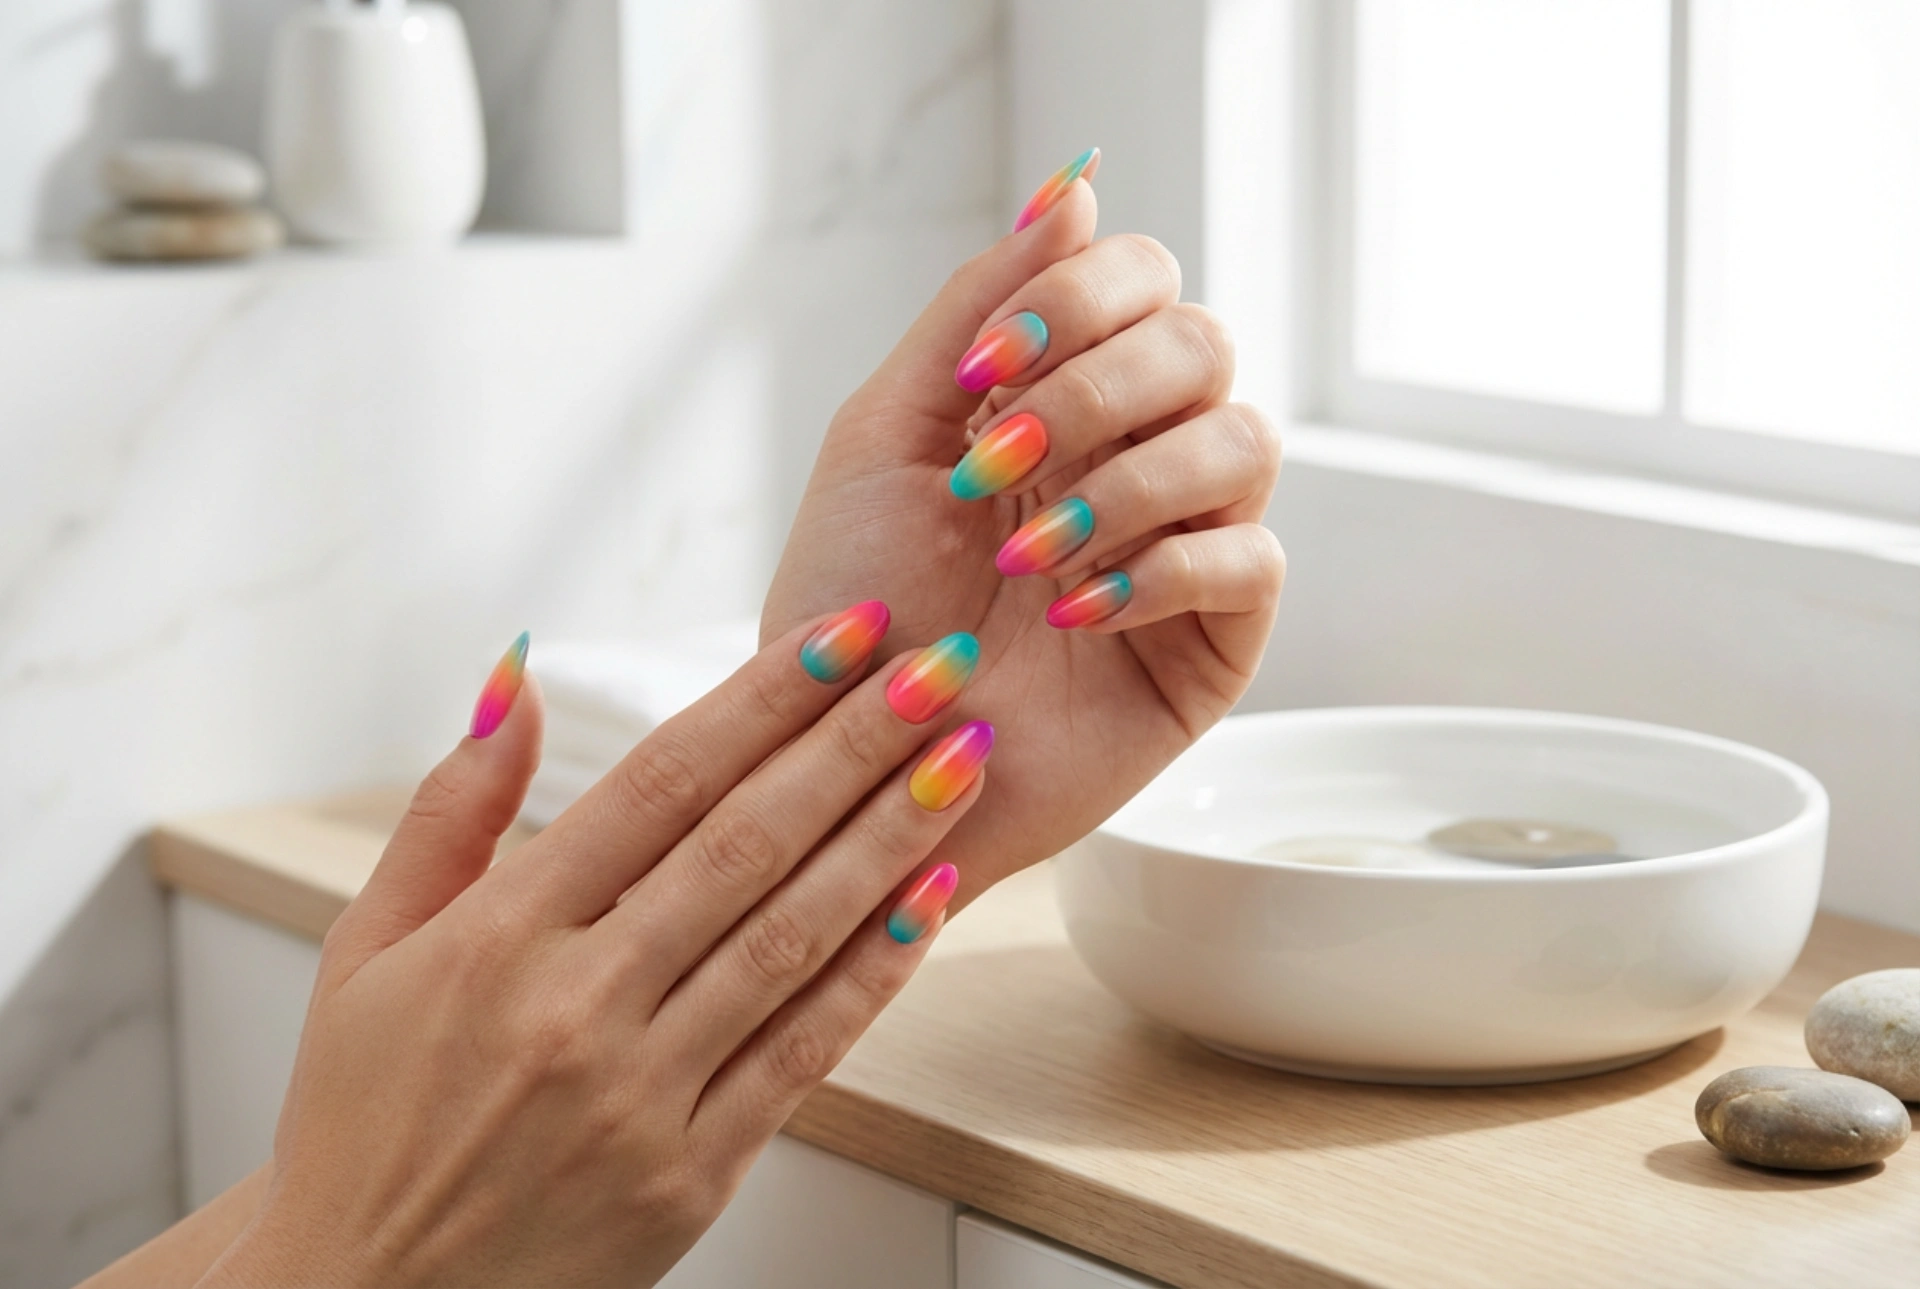
The term 'ombre' comes from the French word for 'shaded'. In nail art, it refers to a gradient effect where colours transition smoothly from one to the other. While traditional ombre often involves a light and dark shade of the same colour, colourful ombre takes it a step further by blending two, three, or even more different hues. The result can range from a soft pastel rainbow to a bold sunset effect, offering endless possibilities for customisation. The key is the flawless transition between shades, creating a single, cohesive design across the nail.
Essential Tools for Your Home Manicure
Before you begin creating your colourful masterpiece, it's important to gather the right tools. Having everything ready will make the process smoother and more enjoyable. You will need:
- A clear base coat to protect your nails.
- A clear, quick-drying top coat to seal the design and add shine.
- Several nail polishes in your chosen colours.
- A light-coloured or white nail polish to use as a base canvas, which helps the ombre colours appear more vibrant.
- A disposable makeup sponge (a dense one works best).
- Liquid latex or sticky tape to protect the skin around your nails.
- A small brush and nail polish remover for clean-up.
Preparing Your Nails and Workspace
Proper preparation is the foundation of a long-lasting manicure. Start by cleaning your nails and removing any old polish. File and shape them to your desired length and form. Gently push back your cuticles. Once your nails are prepped, apply a thin layer of base coat. This not only protects your natural nails from staining but also gives the polish something to adhere to, extending the life of your manicure. It’s also wise to lay down some paper or a mat on your workspace to protect it from polish spills.
Step-by-Step Guide to Creating the Gradient Effect
The sponge technique is the most popular and effective method for creating a beautiful multi-colour ombre at home. Follow these steps for a professional-looking result.
Step 1: Apply Your Base Colour
After your clear base coat has dried completely, apply one or two thin coats of a light, neutral polish, such as white, beige, or a very pale pastel. This will act as a canvas and make the colours of your ombre gradient pop. Let this base colour dry thoroughly before moving on to the next step.
Step 2: Protect Your Skin
This part is crucial for an easy clean-up. Carefully apply liquid latex or small pieces of tape to the skin around your nail, getting as close to the nail edge as possible without covering the nail itself. This will catch any excess polish from the sponge.
Step 3: Create the Gradient on the Sponge
Take your makeup sponge and paint horizontal stripes of your chosen nail polishes directly onto it. The colours should be in the order you want them to appear on your nail. Make sure to slightly overlap the edges of the colour stripes to encourage a smoother blend. Be generous with the polish as the sponge will absorb some of it.
Step 4: Transfer the Gradient to Your Nail
Gently press and roll the polish-laden sponge onto your nail. You can dab it a few times to build up the opacity and blend the colours further. Don't press too hard, as this can smudge the design or lift the base colour. Reapply polish to the sponge for each nail to ensure a vibrant and consistent result.
Step 5: Clean Up and Seal with a Top Coat
While the polish is still slightly damp, carefully peel off the liquid latex or tape. Use a small, flat brush dipped in nail polish remover to tidy up any stray polish on your skin or cuticles. Once the ombre design is completely dry to the touch, apply a generous layer of a glossy top coat. This is a vital step as it will smooth out the slightly bumpy texture left by the sponge and blend the colours even more, leaving you with a seamless, high-shine finish.
Tips for a Perfect Finish
To elevate your colourful ombre nails, keep a few expert tips in mind. Using a slightly damp sponge can help the polishes blend more smoothly. When selecting colours, think about colour theory; shades next to each other on the colour wheel (analogous colours) or shades from a single theme (like a sunset or a mermaid palette) often create the most harmonious look. Patience is your greatest asset – allow each layer to dry sufficiently to prevent smudging and ensure your beautiful manicure lasts.


