


Achieving a polished and elegant manicure at home often begins with paying attention to the details, and neat cuticles are fundamental to a clean nail look. While cutting cuticles can be risky and is often discouraged, a cuticle remover liquid offers a gentle and effective alternative. This specially formulated solution helps to soften and dissolve excess, non-living tissue around the nail plate, making it easy to push back for a perfectly groomed appearance. Understanding how to use it correctly is key to getting the best results without causing irritation.
What is a Cuticle Remover and How Does It Work?
A cuticle remover is a cosmetic product, usually in the form of a liquid or a gel, designed to simplify cuticle care. Its main purpose is to break down the dead skin cells that build up at the base of the nail. The formulas typically contain alkaline ingredients which gently soften this tough, dry skin. When applied, the remover works quickly to make the overgrown cuticle pliable and easy to manage with a pusher. It is important to note that this product is intended for the eponychium—the non-living, transparent tissue that attaches to the nail plate—and not the living skin tissue of the cuticle area itself. This distinction is crucial for safe and effective use.
How to Use Cuticle Remover: A Step-by-Step Guide
Using a cuticle remover is a straightforward process that can be easily incorporated into your regular manicure routine. Following these steps will help you achieve a clean, professional finish safely.
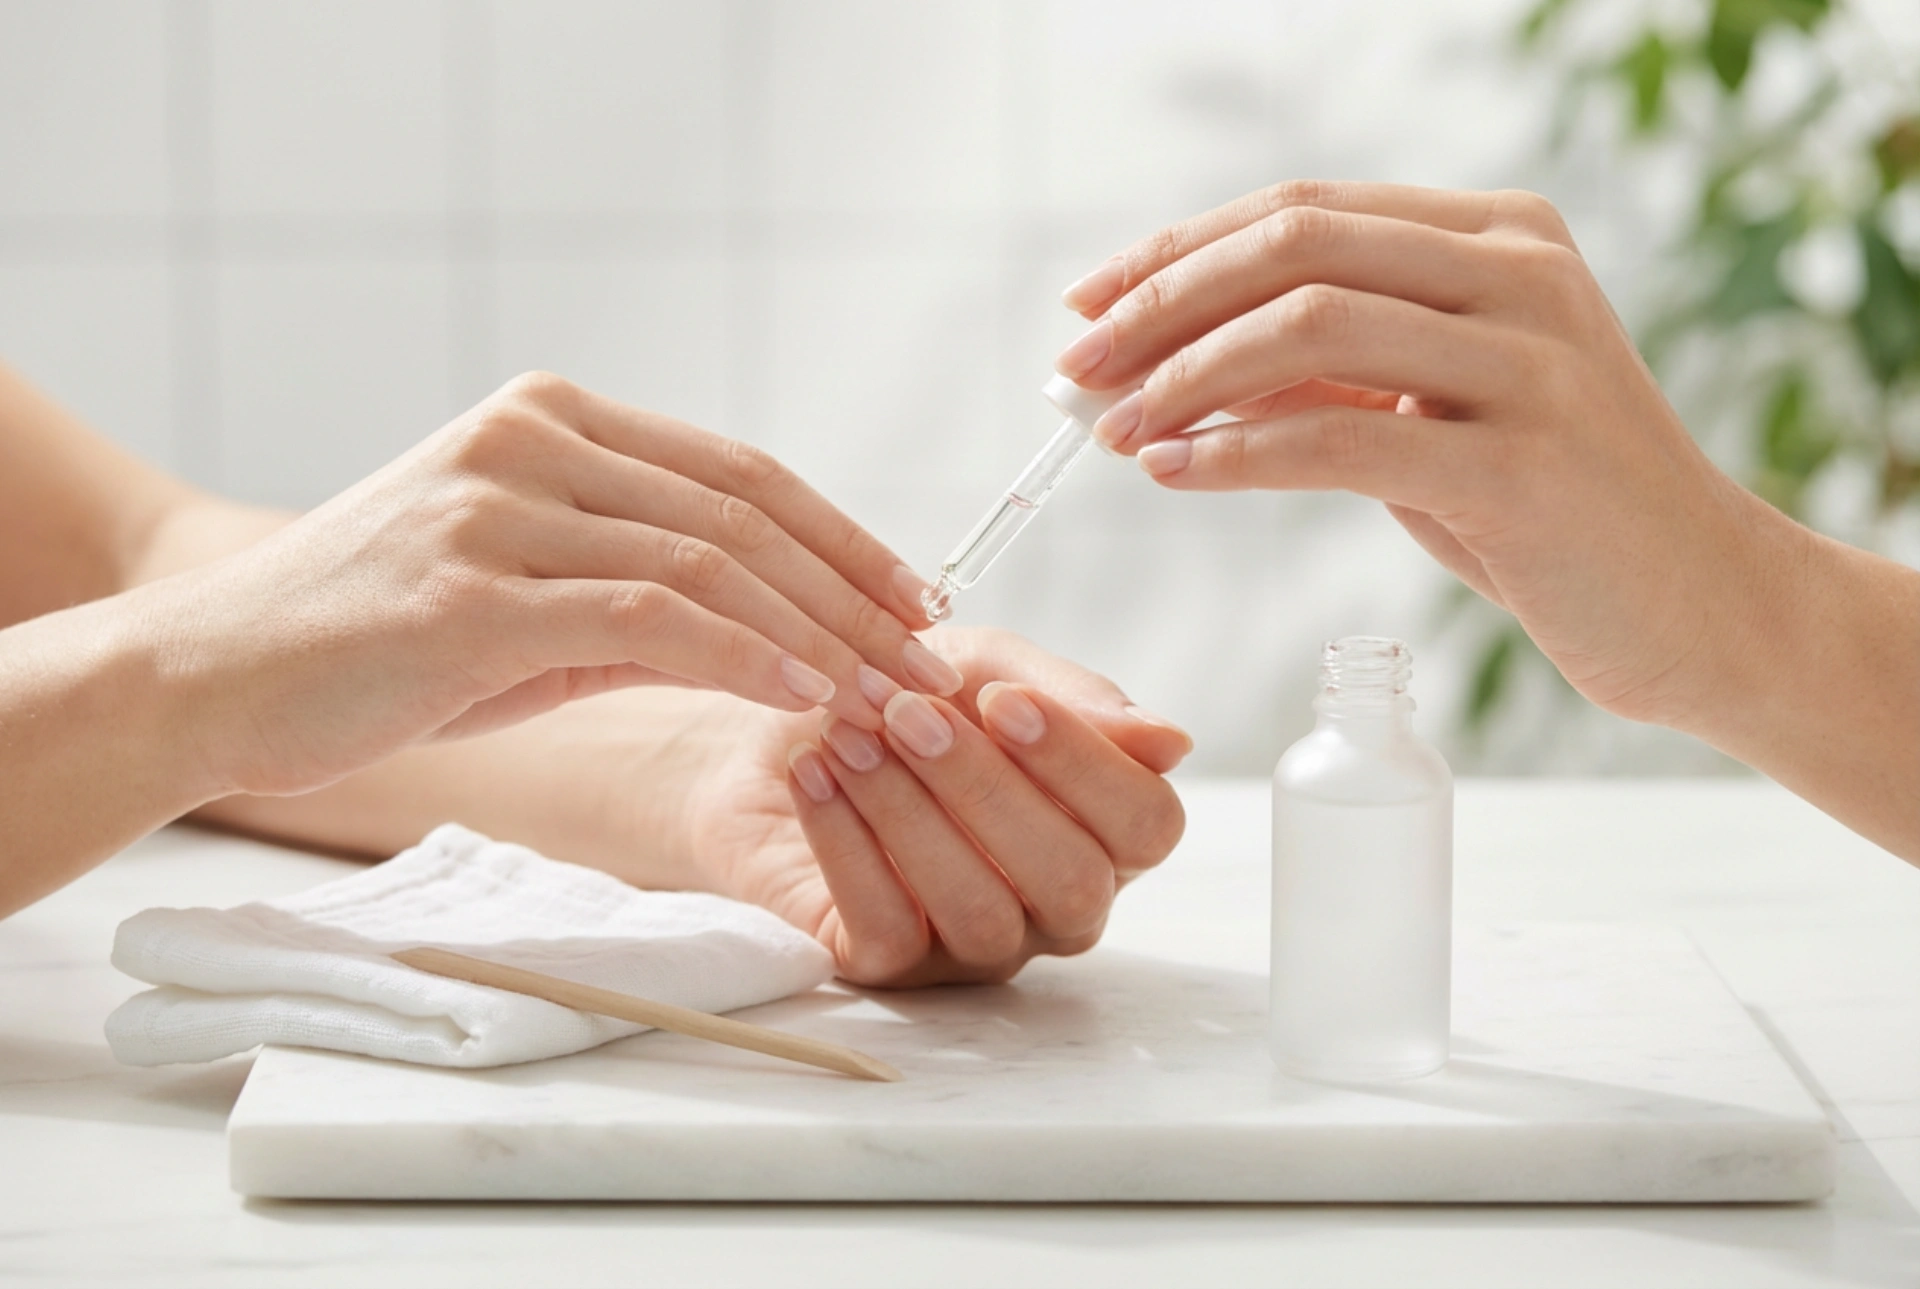
Step 1: Preparation
Before you begin, ensure your hands and nails are clean and free of any nail polish. You can wash your hands with a mild soap and warm water, then pat them dry. Gather your tools: the cuticle remover liquid, a wooden or soft-tipped cuticle pusher, cotton pads, and a small bowl of water or access to a sink.
Step 2: Application
Apply a small, thin line of the cuticle remover directly onto the cuticle area of each nail on one hand. Avoid flooding the nail or letting the product run onto the surrounding skin. Working on one hand at a time prevents the product from staying on any nail for too long.
Step 3: The Waiting Period
This is a critical step. Most cuticle removers work very quickly. Always read the manufacturer's instructions for the recommended time, which is typically between 15 and 60 seconds. Never leave the product on for longer than advised, as this can lead to skin irritation or dryness.
Step 4: Gently Push Back the Cuticles
Once the waiting time is up, take your cuticle pusher. Using the flat or bevelled edge, gently start to push back the softened skin from the nail plate. Use small, circular motions at the base of the nail to help lift the dissolved, dead tissue away. Be gentle and never force the skin back, as this can damage the nail matrix.
Step 5: Clean and Neutralise
After pushing back the cuticles on all five fingers, use a damp cotton pad to wipe away the remover and any loosened skin debris from each nail. It is essential to then wash your hands thoroughly with soap and water. This step neutralises the active ingredients in the remover, stopping its chemical action and preventing potential irritation.
Step 6: Moisturise
The final step is to replenish moisture. After washing and drying your hands, apply a nourishing cuticle oil or a rich hand cream to the entire nail area. Massage it in to hydrate the skin and keep your cuticles soft and healthy.
Common Mistakes to Avoid
To ensure your cuticle care is beneficial and not harmful, be mindful of these common errors:
- Leaving the product on for too long: This is the most frequent mistake. Exceeding the recommended time can dry out or irritate the delicate skin around your nails.
- Applying to broken or sensitive skin: Never use cuticle remover on cuts, hangnails, or irritated skin, as it can cause stinging and further inflammation.
- Cutting cuticles after using a remover: The purpose of the liquid is to eliminate the need for cutting. Softening the tissue is sufficient for it to be pushed back or gently wiped away. Cutting can create entry points for unwanted particles.
- Using it too frequently: Overuse can strip the natural oils from your skin. For most people, using a cuticle remover once a week or every two weeks is more than enough to maintain a neat appearance.
- Skipping the final wash: Failing to wash your hands with soap and water afterwards means the alkaline formula may remain on your skin, continuing to work and potentially causing dryness and irritation over time.
The Benefits of a Gentle Approach
Incorporating a cuticle remover liquid into your routine provides several advantages. It is a much gentler alternative to trimming, which reduces the risk of damaging the protective barrier of the nail. It helps create a clean, larger-looking nail surface, which allows for a more even and longer-lasting nail polish application. Above all, it is a quick and simple method for achieving a well-groomed, salon-quality look from the comfort of your own home, promoting healthier-looking nails over time.


