


The French manicure is the epitome of elegance and sophistication, a timeless classic that never goes out of style. Its clean, polished look, featuring a natural-toned base and a crisp white tip, complements any outfit or occasion. While it may seem like a style best left to professionals, achieving a flawless French manicure at home is entirely possible with the right techniques and a little patience. The key to a professional-looking result lies in mastering the 'smile line' – that perfectly curved white arc at the tip of the nail. This guide will walk you through the steps to create a beautiful French manicure, focusing on different methods to paint that elusive perfect line.
Essential Preparation for a Flawless Manicure
Before you even think about polish, proper preparation is crucial for a long-lasting and neat finish. A good foundation ensures your manicure looks its best and endures for longer. Start by removing any old polish completely. Wash and dry your hands thoroughly. Next, shape your nails with a file. Square, squoval, or almond shapes all work beautifully with a French manicure, so choose the one you prefer. Gently push back your cuticles using a wooden or rubber cuticle pusher; avoid cutting them to prevent potential issues. Finally, lightly buff the surface of your nails to create a smooth canvas and wipe them with a nail polish remover-soaked pad to eliminate any oils or dust. This last step is vital for polish adhesion.
Building the Foundation: Base Coat and Colour
Once your nails are prepped, the first layer is a quality base coat. This not only protects your natural nails from staining but also helps the polish adhere better, extending the life of your manicure. Apply one thin, even layer to each nail and allow it to dry completely. Following the base coat, it's time for the signature translucent colour of the French manicure. Choose a sheer polish in a shade of pale pink, nude, or beige that complements your skin tone. Apply one or two thin coats, depending on the opacity you desire. The goal is to create a healthy, natural-looking tint that still allows the natural white of your nail tip to be slightly visible. Let these layers dry thoroughly before moving on to the main event: the smile line.
Mastering the Smile Line: Three Techniques
This is often the most challenging part, but with the right method, you can achieve a clean, even curve. There isn't one single 'correct' way, so experiment to find what works best for you.
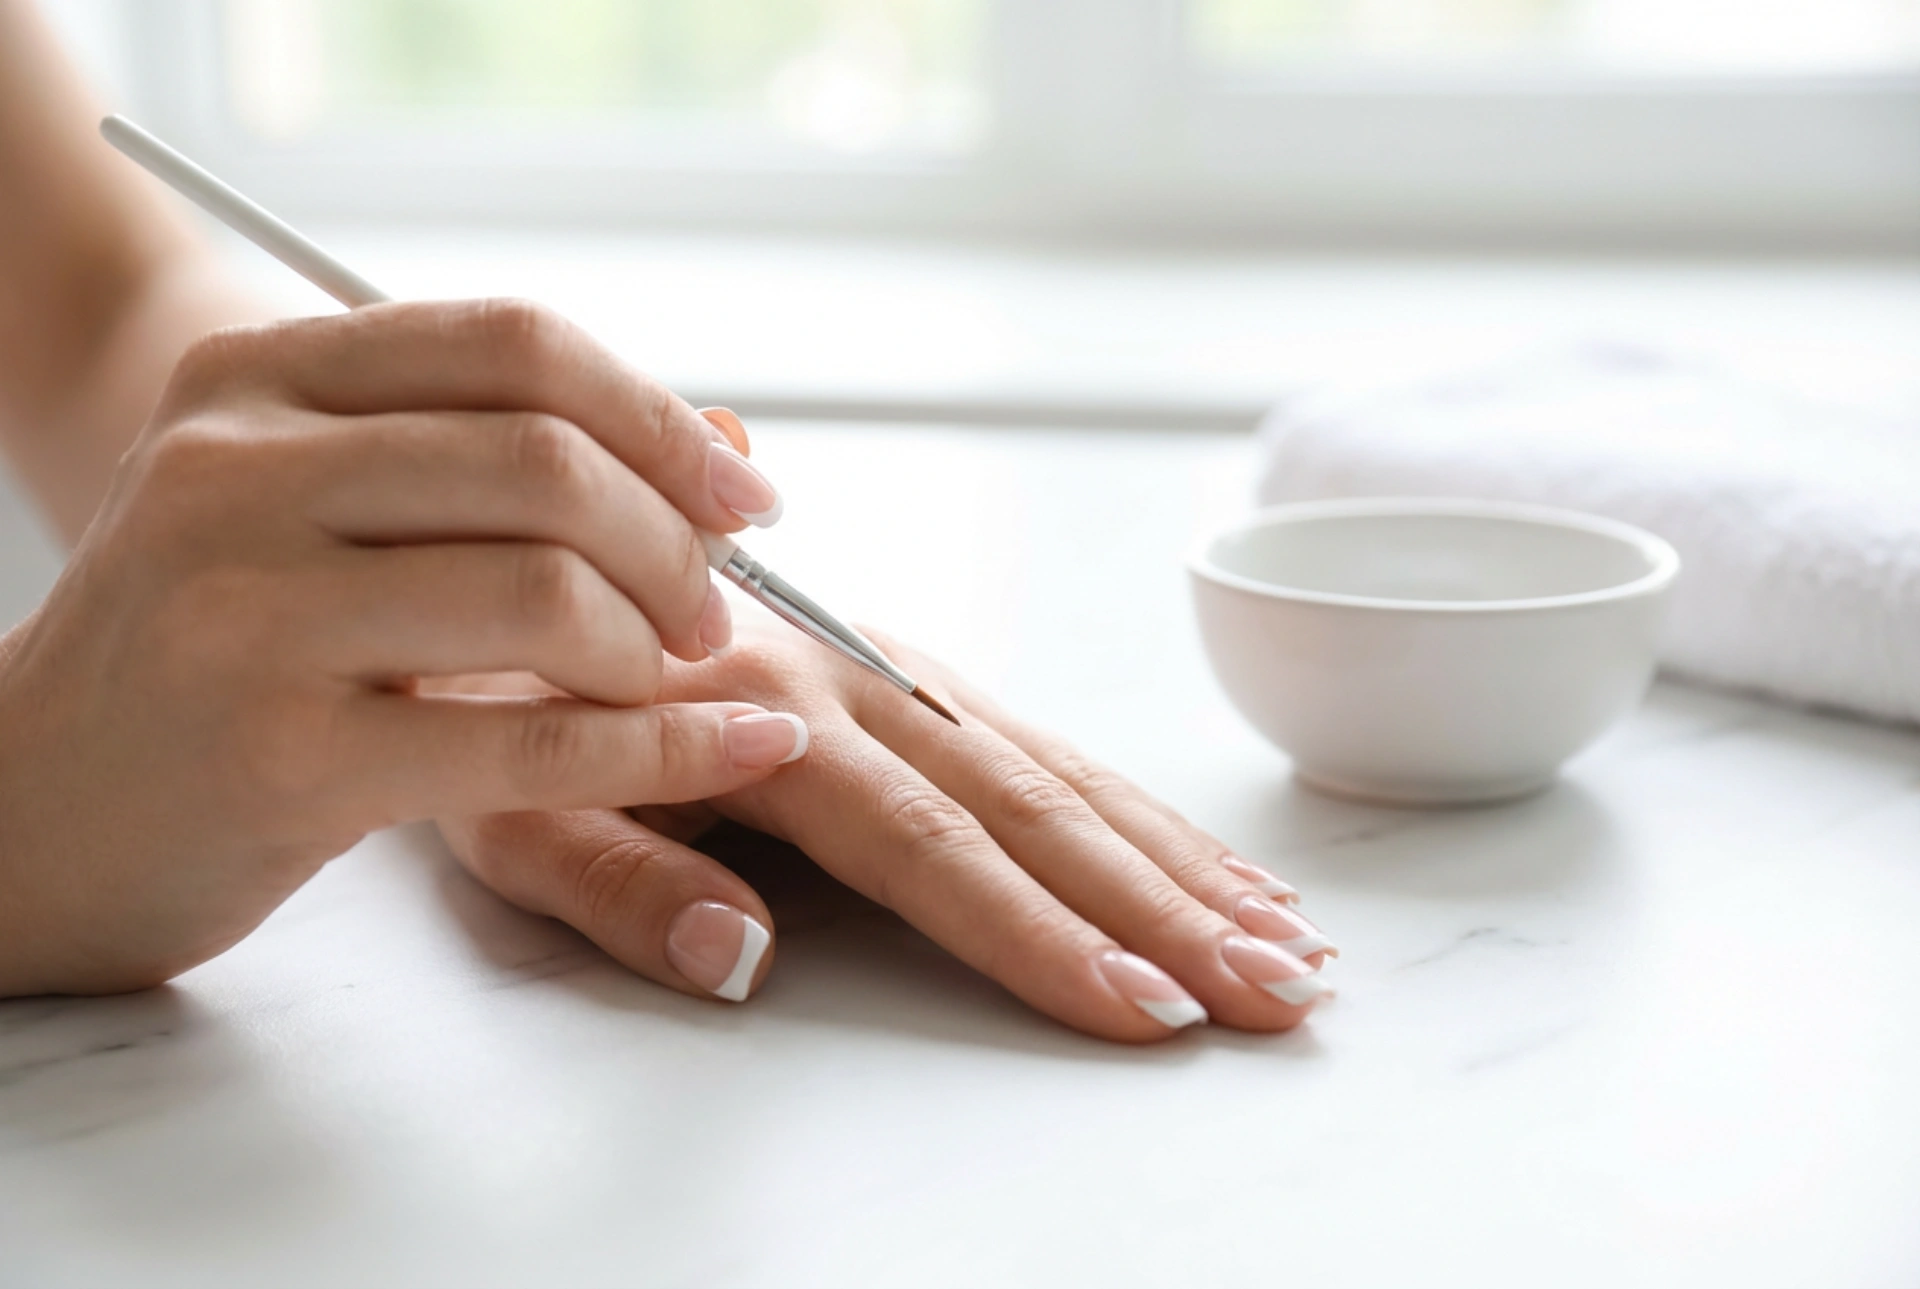
1. The Freehand Method
For those with a steady hand, painting the tip freehand offers the most control and a truly customised look. Use a very thin nail art brush or the brush from the white polish bottle, wiped to remove excess. To steady your hand, rest your elbow on a table and anchor the pinky of your painting hand on the table or against your other hand. Start by painting a thin line across the tip of the nail. Then, create the curve by painting two arcs from each side of the nail, meeting in the middle. Alternatively, you can paint the curve in one fluid motion from one side to the other. Don't worry about perfection on the first try; you can always clean up a slightly wobbly line later.
2. Using Manicure Guides
If you're a beginner or struggle with a steady hand, manicure guide strips are your best friend. These are small, curved stickers that you place on your nail to section off the tip. Ensure your base colour is completely dry before applying them. Press the guide firmly onto the nail, just below the free edge where you want the white tip to start. Paint the tip with your white polish, applying it over the sticker's edge. You can apply a second coat if needed. The crucial step is to remove the sticker while the white polish is still wet to ensure a crisp, clean line. Pull it off gently and slowly.
3. The Silicone Stamper Technique
A popular modern hack involves a clear silicone nail stamper. Paint a small amount of white polish directly onto the stamper's surface. Then, gently and slowly press the tip of your nail into the polish on the stamper at a 45-degree angle. The soft silicone will curve around your nail tip, transferring the polish in a perfect smile line. The depth to which you press your nail will determine the thickness of the white tip. This method is surprisingly easy and delivers consistent results.
Finishing Touches for a Salon-Quality Look
After your white tips are complete and dry, it's time for the final steps that seal in your hard work. If you have any smudges or uneven edges, dip a small, clean brush (an angled eyeliner brush or a lip brush works well) in nail polish remover and carefully neaten the smile line. Be precise to avoid removing too much polish. Once you are happy with the result and everything is dry, apply a high-quality top coat. This will add a beautiful shine, smooth out any minor imperfections, and protect your manicure from chipping, ensuring your elegant French nails look perfect for days to come.


