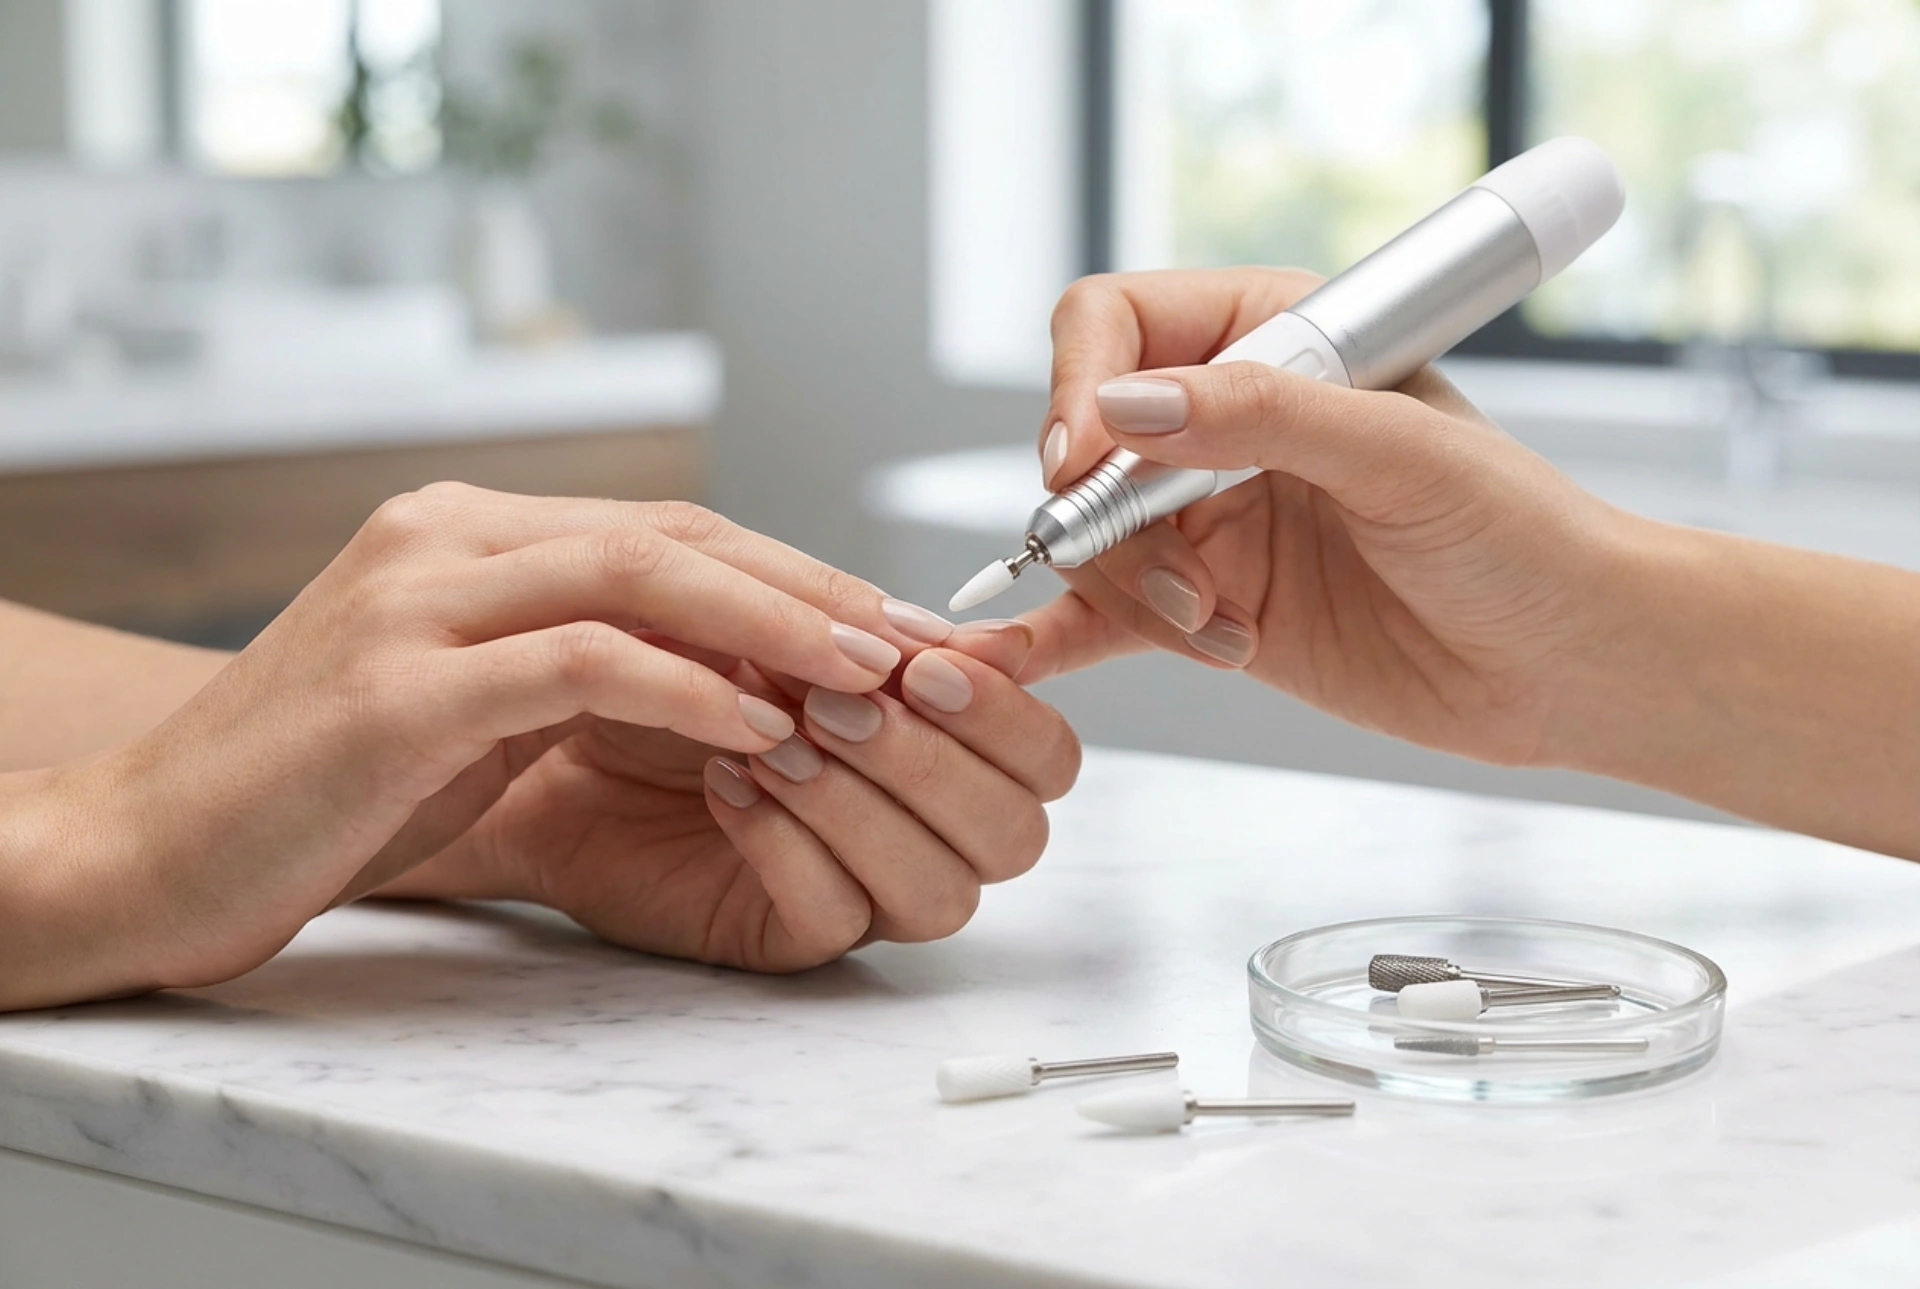


An electric nail drill, or e-file, can be a transformative tool in your home manicure kit, helping you achieve a smooth, professional-looking finish with greater ease and precision. The image of elegant hands using a sleek device captures the essence of a refined at-home beauty ritual. However, wielding this powerful tool requires knowledge and care to ensure the safety and health of your nails. Understanding its components, functions, and proper techniques is the first step towards mastering its use for flawless results every time.
Getting to Know Your Nail Drill
Before you begin, it's essential to familiarise yourself with the main parts of your nail drill. A typical device consists of a main body, which houses the motor and controls, and a handpiece, which you hold to work on your nails. The speed control, usually a dial or button, allows you to adjust the rotations per minute (RPM). It's crucial to always start at the lowest speed and increase it only as you become more comfortable. Many drills also feature a forward and reverse switch. The forward direction is standard for most work, while the reverse setting can be useful for working on the other hand or for specific angles, ensuring you are always working in a comfortable and controlled manner.
The Heart of the Matter: The Bits
The attachments that do the actual work are called bits or burs. They come in various materials, shapes, and grits, each designed for a specific task. They are inserted into the end of the handpiece and locked into place. Choosing the right bit for the job is not just about efficiency; it's a critical safety measure to prevent damage to the natural nail plate and surrounding skin.
A Guide to Common Nail Drill Bits
The variety of available bits can seem daunting, but understanding the purpose of the most common types will give you a solid foundation. It's best to have a small selection of basic bits to cover different stages of your manicure.
- Mandrels and Sanding Bands: A mandrel is a metal or rubber bit that holds a disposable sanding band. These are very versatile. Coarser grit bands are used for shortening the length of nail enhancements or removing gels, while finer grit bands are perfect for gently prepping the natural nail surface or smoothing edges.
- Barrel Bits: These cylindrical bits, often made from carbide or ceramic, are excellent for surface work, shaping, and shortening thicker artificial nails. They remove product quickly, so they should be used with a very light hand and kept constantly moving.
- Cone-Shaped Bits: With their tapered shape, these bits are ideal for more detailed work. They are used to clean the cuticle area, the sidewalls, and underneath the free edge of the nail. They allow for precision without touching the surrounding skin.
- Ball-Tipped Bits: As the name suggests, these have a small ball at the tip. They are used for gently cleaning up dry skin around the cuticle area, providing a very neat and tidy appearance. Use them at a very low speed.
- Flame or Needle Bits: These are very fine, slender bits used for intricate work, such as lifting the eponychium (the living skin at the base of the nail plate), cleaning tight corners along the sidewalls, or creating a clean line around the cuticle.
Safe and Effective Use: A Step-by-Step Approach
Safety should always be your top priority. With the right technique, you can avoid heat spikes, thinning of the nail plate, and damage to the cuticles. Practice on a nail tip or a practice hand before moving to your own nails.
Preparation is Key
Always start with clean, dry hands and nails. Select the bit you need for your first step and securely insert it into the handpiece while the device is turned off. Set the drill to its lowest speed and ensure it is rotating in the correct direction for the hand you are working on. Hold the handpiece like a pencil for maximum control, resting your hand or pinky finger on your other hand for stability.
Mastering the Technique
The golden rule of using a nail drill is to keep it moving. Never rest the bit in one spot, as this will generate friction and heat, which can be painful and damaging. Use a light, gentle touch and let the speed of the bit do the work. Pressing too hard will not only create more heat but can also lead to gouging the nail. Work across the nail in one direction, lifting the bit off the nail at the end of each pass. When working near the cuticle area, be exceptionally cautious. Angle the bit so that it lies flat against the nail surface rather than pointing down into it to prevent creating a 'ring of fire'—a visible and painful groove on the nail plate.
Changing Bits and Maintaining Your Device
Proper maintenance ensures your nail drill performs well for years to come and, more importantly, remains hygienic.
How to Change Bits Safely
Always switch off and unplug your nail drill before changing a bit. Most modern drills have a simple twist-lock mechanism on the handpiece. You twist it one way to unlock, remove the current bit, insert the new one, and twist it back to lock it securely. Other models might have a push-button release. Whatever the mechanism, always ensure the new bit is fully inserted and firmly in place before turning the device on.
Cleaning and Storing Your Tools
After every use, remove the bit and use a small, stiff brush to clean away any nail dust. The bits should then be disinfected according to the manufacturer's instructions, which typically involves soaking them in a suitable cosmetic tool disinfectant. Wipe the handpiece and the main unit with a soft, dry cloth. Never submerge the handpiece or the main unit in water. Store your drill and its bits in a clean, dry case, protected from dust and moisture, to keep them in perfect working condition for your next at-home manicure session.


