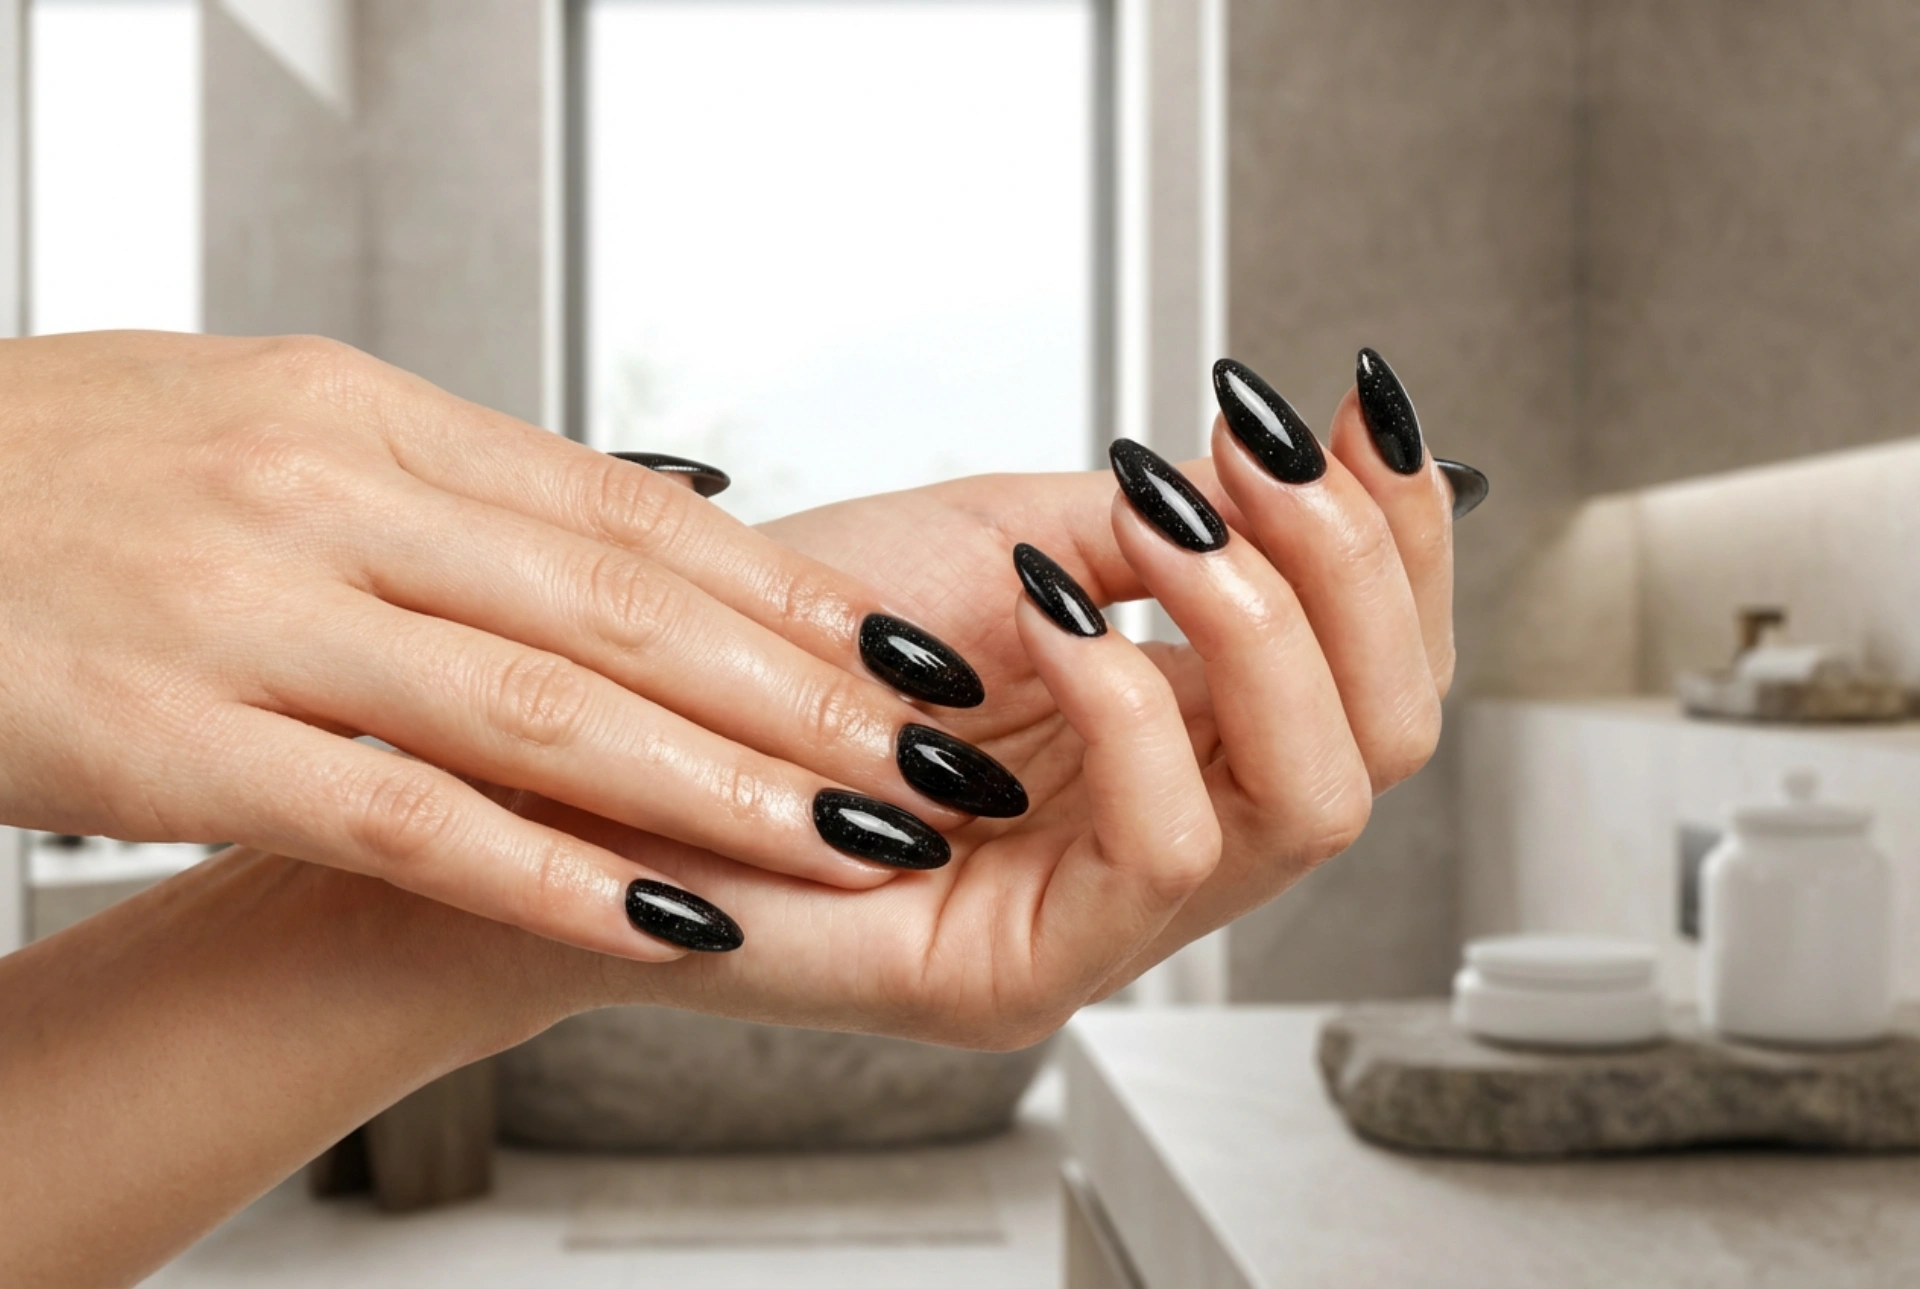


A manicure featuring black polish exudes timeless elegance and sophistication. When infused with fine sparkles, it takes on a new dimension of glamour, catching the light with every movement. However, the challenge with glitter polishes often lies in achieving a perfectly smooth, high-gloss surface instead of a rough, gritty texture. With the right preparation and application techniques, you can create a flawless, salon-quality finish at home that feels as smooth as it looks.
Preparing Your Nails for a Flawless Finish
The secret to any long-lasting and smooth manicure begins well before the polish is opened. Proper nail preparation creates the ideal canvas for colour application. Start by gently cleaning your nails to remove any oils or residue. Shape them with a nail file, moving in one direction to prevent splitting. Afterwards, lightly buff the surface of your nails with a soft buffer. This simple step smooths out any minor ridges and creates a slightly porous surface for the base coat to adhere to, ensuring a more even application of the polish.
The Importance of Cuticle Care
For a truly polished look, pay attention to your cuticles. Instead of cutting them, which can lead to damage, apply a cuticle softener and gently push them back with a wooden or rubber-tipped cuticle pusher. Well-maintained cuticles frame the nail beautifully and contribute to the overall neat appearance of your manicure. Once your nails are shaped, buffed, and your cuticles are tidy, wipe them clean to ensure they are free from any dust or oils before you begin polishing.
The Art of Applying Glitter Polish
Applying glitter polish requires a slightly different approach than a standard creme polish. The goal is to build up the colour and glitter density without creating a thick, lumpy layer. The key is to work in thin, controlled coats.
Always Start with a Base Coat
Never skip the base coat. It serves multiple purposes: it protects your natural nails from staining, provides a smooth foundation for the polish, and helps your manicure last longer. Apply one thin layer of a quality base coat and allow it to dry completely before you proceed with the black glitter polish. This creates a barrier and an even starting point for your colour.
Technique for Even Coverage
When applying the black glitter polish, shake the bottle well to distribute the glitter particles evenly. Apply the first coat in a thin layer using the three-stroke method: one stroke down the centre of the nail, followed by one on each side. Don't worry if the first coat looks sheer or patchy; the goal is to create a foundation. Allow it to dry for at least two to three minutes. For the second coat, you can either apply another thin layer or use a dabbing motion in areas where you want more glitter density. This technique helps place the glitter without dragging the polish. Let the second coat dry thoroughly before moving to the final step.
Achieving a Glass-Like Shine with a Top Coat
The top coat is the most crucial element for transforming a textured glitter manicure into a smooth, glossy masterpiece. Glitter particles create an uneven surface, which requires a specific type of top coat and application to smooth over.
Choosing and Applying Your Top Coat
Opt for a quick-dry, high-shine top coat, often labelled as 'gel-like' or 'plumping'. These are typically thicker in consistency and are excellent at filling in the texture left by the glitter. Apply a generous layer of the top coat, 'floating' the brush over the nail. This means using a light touch so the brush bristles don't drag on the coloured polish underneath. Let this first layer dry. For an ultra-smooth, glass-like finish, apply a second layer of the top coat. This will completely encase the glitter particles, resulting in a perfectly smooth and highly reflective surface that enhances the sparkle.
Maintenance and Gentle Removal
Once you've achieved your perfect sparkly black manicure, you'll want it to last. A few simple habits can extend its life. To maintain that high shine, you can reapply a thin layer of top coat every two to three days. When doing household chores, wearing gloves provides the best protection against chipping and dulling. When it's time for a change, remember that glitter polish can be stubborn to remove. The best method is to soak a small piece of a cotton pad in nail polish remover, place it on the nail, and wrap your fingertip in a small piece of aluminium foil. Let it sit for about five to ten minutes. After soaking, the polish should slide off easily with the cotton pad, preventing the need for harsh scrubbing that can damage your nails.


