


Creating a flawless and long-lasting eye makeup look begins long before you pick up an eyeshadow palette or concealer. The secret often lies in proper preparation, and a dedicated eye primer is the cornerstone of that process. By creating a perfectly smooth and receptive canvas on the delicate skin around the eyes, a primer ensures that your subsequent makeup products perform their best, looking fresh and vibrant from morning until night.
What Is an Eye Primer and Why Is It Essential?
An eye primer is a specialised cosmetic product designed to be applied to the eyelids and, in some cases, the under-eye area before makeup. Unlike a general face primer, its formula is specifically tailored to the unique challenges of this delicate skin. Eyelids can be naturally oily, leading to creasing and fading eyeshadow, while the under-eye area is prone to dryness and fine lines, which can cause concealer to settle and look cakey. An eye primer addresses these issues by creating a thin, uniform barrier between your skin and your makeup. Its primary functions are to enhance makeup longevity, prevent creasing, intensify colour payoff, and create a smooth surface for application.
Benefits for Eyelids
When applied to the eyelids, a primer acts as a grip for eyeshadow. It absorbs excess oil, preventing the pigments from breaking down and collecting in the crease of the lid. This results in eyeshadow that stays true to its colour and remains perfectly blended for hours. Some primers are even tinted to help neutralise any discolouration on the lids, such as redness or visible veins, providing a clean and even base tone to work on.
Benefits for the Under-Eye Area
Using a primer specifically designed for the under-eye area can be a game-changer for concealer application. These formulas are often hydrating and contain light-reflecting particles and smoothing ingredients. They help to fill in fine lines temporarily, creating a plumper, smoother surface. This prevents concealer from sinking into creases throughout the day, ensuring the under-eye area looks bright, smooth, and naturally flawless.
How to Choose the Right Eye Primer
Not all eye primers are created equal. The best choice depends on your skin type and the area you intend to use it on. It's often beneficial to have two different types of primers: one for the lids and one for under the eyes.
- For Oily Eyelids: Look for a mattifying or oil-controlling formula. These primers are excellent at keeping shine at bay and locking eyeshadow in place. They often have a slightly tacky finish once set, which provides superior grip for powder and cream eyeshadows.
- For Dry or Mature Eyelids: Opt for a hydrating or moisturising primer. These formulas will nourish the skin and prevent eyeshadow from looking patchy or clinging to dry areas, ensuring a smoother blend.
- For the Under-Eye Area: Choose a primer that is specifically labelled for under-eye use or one with a hydrating, radiant, or smoothing formula. Avoid thick, mattifying primers here, as they can accentuate dryness and fine lines. A lightweight, serum-like texture is ideal.
Step-by-Step Application for a Flawless Finish
Proper application is just as important as choosing the right product. Following these steps will ensure you get the most out of your eye primer.
1. Start with a Clean Base
Always begin with a clean and moisturised face. After your regular skincare routine, apply a small amount of a lightweight eye cream around the entire orbital bone. Allow it to fully absorb for a few minutes before moving on to primer. This ensures the skin is hydrated and supple.
2. Apply Primer to the Eyelids
A little goes a long way. Squeeze a pinhead-sized amount of primer onto the back of your hand. Using your ring finger or a small, flat synthetic brush, gently tap the product across your entire eyelid, from the lash line up to the brow bone. Ensure you create a thin, even layer. Avoid rubbing, as this can irritate the delicate skin. Wait about 30-60 seconds for the primer to set completely before applying eyeshadow.
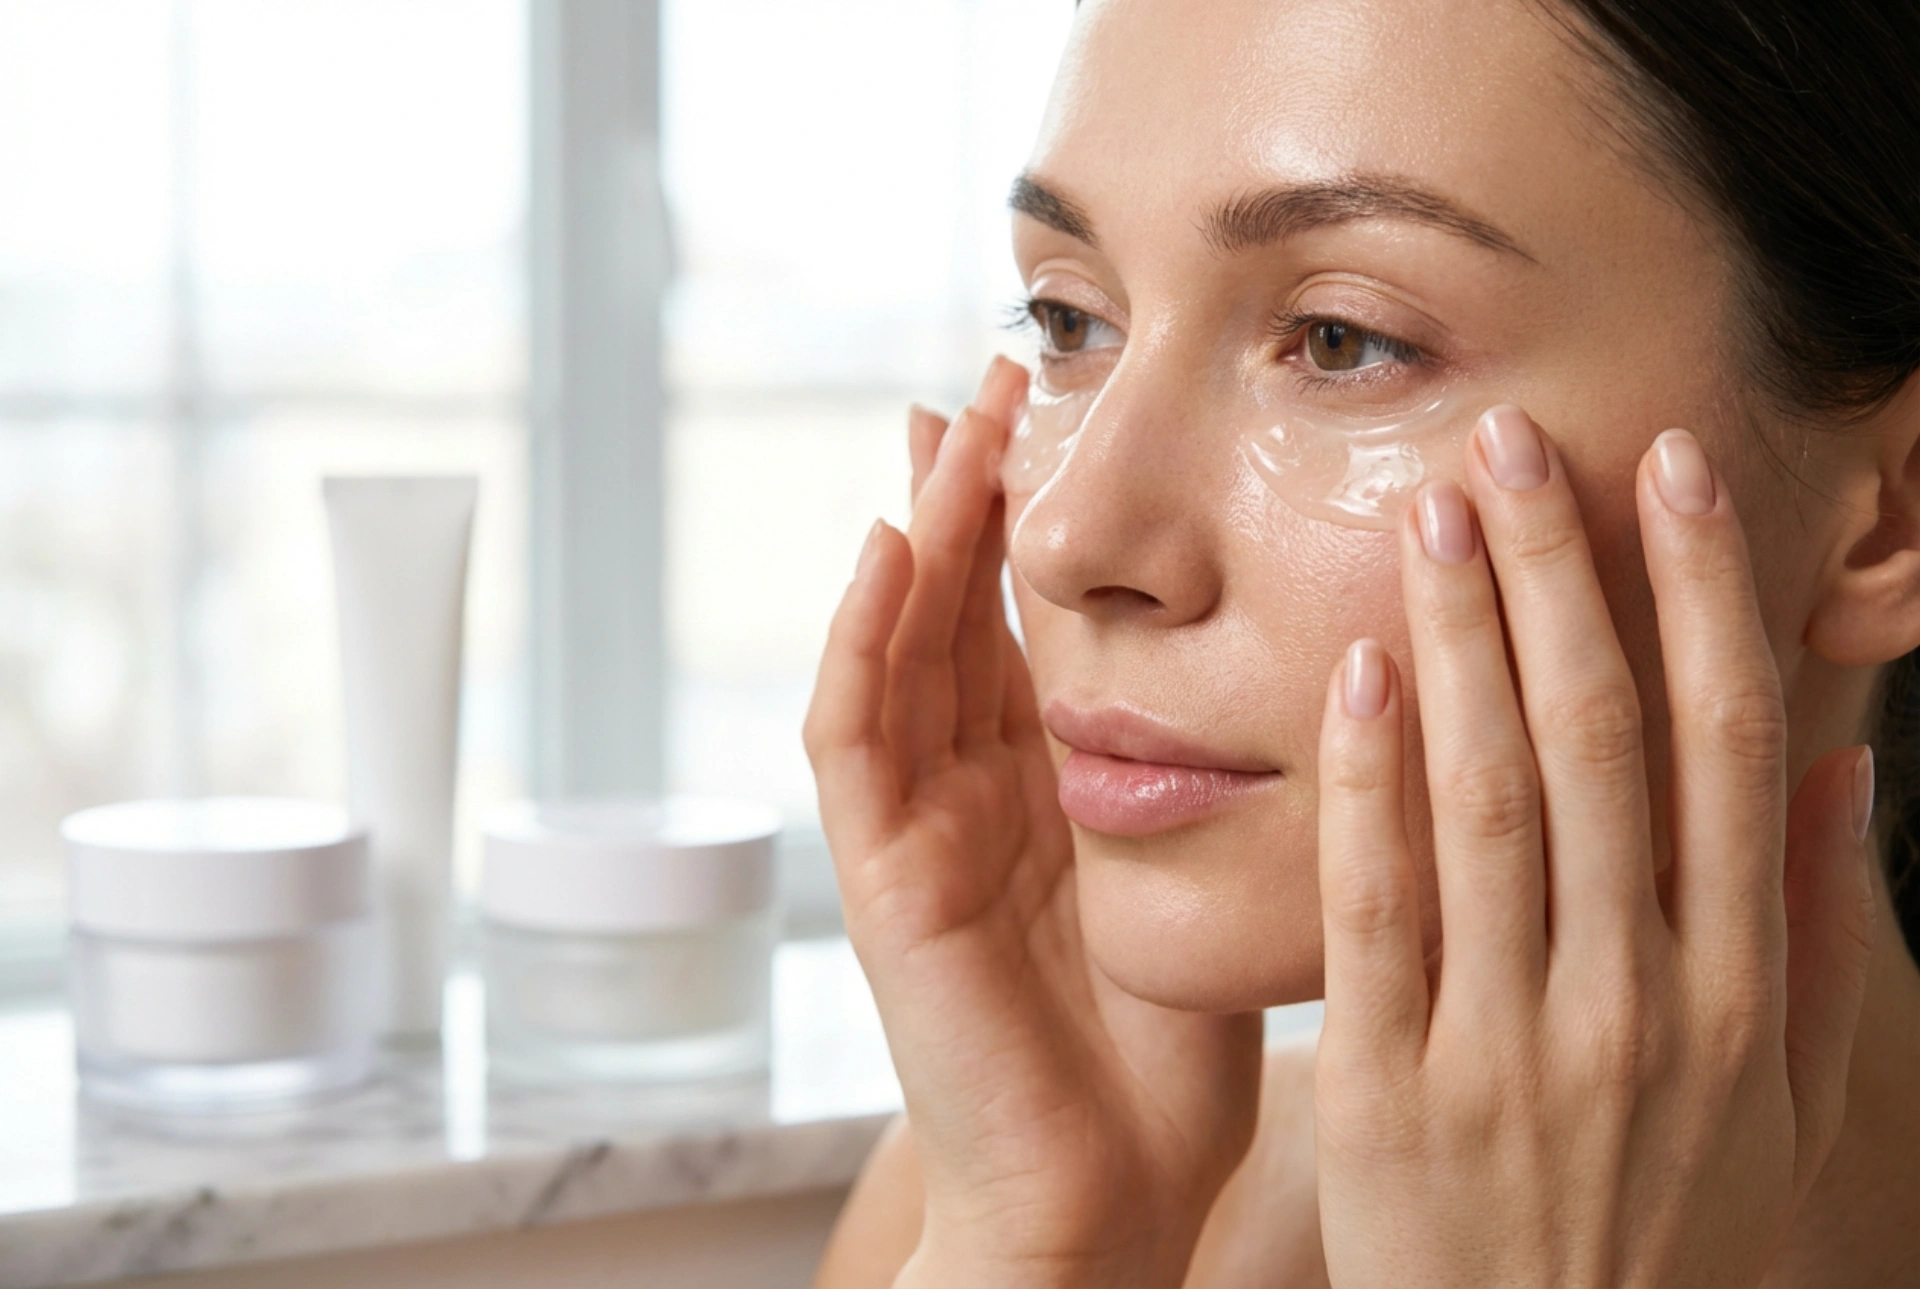
3. Apply Primer to the Under-Eye Area
Using a hydrating or smoothing primer, take another tiny amount of product. With your ring finger, gently tap the primer onto the under-eye area where you would typically apply concealer. Focus on the inner corner and the area where you have dark circles or fine lines. Use a light, stippling motion to press the product into the skin. Again, let it set for a minute before applying concealer. You will notice that your concealer glides on more easily and requires less product for full coverage.
Common Mistakes to Avoid
To achieve the best results, be mindful of these common errors:
- Using Too Much Product: Applying a thick layer of primer can have the opposite effect, causing makeup to slide around or appear heavy.
- Not Letting It Set: Applying makeup to wet primer will cause it to mix with the product, resulting in a patchy, uneven application. Patience is key.
- Using a Face Primer on the Eyes: While possible in a pinch, face primers are not formulated for the specific needs of the eye area and may not prevent creasing or hold onto eyeshadow effectively.
- Rubbing Instead of Tapping: The skin around the eyes is the thinnest on your body. Rubbing can cause stretching and irritation. A gentle tapping motion is always best.
Incorporating an eye primer into your makeup routine is a simple, quick step that yields professional-looking results. It ensures your eye makeup, from vibrant eyeshadows to seamless concealer, looks impeccable and lasts all day, proving that the right preparation is everything.