


Achieving a salon-perfect manicure at home has become more accessible than ever, thanks to tools that bring professional techniques into our personal care routines. An electric nail file, also known as a nail drill, is one such device that can transform your manicure process, offering precision and efficiency. While it may seem intimidating at first, understanding how to choose the right model and learning the basic techniques can empower you to care for your nails with confidence. This guide will walk you through everything you need to know to get started.
Why Use an Electric Nail File at Home?
An electric nail file is a versatile tool that streamlines several steps of a manicure. Unlike manual files, which require significant time and effort, a nail drill can shorten, shape, and buff nails in a fraction of the time. Its main advantage lies in its precision. With various attachments, or 'bits', you can perform specific tasks like refining the nail shape, cleaning up the cuticle area, and smoothing the nail plate with a level of detail that is difficult to achieve by hand. It's particularly useful for removing old gel polish or acrylic overlays, a task that can be time-consuming and damaging if done improperly with manual methods. By mastering an electric file, you gain more control over the final look of your nails, enabling you to create a smooth and flawless foundation for any polish.
Choosing the Right Electric Nail File for Beginners
When selecting your first electric nail file, it’s important not to be swayed by the high-powered models designed for professional salon use. A device tailored for home use and beginners will be safer and easier to handle. Here are the key features to consider:
Power and Speed (RPM)
RPM stands for 'revolutions per minute' and indicates how fast the bit rotates. For beginners, a device with a maximum speed of around 15,000 to 20,000 RPM is more than sufficient. The most crucial feature is variable speed control. This allows you to start at the lowest possible setting to get a feel for the tool and increase the speed gradually as you become more comfortable. Working at a low speed minimises the risk of damaging your natural nail.
Rotation Direction
A good beginner's nail drill should offer both forward and reverse rotation. This feature is essential for working comfortably on both your left and right hands. It allows you to change the direction of the bit's spin so you can file in the direction of nail growth and maintain a smooth, consistent angle, regardless of which hand you are working on.
Vibration, Noise, and Ergonomics
Look for a model that is advertised as having low vibration and low noise. A handpiece that vibrates excessively is difficult to control and can lead to imprecise work and hand fatigue. A quieter motor makes for a more pleasant experience. The handpiece should also feel comfortable and balanced in your hand, much like a pen, to allow for maximum control and steady movements.
Corded vs. Cordless
Corded models offer consistent power without the need to worry about battery life, making them reliable for longer sessions. Cordless, rechargeable models provide greater freedom of movement and portability. For home use, either option is fine, but a cordless model with a decent battery life can be more convenient as you won't have a cable getting in your way.
Understanding the Basic Nail Drill Bits
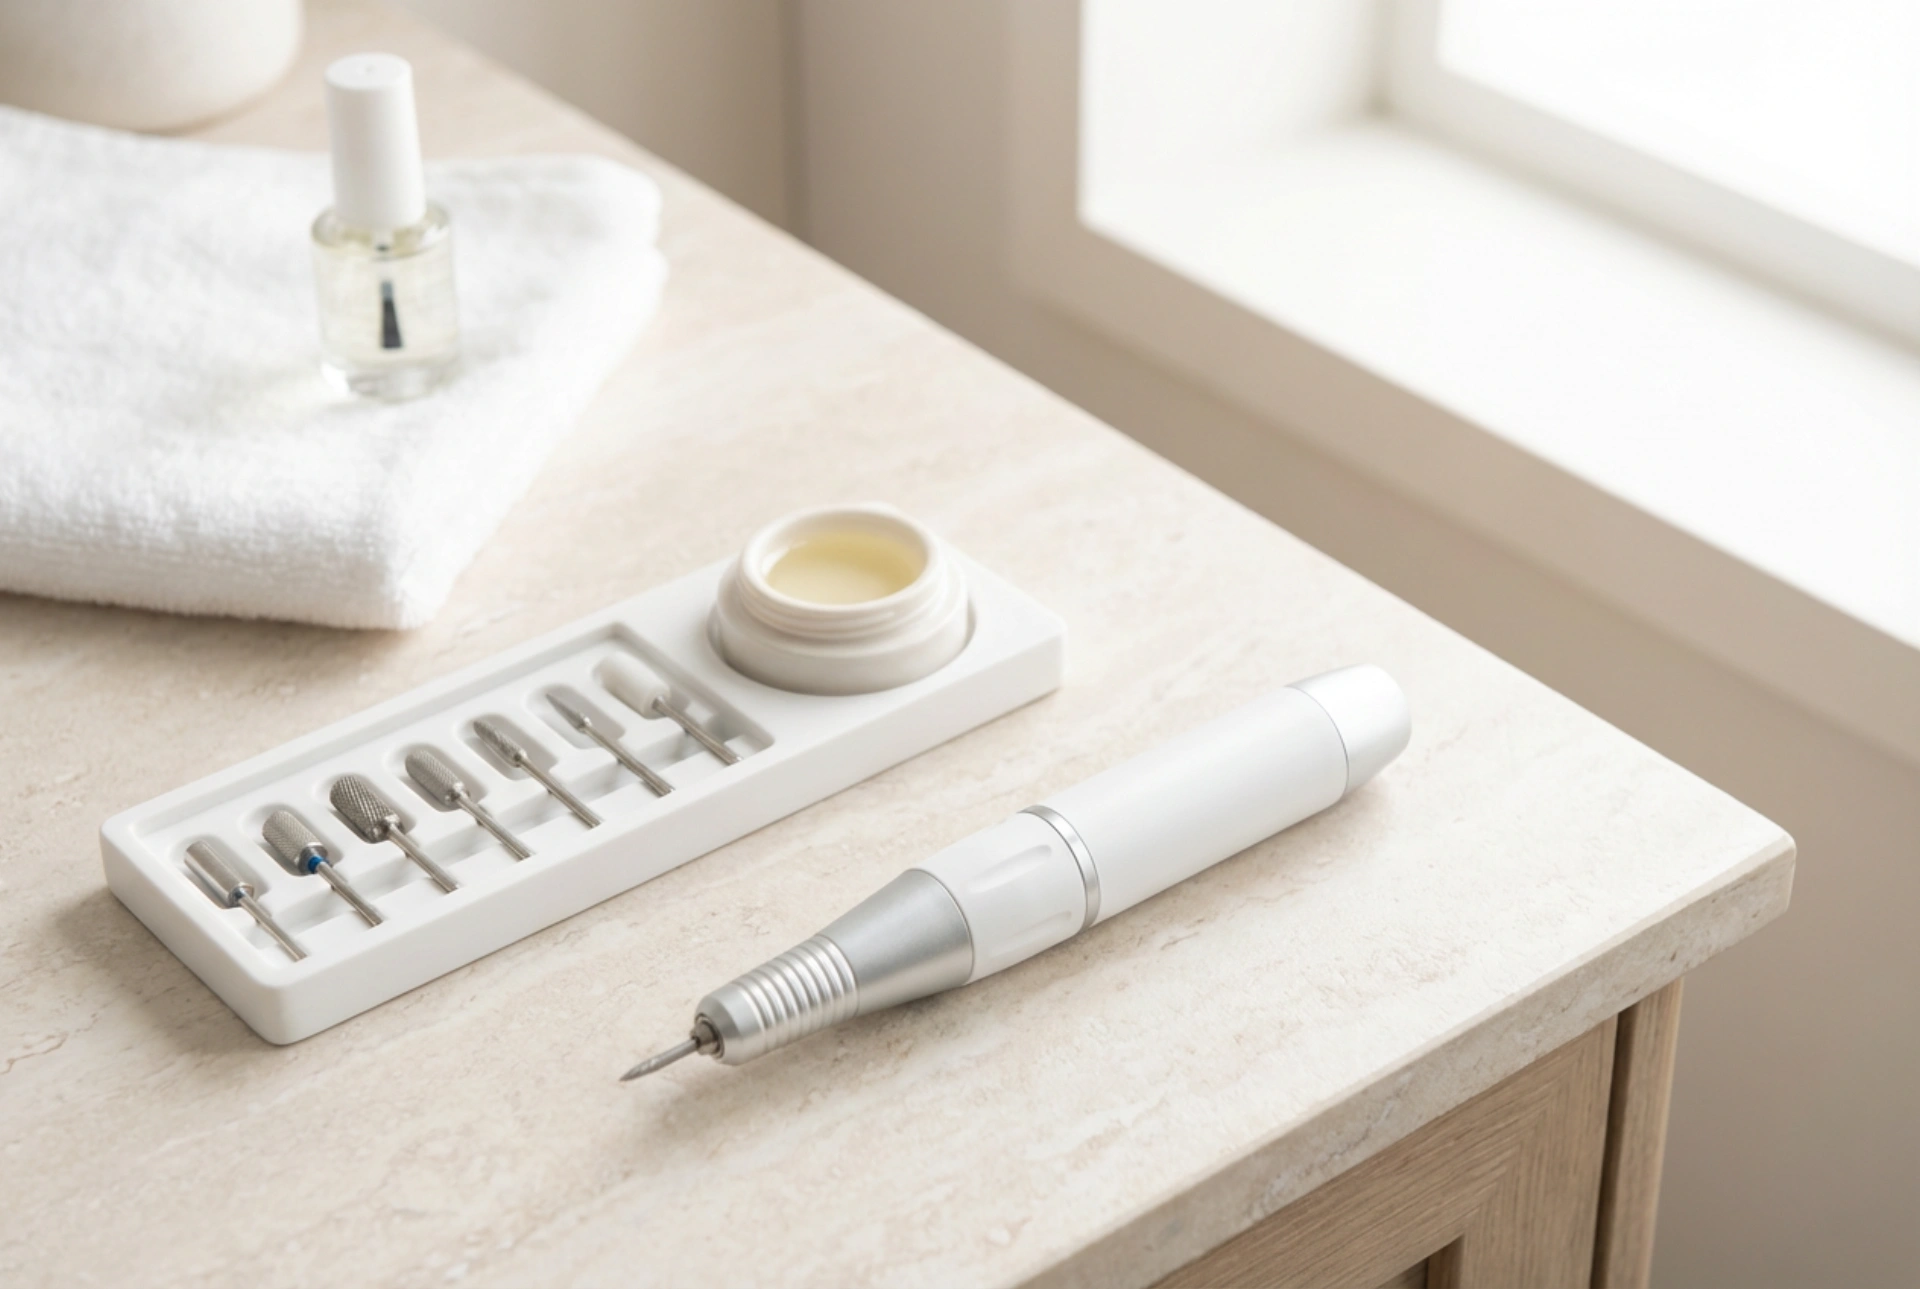
Most beginner nail drills come with a starter set of bits. Understanding their purpose is key to using the tool safely and effectively. Always start with the least abrasive bit for the task at hand.
- Mandrel Bit and Sanding Bands: The mandrel is a metal or rubber bit onto which single-use sanding bands are fitted. These are used for shortening the nail, major shaping, and removing the surface of gel polish. They come in various grits (coarse, medium, fine). Always start with a fine or medium grit.
- Cone-Shaped Bit: This bit is excellent for detailed work around the cuticle area and sidewalls. Its tapered shape allows you to gently clean up dry skin and refine the nail's shape near the edges.
- Barrel or Cylinder Bit: This bit is used for surface work, such as reducing the thickness of an overlay or smoothing the nail plate. Use it flat against the nail and keep it moving to avoid creating dips.
- Ball-Tipped Bit: A small, ball-shaped bit is ideal for gently cleaning dry, non-living tissue from the cuticle area. Use it on the lowest speed with extreme care.
- Flame or Needle Bit: These fine-pointed bits are used for very precise cuticle work, such as lifting the eponychium or cleaning the sidewalls. They require a very steady hand and should be used with caution.
- Buffing Bit: Often made of felt, cotton, or chamois, this bit is used as the final step to polish and shine the natural nail plate, leaving it with a healthy, glossy finish.
Getting Started: Your First Manicure with a Nail Drill
Patience and practice are your best friends when learning to use a nail drill. Always prioritise the health of your nail over speed.
Preparation and Safety
Work in a well-lit area on a stable surface. Before you begin, read the instruction manual for your specific device. Start by practising on a practice nail or tip if one is provided. When you move to your own nails, select the lowest speed setting. Hold the handpiece like a pen for optimal control. Crucially, never apply pressure—let the speed of the bit do the work. Keep the bit moving across the nail at all times to prevent heat build-up and avoid filing grooves into the nail plate.
Step-by-Step Guide
1. Shape and Shorten: Select a fine-grit sanding band. On a low speed setting, gently glide the bit over the free edge of your nail to achieve your desired length and shape. Work from the side to the centre on both sides.
2. Cuticle Care: Use a fine cone or ball bit on the lowest speed. Gently trace around the cuticle area to exfoliate any dry, non-living skin. Never touch the live cuticle tissue (the eponychium) or the nail plate with excessive force.
3. Surface Smoothing: If necessary, use a smooth barrel bit or a fine sanding band to lightly buff the surface of the nail. Keep the bit parallel to the nail plate and use continuous, sweeping motions.
4. Shine: Finally, use a felt or cotton buffing bit to shine the nail. You can use it on its own or with a tiny amount of buffing cream for a high-gloss finish. After filing, wash your hands and apply cuticle oil to rehydrate the skin around your nails.
Mastering an electric nail file takes time, but by choosing the right tool and practising safe techniques, you can achieve professional-quality manicures from the comfort of your home. Remember to start slow, be gentle, and enjoy the process of perfecting your nail care skills.


