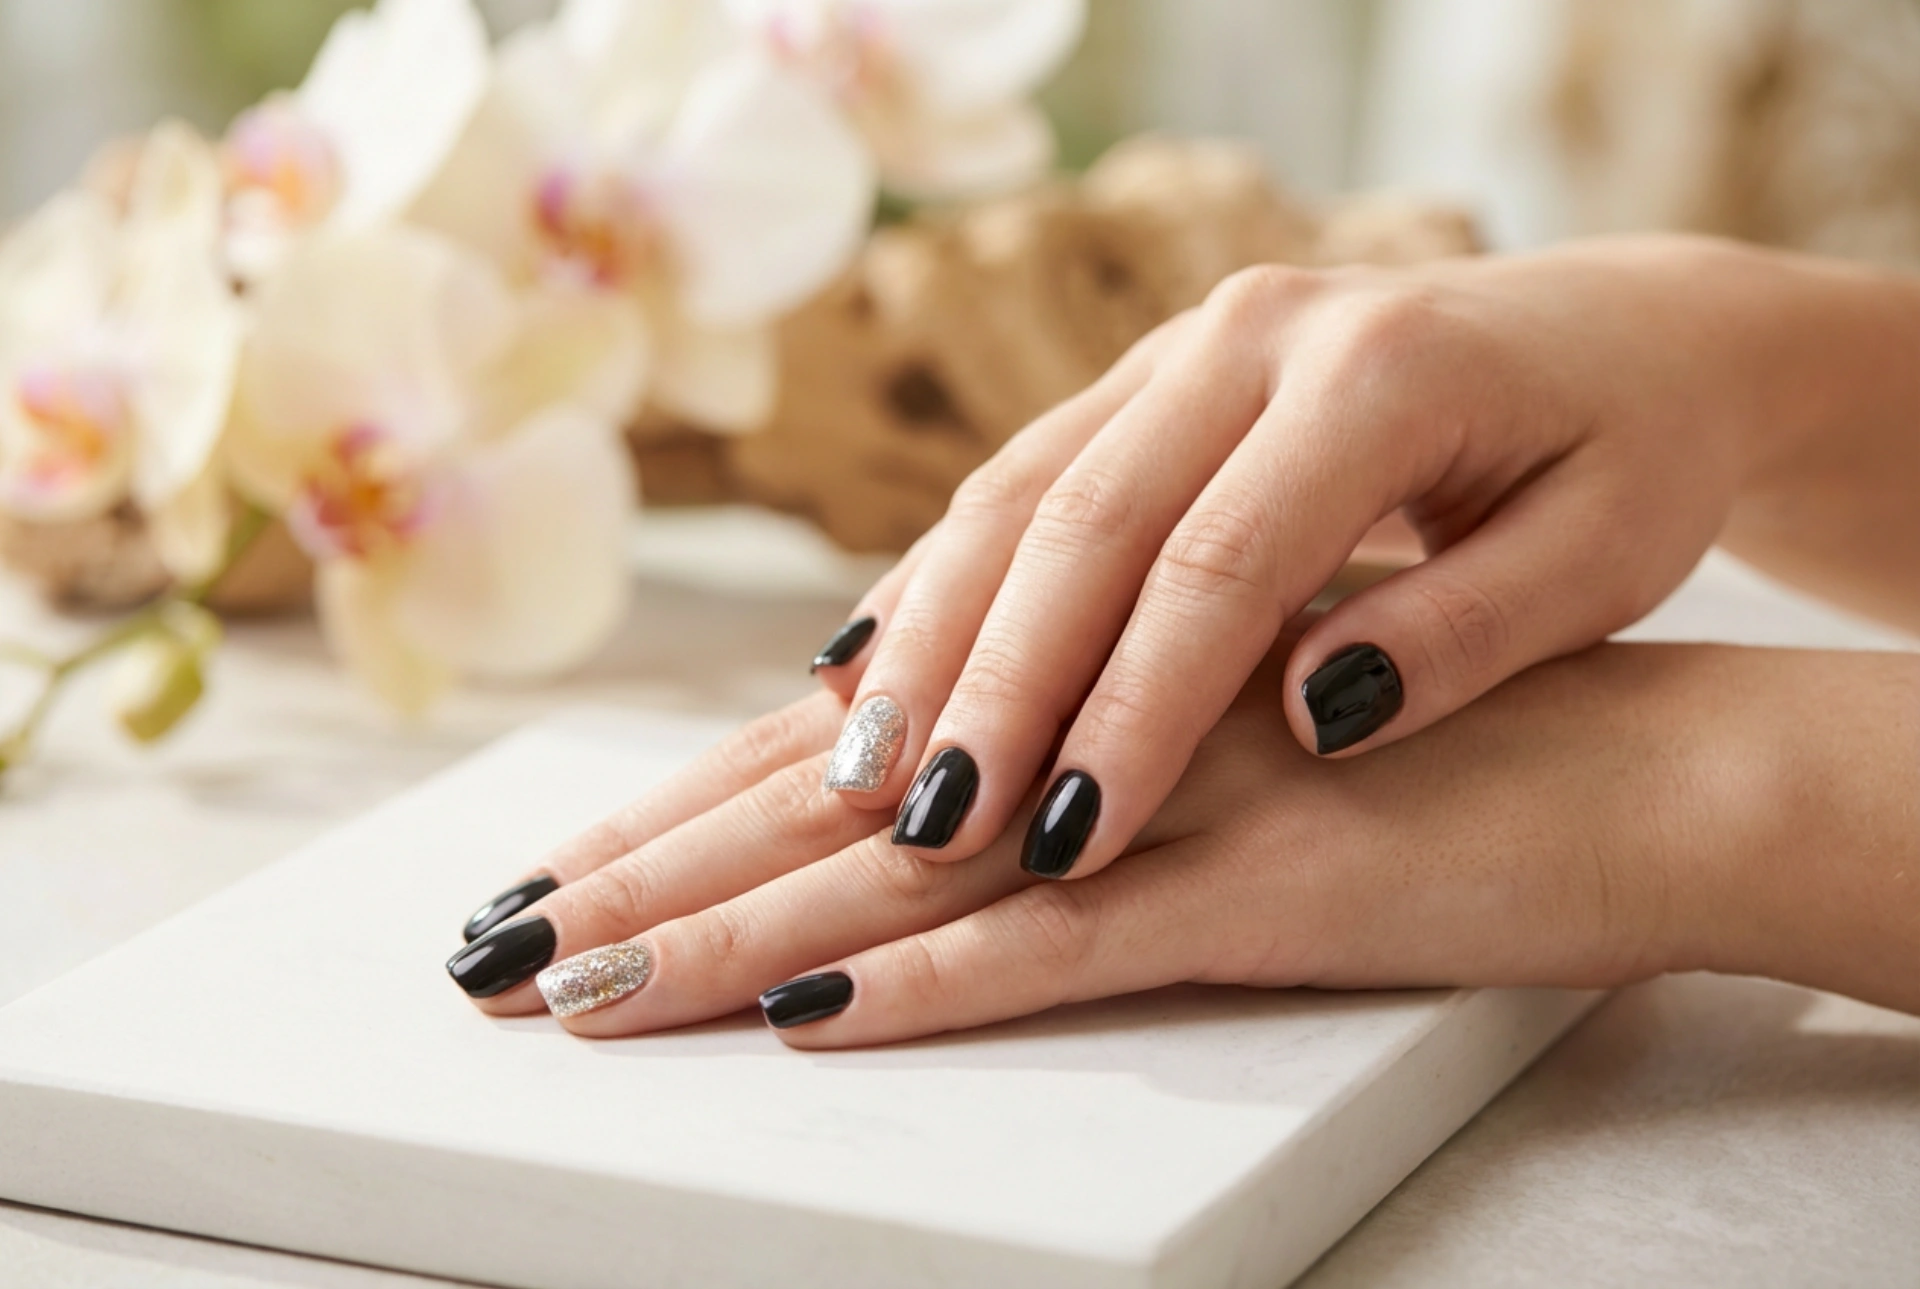


Black nails represent a classic and sophisticated choice that never goes out of style. They can be bold, elegant, and surprisingly versatile. When combined with a touch of glitter, a simple black manicure transforms into a statement of glamour, perfect for an evening out or whenever you want to add a little sparkle to your day. Achieving this chic look at home is entirely possible with the right techniques and a bit of patience. This guide will walk you through the process, from preparation to the final glossy finish, and help you avoid common pitfalls.
Preparing the Nails for a Flawless Manicure
The foundation of any long-lasting manicure is proper nail preparation. Rushing this step is a common reason for chips and peeling. Before you even think about the black polish, dedicate some time to getting your nails in perfect shape. Start by removing any old polish completely. Then, wash your hands and gently clean under your nails. Next, file and shape your nails to your desired length and form—whether that's square, oval, or almond. Once you are happy with the shape, gently push back your cuticles. It is important not to cut them, as they protect your nail bed from irritants. Finally, lightly buff the surface of your nails. This removes natural oils and creates a slightly textured surface for the polish to grip onto. Wipe away any dust with a lint-free cloth. The last and most crucial preparation step is applying a quality base coat. A base coat not only protects your natural nails from being stained by the dark pigment of the black polish but also provides a sticky layer that helps your manicure last longer.
Application Techniques for Black Polish and Glitter
With your nails perfectly prepped, it's time for the colour. Applying black polish requires a steady hand, as any mistakes are highly visible. Apply the first coat in thin, even strokes. Start in the centre of the nail, a little away from the cuticle, and brush down to the tip. Then, do the same for each side. Two thin coats are always better than one thick, gloopy coat, as they will dry faster and more evenly, reducing the risk of smudges. Allow the first coat to become dry to the touch before applying the second. Once you have an opaque black base, you can introduce the glitter.
Technique 1: Using a Glitter Polish
The most straightforward method is to use a pre-mixed glitter polish. These come in various densities, from a sparse scattering of sparkle to a fully packed glitter formula. You can apply a thin layer over the entire nail for a uniform shimmer. For a more concentrated effect, you can apply a second coat, focusing on a specific area like the nail tips. When using a glitter polish, dab the brush onto the nail rather than stroking it. This helps to place the glitter particles more densely and evenly.
Technique 2: Applying Loose Glitter
For more control and a more intense sparkle, loose cosmetic glitter is an excellent option. There are a few ways to apply it. One popular method is to work one nail at a time. Apply a layer of wet top coat over your dry black polish. While it's still wet, either dip your nail into a small pot of loose glitter or sprinkle the glitter over the nail. Gently press the glitter down with a finger or a soft brush to ensure it lies flat. Another approach is to use a small, flat brush or a makeup sponge. Pour some glitter onto a piece of paper, dab the tool into the glitter, and then press it onto the wet nail. This gives you precise control over where the glitter goes. Once you have applied the glitter, use a clean fan brush to sweep away any excess particles from around your nail and cuticle.
Technique 3: Creating a Glitter Gradient
A glitter gradient, or ombré, effect is a stunning and popular design. It looks complex but is achievable with a simple tool: a disposable makeup sponge. Start by applying a small amount of clear polish or top coat to a corner of the sponge. Then, dip that corner into your loose glitter. Gently dab the sponge onto the tip of your nail, applying more pressure at the very edge and less as you move down towards the cuticle. This will create a dense concentration of glitter at the tip that fades out beautifully. You can build up the density by repeating the dabbing motion. This technique works equally well for creating a gradient that starts from the cuticle and fades towards the tip.
Sealing the Deal: The Importance of a Top Coat
Do not skip the top coat, especially when working with glitter. This step is essential for a professional-looking finish. A top coat will smooth out the often-gritty texture of the glitter, seal the particles in place to prevent them from falling off, and protect your manicure from chipping. For particularly chunky glitter, you may need to apply two layers of top coat to achieve a perfectly smooth, glass-like surface. When applying, be sure to 'cap' the free edge of your nail by running the brush along the tip. This creates a seal that significantly extends the life of your manicure.
Common Mistakes to Avoid
Even with the best intentions, things can go wrong. Here are some common mistakes to watch out for when creating your black and glitter nails:
- Skipping the Base Coat: This is a direct route to stained, yellow-looking natural nails, as dark pigments can be very persistent.
- Applying Thick, Gloopy Polish: Thick coats of polish take a very long time to dry fully and are prone to smudging, bubbling, and denting.
- Being Impatient Between Layers: Applying the next coat of polish or glitter before the previous one is dry will cause dragging, smearing, and an uneven finish.
- Uneven Glitter Application: Simply painting on a dense glitter polish can lead to clumps. Use a dabbing motion to distribute the particles more evenly.
- Forgetting to Clean Up: Excess glitter on the skin around the nail can look messy. Clean it up with a small brush dipped in nail polish remover before the top coat is applied.
- Not Using Enough Top Coat: A single, thin layer might not be enough to smooth out a textured glitter. The result can feel rough and be more likely to snag and chip.
A black and glitter manicure is a timelessly chic and customisable look. Whether you prefer a subtle sparkle or a full-on glamorous design, mastering these application techniques will ensure your nails look polished and perfect. By preparing your nails correctly, applying thin coats, and sealing your design with a good top coat, you can create a durable and stunning manicure at home.


