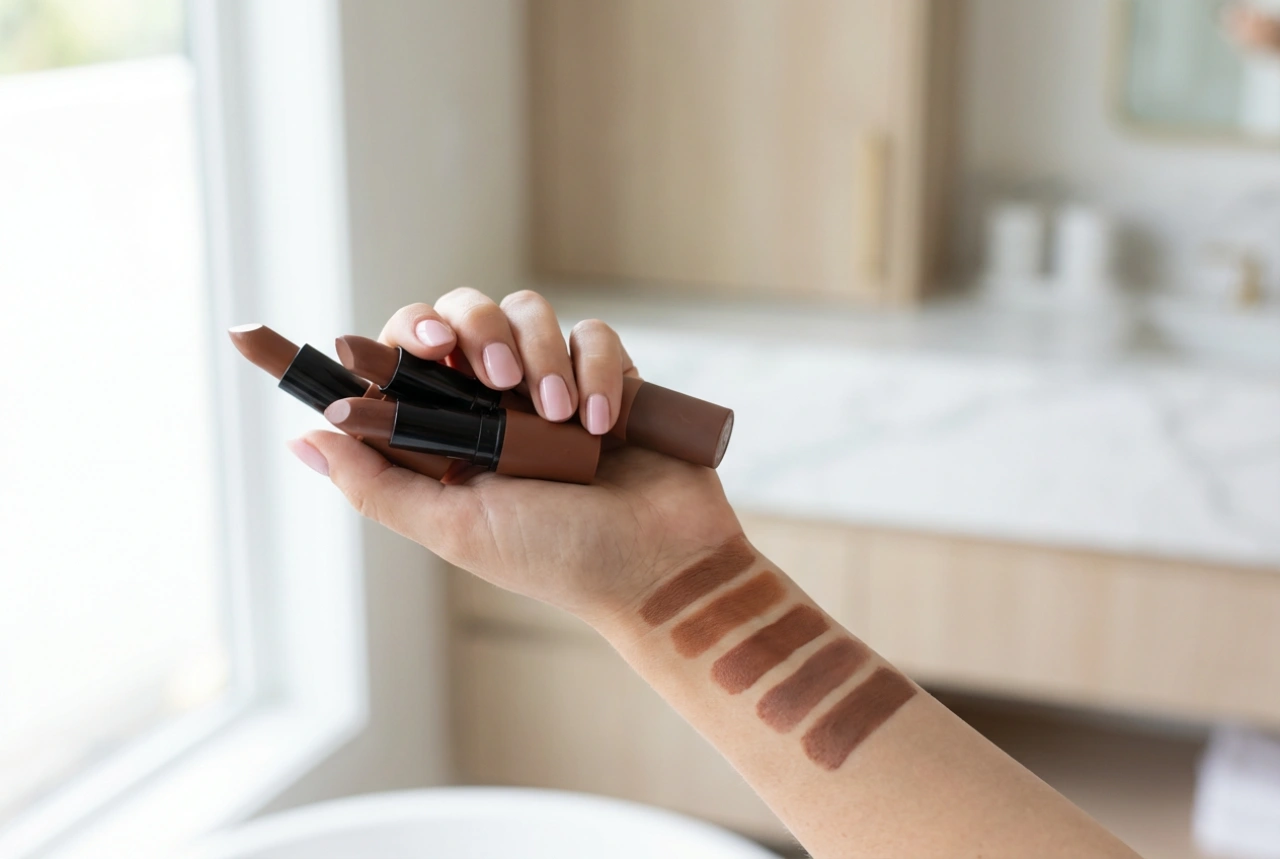


A perfectly defined lip line is the foundation of many stunning makeup looks, and achieving that precision starts with a simple yet essential tool: a good quality cosmetic sharpener. While often overlooked, the right sharpener not only gives your lip pencils a fine point for flawless application but also plays a crucial role in your beauty hygiene. Understanding how to choose, use, and maintain this tool will elevate your makeup routine, ensuring your pencils perform their best and last longer.
Choosing the Right Cosmetic Sharpener
Not all sharpeners are created equal. Selecting one that is well-suited to your needs is the first step towards perfect pencil performance. The key factors to consider are the size of the sharpener and the quality of its blade and construction.
Matching the Size to Your Pencils
Cosmetic pencils come in various diameters, from slim eyeliners to chunky lip crayons. A common mistake is trying to force a pencil into a sharpener of the wrong size, which can damage both the tool and the pencil. Many modern sharpeners are dual-holed, offering a standard size for traditional pencils and a larger one for jumbo pencils. Investing in a dual-hole model provides versatility and ensures you always have the right fit for your collection. Some sharpeners even come with a removable adapter ring in the larger hole to accommodate intermediate sizes.
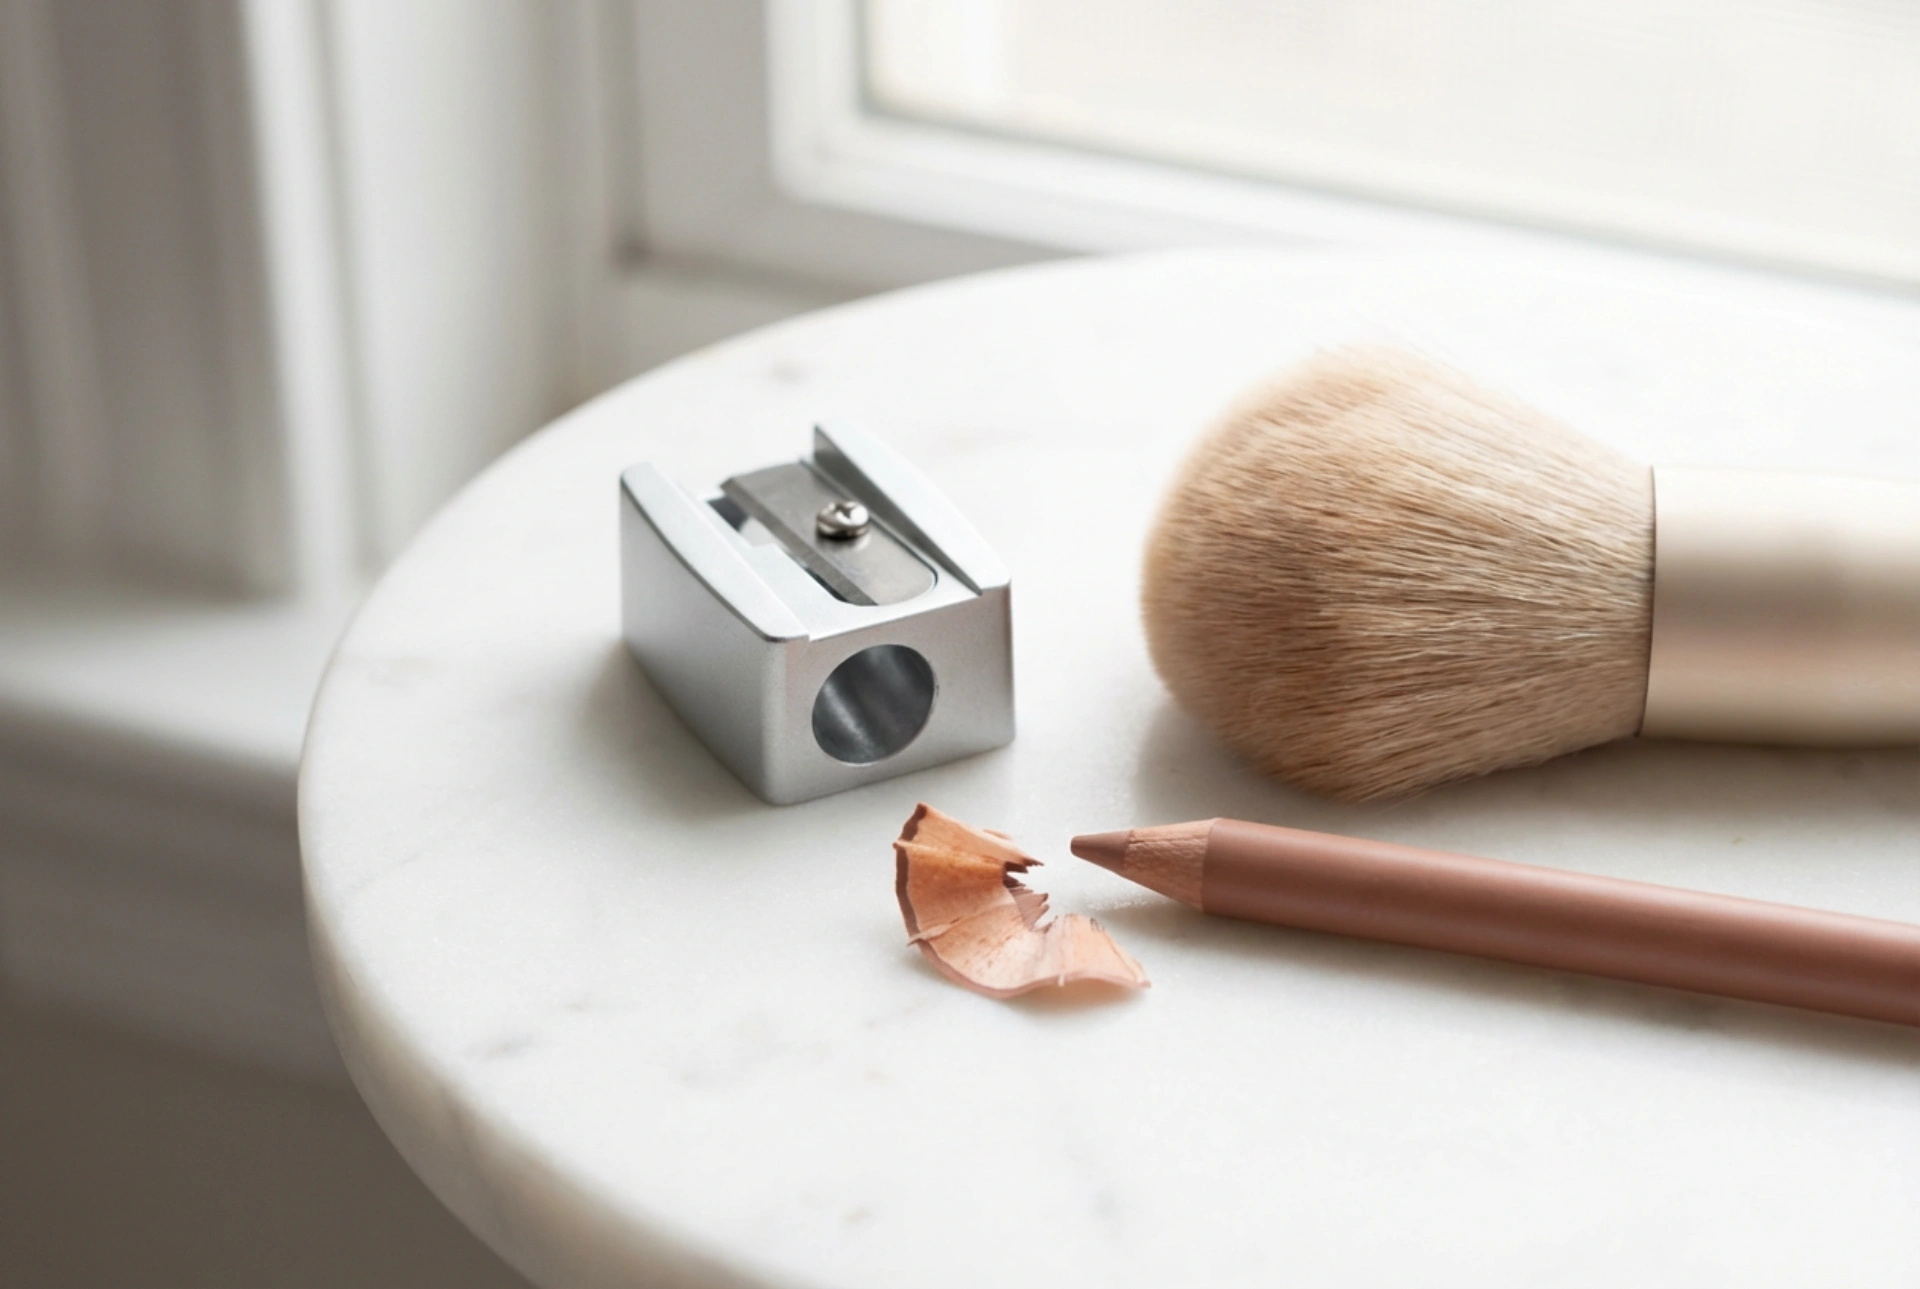
Blade Quality and Body Material
The most critical component of any sharpener is its blade. Look for sharpeners with high-quality blades, often made from stainless steel. A sharp, well-designed blade will shave the pencil smoothly, creating a clean point without breaking the lead or splintering the casing. A dull blade will do the opposite, leading to frustration and wasted product. The body of the sharpener, whether plastic or metal, should be sturdy and easy to hold. Many also feature a built-in container to catch shavings, which is a convenient feature for mess-free sharpening, especially when on the go.
The Art of Safe and Effective Sharpening
Once you have the right tool, using the correct technique is vital to preserve the integrity of your lip pencils. Rushing the process can lead to broken tips and wasted product. A gentle and methodical approach yields the best results.
- Chill for Control: If you find your lip pencil is too soft or creamy, making it difficult to sharpen, place it in the refrigerator for about 10-15 minutes before sharpening. This will firm up the product, allowing for a cleaner shave and reducing the risk of the tip breaking off inside the sharpener.
- Gentle and Steady Turns: Insert the pencil into the correct-sized hole and turn it gently. Avoid applying excessive pressure. Two to three smooth, deliberate rotations are usually enough to create a sharp point. The goal is to sharpen, not to grind the pencil down.
- Know When to Stop: Over-sharpening will only waste your precious pencil. Once you have a functional point, stop. It doesn't need to be needle-sharp, as an overly fine tip can break easily during application.
Essential Hygiene for Your Sharpener
A dirty sharpener can be a breeding ground for unwanted microorganisms, which can transfer to your pencils and then to your lips. Regular cleaning is a non-negotiable step in a responsible beauty routine.
Why Cleaning is Crucial
Each time you sharpen a pencil, product residue, wax, and wood shavings are left behind. This build-up can not only dull the blade and impede its function but also create an environment where impurities can thrive. Cleaning your sharpener after every few uses helps maintain its performance and ensures you are applying a clean product to your skin.
A Simple Cleaning Routine
Cleaning your sharpener is quick and easy. First, carefully empty the shavings. Use a small, stiff brush or a dedicated cleaning pick (often included with the sharpener) to dislodge any stubborn bits of pencil and debris from around the blade. For a deeper clean, dip a cotton bud in isopropyl alcohol and carefully wipe the blade and surrounding plastic or metal. This will dissolve waxy residue and sanitise the tool. Ensure the sharpener is completely dry before using it again.
When Is It Time to Replace Your Sharpener?
Cosmetic sharpeners are not lifetime tools. Over time, even the best blades will become dull. Using a dull sharpener is counterproductive, as it will damage your pencils rather than improve them. Watch for these signs that it's time for a replacement:
- The sharpener no longer creates a smooth, even point.
- It tends to splinter the wood casing of the pencil.
- The pencil tip repeatedly breaks off during sharpening.
- You have to apply a lot of pressure and make many turns to get any result.
Given their affordability, replacing your sharpener regularly is a small investment that protects your more expensive cosmetic pencils and ensures a flawless, professional finish every time you reach for your favourite lip colour.